mike02130
Members-
Posts
513 -
Joined
-
Last visited
Content Type
Profiles
Forums
Events
Blogs
Gallery
Store
Everything posted by mike02130
-
You say you've been learning what tools to get. Well, what are they? So many answers are possible. Do a search or start watching videos and take notes. Define your budget and long term goals. The better the question--the better the answer. Help us help you. I can't speak for all, but spoon feeding is frowned upon. First tool tip is, do not buy a kit from eBay or Amazon.
-
Hoping for info about leather-product smells
mike02130 replied to RFrolic's topic in How Do I Do That?
What he said. -
Amperage for a bench grinder with rubber expanding wheel
mike02130 replied to cldpsu's topic in Leather Machinery
Woodcraft carries Rikon grinders. If you have a local store you may ask them if you can try one out. They usually teach classes and have the grinders in the shop area. I'm of the belief that stronger is better. You could also rig something up on an electric motor with a mandrel. That way the wheel isn't hindered by the grinder housing. You can pick up a motor cheap on Craig's list. -
What thickness do you want? That may help with a recommendation. I've never seen anything thicker than 7 ounce. The Italian and French tanneries I know of use "Alpine" cows from France. The higher altitudes result in fewer bug bites and healthier animals. Most of it comes dyed. Here is a start. https://www.buckleguy.com/valdibrana-italian-vachetta-leather/
-
I really don’t trust Chinese tools, especially something like that. If you buy it come back here and give it a review.
-
How wide are the panels you want to split? Read this, https://brucejohnsonleather.com/leather-tools-sale/leather-bench-machines-sale/ https://brucejohnsonleather.com/files/3314/7441/5319/Choosing_a_leather_splitter.pdf
-
Linen doesn't melt. I back stitch then cut my thread short and tuck it in the hole with a small dab of glue.
-
By the way, Uniters edge paint is much much better than Fieblings.
-
I use (neutral) Saphir Medaille D'or and Uniters leather protection cream. The Saphir gives a slightly better shine than the Uniters. For flat items like wallets I use the Saphir paste. Handbags I use the Uniters. The only reason I use Uniters on the bags is that it easier to apply and buff a larger 3-dimensional object such as a bag. A final buff with a horse hair brush really brings out the shine.
-
https://wickett-craig.com/leathers/custom-options/
-
Suggestions on what to make with donated leather
mike02130 replied to SIRENco's topic in Getting Started
That's 8 ounce. -
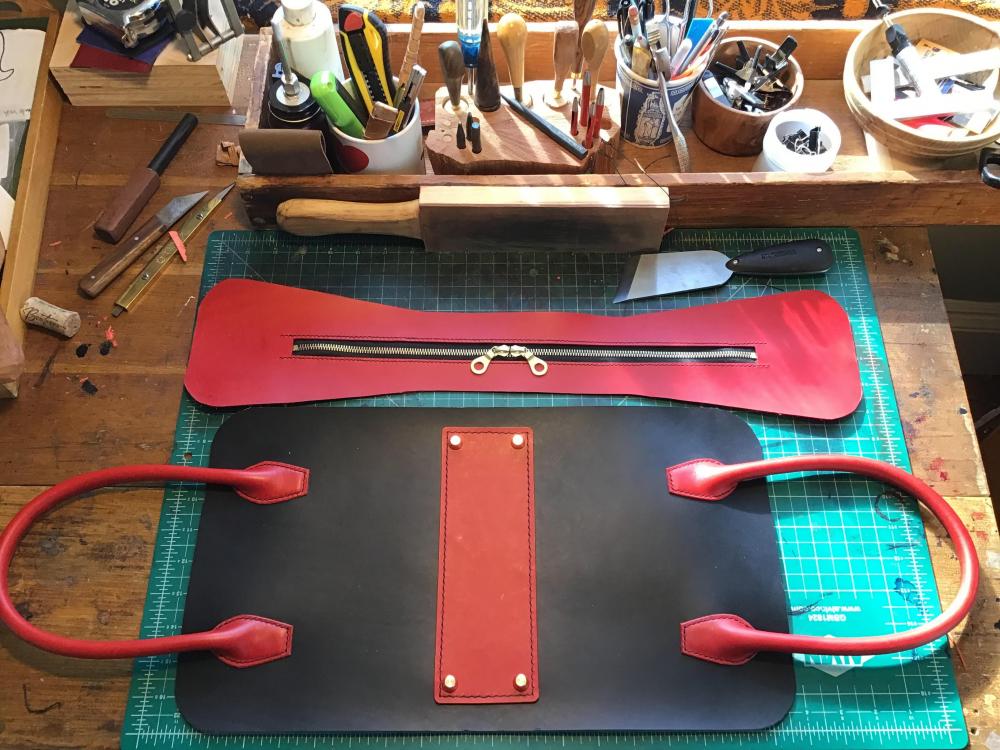
It is more typical of a rolled handle for handbags. On this one I used 3/8" nylon rope and glued and wrapped it with 4 ounce leather and sewed. I think my dog would be embarrassed wearing that. It doesn't look very comfortable.
-
Mink Oil Any Good?
mike02130 replied to Brigg's topic in Dyes, Antiques, Stains, Glues, Waxes, Finishes and Conditioners.
I for one do not trust any ingredient list from China. While cows are killed for food, minks are killed for their fur and the cosmetic and medical industry. -
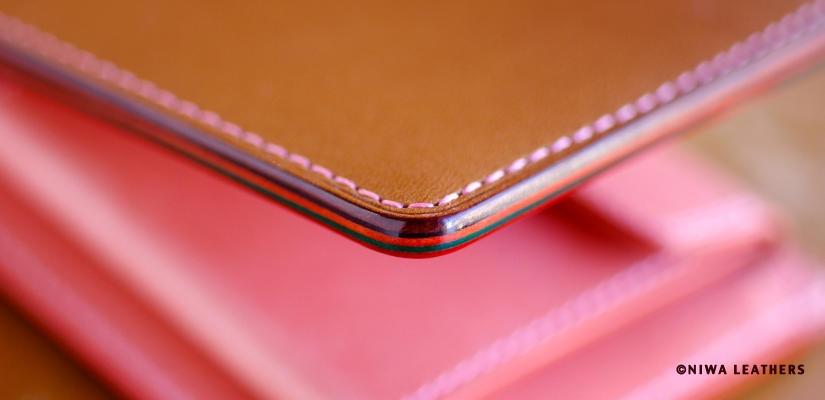
Oh the dreaded edge. It just plain sucks getting it right. That thickness is a whole different beast than what I work with. I make gusseted handbags and small items. My thickest edge may be 10 ounce. I've seen saddle makers that cut and glue their leather together wider than the finished piece and trim it with a head knife to get a smooth even edge. You may get by with a drum sander. Glue, I use flammable contact cement applied thinly. I don't have issues with glue lines. I've tried water based glues and have had issues seeing the glue line. I hammer and use a roller on top of the edge. I would not think shoe polish would work well. There is a hard wax made by Columbia that is used with an electric filletuese that will work for some filling. The wax needs to be melted and will fill some gaps. You can use a hot butter knife. District leather supply and Rocky mountain leather sells the stuff. The technique I use is from a leather worker named Niwa of Niwa leathers. 1) make your trim cut super clean. The cleanest, glassiest cut-edge possible. 2) bevel/round the edges. 3) Sand the edge into a nice round shape with 400 grit. Sand each edge down towards the center, as if you're pressing the fibers from the edge to the center. Don't sand lengthwise. 4) Only after the edge is shaped perfectly, and fairly compressed by the 400 grit, apply water. Apply very sparingly. Burnish with a canvas, lengthwise in small sections until you hear it squeaking. 5) check the edge. It will have darkened with the water. If it darkened very smoothly and evenly, with no light spots, then move on to 6. If not, move back to 3 (sand again, and then reapply water). Repeat as necessary. 6) sand with 600 grit, again sanding each edge down towards the center 7) 800 grit 8) Gum trag/Tokonole and canvas (very sparingly and evenly, working in small sections) 9) 1000 grit 10) wax + heat + soft cloth (or gum if you don't want to use
-
Oh, I get it, musical "instruments".
-
Stitching hole placement for rows of pockets
mike02130 replied to JeremyG's topic in How Do I Do That?
I use both 3.38 and 3 mm. I've never had an issue. What size were the old ones? You may have to adjust your pattern. A picture may allow us to help you more.- 2 replies
-
- wallets
- pricking irons
-
(and 2 more)
Tagged with:
-
The reasons to wax your thread, 1, Lubrication. 2, It protects the thread from fraying. 3, Helps hold the tread tight when you cinch it down. I tried using unwaxed on small runs when numbers 1 and 2 aren't so important but when cinching the thread I can see it untighten after cinching vs using waxed.
-
http://www.exotic-skin.com/
-
I don't know about emu, tiger or pangolin but the rest is fine in the USA. Also hippo and giraffe. They have to be legal and certified etc.
-
Ok, I gotta ask for the whole gang, what did you pay?
-
Hmm, I wonder if it is because of the tanning techniques and ingredients that Europeans use? I've seen leather from Tandy and other sellers that is from Brazil, Argentina and Mexico and of unknown origin. I'm sure the cheaper leather is also tanned more cheaply. I primarily use Italian and French leather. European leather usually has a higher oil content and they use a combination of extracts from chestnut, mimosa and quebracho trees.
-
When a woodworker does leather work. Just a tip.
mike02130 replied to mike02130's topic in Leather Tools
I found that a Stanley No. 3 plane blade is the perfect size for my hands. -
Uniters is good. Prime, paint and use your creaser to stroke the edge. Speed of stroke is dependent on your heat setting. You just have to experiment. I have better success with an "S" tip. You want to spread and smoosh the edge paint around until it is smooth and uniform.
-
When a woodworker does leather work. Just a tip.
mike02130 replied to mike02130's topic in Leather Tools
Awww shucks guys, thanks.


