-
Posts
183 -
Joined
-
Last visited
Content Type
Profiles
Forums
Events
Blogs
Gallery
Store
Everything posted by CastleLeatherWorks
-
thanks rob i do believe most makers are familiar with fil au chinois. while i have never used it because of the price tag...i prefer to use twist brand or meisi waxed linen but i am thinking of switching to the poly version to test longevity.
-
Youre off to a good start but there is Much room for improvement. i would like to chime in as im a wallet maker myself. Use a ruler for straight lines. lol 1: all the edges could be finished alot better they look to rough imo especially for the kind of wallet i think youre trying to make....Do you leave a cut allowance when youre making your wallet pocket panels? it helps to make things oversized and trim to a final dimension after glue up..it makes things alot easier when its time to finish the edges. 2: the contrast stitching would look alot better if it was straight and even. ( i use and edge creaser to not only crease my all my edges but also as a guide for my pricking irons so i can keep my margins in check ) 3: as for the slanted stitch i switched from diamond pricking irons to french style but i still would end up with one side of slanted stitches and one side straight stitches ...so to remedy this i punch my finished interior panel and outside wallet panel separate, instead of trying to punch thru all the layers of leather at once. also in doing this it makes the stitch angled on both sides of the wallet. It takes some extra time to make sure all your stitching holes will line up but its worth it in the final product. i noticed a big improvement in the finish of my wallets since doing this. hope i dont sound to harsh as im only trying to help =) keep up the good work
-
I wish i could help but i actually have some questions: why olive oil and how much did you apply? did you let it dry or wipe of excess before applying the other finishes ? also why you did the steps named in your process or are you following the advice of another maker ? From the fiebings website: "Use Fiebing’s Pro Resist to maximize the contrast when antiquing and staining leather. Pro Resist is also an excellent top finish that will resist moisture, sun and dirt. Pro Resist is water soluble but once dry acts as an incredible resist on smooth and carved leathers." found this thread from 2011 also:
-
Help with a small zippered pouch
CastleLeatherWorks replied to blackmad's topic in How Do I Do That?
Hello thanks for sharking your work !! Unfortunately i don't see how you could make this work the way the zipper is currently sewn into the bag. i think you might have had an easier time if you had skived the edges of the leather down to reduce the bulk in the corners/turned edge but you would still be dealing with tension on the zipper ends because of the way you integrated it. you could possible add a lid so to speak with a zipper and 2 strips of leather that span the length of the opening if that makes sense. -

What can SLC do for you?
CastleLeatherWorks replied to TonySFLDLTHR's topic in Leatherwork Conversation
this ^^^ -
yes he was very happy and thank you for you compliment. i strive to make my products as nice as possible. its detrimental to my pocket at times lol because of the amount of time i spend on the fit and finish. But hopefully it will pay off. if not it makes me feel better knowing i did my best. take care
-
So with heatable edge paint youre able to work, smooth and move the paint around after its dried with the use of a fileteuse or in my case i use the side of my edge creaser heated up with a candle. admittedly i have very limited experience with edge kote because early on i learned that higher end makers use edge paint to finish there products. i used some edge kote maybe once on the first or second project and got really bad results so i never used it again.
-

Mass production of wallets using laser engraver
CastleLeatherWorks replied to chrisash's topic in 3D Printers and Lasers
no offense to the maker but this seems like a swap meet $15/20 wallet. i get that its handmade and all but there very little finesse in what hes doing and it still looks cheap. -

Rust removal on old machine
CastleLeatherWorks replied to Brooksie's topic in Leather Sewing Machines
are you planning on taking it all the way apart to clean the internals as well? if you are going to dip it i would fully disassemble. looks like its just surface rust on the machine case.. should be able to clean that up and make it look real nice. Post some pics when its finished !!- 3 replies
-
- electorlysis
- singerclass7
-
(and 2 more)
Tagged with:
-
what kind of leathers are you using? ive had pretty good luck with the Renia glues...the aqualim 315 and the water based contact cement. i think i like the aqualim 315 over their contact cement as ive had some projects come unglued while hand stitching with but maybe i didnt let it setup long enough.. they are solid water based alternatives available thru rocky mountain leather supply. although if I'm using leather with a lot of oils in it i will use weldwood contact cement.
-
Well done..i really like the leather color. my only critiques would be to say that IMO i think your wallet would look better if you used thinner thread and also if the coin pouch part of your design was joined with a gusset around the perimeter so it looks more intentional instead of a coin pouch joined to a card holder, or if maybe the coin holder had the same profile of the card holder. not that it looks bad but that's my thoughts upon my first viewing.
-

Craftool Co. professional grade head knife
CastleLeatherWorks replied to buzzardbait's topic in Leather Tools
doesnt tandy make craftool or own them ? I know they do or did sell that brand at my local shop in so cal. id say if it is a tandy tool probably in the $50- $100.00 range would be my best guess. maybe this thread can help...because i really have no clue what im talking about lol -
Hey thanks @Retswerb I just recently started doing the stitch next to the edge crease. It’s really just so I can keep the stitches as close to the edge as possible and use it as a guide for my pricking irons. Also since the edge crease is uniform on the all pieces the stitch holes will line up better in my case because I found I can achieve nicer stitching when I punch the wallet interior and outside separately then glue and stitch. Instead of gluing everything up and punching thru all the layers stacked like I used to.
-
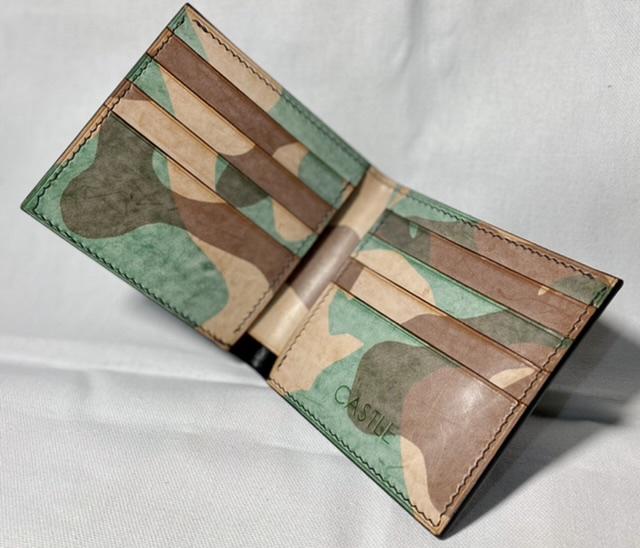
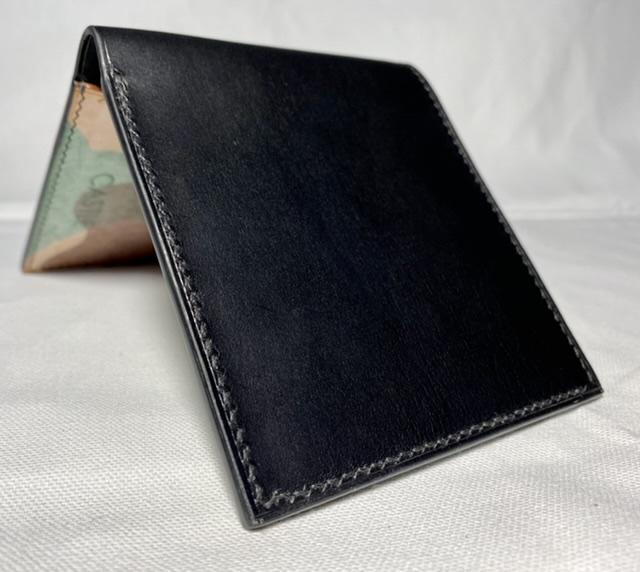
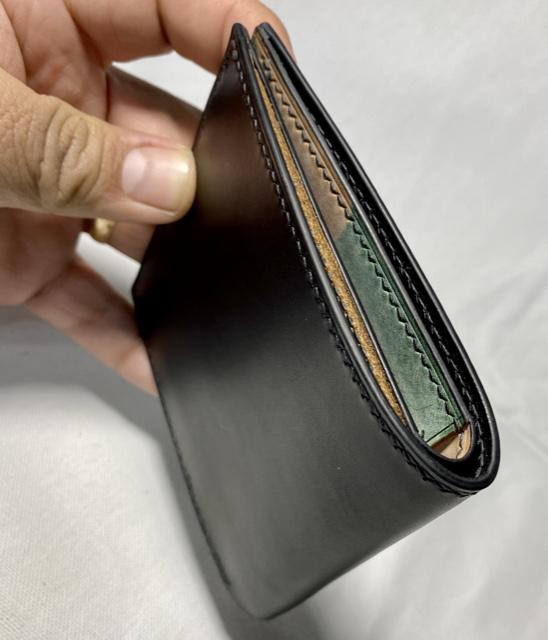
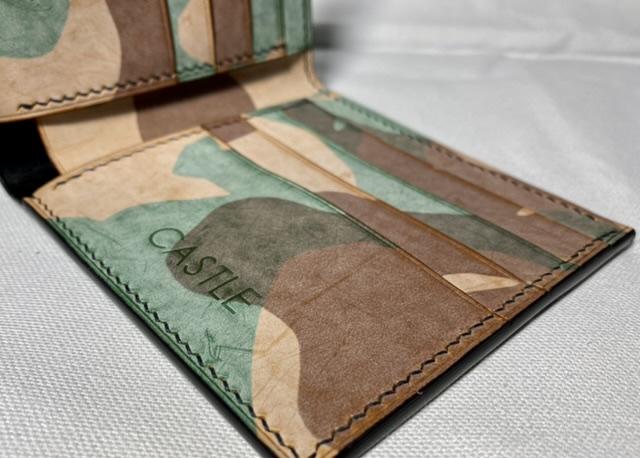
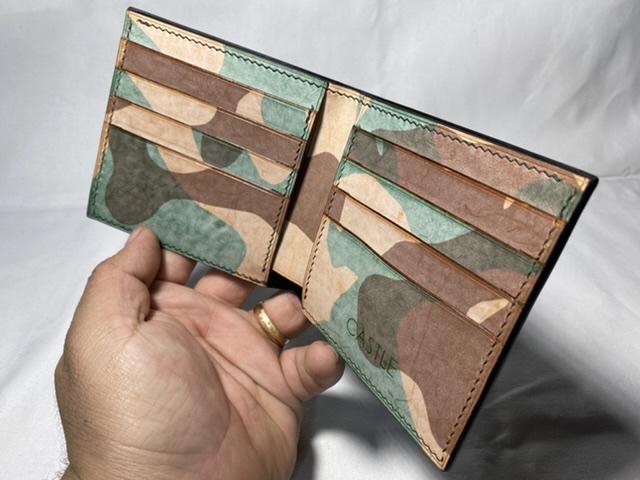
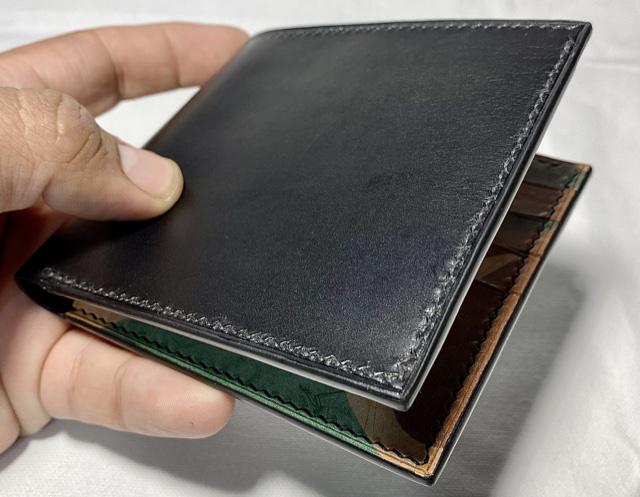
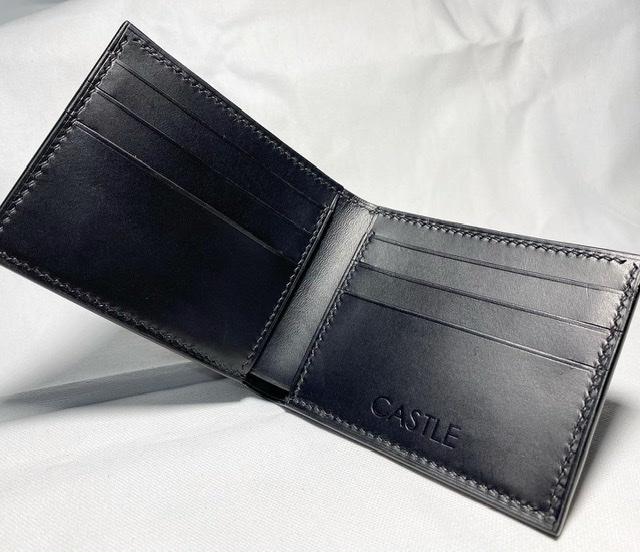
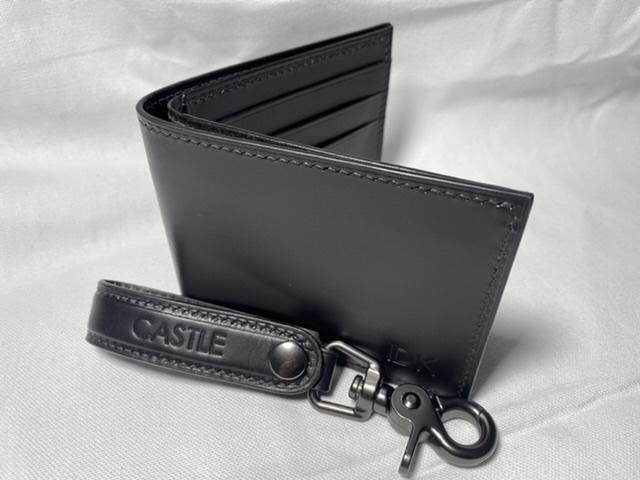
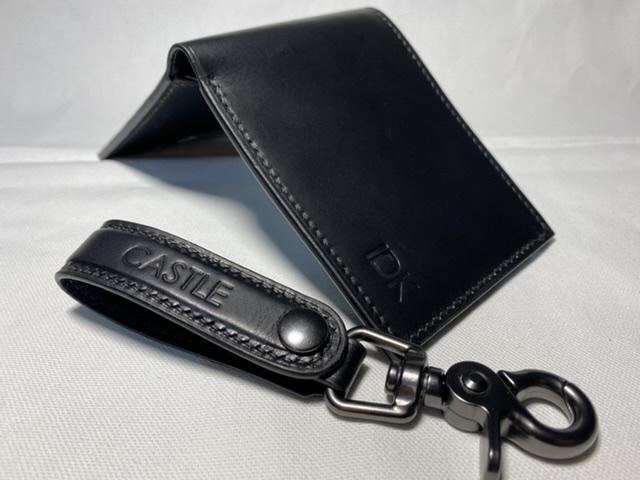
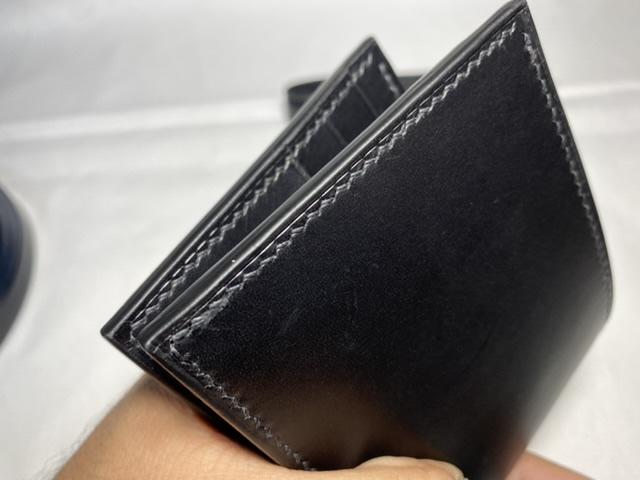
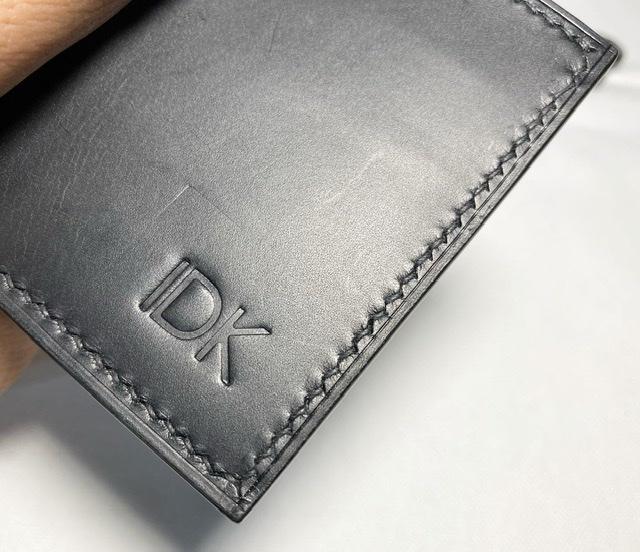
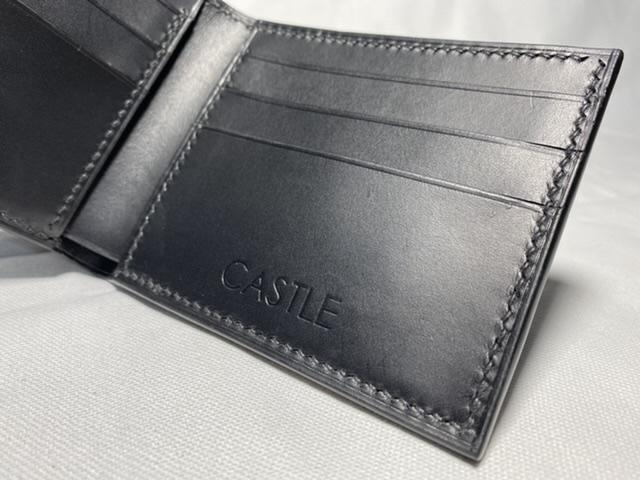
Here’s a last minute Christmas gift that was sent out. Wallet is constructed of 3oz black buttero with black 0.45mm waxed linen thread spaced at 3.38mm and black Uniters edge paint... I got this side of leather on sale from Rocky Mountain so I wasn’t able to have it split.. I usually prefer 1.0/1.5oz leather to keep the bulk down but I did a lot of skiving where I could to keep this project as thin as possible. Questions comment and critiques always welcome. Happy holidays !! Thanks for looking
-
yes the edge paint will help mask some imperfections in your finished edge because of the layers being built up but its still a task to get it to look nice on top of not getting paint all over your creation. . i feel like its harder to achieve the edge i want with just alcohol dye in my experience so far. Ive been making leather goods for almost 2 years and i feel like im barely getting decent results. lol I am quite critical of my work though.
-
On this card holder and everything i make for that matter i allow some excess material to be cut away to leave me with my finish dimension (so i make the pockets oversized then trim, so i am left with a nice straight cut) instead of trying to square up and fight with 4/5 glued layers of leather that aren't lined up..if that makes sense. Then i break the edge and burnish with tokonole 2/3 times sanding with finer grits of sandpaper in between. you can then either dye you're edge and burnish and polish that up or you can do like myself and apply several layers of edge paint sanded in between layers till you get the desired edge you're looking for lol admittedly iam working on my burnished and dyed edges still. that is why i find it easier to use edge paint because i can achieve a cleaner finish until my skills improve.
-

Fake croc bag
CastleLeatherWorks replied to bvdv's topic in Purses, Wallets, Belts and Miscellaneous Pocket Items
i love it !! very nice design and execution !! what kind of material is used for the lining ? i had been thinking of picking some embossed leather like that.. makes me want to pull the trigger Great Job ! !


