-
Posts
7,378 -
Joined
Content Type
Profiles
Forums
Events
Blogs
Gallery
Store
Everything posted by JLSleather
-

First Holster - First Anything
JLSleather replied to cmdavis's topic in Gun Holsters, Rifle Slings and Knife Sheathes
Yup, you could easily bring the next one in a couple inches on the leading and trailing edge. Looks like you got the idea, and teh art work is fine. But you certainly could reduce the bulk, especially in the pants. Is that just one holster? Cuz that second pic throwin' me off a tad, I reckon Maybe you lined the back panel, and just hadn't added the holster stitch lines yet in that pic #2 (?). -

belt slot tool size
JLSleather replied to Joshstrange's topic in Gun Holsters, Rifle Slings and Knife Sheathes
Cut the slot the belt width. It should let the belt go through without fighting it but without any left over space. Nothing SUCKS like trying to draw a pistol, and it hangs up because your holster shifted (rotated) on the belt. And 3/8" wide? Uh.. no. I'd be okay with a "strong 1/4", or maybe like 9/32" would be ideal. Don't let anybody lie to you. A 1/4" thick belt goes through a 1/4" wide slot just fine. My belts aren't that heavy unless requested (which doesn't happen more n about twice a year) but I could maybe see a slot 5/16" wide TOPS. But really I like to cut them 1/4" wide, and by the time you burnish the inside of the slot its PLENTY of room. Sandy 'n' friends can make you a good one, link below (Int'l). -

First holsters
JLSleather replied to dougfergy's topic in Gun Holsters, Rifle Slings and Knife Sheathes
Coo ul. Progress is a good thing, eh? I generally like a bit more form-fitting in my holsters, but certainly in an IWB it's not as critical. I DO like the color of that last one. -
If you have it tightened down, you should feel pressure on teh thread just pulling it with your fingers, without even putting it in the machine. If you don't, or if tightening it doesn't make the tension greater, then you may have "sprung" the tension spring (on the bobbin assembly). Simple fix -- Bob (link below) able to cure that for me quickly.
-
WHAT ?@! I LOVE this, personally. I'm in for realism, too... but no doubt you are already aware that you see features and differences that some others don't. Many will see this and love it, but not really know what made it different from some others with similar subject matter. They literally don't know what they're seeing. Part of your "realism" that I really find inspiring is your ability to alter the focus between what is the "subject" and what is the "background" (in quotes because maybe those are words familiar). I'm not going to pretend to instruct YOU, but for those others here who don't know what I'm talking about.... the way you've used crisp detail in the amphibian and the "main" plant, and deliberately allowed the less prominent features to be less detailed, less "in focus". This is not a failure to clearly define the "background".. it's a deliberate and very well done PLAN to showcase a specific object. Commendable. Noteworthy. Inspiring. I don't know who you feel "loves your work less", but I'm in the camp that loves this. I used to do insanely detailed stuff (that one of the steam ship on the river was a project... what with all the guy wires 'n' such) but got away a bit because 1) people generally weren't willing to pay what that warranted, and 2) I didn't much like some of the people I was meeting. But your work generally reminds me of why I like doing stuff in leather in the first place. Now, that was certainly long, but I just wanted to be clear that nothing i said (uh.. ever actually) should be taken as saying there's anything about your work I don't like.
-
Glue it outside. No excuse for subjecting others to potentially harmful vapors. If you can't do it safely, then probably shouldn't do it.
-
I'm gonna say that an educated guess for when you are better with color than I am... would be....... [ drum roll ] about half an hour ago
-
Your work always looks good, Boss. In THIS case, I give ya the most "points" for the crisp distinction in the frog, the subtle color distinction in the flower, and the shift in focus from the frog & flower to the pads and water. Still, the pads and water also look quite good (love the perspective!), I just think that other features of your work have occluded the water a bit. Since it's "background", that's absolutely appropriate here. Now, I suspect you KNEW that's what I would say ...
-
Tough to tell anything with that booger ball goin' on in there. First thing I would do is pop out the shuttle/race thingajiggy.. clean that out behind there. Very possibly git some 'stuff' or a piece of broken off thread in behind all that, which can cause that binding. And if it binds, and you don't stop... ugghhhhh ..
-
I order backs... so I'm starting out with NO BELLY LEATHER. (*On occasion, I have purchased sides and offered the belly leather at cost, but those who "like" bellies seem slow to pay for them, so I usually pass). Then when they arrive, I measure about 60" from the butt end, and cut across the side, separating the bend from the shoulder. Bends become belts, and shoulders become.. other stuff If at some point I need to make a belt longer than a size 50, I just cut from another side, which you can do along the spine of a side (up to about a size 72 or so, which I have never been asked to make) before cutting off the 60" bend. If I cut off and "waste" 8-10" on the end, I just get over it. Sometimes my little girl and her friends make bracelets. Sometimes it goes in a box so I can store it and go through it every so often like anything else that's in the way, before pitching it out because there's too much of it.
-
Natural tooling leather strips. to become gun slings. About 9 oz leather, fairly clean. Cut by hand, so not identical "die cut" uniformity.... edge and burnish and it's all good. One has small ink smear, but dark dye will cover (or for this price, just cut keepers from that one!) Priced to GO GO GO.... at $12 each. Take all 9 for $100 and I'll pay the shipping. CLEANING around here, so if there's something else you need, now would be the time to speak up!
-

Dying tooling leather
JLSleather replied to GregS's topic in Dyes, Antiques, Stains, Glues, Waxes, Finishes and Conditioners.
If you're making items one solid color, the best way to do it is to purchase the leather already drum dyed. No mess, no fuss, and you get consistent color. And for that project, I might go with english bridle leather. But then you have to buy each color you want, which can be pricey and cause storage space issues, maybe. Next best deal, use the pro dye you're already using, and dye before cutting out. Doesn't happen ALWAYS, but sometimes the edges can absorb more dye due to increased surface area, and you have a less consistent color. I would normally cut the leather a bit larger (1/2" will do) than all the pieces you need, dye the whole piece, and then cut out the parts you need. -
I just get the thinner when I order the glue (Renia). Just not worth the trip down town to save $10 (after the trip, I wouldn't be saving that anyway). But you're right.. many things are 'jacked up' for retail, though there's no difference. I saw a "leather knife" for sale for just under $20. Same knife I bought at Lowe's in the drywall section for $6. https://www.jlsleather.com/compare-items/
-
I admit it.. I don't "get" the aversion to using the stuff that was made for that. https://www.springfieldleather.com/Thinner-Barge-Cement-Gallon
-
How did you end up with Barge cement but not the Barge thinner?
-
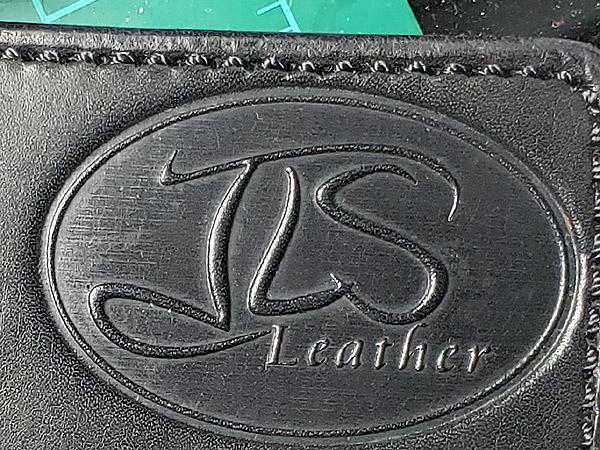
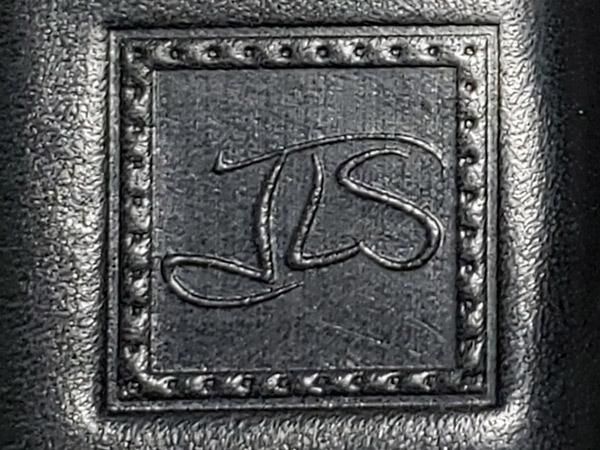
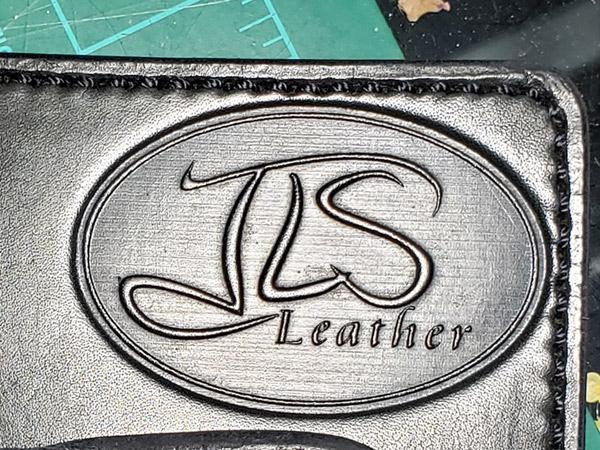
Alex is da man. Have we not seen the middle link below my posts?@! Very 3-D.. not like that "line art" you usually see. This is taken with the light straight down on the center of the design. Design is about 2 3/8" x 1 5/8" And this is the SAME piece of leather, pic taken with light moved to the left, so you can see the 3D effect it leaves (the light source will ALWAYS be right, no matter where the leather is -- just like any tooling present). Pay no attention to the flakes of white stuff I knocked onto the leather taking this pic And the last one is less than half the size of this one... about 7/8" x 7/8". Alex made me BOTH of these for less than some make ONE simple line art thing.. which I could do with a swivel knife!
-

Lots of tooled Bags
JLSleather replied to AlexOstacchini's topic in Purses, Wallets, Belts and Miscellaneous Pocket Items
Yup, it's good for a guy to see where he can improve... that's HOW you improve. But I think they look pretty good. The lace on the flap only is a little different (different is good), and the colors look great (is that stain?) -
Yup, second this. Take it off the "smart" end, make it look consistent as possible. If you takin' 3.5 " or so off, then cut 2" off on the end, then use that end piece as a template to get the same curve back on the new end.
-

Sig P365 n shark
JLSleather replied to JLSleather's topic in Gun Holsters, Rifle Slings and Knife Sheathes
-

What tools do I need to recreate this design by hand?
JLSleather replied to Alexis1234's topic in How Do I Do That?
-

Sig P365 n shark
JLSleather replied to JLSleather's topic in Gun Holsters, Rifle Slings and Knife Sheathes
How ya move the stitch line in after ya start?#@! Not gittin' the process here. 'Course, I don't understand them fellas preach at ya 'don't sew across a strap cuz ya weaken it'... then double stitch holes in a holster -
I'll contact you for the pic.
-

holster Walther PPS M2 Pancake Holster
JLSleather replied to Sperrier's topic in Gun Holsters, Rifle Slings and Knife Sheathes
I put my stitch lines around the outside AFTER it's glued and trimmed (if needed) so I'm never closer than I thought I would be. And to burnish inside the slot, all you need is a piece of wooden dowel, available at any hobby store, or Lowes, or Menards, etc.


