toxo
Contributing Member-
Posts
2,226 -
Joined
-
Last visited
Content Type
Profiles
Forums
Events
Blogs
Gallery
Everything posted by toxo
-
Haha! A gloved hand over it also. Was a fabricator/welder by trade many many years ago. Before the days of the mighty mig I had a season ticket to the eye hospital to get stick welding slag out of my eyes, Probably why my eyesight is poor now. I'm so impetuous that sometimes I feel like an Aussie
-
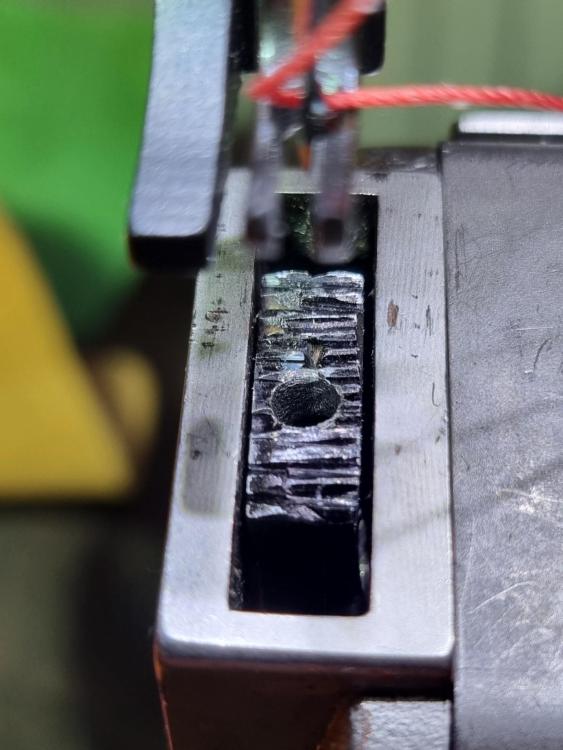
Wish I thought like you Folker. Didn't realise these parts were that generic. Will definitely look into that but need to see some better photos. There's hardly any space under the hole for the needle. If you look closely you can see the metal has been dished out to allow the needles passage. On mine the dish only goes half way so the left hand side of the needle is almost touching the feed dog at the bottom of the stroke.
-
Dug out the little mig. Mitigations first lol. Old guy with failing eyes and shaky hands. No helmet cos the two that I have are probably over the road in the garage but being the impetuous fool that I am did it with eyes closed so not pretty. Plus exhausted after spending half a day picking up daughter from airport.
-
-
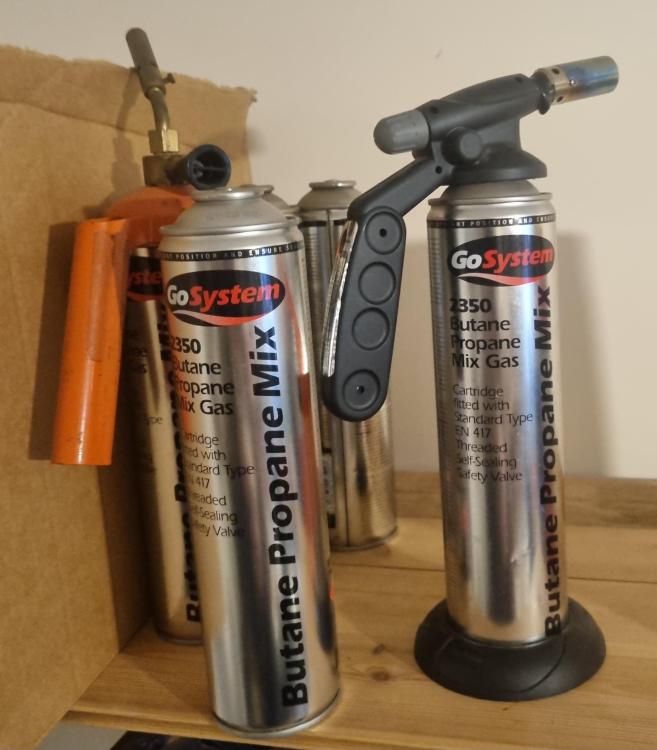
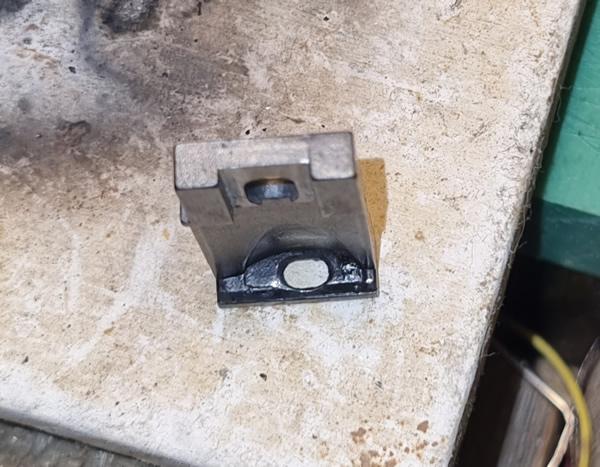
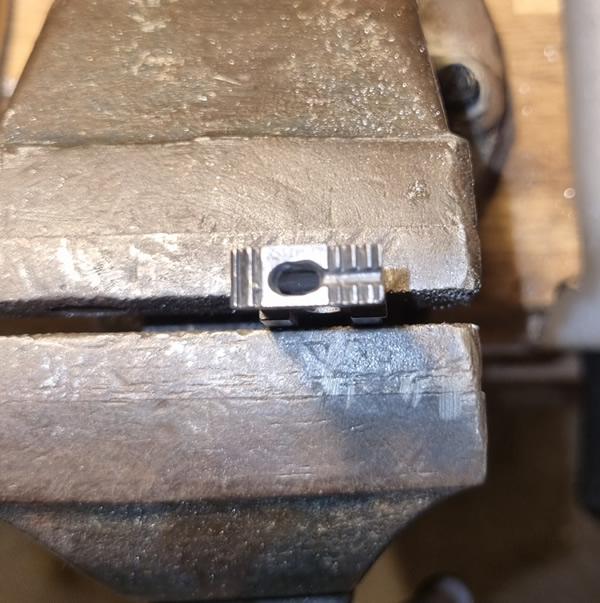
Just sat down to utter some words that are alien to me. "I can't do it" Got some silver solder wire (thin) and got some tiny silver solder squares. Tried em both, separately and together. Two lots of easy flo flux powder and three or four other solders. Tried em all. Part of the trouble is that it's a straight through bore with nothing to hang on to. Tried all temperatures. Tried packing the hole with aluminium but it didn't like it. Pic to follow but I'm thinking about breaking out my little mig welder that I haven't used for about 4 years. Hopefully some Argon left in the bottle. In extremis I could screw an oversize screw in there and drill through that. Seems like I'm making a fuss over this but the Adler 69 has gone and if I can get this new machine to sew thinner stuff I can get rid of the Durkopp 239 because I really am short of space.
-
Don't we just love fettling. Good job.
-
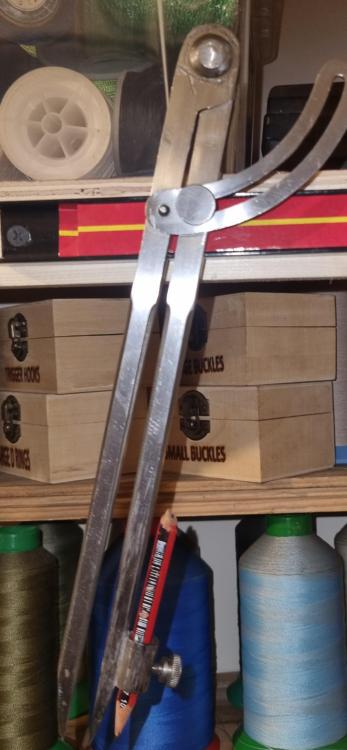
Thanks guys but if I'd had my wits about me I'd have not used the original pips and angled it a bit so it would have worked better at wider circles. Now I know how good silver solder is I'll make sure I'll do it a bit differently when I work out how to put a blade on the second one.
-
Never had a big bobbin before. Just going on the size of the ones that came in the machine. There's a bit of movement when I press down so I'm thinking the extra .4 will be OK.
-
No worries. Just hoping the 11.4 will fit.
-
I'm thinking I don't have to fill up all of the hole so I'll try to cut some small discs and jam them in from the top.
-
Just what I needed to know DT. So, an aluminium can then?
-
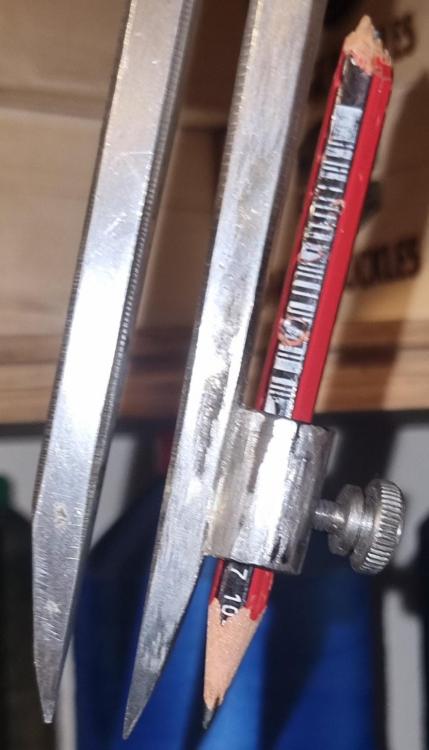
Having recently bought some silver solder I decided to have a go at repairing my dividers. I have two pairs and the bit that holds the pencil broke off on both of them. So far I've only found one and it worked a treat. I'm so pleased cos now I can do big circles again. I'll try to find the other holder cos I used to have a blade in that one for cutting.
-
Great find dikman. It's good to have a choice to experiment with. Just this week I cut a bag out of some leather I hated the colour of and tried different colours. red came out very well.
-
Update! The JB Weld didn't work very well. It looked ok but after using it the thread wore through it a bit so now I have some silver solder I'm going to do it again. Just wondering what can be used as a kind of resist to block up the hole and stop any going straight through?
-
Same as the ones @Constabulary linked to above. Here's your part number. Are you saying that you've measured them and the actual height is 10.9mm? CKPSMS Brand - #B9117-563-000 Large Steel BOBBINS Compatible with JUKI LU 563 1508 1510 1560 1565 Singer 211U G Walking Foot and Double Needle Machines (50PCS) : Amazon.co.uk: Home & Kitchen
-
Those are 11.7 Folker. I thought I could get away with 11.4. But only one hole. 20PCS #282768 ALUMINUM BOBBINS fit for SINGER 211A 411U Walking Foot Machine | eBay
-
Have just bought some that measure 28x11.4. I think they'll fit else I'll sand em down. Might drill some more holes cos they only have one,
-
Thanks for the effort guys. @1hp Link doesn't have any machines that I'm looking at. @DieselTech As said, my bobbins are 28x11. Confusing! Have asked my China lady, they make the machines but can do the stuff that goes with em. The time difference is a problem.
-
I've been searching for bobbins for my 341 clone. I thought my bobbins were "M" size. All the bobbins I can find for the 341, Techsew 2750 etc have "M" size bobbins that measure approx 25mm x 11mm. My bobbins measure 28mm x 11mm. Clearly my machine has a larger hook than "Normal" but is it the only one? Not complaining mind, loving the capacity and I ordered 10 spares when I bought the machine but I'm running out now and would like to know where to get some more.
-
I've had a big unopened bottle of the stuff for a long time. And don't know what to do with it. It's not waterproof so I've always used Resolene as a finish. Apparently it can be used as a dilute for Fiebings Antique which I don't use so can it be used to dilute other dyes? What's you guys experience with the stuff?
-
Seems we are both boy scouts. I also like to be ready for all eventualities. I will go out for some silver later but I found some "JB Weld" and without much hope I stuffed the hole with that and blow me it seems to have worked. I got impatient and drilled the hole before it was fully hardened and so is a little bigger than I wanted but much better than before. Got some sewing to do today but if alls well now it's fully hardened i'll bung some more in there and do it again. I've asked China to send another feed dog to modify.
-
Magnet sticks so must be a mild steel. Been meaning to try silver for a while now. I have two large compasses?/dividers and the bit that holds the pencil has fallen off both. Tried soft solder but didn't work so I can see some more learning on the horizon. (If I can find the bits that fell off).
-
I soft soldered it and it filled it nicely but it's a straight bore hole so didn't stick. Never used silver. I know it's harder/higher melting but will it stick?
-
I'm certain I'm not the first to bring this up. Seems enormous on my 341 and because I use a variety of weight leather including upholstery weights and sometimes sew close to the edge the hole is a problem. How can I make it smaller? Solder? Maybe ram a thick copper rivet down there and re-drill the hole? Any other suggestions? I'm about to Whatsapp my Chinese lady to ask if the company does one with a smaller hole but I'm not holding my breath.
-
12 BOTTLES OF WHISKEY. I had 12 bottles of whiskey in the cellar and my wife decided she was fed up with me getting drunk and so ordered me to empty each and every one of them down the sink - or else!!! So knowing what “or else” might mean I proceeded with the unpleasant task. I withdrew the cork from the 1st bottle & poured the contents down the sink with the exception of one small glass, which I drank. I extracted the cork from the 2nd bottle and did likewise with the exception of one small glass which I drank. I withdrew the cork from the 3rd bottle and poured the booze down the sink with the exception (not wanting to create a precedent) of one glass which I drank. I pulled the cork from the 4th sink and poured the bottle down the sink which I drank. I pulled the bottle from the cork of the next one and drank one sink and poured the rest down the glass. I pulled the sink out of the next glass & poured the cork down the bottle. I pulled the next cork out of my throat, poured the sink down the bottle and drank the glass. Then I corked the sink with the glass, bottled the drink and drank the pour. When I had emptied everything, I steadied the house with one hand and counted all the bottles & corks & glasses with the other hand & there were 29. To be sure, the next time they came around I counted them again and counted 74. I was sure I had em all this time but there was one glass left which I drank.


