Halitech
-
Posts
1,229 -
Joined
-
Last visited
Content Type
Profiles
Forums
Events
Blogs
Gallery
Store
Everything posted by Halitech
-
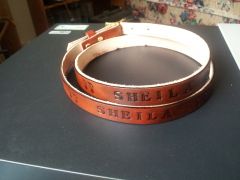
From the album: Belts
-
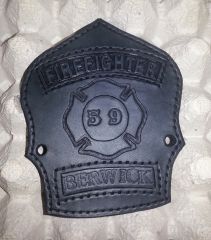
From the album: testing
-
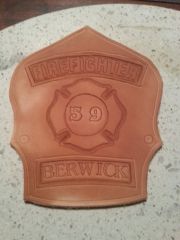
From the album: testing
-
My First Belt
Halitech replied to Avion's topic in Purses, Wallets, Belts and Miscellaneous Pocket Items
Great job on it, I really like that pattern. And your stitching looks great too I bought this set, gives me a lot of flexibility with the stitch size without buying 10 different tools http://www.tandyleather.ca/en-cad/home/department/tools/stitching-lacing-tools/3009-00.aspx -
My First Few Leather Items
Halitech replied to T191032's topic in Purses, Wallets, Belts and Miscellaneous Pocket Items
We all start at the same point and I'm sure you will come along fine as long as you don't get discouraged Check out Nigel's tut on stitching, it will help a lot http://leatherworker.net/forum/index.php?showtopic=44874&page=1 here is some good information here about wet forming http://leatherworker.net/forum/index.php?showtopic=19782&page=1 It will also help with the lining up of your edges so everything is smooth Then check out Hidepounders tut on finishing edges, it will take your projects to the next level http://leatherworker.net/forum/index.php?showtopic=18101&page=1 Good luck and happy leatherworking -
Horse Head Key Fobs
Halitech replied to aoetken's topic in Purses, Wallets, Belts and Miscellaneous Pocket Items
very cool, don't suppose you made a pattern you would be willing to share -
My 2Nd Attempt With A Roper Wallet
Halitech replied to Avion's topic in Purses, Wallets, Belts and Miscellaneous Pocket Items
pretty much as you would only bring the thread from the front to the back to hide it. Basically there wouldn't be as much to hold it but you don't end up with the frayed end out front -
My 2Nd Attempt With A Roper Wallet
Halitech replied to Avion's topic in Purses, Wallets, Belts and Miscellaneous Pocket Items
Overall it looks pretty good. something that will help with your carving is picking up a modelling spoon and going over your beveling with it, it will really smooth it out. Unfortunately, with the thread, not really much you can do other then try to guesstimate how much you need so you don't run out. The double threads will show up but if you are getting close to running out, you can always try to end off/start with new thread in an area that won't be as noticeable. One thing I do (not sure if it's right or not) is when I end off, I end both on what would be the inside so that when you are looking at the main part, you don't see the thread end. Just personal preference but it looks little neater. -
My First Figure Carving And Mexican Basketweave Attempt
Halitech replied to mrbeebs23's topic in Figure Carving
the slits should be in 1/8" from the edge then if you used 1/8 lace and slits. Is it just a single slot chisel? if it is, you might want to pick up a 4 prong, makes the punching go much faster. Also, you may want to go with a 5/32" for the 3 corner holes. Personally, I dont like holes on items where there is no stress on the lace but that's personal preference -
Thanks for this Jim, wish I had had it when I made a belt for a guy. I fell into the same trap as Dwight. Guy said he wore a 36 pants so I made it for about a 38" waist and even with the extra holes, was still too short. Thankfully it was just a plain black belt with no name or customization but was still a pain to have to make a second belt for him.
-
Purchasing Tools/hardware/leather In Canada
Halitech replied to KristineRosePhoto's topic in Suppliers
I just ordered a few things from Springfield leather for less then 1 tool would have cost me at Tandy, including shipping. Granted I went with the cheapest method of shipping (12.95) so it will take about a wee to get here but saving 70.00 on the order will hopefully be worth it. I'm in the valley now which makes even getting to Tandy a chore since I don't currently have a car. -
How To Finish A Edge On A Pre Dyed Piece
Halitech replied to Jimbosmith's topic in How Do I Do That?
thee is a nice tutorial in the how do I section, might want to check that for ideas as well -
How To Finish A Edge On A Pre Dyed Piece
Halitech replied to Jimbosmith's topic in How Do I Do That?
I started wetting with water and running the burnisher over it then coating it with beeswax and doing it again. It doesn't take a lot of pressure, it's the friction that causes the edges to become smooth, not pressure -
How To Finish A Edge On A Pre Dyed Piece
Halitech replied to Jimbosmith's topic in How Do I Do That?
From the edge it looks like veg tanned so you should be able to burnish the edges. The stitching looks like standard saddle stitch to me -
My First Figure Carving And Mexican Basketweave Attempt
Halitech replied to mrbeebs23's topic in Figure Carving
The carving looks great, better then I could do What size hole did you make and what size lace did you use? Are you making individual slits or do you have a 2,3,4,5 tip lacing chisel? Also, how far in did you make the holes? -
Western Holster Rig For Microphone
Halitech replied to SRDcrafted's topic in Gun Holsters, Rifle Slings and Knife Sheathes
Overall it looks good. 2 things I would have done a little differently would be to first, flip the belt loop portion so the top grain was showing so you would have a nice smooth finish on all of it. Second, I would have continued the stitch line up on the left side since you stitched all the rest of it. I do like the 45 record adapter as a concho, makes a nice touch -
April Keep Making Stuff Challenge
Halitech replied to thefanninator's topic in Leatherwork Conversation
I didn't realize this was the challenge this month but I just finished this pattern. It's really cool and easy to make. Am I disqualified because I did it on March 31? Redochre, I didn't notice any bunching on mine and I used 4oz veg tanned leather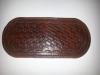

-
Knife Sheath
Halitech replied to LoneWolf1973's topic in Gun Holsters, Rifle Slings and Knife Sheathes
Picture is a little blurry so kind of hard to make out the carving details very well but from what I can make out, it looks pretty good. stitching looks even as far as the spacing goes but you have a fair bit of variation on the distance from the edge. A wing divider or stitch groover would help out a lot with that. The snap piece that goes around the handle, I would have probably fed it through the slots that you cut just as an added measure of security in case anything happens to the rivet. Also, because of the angle, I can't tell if you added a welt or not or see what your edges look like. Nice touch with the eyelet an adding the beads though -
Please Critique
Halitech replied to Avion's topic in Purses, Wallets, Belts and Miscellaneous Pocket Items
That might be the traditional way of doing it but I like the way this one turned out, different from the norm and definitely will stand out -
anytime I've had to cut my rivet posts, I use my scratch awl to open the hole back up to as close to round as possible. The other option since you are already sewing, tack the strap with a bit of glue then continue your sewing right up around the top
-
Criticisms Needed Please.
Halitech replied to ChefJack's topic in Purses, Wallets, Belts and Miscellaneous Pocket Items
The double loop lacing you did looks good as is but if you want to take the lacing up a notch, look up Chiefs tutorial on Mexican round braid on youtube. It takes a bit more lace but the way it covers the edge you don't end up with what electrathon calls "spider legs" where it goes through the holes. Here's the link to part 1 -
Pad Folio
Halitech replied to Halitech's topic in Purses, Wallets, Belts and Miscellaneous Pocket Items
Thanks everyone, dad was really happy with it so that was the main thing -
R.c.m.p. Notebook Cover
Halitech replied to Manypawz's topic in Purses, Wallets, Belts and Miscellaneous Pocket Items
beautiful work -
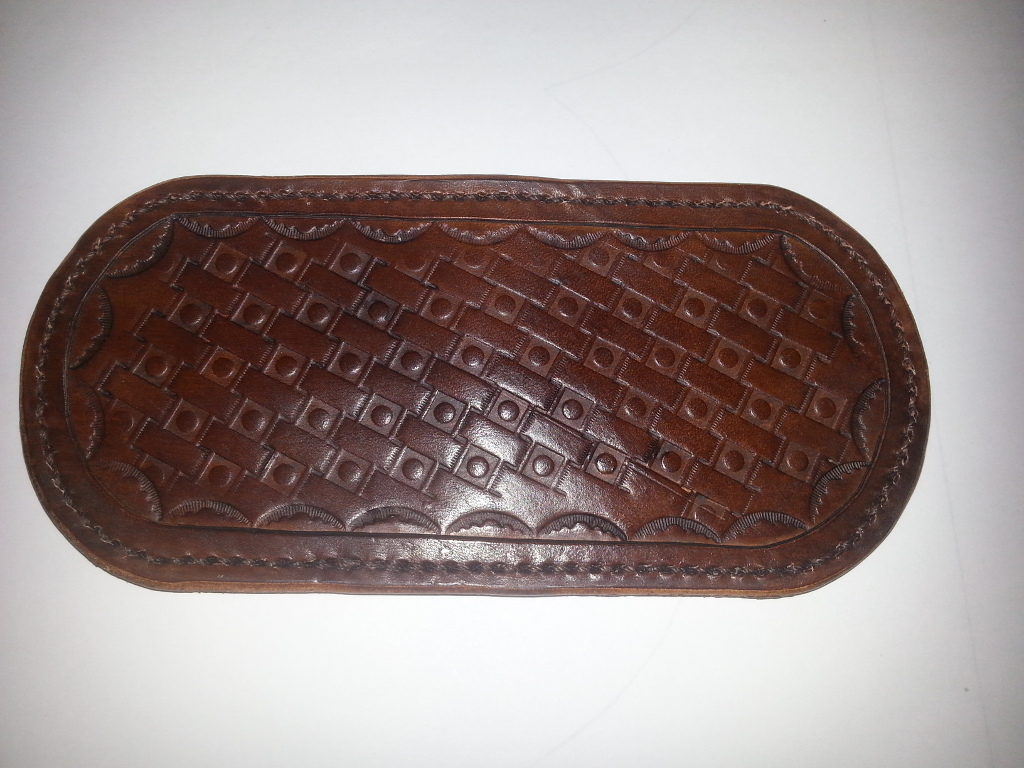
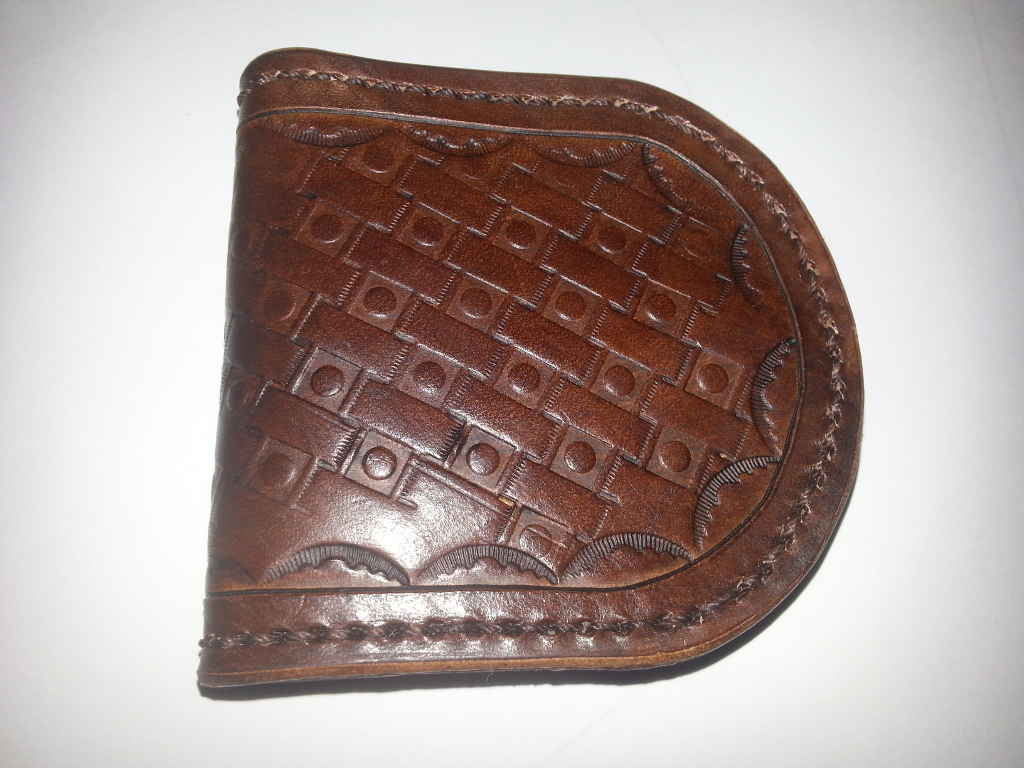
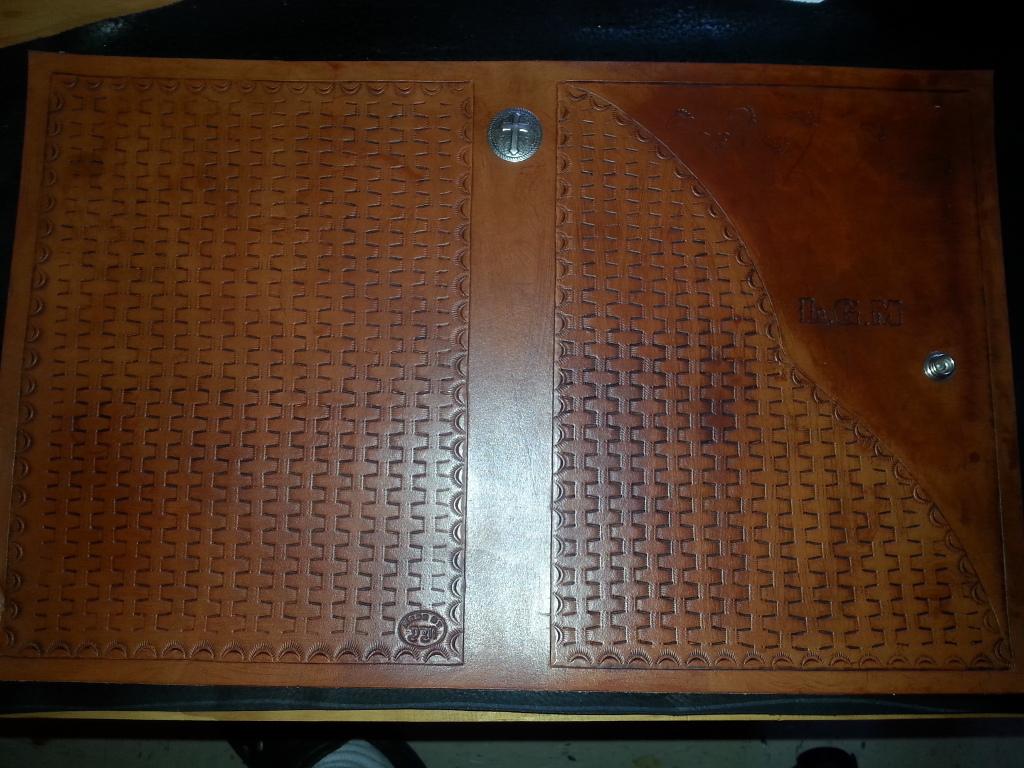
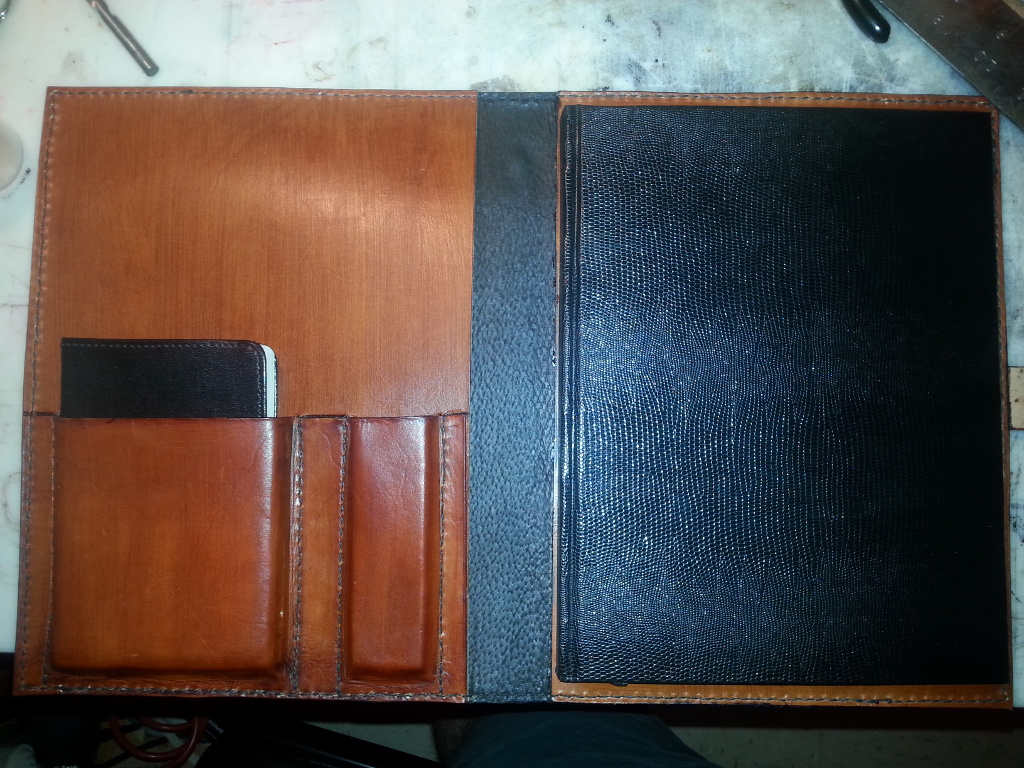
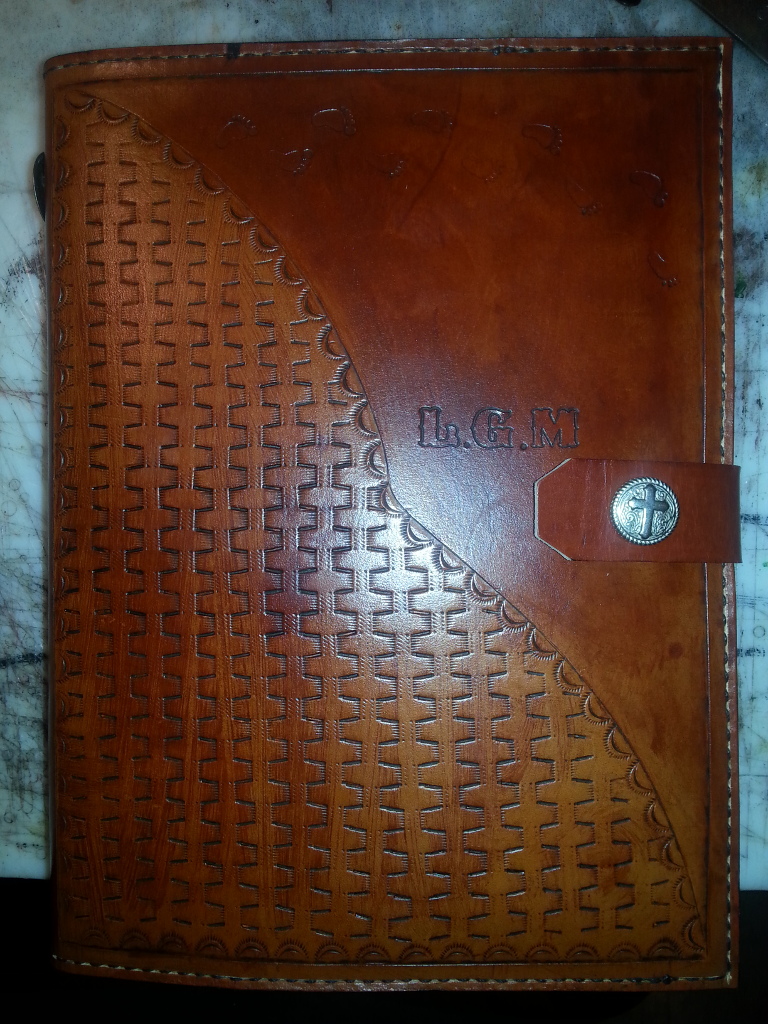
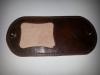
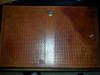
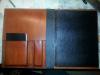
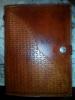
This is a pad folio I made for my father for Christmas. Made from 6oz leather and dyed tan then antiqued with saddle tan. Lined the inside of the cover with black pigskin just for contrast when opened. First pic is the cover before doing any sewing. Inside front cover has 2 pouches that I wet molded for a day planner and a few pens. The notebook actually slips inside the flap on the back cover to keep it in place. The flap for the snap was sewn between the cover and the inside flap.
-
Molded Phone Sleeve
Halitech replied to Basically Bob's topic in Purses, Wallets, Belts and Miscellaneous Pocket Items
As they say, sometimes less is more And that is a very fine looking case