DJole
-
Posts
1,091 -
Joined
-
Last visited
Content Type
Profiles
Forums
Events
Blogs
Gallery
Store
Everything posted by DJole
-
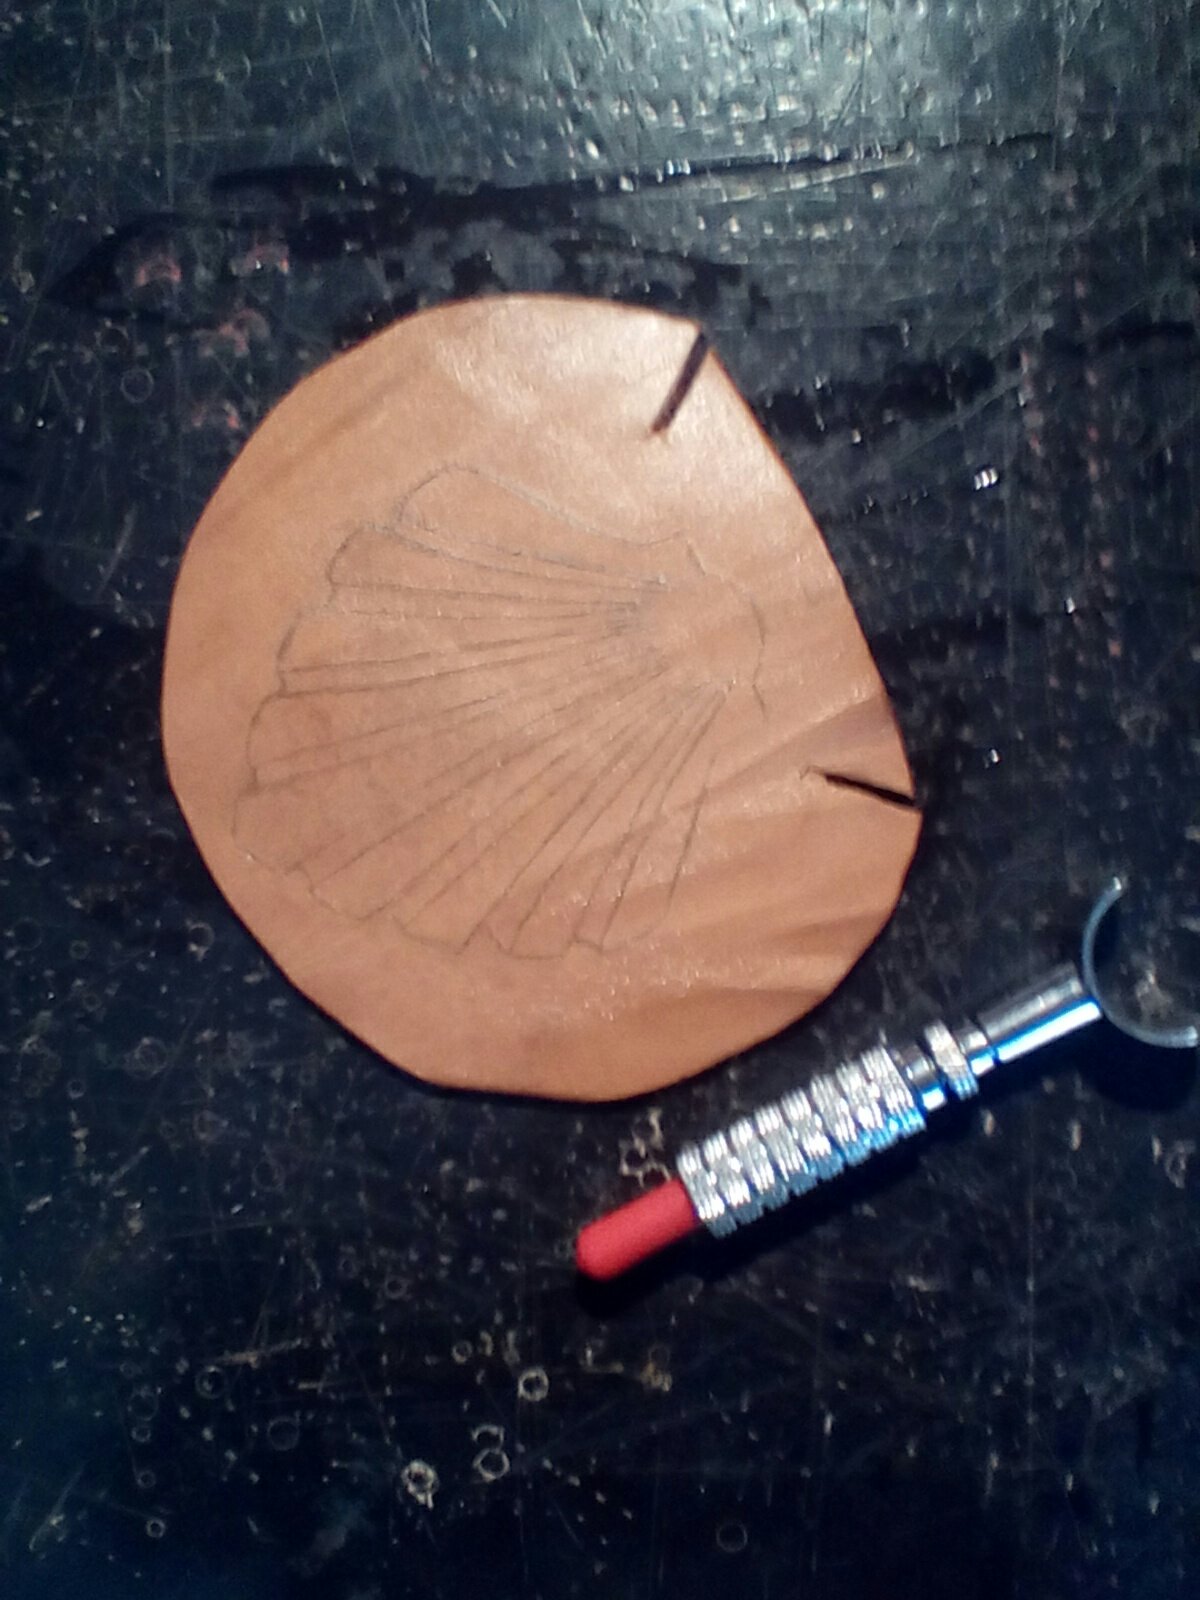
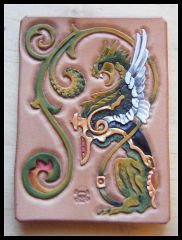
This is cuir boulli, molded in a shallow cup shape. The shell is gold acrylic, and that's Angelus Light Blue for the background. I hardly ever lace things, but it's a great idea here-- the lacing not only holds it on, but it also protects the highest wearing point where other swords will actually make the most contact. This is the raw piece, just after cutting the design in with my swivel knife.

-
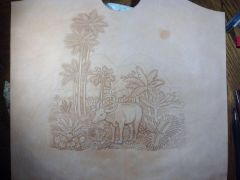
 The floral work is very clean! It's not my favorite style, but the execution is nice, with great tool work.
 -

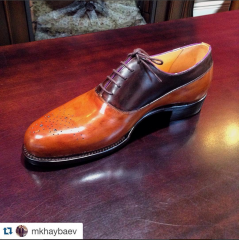
whiskey color shell cordovan shoe
DJole commented on tops's gallery image in Gallery- Our Leatherwork
 Oh...that's gorgeous work!
 -
I made a toggle button for closing a pouch, with a loop closure (see the detail here on my webpage...it's the next to last photo from the end) I don't think I'd use it for shoes-- too much stress.
-
 That's a NICE concept, and the execution is excellent. *applause*
 -
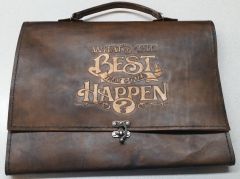 Oh, that's lovely work! I love the decorative typeface here.
 -
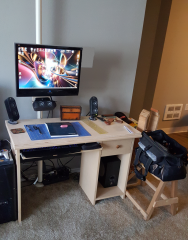
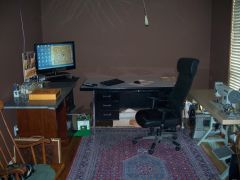 That's a nice setup you have there!
 -
From the album: DJole -- Completed Work
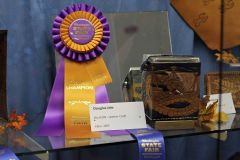
The completed box was exhibited in the 2015 Washington State Fair in Puyallup, and look what it was awarded! It was nice of them to put a mirror behind it so that viewers can see the back of it.© these images are not copyrighted
-

From the album: DJole -- Completed Work
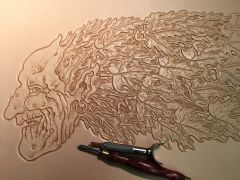
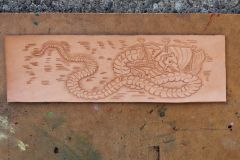
A closer view of the detail on the serpent box. Lots of knifework on this one! Did you spot the serpent's dinner standing on the deck? (look for his hand to the left of the mouth). -
From the album: DJole -- Completed Work
A medieval/renaissance woodcut was the source for this piece. This is wrapped around a plastic cube to make a box. -
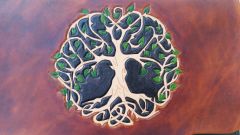 Ooh, that is NICE! I like the composition, the colors, and the sparse design, which all work together so well.
 -
 With the Stitching horse right there!
 -
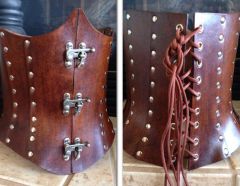
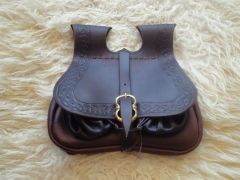 I love the craftsmanship here...the little "point" at the top of the buckle strap, the lacing at the start of the pouch..the knotwork tooling is good too!
 -
I love that laced scabbard style. I have bookmarked an excellent how-to (http://www.yeoldegaffers.com/project_scabbard.asp) for future reference.
-
I have had Eco-Flo dyes bleed when they got wet. What are you putting on these as a water-proof finish?
-
Leather Thickness For Turnshoe Uppers
DJole replied to JakeDiebolt's topic in Historical Reenactment
The one pair of shoes I have built so far (of a turn welt construction) were of a pretty thin leather. I can't remember what thickness, but I estimate 2 or 3 oz leather. There is no butt stitch or tunnel stitch on these, however, so it doesn't answer your question. It would be VERY difficult to do a butt stitch on that thin leather, and I don't see such a stitch lasting very long under the stress and strain of footwear. I don't claim that they are reproduction medieval shoes (I made them a LONG time ago, before the Web existed, and I didn't have a copy of the book by Francis Grew and Margarethe de Neergaard, 1988, Shoes and pattens: medieval finds from excavations in London. The stitches I used (based on Marc Carlson's chart from his excellent shoe webpage) on this shoe were what Carlson terms Stabbed Stitching (Flesh/Grain stitching). See chart here: http://www.personal.utulsa.edu/~marc-carlson/shoe/STITCH2.HTM#SEAMS The welt I used is 3 or 4 oz. leather, and the soles are probably 5 oz leather. -
 That's a lovely piece, and a sharp design!
 -
 Oh, that is gorgeous!
 -
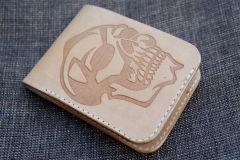
 I really like the color of the leather here--at first I thought it was wood!
 -
 That's nicely done! I admire good figure modeling work.
 -
 Cyre: isn't Angelus (from whom I have recently started buying dyes) based in California?
 -
Oh my...those are breathtaking! I might have to try doing that myself someday! I love the toe style, with that little up-curve point. Is that formed over the last?
-
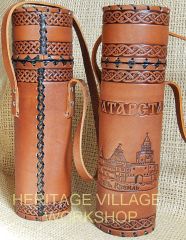
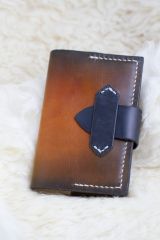
Handmade leather case with Tatarstan symbol .
DJole commented on scraft's gallery image in Our Leatherwork Galleries
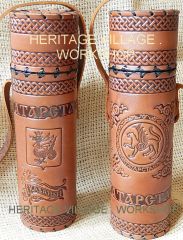 Very nice! I'd love to see some details of the tops and the other sides!
 -
I was looking at those trying to figure out a way to close them. The first thing that comes to mind is a stretch cord fastener (the triangle top is fastened to the cord, so you pull it up to get the dice out, then you let it snap down snug onto the base.) That would be a clean design, but I don't know how durable it would be.
-
 That color gradation is very nice!