-
Posts
3,201 -
Joined
-
Last visited
Content Type
Profiles
Forums
Events
Blogs
Gallery
Store
Everything posted by MADMAX22
-

Singer 111W155, lack of reverse a major negative?
MADMAX22 replied to MikeC5's topic in Leather Sewing Machines
The 111w155 will do that stuff perfectly fine and the lack of reverse is a little bit of a hassle but is easily put up with. One thing I would suggest is dont rule out other machines. That kind of upholstery can be done a multitude of machines 211g, pfaff 145/545/1245, international 300, way more than I can think of but there are a ton that were designed for similar work. The 111w is a nice one just dont pass up a good deal on another suitable machine if it happens to come your way. Now finding them in todays market for $500 can be a crap shoot. Pretty much any of the industrial walking foot machines people think are good plated so..... Another thing is some of the cylinder arms would work as well if you built a work surface to act as a flat bed, occasionally you can find deals on them as well. Only thing I would think about is are you going to do any piping? Also doing the pleated seat cushions can be a little bit of a pain just because of the cushion portion getting hung up on the feet so be mindful of clearance of the machine. -
Maybe, sure they will take care of ya.
-
So its a BK handle with a tandy blade? Tandy blades IMHO usually always require sharpening and repeated sharpening to use. The BK blade I got with my BK handle was nice polished and sharp out of the box. Occasional stropping is all it needs. I would give it a good stropping (depending on your compound) and see how it does. The side view shows the angle but nothing else really. I have several different blades with different angles but all are very sharp and polished. They all leave different shaped cuts in the leather.
-

Saddle stitch or other type for this tricky spot
MADMAX22 replied to Mpreusse's topic in Sewing Leather
Just chock it up as a learning experience and move on IMHO. Hopefully you kept your pattern that you used now adjust your stitch line on that pattern so the next one will be just right. A few pointers (FYI I have only done a couple handfulls of holsters) that looks a little too wet to be wet forming, ya dont want it soaking wet when you go to form it because it wont take as well and you cant get decent lines and indents if its too wet. Take your pattern and find out where you want your belt loops or clips or slots and work that into your pattern, ya will find it is a pain to try and add that stuff later. Its not bad for your first go around with holsters and your stitching looks pretty good also. All a big learning experience and even after many years of doing it you will still have stuff that gets tossed in the do over bin from time to time. Hopefully some of the holster guys will chime in with some other suggestions to help improve your work. -
Really appreciate the offer but I am over here on the puget sound area. Unfortunately when I go to that side for work I do my best to get back across the water as soon as possible. Your lucky to live in the north bend area, its really nice over there.
-
Is it similar to the 211g155? Those can handle up to 138thread if adjusted properly. Pretty good machines but they are fast. The 155 uses the same 111 style feet not sure about the 165, looks the same but I havnt had one.
-

I froze my leather! Is it ruined?
MADMAX22 replied to JenGranger's topic in Leatherwork Conversation
Ive never tried the fridge thing. If you have some tempered glass from say a glass table or entertainment center or if you can find a piece cheaply from somewhere then put your leather on your tooling surface, wet it, put the glass on it and leave it for a bit. How ever long depends on you. I wouldnt worry about leaving it longer then overnight. Take the glass off and spritz the edges if necessary, let it dry until you start getting the normal color back and start tooling. -
-
-
From the album: MADMAX22 Leatherwork
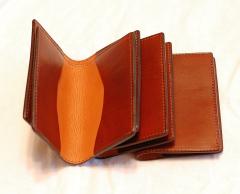
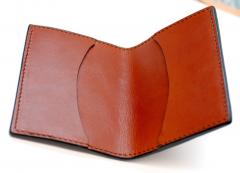
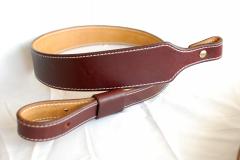
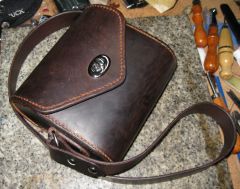
WC bridle lined with Essex -
From the album: MADMAX22 Leatherwork
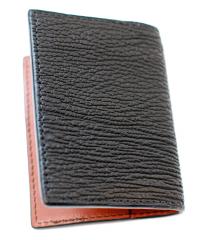
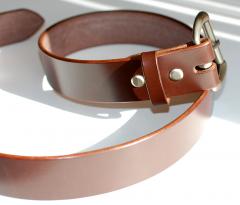
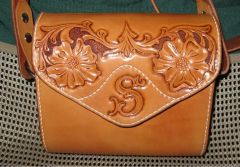
WC bridle lined with Essex -
My new old 111W155
-
Bootmaker I cant be for sure but thought there was a thread about the serial numbers for these or I could have gotten confused with a landis 1 thread. If ya cant get an answer I am sure a quick phone or email to campbell randall would get you the info, I know they have always returned my emails in a very timely fashion.
-
Yet on the other hand there are a bunch around here that are offended by the guy making a few items in his spare room and selling them, apparently that competes with there business and they hate on them regardless of that persons skill set. There is a pretty well known sheath maker who had a big long tirade on there website about why you shouldnt buy from forum people with all kinds of belittling comments and what not. I remembered when they started out on forums and sent them an email about such and also pointed out many forum type people that make better items then they produce. Also pointed out I remember them asking a bunch of how too's on forums when they started. They never responded but did take down the page long anti basement maker lol.
-
Personally I would cut the thinner piece oversize, skiv it, fold it under and stitch.
-

Santa was late this year - 3 vintage (Landis?) skivers/cutter
MADMAX22 replied to Fredrik's topic in Leather Machinery
The american recommends oil for all the oil holes and the gears. I went ahead and put grease on the gears and use oil in the oil holes for the bushings basically. Its all basically solid bushings, gears, and shafts so not much really. -

Santa was late this year - 3 vintage (Landis?) skivers/cutter
MADMAX22 replied to Fredrik's topic in Leather Machinery
One other thing you may already know is if you dont have them get some brass rods (brass driving punches) in a couple of sizes and a brass hammer as well. To echo what Bruce was saying my American splitter had a mix of tapered and straight pins and various set screws. Only one pin was peened over on the small side and it was in a rough spot to get out so was the only real pain when taking it apart. That I recall anyways. -

Santa was late this year - 3 vintage (Landis?) skivers/cutter
MADMAX22 replied to Fredrik's topic in Leather Machinery
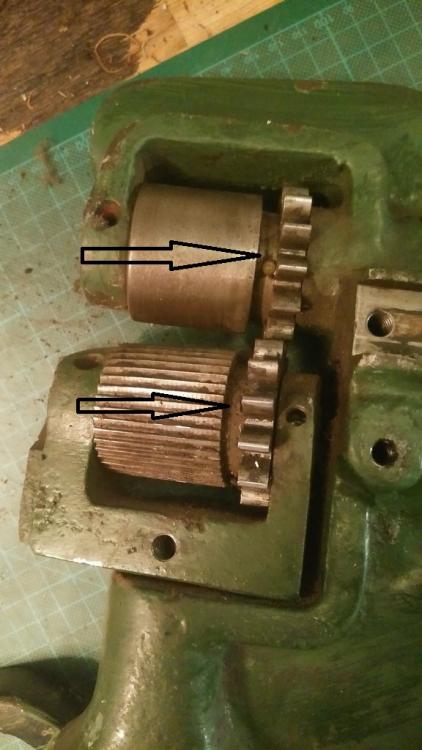
On that smooth roller the gear next to it has a pin in it, you can make it out in the pic you posted. That will have to come out before the shaft can be removed. The other gear looks like it has a set screw. The rollers probably have either a key or a pin/screw as well just gotta take a look. Atleast the drive roller should (the toothy one). These things are held together by set screws and a bunch of set/alignment pins. Not all are very obvious. I kind of rebuilt my american splitter and it was a bugger to get taken apart the first time. -
Just fyi if you use any photo hosting service you can post the link to the photo here and or imbed the link then others can see the photos. Generally photobucket or I think facebook allows you to do this.
-

Spots on Hide?
MADMAX22 replied to Pablo27's topic in Dyes, Antiques, Stains, Glues, Waxes, Finishes and Conditioners.
Doesnt look like the typical bug bite type scars but they could have attempted to correct the hide a little so they may look different from that. I would assume its either something from the tanning process or it had something sprayed on it inadvertantly. Are they just coloring or is it actually a defect that you can feel? Have you tried to clean up a small spot with denatured alcohol or something similar? Only thing I can suggest if you want to try and cover it up is to tool everything on the piece and or use dark dyes and a good top coat wax. They will probably still be decernable but may work for your projects. -

Sneak Peek: UT441 flatbed table attachment for 441 class machines
MADMAX22 replied to Uwe's topic in Leather Sewing Machines
Uwe we need some different size feed dogs for these things with associated plates. You gonna start making some? I think these machines could use a feed dog setup for 138 and lower thread needle combo or even 207 and lower, then one for the larger 277/207 and larger combos. Right now what we have is a catch all for 138 or 92 if you can get it to work all the way up to 416 or whatever size they max out at, jack of all trades master of none. The setups they have work good for large stuff but the smaller end performance could be improved considerably. Thats a nice looking setup you have made. Great job. -
I remember seeing that add, its been on there alot longer than 6 months by the way. Really wanted to offer on it just didnt have the cash. Congrats on being able to pick it up. Good luck with the ol stitcher its a nice looking one. Gotta love the old iron machines ecspecially ones as good as those guys are.
-
A shame you couldnt have taken it back after you got it. The machine obviously shouldnt be doing those things "however" there is always a reason a mechanical item doesnt perform as designed. It seems that something is miss adjusted, a wrong component, or a component is worn out. Sounds like ya need some new mechanics honestly.
-

Help and advice for a novice planning to recover seating!
MADMAX22 replied to Keyair's topic in How Do I Do That?
Some of the best instructional videos for upholstering. https://www.youtube.com/channel/UCw_8PUaXqvjSq3p1lYouXzQ He doesnt talk but they are very good videos. Also hop on the hogring forums, they arent the most helpful, they are actually kind of a holes to do it yourselfers but alot of good info there.


