


dikman
-
Posts
4,828 -
Joined
-
Last visited
Content Type
Profiles
Forums
Events
Blogs
Gallery
Store
Everything posted by dikman
-
Servos are definitely worth having on a leather sewing machine, you won't feel like you're fighting the machine to control the speed! If you have any mechanical skills at all you should be able to fit a servo yourself. The mounting holes are pretty well standard spacing, you will probably have to source a couple of belts but that shouldn't be too hard.
-
Oh yeah, I forgot to mention I tape a piece of dowel along the barrel from the front sight back to stop the sight from snagging.
-
I actually have a couple of dies for cutting key fobs, the one in my pic and a larger more squarish one, that were given to me by an old friend who used to have a leather business.
-
You must be pleased with that. Gunbelts and holsters are always a big undertaking. Wrap the gun in plastic (I use a few layers of kitchen cling film) wrap a layer or two of cloth around it to bulk it out then more cling film. Run some water down the inside of the holster then force the padded gun in. Wiggle it around from time to time as it dries and that should fix it. Some people also mold the top outside edge of the holster away from the gun a little, this can help prevent the cylinder from catching when re-holstering.
-
Just proves there's not an original idea in my head! I see you've taken the idea a bit further. Do you have much of a market for them? My wife and grand-daughter said I should sell them, my answer was that I can't be bothered, too much work.
-
Vinegaroon Turns Gray?
dikman replied to Jimbob's topic in Dyes, Antiques, Stains, Glues, Waxes, Finishes and Conditioners.
Looks good, contrasts nicely with coloured thread. -
I saw the first carving and thought it was pretty good, then as I moved down the page I saw the finished product! Amazing work.
-
Trying to diagnose something like that when you're not in front of the machine is always difficult, which is probably why you haven't had any replies.
-
Pfaff 335 w/ 135 Thread Having Tension Issues
dikman replied to drawingonblank's topic in Leather Sewing Machines
Yep, needle size was mentioned earlier in the thread. -
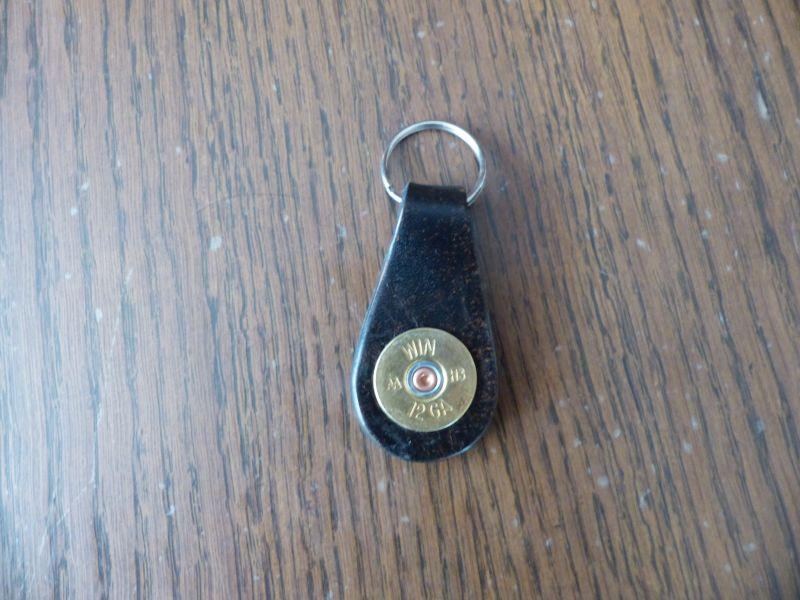
Gezzer, feel free to use it (but if you sell any I want a cut!) DT, the real thing. I noticed that when we started shooting Single Action most of the shotgun shells were just discarded, which seemed pretty wasteful, so I started collecting them. I made a simple tool to separate the brass bases (still a lot of work!) and then decapped them. They go into my brass collection box, eventually I will melt them down or just sell them as scrap. I cut the rim down with a Dremel so it was almost flat then punched the leather and glued a shell each side. I'm thinking I might try something with .44-40 cases, I have quite a few as they damage easily when reloading!! I'm also toying with making a belt buckle with the .44-40 cases in a round pattern so it looks like a revolver cylinder.
-
An idea that popped into my head so I just had to make it!
-
I used it once on leather, it reacted and gave off some pretty bad fumes that made my eyes water! I haven't tried again.....
-
Post beds being something of a rare animal at $150 I'd just grab it! Worth the risk, in my opinion.
-
Visually very impressive, a lot of work went into that.
-
If, as others have said, it's a 441 clone (and in the brochure it certainly looks like one) then you will NOT be sewing 2-3 pieces of paper - unless it's bloody thick paper!! If you fit the modified needle plate/feed dog combo then you will be able to sew fairly thin leathers comfortably with #138 thread and if you can find suitable needles possibly #69 thread. While it is not a do-everything machine the modified fittings do make it pretty versatile.
-
Your clamp covers look cute.
-
Merry Christmas to all on here, may you keep safe and well in the New Year.
-
It looks like you are going to stitch across the billets? Never a good idea as that will then be the weakest point. Love the spalted maple, it's almost as nice-looking as antler (almost, but not quite ).
-
That's a very neat little unit, I wonder if it could be adapted to the bigger shuttle bobbins?
-
Yep, never heard of it and don't see how it could work. Casing requires damping the leather and then letting it partially dry, oil doesn't dry out. Feel free to try it, however and post your results to let us know what happens.
-
Letterman Jacket leather sleeves patch removal
dikman replied to NoVaMom's topic in How Do I Do That?
Eucalyptus oil is very good for removing adhesive and "shouldn't" harm the leather - also good for clearing the sinus! As for the holes there are three options as I see it - sew more patches over them (!), re-use the holes for decorative stitching or do nothing. That is the downside to sewing on leather, the holes are permanent. -
Wiz, why would I want to shoot you? You're far to valuable on here.
-
Thanks mate, I couldn't be bothered trying to translate it. Why must people post in a different language when it's obviously an English-speaking forum? Presumably the poster understands English to be able to comment in the first place?
-
-
Well, there you go. The one in the OP's photo is certainly a bit the worse for wear (hence my home-made comment).