Sheilajeanne
-
Posts
2,773 -
Joined
-
Last visited
Content Type
Profiles
Forums
Events
Blogs
Gallery
Store
Everything posted by Sheilajeanne
-
It sure did, Mike! So, uh, is Bob still making tools? I really like that beveller! What does the surface of it look like?
-
Mike, I'm curious to know where that pattern you used came from! I've never seen one like that before - I've only seen Tandy Craftaid patterns. Great video! I learned a lot from watching you work!
-
Yup, we have a winner! :D I had a huge crush on Chris George, and Gary Raymond certainly wasn't hard on the eyes, either... It only ran for 2 seasons, so a lot of people don't remember it.
-
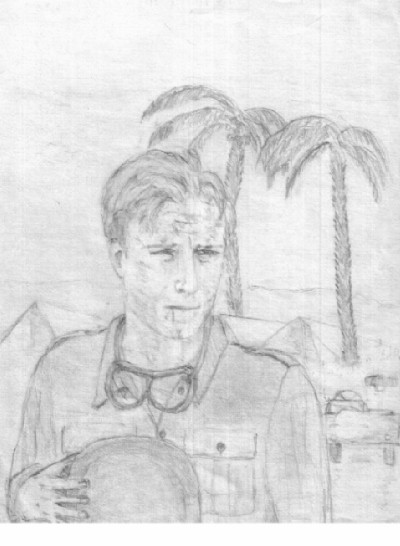
Here's a sketch I did when I was about 15. Bonus points if you can identify the TV show it's from. I never quite finished the jeep - it was hard to find a reference photo to get the details EXACTLY right! (Pre-internet days...lol!)
-
LOL, immiketoo! I know I have a bit of artistic talent. I used to do pencil sketches of my favourite movie, TV and rock stars when I was in my early teens. My mom was quite surprised because she had a sister who was a professional artist (studied at Ontario College of Art) so she KNEW the human face and figure were one of the hardest things to do well. I really wish I'd kept it up. I also used to sketch horses a lot, but that didn't go anywhere either. I look at what people are doing on the Art of the Horse FB page and feel like I have NO talent whatsoever... But, maybe, maybe I'll get the confidence to try it someday with my leather work... Oh, yeah, and EXACTLY what Bob Blea said above! Even when using Craftaids and other designs from the Net or from Tandy, I often want to tinker with them and add my own personal touch. Maybe it's just resizing the design, or changing a couple of things to make it fit better. You learn by doing this, rather than slavishly copying the same design again and again.
-
Leong, just have to say that is one BEAUTIFUL backpack! Lovely detailing, lovely carving and stitching...
-
I agree with this. My goal in leather working is not to find the most efficient way of churning out dozens of copies of the same item, but to learn how to produce something that is both functional and beautiful. But trying to find that line where craft leaves off and art begins is pretty well impossible.
-
Immekitoo, I belong to a FB page called Art of The Horse. I am constantly amazed at the quality of work posted by people on that page. One of the most common things you see on that page other than artwork, are reference photos. Yes, even the superb artists on this page STILL need something to copy from. I also know a couple in the States. The husband is a full-time artist, and the wife is both an artist and a writer. BOTH of them use models for their artwork. She wanted to put a crow on the cover art of one of her books, and had to import a museum specimen from England. He often has his wife dress up in period costumes for some of his artwork, so he can take photos to use as a reference for his work. (He likes to do buccaneer and pirate art, and has been the artist for the Captain Morgan ads for many years.) It's the same with leather work. IMO, 90% of what we do is in the execution of our craft. 10 leather workers can start out with the same design and same pattern, and produce 10 very different results, depending on their skill level. I have seen some eye-popping work from newbies to this craft, but inevitably when you ask about the person's background, you find out they have been in some other type of art/craft BEFORE picking up a swivel knife for the first time, so the artistic skills have carried over. No one picks up a paint brush or drawing pencil or a swivel knife and beveler for the first time and does a beautiful job worthy of being submitted to a juried show. There's a learning process involved. The design is just the beginning. Before the internet, there were Al Stohlman's books, with their beautiful designs and pictures. These were even better than what you can find on the net: they gave step-by-step instructions for producing both Sheridan carving, and beautiful western scenes that contained all sort of figures. It was an art course in a book. How many of us could follow his instructions and produce results that equaled his the first time around? Heh...are you laughing at yourself yet? Maybe one day after I've done 10 or 20 or 30 Sheridan carvings, designed by someone else, I'll feel up to the task of creating my own. And maybe after I've done a dozen figure carvings, using Al's work, or a Craftaid template, I'll have the confidence to draw something of my own, and put it on leather. But we all have to start somewhere, and even the best artists started out copying a photo, a model, or someone else's work. The only difference is the net has made these things easier to find.
-
LOL, I know what you mean! I'm not a red-head, but have enough Celtic genes to need sunscreen when I go outside in summer. Is Frisket for leather only, or can you buy it in other craft stores?

-
Looking for information about side table
Sheilajeanne replied to Trish129's topic in Leatherwork Conversation
That is one gorgeous table! Well worth restoring, that's for sure! :D -
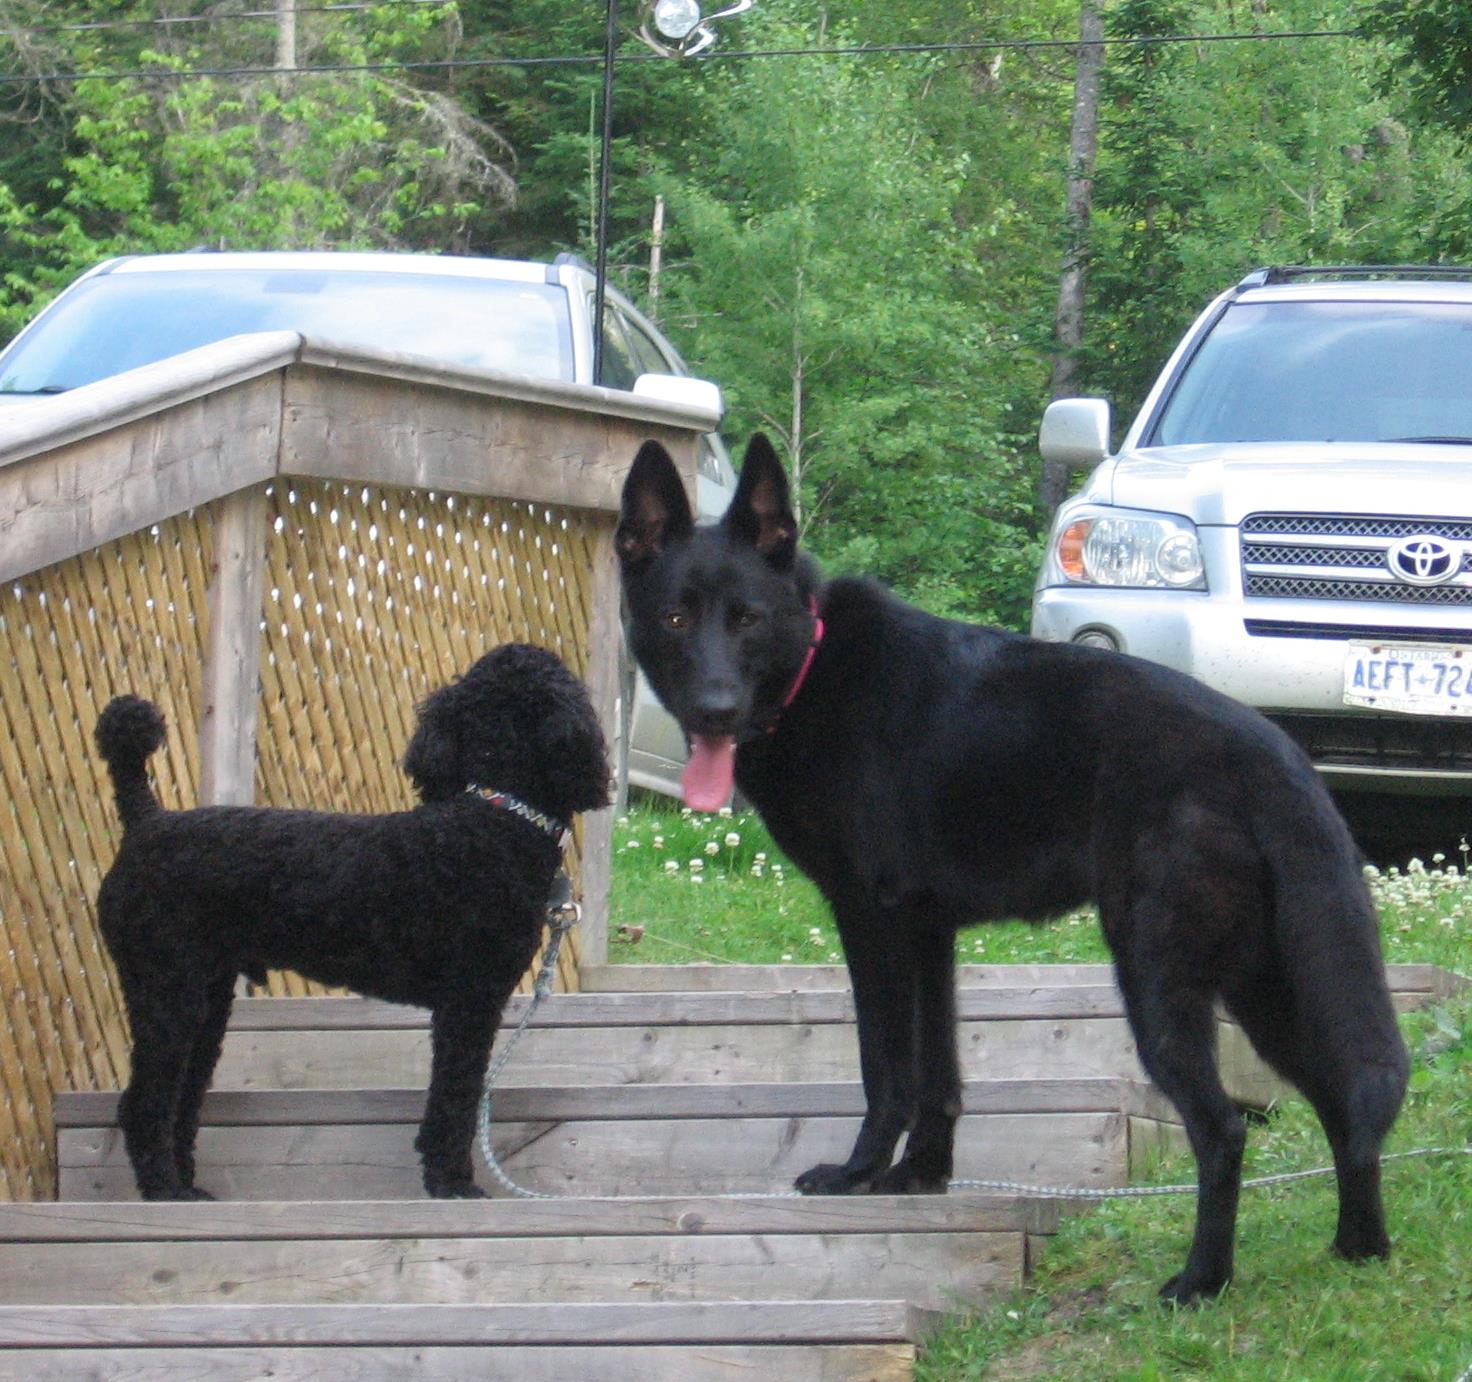
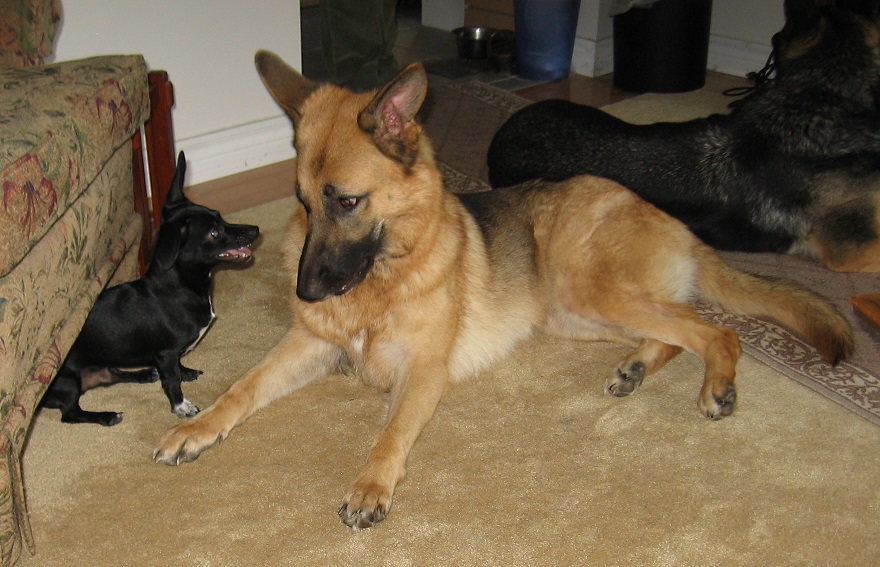
Beautiful! Here are my two girls, Eska and Star: The poodle belonged to my mom, and the black dog in the other photo belonged to a room-mate. As you can see, he and Star got along very well! The other German shepherd in the first photo was my male GSD, Ranger, who passed away at the age of 14.

-
Looking for information about side table
Sheilajeanne replied to Trish129's topic in Leatherwork Conversation
Trish, I believe you have to have a certain number of posts before you can post photos. You could post the photo elsewhere, and give us a link here, though. -
WOW! That is gorgeous! I am a German shepherd person, too. Would love to try that myself for one of my dogs, but not sure I have the talent. Can we see the inside, please? And is that hand stitching or machine stitching? (Very nice stitching, regardless!)
-
I have an old table I salvaged from the garbage. Now that it's not winter, I may set that up in the garage as a dedicated dye table.
-
Thanks for the suggestion! They'd be hard to knock over with that shape, too.
-
Having a tiny perfect leather working station, I control dyes by carefully measuring them with a 1 ml. syringe into a heavy-bottomed shot glass that's hard to knock over. I also use lots of newspaper on my work area. Bottles are immediately tightly recapped, and moved back into a corner where they can't get knocked over. I also frequently wipe caps and the bottles themselves to help prevent drips, and make the caps easier to take off next time. Nothing pisses me off more than having to fight with the caps on these bottles to get them open! It's an accident looking for a place to happen when you have to use that much force on them! Don't ya wish they could design these bottles better? I'd like to see bottles with a dropper tip, similar to a glue bottle, instead of the ones you have to press down and turn. I also move bottles out of the work area as soon as I think I'm done with a particular colour of dye. Worst accident I had was when my cat knocked one over. It leaked, he stepped in it, and tracked it all over the floor! I've been more careful with the bottles since, and don't leave them where he can do that again. The one part of the floor I couldn't get the stain off of already had some burn marks from the wood stove, so at least the stains match!!
-
Tandy Leather & Tandy Electronics
Sheilajeanne replied to Handstitched's topic in Leatherwork Conversation
My first computer was a Tandy! No compliants - it lasted may years until the video card bit the dust! Used it for all my nursing college papers/assignments. Also had a Tandy laptop -brick of a thing, but it, too was nearly impossible to kill. I nearly bought a tube radio yesterday: the radio of my childhood, a late '40's Viking (T. Eaton Co.) Still works, sounds great...ah, the nostalgia!! https://www.radiomuseum.org/r/electrohom_viking_49_33_emu51_418.html -
Fred, are you one of these crazy people? 'Tis better to give.... than receive! :D

-
-
FB_IMG_1524372719868.jpg
Sheilajeanne commented on LeHoang's gallery image in Gallery- Our Leatherwork
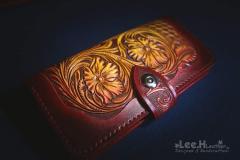 GOrgeous work! I notice on both the purse and the wallets that the carved area is mainly yellow, but gradually changes to red as you move towards the uncarved area (which is dyed red). How did you achieve that effect? With an airbrush?
 -
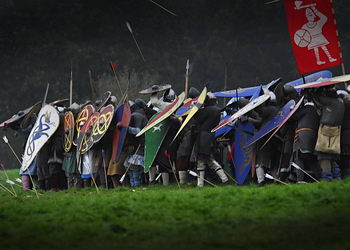
The traditional method of marking arrows is to use the painted bands just below the fletching. Each set of bands, and the colour of the fletching (feathers) would be specific to one member of a club. That's what those bands are for. Whatever happened to THAT time-honoured method?? Gone the way of the dodo bird?
-

-
Love this forum!!
-
It was supposed to go in this thread:
-
And it aint even April Fool's yet ...
Sheilajeanne replied to JLSleather's topic in Marketing and Advertising
My mother did knitting and crocheting as a hobby. She passed away in November of 2016. Last summer, after the sale of her house, I brought back a trailer load of her stuff to sell at a yard sale. This included some of the things she'd knitted or crocheted. One of the things that wasn't really part of the sale was a hand crocheted queen sized bedspread. I could only imagine how much work had gone into that beautiful piece! In the final hours of any yard sale, you get the bargain hunters dropping by. A lady came past who had been there earlier in the day. She crocheted, so had bought some of the yarn I was selling for a very cheap price (fill a shopping bag for $2.00.) She had also looked at the quilt earlier in the day, but I told her I really hadn't planned to sell it, and was unwilling to put a price on it. When she came back, she wanted that quilt. Problem was, she wanted it for $20.00. To me, that was an insult to my mom's memory, and all the hard work that had gone into it. I gave her a firm 'no', and she walked away. As I already have a beautiful handmade quilt on my own bed, and the quilt was white, very heavy and difficult to wash (and I have a black cat that sleeps on my bed) I gave the quilt away to a cousin. At least it's still in the family, cherished by someone who knew my mom personally.