RockyAussie
-
Posts
3,265 -
Joined
-
Last visited
Content Type
Profiles
Forums
Events
Blogs
Gallery
Store
Everything posted by RockyAussie
-

Motoko II backpack build
RockyAussie replied to koreric75's topic in Purses, Wallets, Belts and Miscellaneous Pocket Items
Nice and very strong looking work there @koreric75 The emblem detail is very nice. -
Help a guy out with his new skiving machine!
RockyAussie replied to YinTx's topic in Leather Machinery
I am a little afraid to give much advise without seeing some close ups of your settings and ideally a video of how it performs. Sometimes it is the operator sometimes the settings and sometimes its just a pig of a leather. Your original pics number 3 on the leather, show some coloured marking going through and that may be a sign that it not a well tanned leather. Some leathers will blunt your knife incredibly quickly and are almost like they have sand in them and some are like butter and you can go for hours without any need to sharpen the blade. IF all the settings are correct.....the best tip I have is after you have given a good sharpen and dressing and light sharpen again, cut a few strips of leather that skives nicely and run it through VERY slowly a few times. This acts to remove the slightly rough edge on the blade in the same way as stropping a knife. After a couple of feet have been run through it should be smooth as and will help to stop the edge deflecting up or down. Hard to see but if it deflects up even slightly it will take a deeper bite and if it deflects down then the opposite will happen. Notice in your photo 3 the top skive has gone rough and shows that the blade now has very small nicks in it. That is what you need to not have happen. If that leather continuously does this then it probably is not suitable. I would like to finish by adding that I don't like skiving machines without extraction suckers much and for any of you in the USA I would recommend you consider this one I found recently http://www.techsew.com/machinery/techsew-sk-4-leather-skiving-machine-with-vacuum-suction-device.html Having had a skiver once without an extractor I can assure you that the amount of times that the leather gets stuck to the feed wheel and ruins your work will be cut down to almost never. Once I went to the extractor versions I vowed to never ever have another one without extraction. I wont use them without a roller foot either. I'm not clever enough to make them other things work reliably any good. This is one of a few videos I did on skiving if you haven't seen it yet. Pretty sure I could not do it without a roller foot. -
Gary I have to ask was this test done without any cardboard support under? If so I guess the plate was not sitting down as it should making the leather tilt as the needle went through and then occasionally divert it away from the hook. If cardboard was under it then it may disguise that the dog foot hole has become extra wide with wear and that as well can lead to missing stitches because the leather goes down in and stops the thread loop from forming fully. Going through the cardboard would be like having a tighter hole in the feed dog if you get what I mean.
-
The hook timing looks alright so the next things I would normally check is if there is a small burr on the needle end or if it is bent a little. Sometimes changing the needle will confirm this. This is not uncommon. After that is there anything along the top thread path going back to the thread cone that could be causing any elasticity of the thread? In particular in the area of the movement of the thread return spring.
-
Stall video at 12 seconds in. There is no way that scarf of the needle should be facing forward. Spin the needle scarf to face the bobbin hook.
-
Mine does as well but only slightly and mostly at the widest open stitch length. My zero position also moves back and forward slightly but maybe not quite as much as yours.
-
Your welcome. I have to go get my dinner now so will check how your going tomorrow. Its 8.30 pm here at the moment. Check @Uwe he may be of help here.
-
I would try rotating the bar around (without the foot on) and see if you get any different behaviour first. Rolling the bar on some glass should also give you some idea if straight. If you think it looks alright then it must be a bent connecting arm I guess.
-
The diameter of the bearing? I just measured and it is 9.7mm.
-
Yes that is it. My bearing on the 69 does not move left and right as does yours. On page 14 in this service manual the bearing part number 4 is firmly bolted with no movement other than rotation. http://www2.duerkopp-adler.com/export/sites/duerkoppadler/commons/download/public/69/S_69-373_69-373H_EN.pdf
-
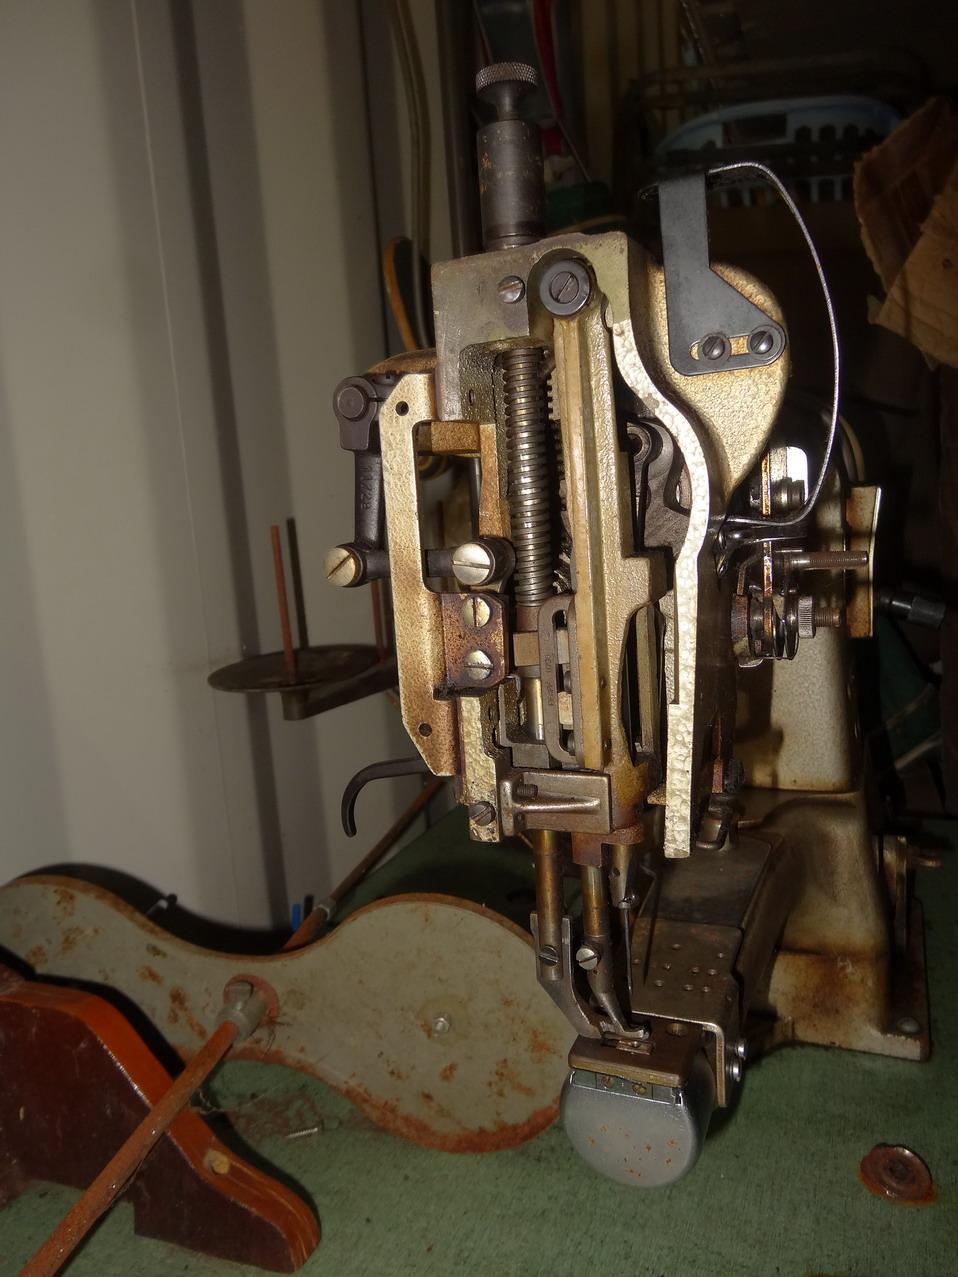
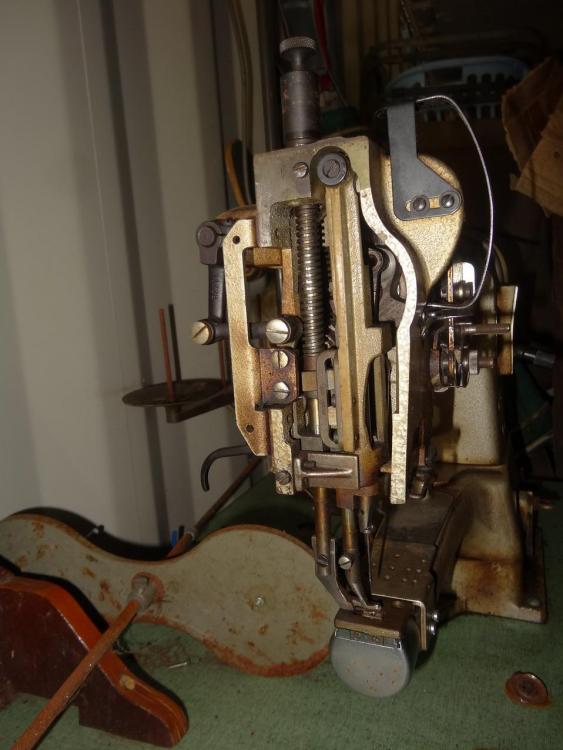
The pfaff does not have such an adjustment as the Adler but can still be made to do it. They are a way tighter fit at that point where the bar goes up into the tube. Note on this one I have raised the tube higher than standard to get less foot pressure marks.

-
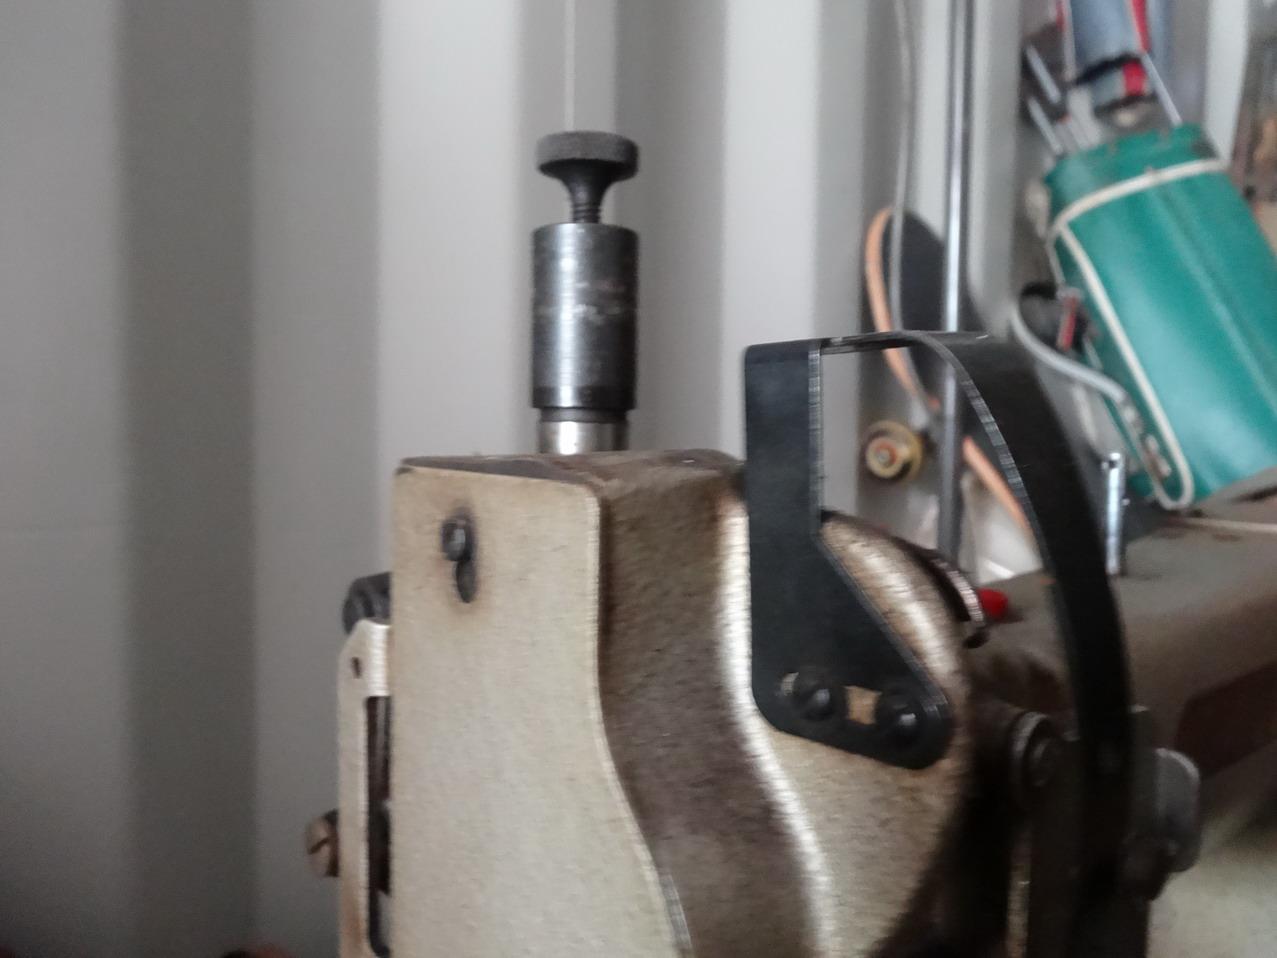
No I mean the adjustment thing on top. You undo the lock nut in order to tighten or loosen the presser foot pressure. The presser bar goes up into that tube. I doubt that, that would be bent as I dont think it is all that tight of a fit there.
-
I have been looking at my 69-372 for a good while now and although I found 3 hornets nest in it, it does not make any similar sound. I did have this problem on a Pfaff 335 I think and the answer was that the back presser bar was lightly bent. On that machine I found I had to find a loose spot in the adjustment of the presser tension tube and I was able to get away with that. I would think it is possible that your presser bar is bent or the top tube has been bashed or more likely the bottom of the bar at the foot has been bashed. I did notice in your first video 23seconds in ,that the appeared to be some heavy scouring on the back of the presser shaft.
-
Fancy Farrier Aprons
RockyAussie replied to Rolandranch's topic in Clothing, Jackets, Vests and Chaps
That is truly some very nice work there @Rolandranch. -
Techsew 2600 table came damaged, repair ideas?
RockyAussie replied to JC2019's topic in Leather Sewing Machines
Fantastic news and I must add a big thank you to @Techsew RonRon for reinforcing the fact that buying from a local reputable dealer is a buyers best bet. I love the large range that TechSew has on offer and have often considered whether to upgrade with them and I think that this might just give me the green light to do so. -
You may not have seen this post but if not ...I think it may help. And another -
-
Yes they can do that very well but they need to be used in a suitable press to hold the letters. The metal is not as hard as brass and would not take any hammering down for very long. The heat that the presses apply to the letters makes for some very nice results on many leathers when done without the use of foils.
-
The most common one I make is 1" where you show but that is partly because I like to stitch right across at the bottom. Others that stop and start either side will generally be 3/4" and sometimes a bit less. If they are going to be a bit thick then 1" will be better for sure.
-
Techsew 2600 table came damaged, repair ideas?
RockyAussie replied to JC2019's topic in Leather Sewing Machines
I don't think so. Perhaps once the feet are on and the machine in place it will sit better but check and make sure that all bolts are tightened down well before the machine goes in. Could you show a picture of the table (front on) once the feet are installed? -
Techsew 2600 table came damaged, repair ideas?
RockyAussie replied to JC2019's topic in Leather Sewing Machines
I am sorry to say that a look at Techsew's shipping and billing terms down the bottom says it all. They can not make a insurance claim once you have signed the no damage part. http://www.techsew.com/shipping-policy I would get a new leg rather than try and fix it or you will ever remember it every time it catches your eye. To have a new machine should be a rewarding experience and not be marred by something like this. You may at times want to get parts from them and even some sort of service help and keeping your calm is sometimes for the better latter on. -
I agree. That is soooo true. Absolutely FANTASTIC in every way.
-
Anyway to sew this bag seam with a Machine?
RockyAussie replied to Willbury's topic in How Do I Do That?
No after some glue is applied at the base inside I just curve the stiffener and push it down and in. The top folded edge is left until after the lining is put in and then starting at the front I have stitched across and around over the gusset over onto the lid flap and around and finished back at the front. Your welcome . Brian -
Anyway to sew this bag seam with a Machine?
RockyAussie replied to Willbury's topic in How Do I Do That?
OK these pictures should show things a little better....the first pic shows the bag style a more to the side and this one more on to the gusset side. Note that the gusset from 1/2 way up can close up. the gusset stiffener in pink cardboard shown next to its clicking knife would have be done originally with .6mm strawboard but now I would use 1mm heel grip felt as the stiffener. This would give a less defined ridge where it presses into the gusset edge. As I said earlier the bag outside pieces are stitched together first and by using the middle markers to line up with, the gusset stiffener is glued into place correctly. The knives are made with the checked in middle lines as shown in this picture This is a picture showing all of the knives that go into the making of this little bag. The back and lid flap could be done as one but as this is for exotic leathers the smaller pieces are better to get the best feature pieces showing. One of the inside in case that helps.


-
Anyway to sew this bag seam with a Machine?
RockyAussie replied to Willbury's topic in How Do I Do That?
I don't have any on hand but I will take a few shots of a prototype one I made and some further shots to explain better after I catch up on some of this work today. -
Anyway to sew this bag seam with a Machine?
RockyAussie replied to Willbury's topic in How Do I Do That?
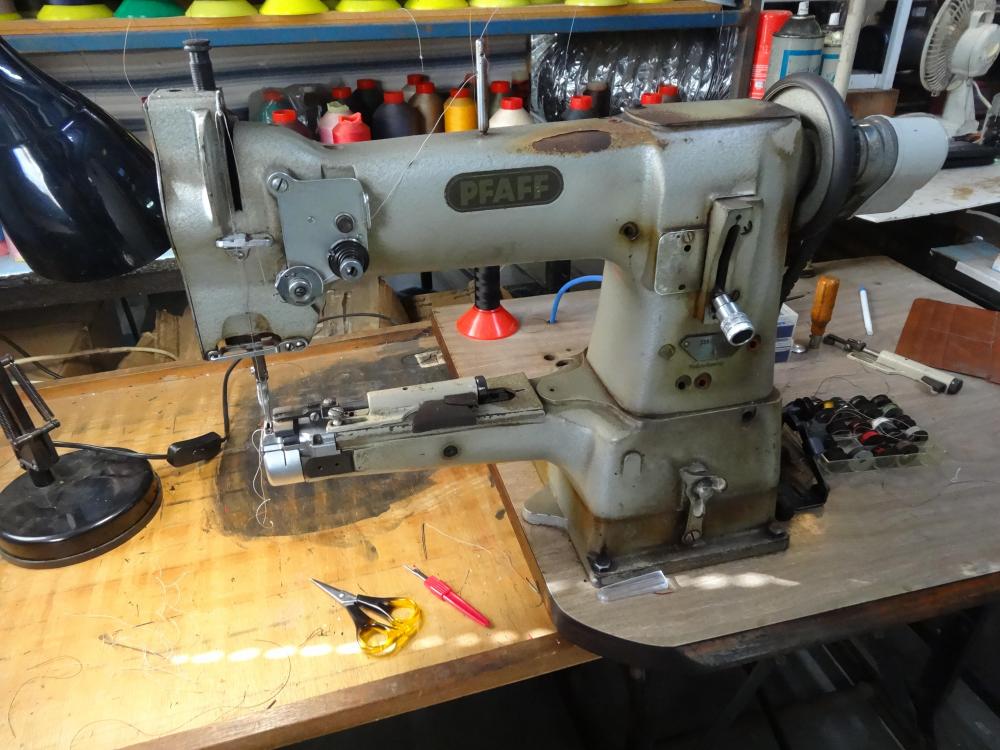
Yes that is correct. Note where I said that the stiffener for the gusset area is put in after the stitching and I have to admit that i have to sort of walk the stitching around sideways a bit on 3 or 4 stitches as well. This is not to hard with my machine as it has a variostop motor where it enables me to lift the foot enough to step sideways and not loose my thread tension in the process. Make sure that your thread tension discs don't open when using your foot or knee lift. This is the machine I would have used in the making and it is a Pfaff 331 but a 335 walking foot type could do it as well.