Fire88
Members-
Posts
451 -
Joined
-
Last visited
Content Type
Profiles
Forums
Events
Blogs
Gallery
Store
Everything posted by Fire88
-
-
My First Holster
Fire88 replied to Chief Filipino's topic in Gun Holsters, Rifle Slings and Knife Sheathes
I use JLS instruction as my template for where to place stitchline. It’s gonna vary by gun and holster type. -
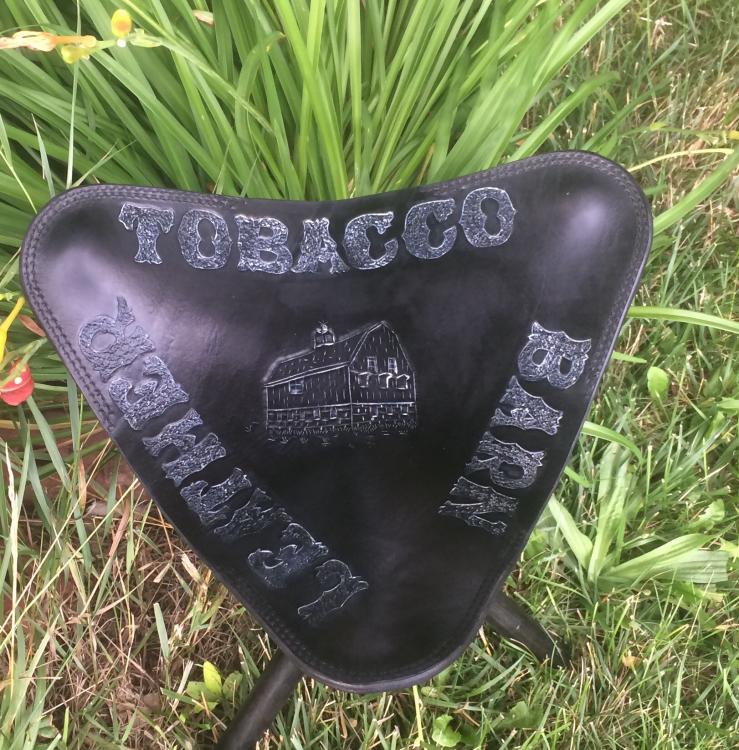
Here is where I got the pattern data:text/html;base64,PG1ldGEgZGF0YS1mYnByZWZldGNodGFyZ2V0IC8+ There’s a couple others out there without the pockets to hold the seat, the seat is held on by screws in the end of the dowels. Also Tandy sells a kit and a couple other places sell the tri-bolt although the nice ones are expensive.
-
Super comfortable thinking of making a taller version for a tooling and sewing chair.
-
My First Holster
Fire88 replied to Chief Filipino's topic in Gun Holsters, Rifle Slings and Knife Sheathes
I can take both my inside the waistband and outside the waist band holsters and hold them upside down with no worry the gun will fall out. If your stitchline is tight against the trigger guard and the barrel then you’ll have no worries about retention. I’ll glue my portion under the grip(let dry) insert gun take a silver pen and mark where I want my stitch tight to the gun. Remove gun sew. Test for the gun and it’s usually snugger than a bug in a rug wet holster put real gun in ziploc bag and insert into holster and manipulate the leather till I get it exactly where I want it and let dry. -
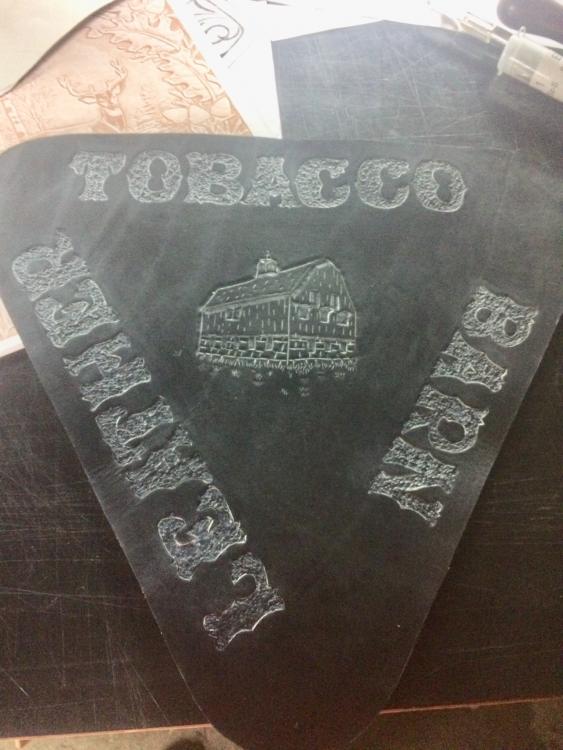
Made my first camp stool 1 1/8 dowel for legs and stainless hardware. Seat is some 8/9 shoulder I had, the white is neutral antique I dyed with white acrylic paint
-
How did you get into leather work?
Fire88 replied to Rolandranch's topic in Leatherwork Conversation
How I got started? Well I needed a new radio strap at the firehouse and wanted a pair of suspenders for my bunkers didn’t want to buy. So I decided I could make em. Well that turned into me making 25 or so straps for guys at the station all profit plus some to help a brother whose injury took him off the job. Well that got the fire burning and I decided to learn how to tool. More tools more leather and lots of books and now I’m trying to make it a part-time job. I’m having a blast doing it and it’s great therapy plus I get to work on my schedule. -
Very cool
-
Neutral Antique dying
Fire88 replied to Fire88's topic in Dyes, Antiques, Stains, Glues, Waxes, Finishes and Conditioners.
Thank you always good to have another tool in the tool box -
My First Holster
Fire88 replied to Chief Filipino's topic in Gun Holsters, Rifle Slings and Knife Sheathes
First off nice molding and fitment. The decorative stitch is a nice touch. Jd is right the magazine release needs to be exposed as you don’t want it to accidentally get pushed in and release your magazine. Also you need enough room to get a good grip on the firearm for the draw. I also don’t bring up the outside of the holster so high as it’s more leather to clear. I’d also suggest sewing your belt loop & not using rivets while they are strong they will wear your britches. -
Neutral Antique dying
Fire88 replied to Fire88's topic in Dyes, Antiques, Stains, Glues, Waxes, Finishes and Conditioners.
Always in this craft! Wasn’t the original plan but I’m liking how it came out. Absolutely I’ve learned a bunch from this site and figured I have the obligation to share my knowledge with everyone. No problem Bob -
I tried a little experiment this morning. I needed to make my pattern come out/alive after being dyed black. Didn’t wasn’t to take the time to paint and it wasn’t gonna give me the look I wanted. So I took neutral antique paste and added white acrylic dye to it mixed it up real good and rubbed it in like any other paste. It is thinner than we are normally use to dealing with and goes along way and fills in the little cuts nicely.
-
I sit and tool at home and i stand and tool at the fire house both are comfortable to me.
-
those are spectacular shoes
-
Stubby / Can Holders
Fire88 replied to Handstitched's topic in Purses, Wallets, Belts and Miscellaneous Pocket Items
those look great -
very nice work!
-
Very nice work, my hands ache for you.
-
Great work
-
Pocket book for my wife
Fire88 replied to corkscrew's topic in Purses, Wallets, Belts and Miscellaneous Pocket Items
Nice work! -
My First Biker/Long Wallet
Fire88 replied to Chief Filipino's topic in Purses, Wallets, Belts and Miscellaneous Pocket Items
your stitches look good. The generic thread is pretty thick I use either 1.0 or 0.8 mm tiger thread even the 1.0 is much thinner than the tandy thread. I'm not sure what else is out there for thread. For beveling thin edges I try to keep my beveler more vertical than coming at it from a 45, you can also try moistening your edge before beveling. I use a #1 beveler as well on anything under4/5. As for your cards sticking it's cause the pockets are too small. Maybe your thread size or your pattern is a tad too small you should have a 1/16th to 1/8th in on either side of your cards. -
What are your options? I’d this 207 as the minimum I’d use.
-
Very nice work
-
Holster rig I recently finished
Fire88 replied to corkscrew's topic in Gun Holsters, Rifle Slings and Knife Sheathes
Very nice -
Good work


