BondoBobCustomSaddles
-
Posts
1,033 -
Joined
-
Last visited
Content Type
Profiles
Forums
Events
Blogs
Gallery
Store
Everything posted by BondoBobCustomSaddles
-
Congrats Chris! It's amazing how each one lights up your life. She's a little doll.
-
Yahoo!, Got the goahead from the Doc to resume normal activities! actually went out and rode for a few miles today. Good to be me again!
-
Farrier Chaps Or Chinks
BondoBobCustomSaddles replied to City's topic in Clothing, Jackets, Vests and Chaps
I'll try to post these pics. Hope they help. Bob Afraid I still have problems with making these smaller so I'll send them one at a time Bob And one more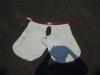

-
Farrier Chaps Or Chinks
BondoBobCustomSaddles replied to City's topic in Clothing, Jackets, Vests and Chaps
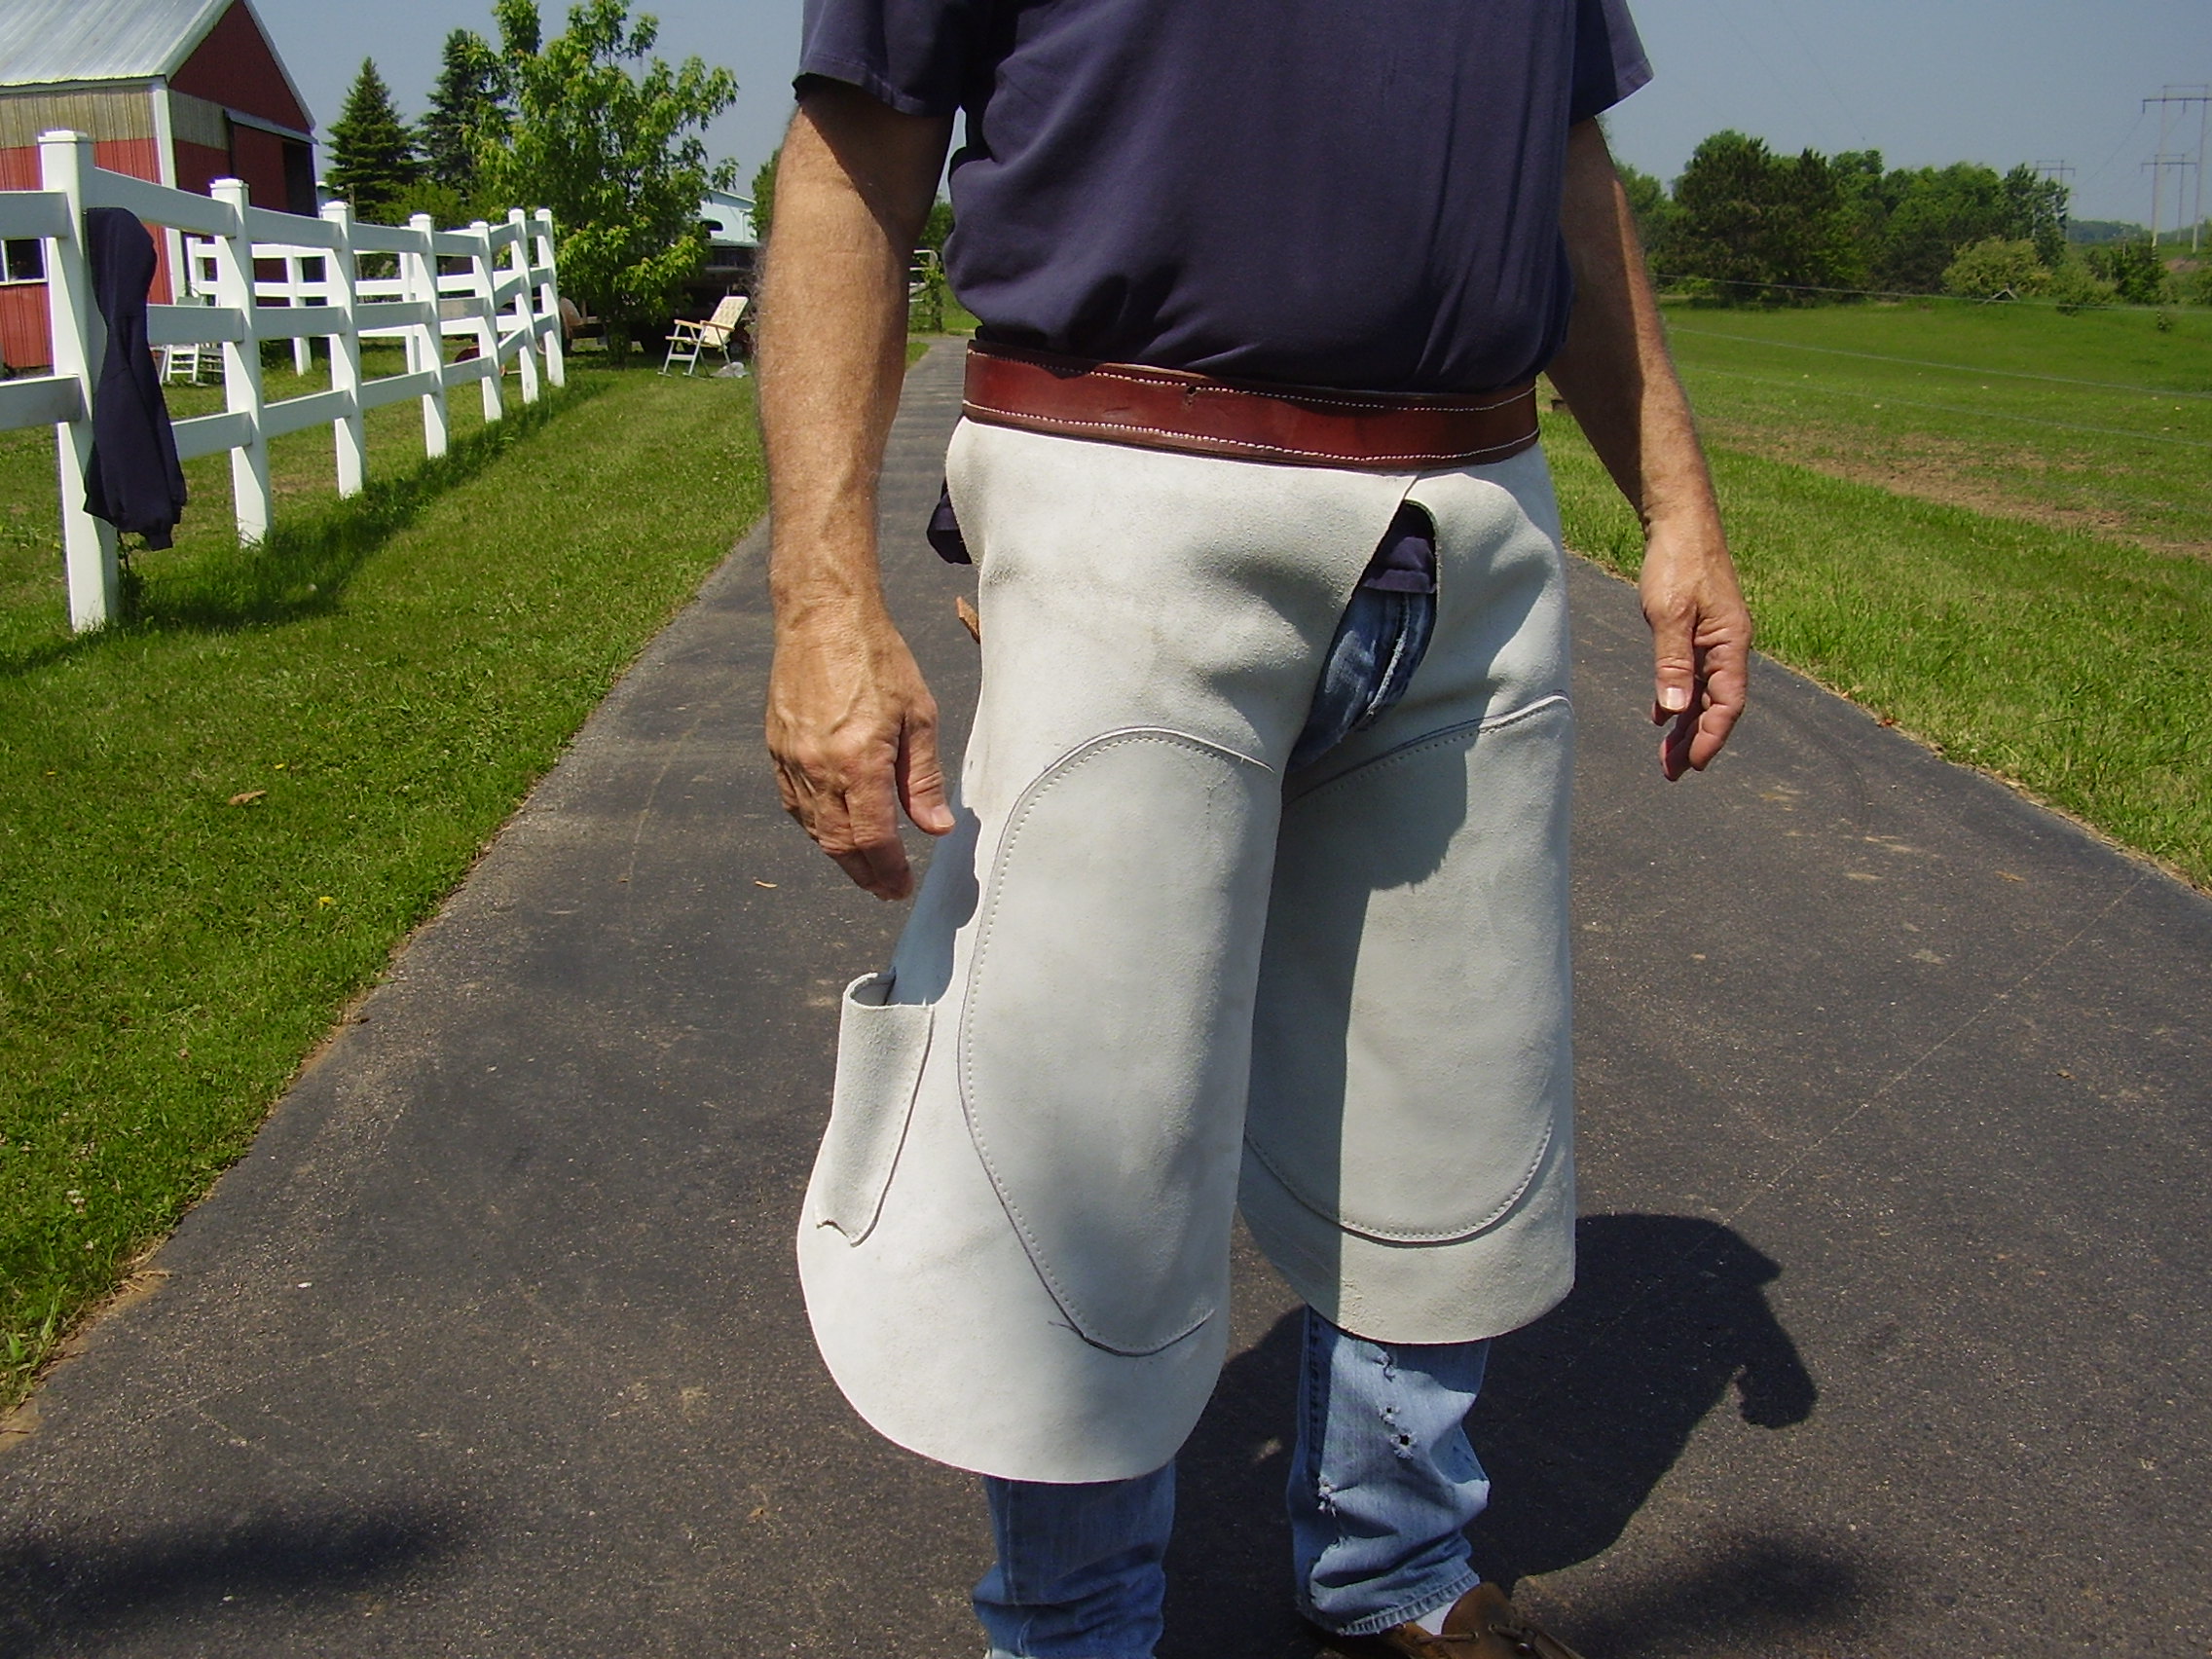
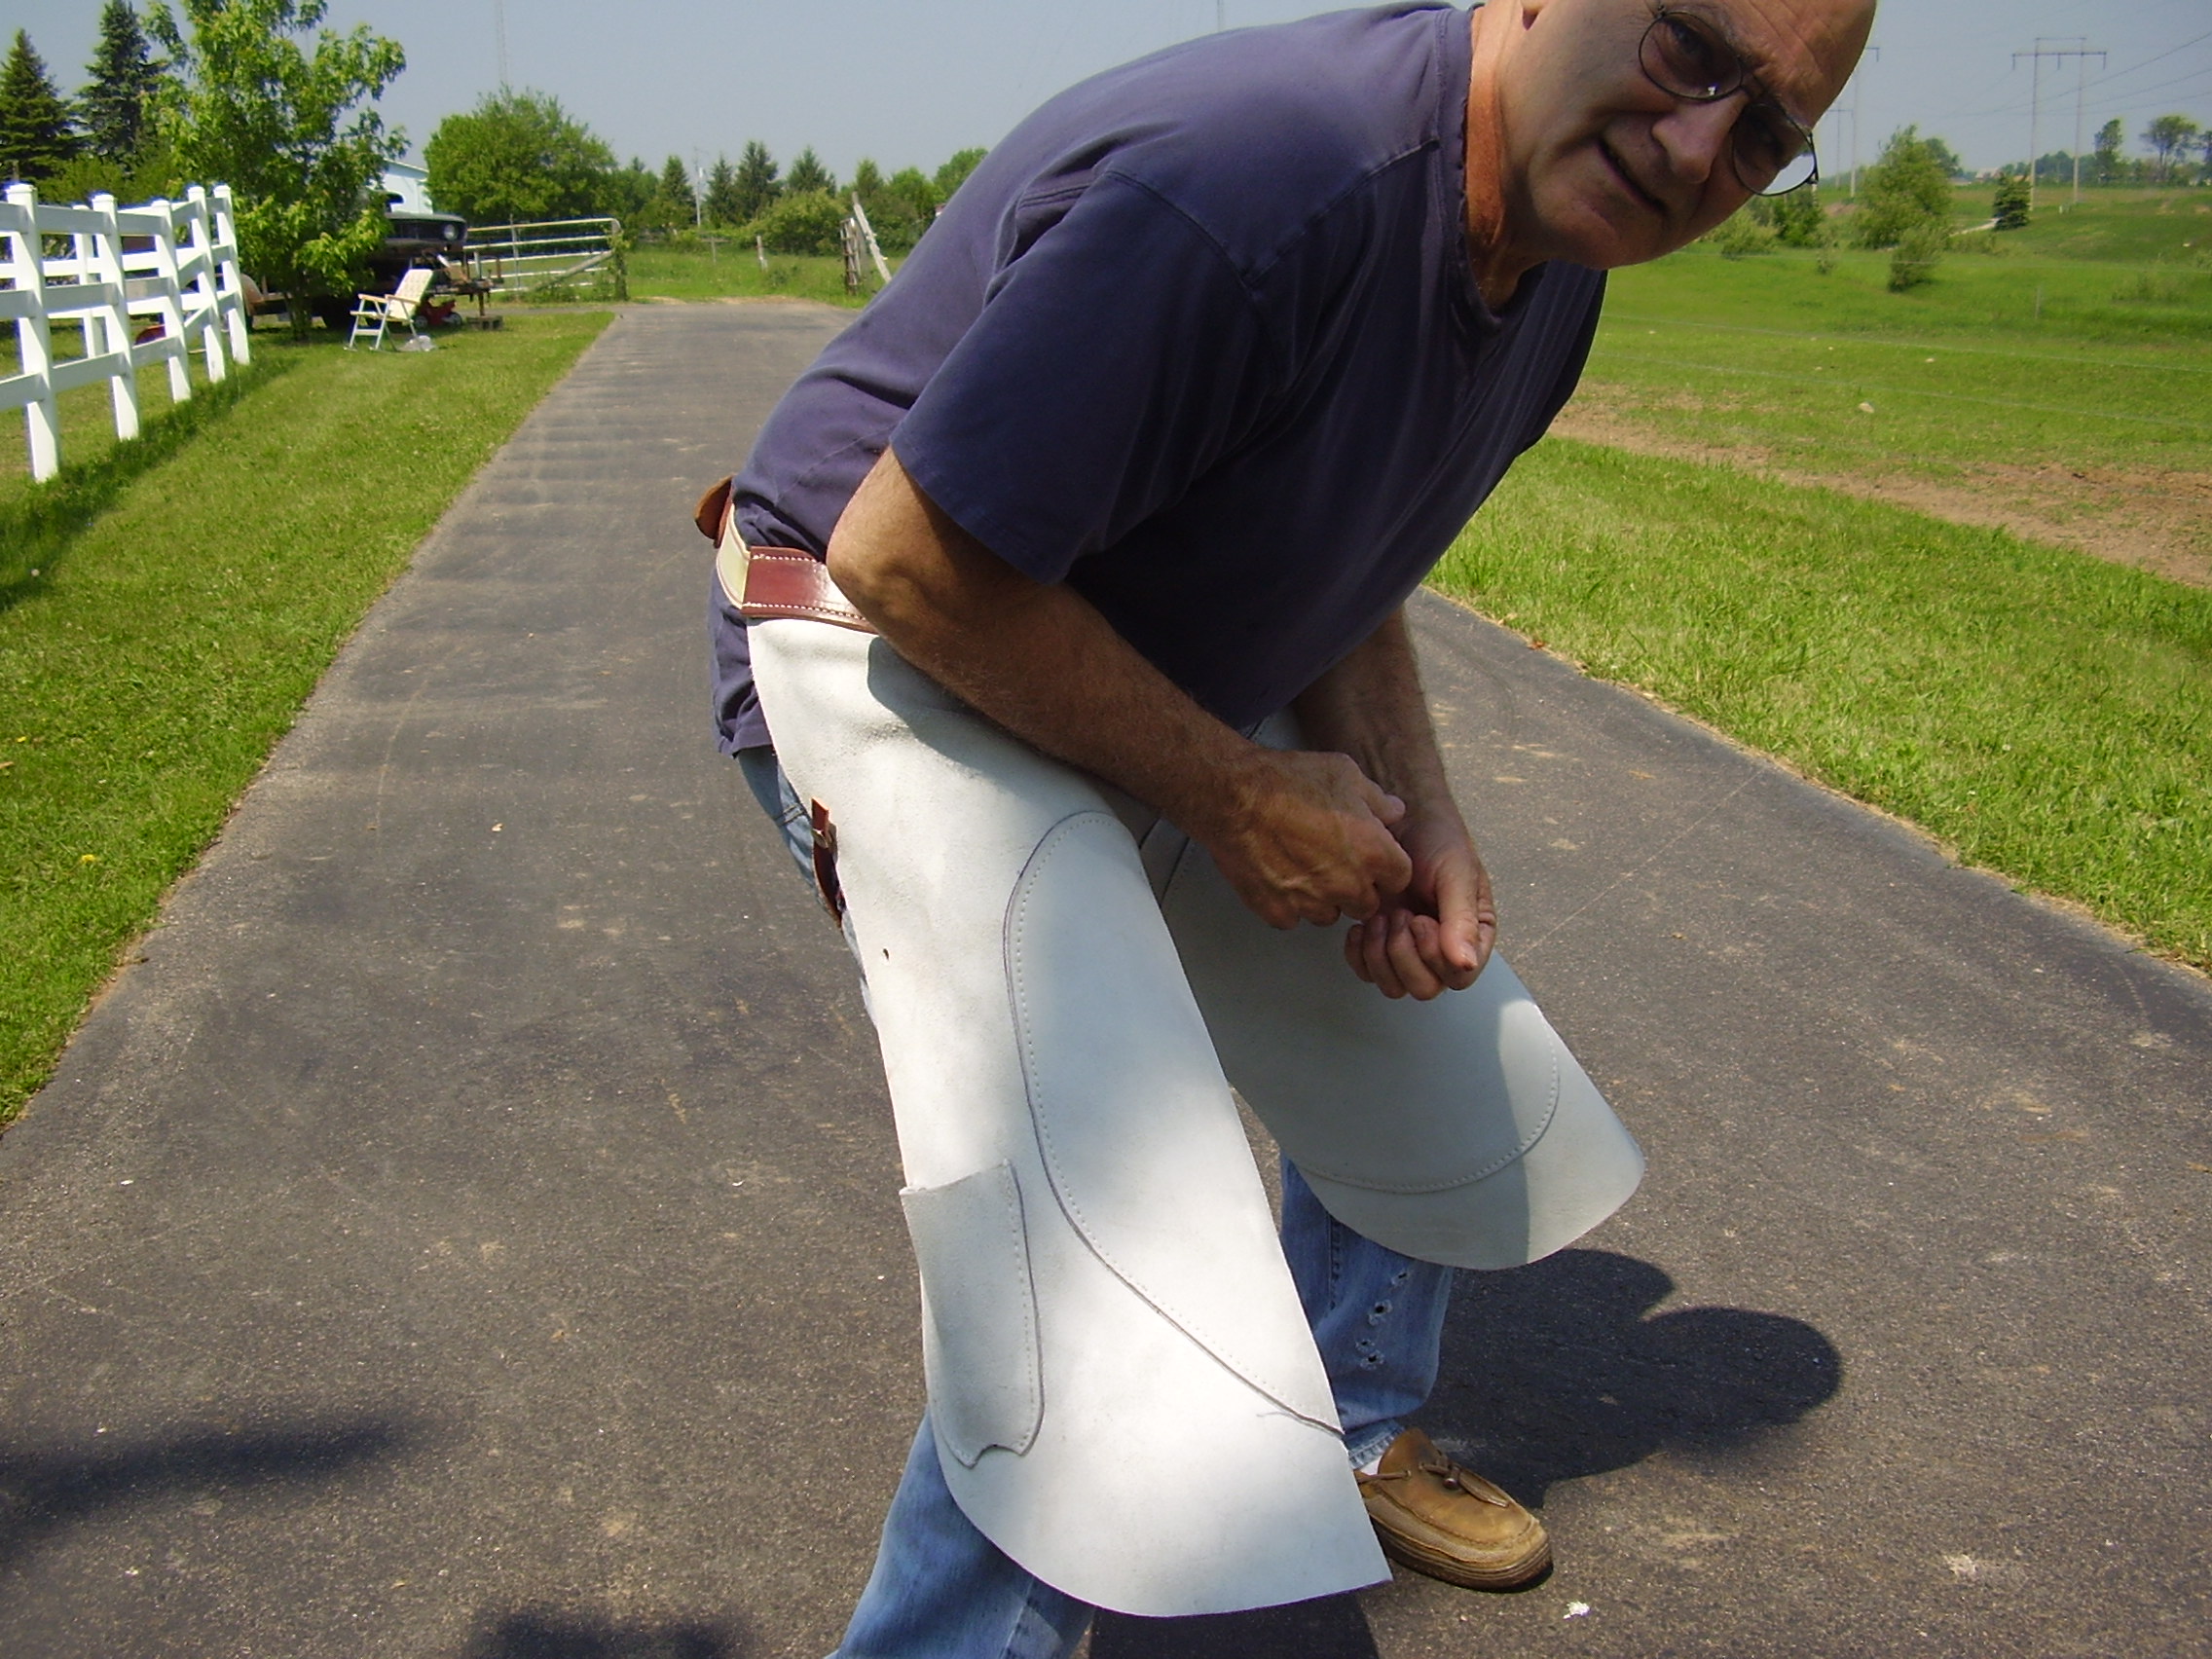
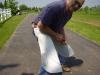
City, Believe it or not, there is a lot going on here. I will try to give some guidance here, but; ultimately, you will make the final decisions as to what you end up doing. Years ago, (about 42 or so) when I was fresh out of the service, I used my GI Bill to cover my expense at Red Tomlinsons School of Horseshoeing. My first chaps came from the school, since then I have had/made many different types out of many different typesof materials, and finally 42 years later, I have come up with a pattern and style that I really like and seems to be well regarded by the professional shoers around here, they have no problem paying $100 for a pair. The way I got to this point is by looking at what a lot of guys at the track were using and asking what they liked/disliked about the ones that they were using. Bottom line, what I have come up with (no big surprise) is something that wears well, fits comfortably, and equally important can be gotten out of at the drop of a hat (in case of emergencies, and there will be some!) For material, I use 7/8oz pearl grey sides from Weaver. I put a belt on them that goes around and buckles at one side. The belt also has some elastic at the buckle, (about 4" of 1 1/2" heavy duty elastic that I use for english cinches) so that it "gives" when the farrier bends over and does not bind. Also on the opposite side of the chaps from the buckle side, I attach the belt strap with 2 snaps and a tang sticking out so that in an emergency he can just give it a quick swipe with his hand and be out of them in an instant. Also, I put a leg strap on each leg that pulls around and snaps to the outer side of the chap and alows for that same quick hand swipe for freedom. Finally, I put a pocket on each leg that will allow for the insertion of a rasp/hoof knife, nippers and so on. On those pockets, I leave a hole at the bottom just large enough to allow hoof shavings to pass though rather than collecting and subsequently having to be emptied. If requested I also add magnets for nails, but; not my personal preference. I will take a pic of a set I have down in the barn when I get down there today and post for you. Hope this helps. Bob -
Removing Shinny Finish From New Saddle
BondoBobCustomSaddles replied to Denny's topic in Saddle Construction
Denny, the onus is on the saddle maker for make it right. If you specified no finish, then that's how it should be and what you paid for. Besides, if you try to take the finish off yourrself, and God forbid, you mess it up, you will have no recourse your are stuck with it! I can't speak for him, but; there are many good saddle makers on this sight, and one of the points that they constantly make is that a saddle maker worth his/her salt will not consider a project done till they have satisfied that customer properly. Bob -
Oorah Fellow Leathernecks
BondoBobCustomSaddles replied to LeatherneckMarine89's topic in Member Gallery
Hello Joey, First and foremost Thank You for your service! Second, be sure to do all you can to stay safe and get back here as soon as you can. Don't be afraid to ask questions, there are lots of great people on this sight that will be glad to give you their 2 cents on any question, and much you can learn from them. Once again thanks for your service, Semper Fi Bob -
Wooly Chaps
BondoBobCustomSaddles replied to customcowboyleather's topic in Clothing, Jackets, Vests and Chaps
Way Cool! Not sure where I'd wear them, but; I have thought of making a set just because I like to go off the end once in a while. Where at in Central O are you located. I have a really good friend in Eugene, probably a little west of you, but; he is an avid roper and ropes all over the place, so you might know him, Bill Jones. Anyway, like I said, Way Cool! Bob -
Jason, First, I have been using the Tandy and Weaver heavy duty zips for years, and have not found any problem, my guess is that he tried too hard to sip them and they were just too tight. Second, a little tip, when I put zippers in chaps, I always make them right hand and left hand by undoing the bottom of one side and reversing the slide. That way when installed, if you put the slide side on the side of the chap leg that wraps around the leg and meets up with the outside sipper, it makes it easier for the owner to get them zipped. Now as for how to add a little material to them. Sometimes I have had a set come back when someone has put on a little weight of just grown up some and need more room. I usually add a strip of the required width to the side that wraps around the leg and zips up under the fringe or flap, not the fringe side. Usually by the time they need redoing, the old zips need replacing any ways, so that's what I do. Hope that is clear enough? Added is a pic of a pair of exersize chaps ( similar to shotguns) that I did. Like I said all the work is done on the "inside flap" Bob

-
Western Saddle Stirrup Leather Thickness?
BondoBobCustomSaddles replied to GrampaJoel's topic in Saddle Construction
Joel, there isn't anything to add to what the others have already said. They have already said it all. Bob -
Memorial Day Weekend
BondoBobCustomSaddles replied to leathercrafter's topic in Leatherwork Conversation
Happy Veterans Day to all, especially those who have served or are currently serving. I am reminded of the sacrifices that so many have made every time I walk down the halls of the VA Hospital here in Ann Arbor. It is amazing to see all the brothers in arms from so many different fronts and times! God help all vets, don't forget to say a prayer for those who are currently in harms way today and serving to help preserve our way of life. Sincerely, Bob -
Just about to leave for the first horse show of he year. New horse, New season, wonderful Grand Kidswho love horses. What more in life is there?
-
Saddlr Fender Stamping
BondoBobCustomSaddles replied to Luke Hatley's topic in Saddle Identification, Restoration & Repair
OOPS! Sorry Luke, I ment to address this to you , guess the drugs from surgery still have hole, Don't feel bad, I called my wife george the other day! Be glad when I am off these meds!!!! Bob -
Saddlr Fender Stamping
BondoBobCustomSaddles replied to Luke Hatley's topic in Saddle Identification, Restoration & Repair
Joel, When I case a large piece, like a fender, I wet the whole piece evenly, and case, then as I work the pattern and tool, I use a spray bottle and piece of sheepskin to keep it at the "wetness" that I like to work with, again, the whole piece. That way, when it dries, it dries even without stains. Bob -
Chinks Out Of Lighter Leather
BondoBobCustomSaddles replied to tdwarburton's topic in Saddle and Tack Accessory Items
TD, you will find you can do anything you want with a little imagination. I have made a lot of show chaps out of that thickness. As for "using" chaps it is a little thin, however; you could always put in wear panels in some areas much like English riding britches. Double up around the edges in the crotch area, and double up in the stress areas like the yokes for the buckles, and even double the fringe. You might be surprised at the result. Bob -
Grandkids, What A Blessing
BondoBobCustomSaddles replied to Stewart's topic in All About Us and Off Topic
I heard this once somewhere, "grandkids are God's gift to us for being good parents and not strangling our children when they were growing up". How true! Bob -
Well, it's been coming for some time now and I finally got the radical prostectomy procedure that was needed. Back home now resting, and of course, reading Leatherworker again. Not sure which is worse, the recovery, or the withdrawl from leatherworker! Anyway all is good, and I am glad that it is over. I just wanted to say to all out there, the people at the Ann Arbor VA Hospital, are without question the very best, from the guys mopping the floors, to the floor nurses, and caregivers, the surgeons, right up to the chief of surgery. Not only my opinion, but ; the guy I was in with felt the same way about their treatment. These angels of mercy, in all ways, went out of their way to make sure we felt special, and we did. God Bless them and all caregivers all over the world. Special folks! If you know one, please be sure they know how special they are. Thanks for listening, Bob
-
Rodeo Queen Chaps
BondoBobCustomSaddles replied to Tkleather1's topic in Clothing, Jackets, Vests and Chaps
Hey Tim, As always, really nice work! Bob -
Well, I guess I am an old timer! I have been using this heating method for over thirty years. I don't even remember where I or who told me about it. First I take a small (1quart) cast iron pot and put about 1 pint of pure neatsfoot oil in it, then I add 1/2 cup of Extra Virgin Olive Oil to it. Next I put this pot on my grill and heat it till it begins to bubble. Then Very carefully, I bring it into the shop and with a doubled piece of sheep skin, I wipe it onto the parts that I am looking to rejuvenate. Be carefull not to apply it too liberally, a light coat will penetrate very well. I don't use this method on new leather, just the really old and dried leather saddles that come into my shop for reworking. It does a nice job of breathing some life into what was previously dead leather. Bob
-
Perhaps some day I will be able to make one of these shows, but; for now I simply cannot. I would, however; also be interested in a video of both sessions. Perhaps there is an enterprising leatherworker out there that would undertake putting a video together that would then be for sale? With your sanctioning of course, I am sure that would be a popular product. Bob
-
Very nicely done! Be sure to post more of your work for us to see. Who's sheep skin do you use? Bob
-
As they say, know the artist by his creations. Very tastfully done. both the leatherwork and the car. Bet it's fun "tooling around" in that coupe. Excuse the pun, just couldn't resist. Welcome to the sight, you will find a lot of great contacts and friends here. Bondo Bob
-
Hi JW, Very nice work. Clean and neat with good balance. I am sure that they will get lots of good use and provide good experiance to the riders. Bob
-
Saddle Screw At Horn Bar Connection?
BondoBobCustomSaddles replied to GrampaJoel's topic in Saddle Construction
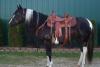
Joel, personally I put an attachment there on every saddle I make. Generally, it's a screw and eyelet, however some customers want a concho there. Just a matter of taste and preference. Here are a coule of pics of saddles I made for a husband and wife. Each wanted different things, as you can see, even though the saddle s were built on the same exact style of tree. Bob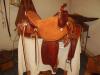
-
attaching the stirrup leathers to the fender
BondoBobCustomSaddles replied to barra's topic in Saddle Construction
I pretty much echo Darcy's comments. I use my saddle stand over nigh, I put a bar through the leathers and hang weights, usually about 100 lbs on the bar, ( best use I've found for my old excersize set) and let them put a continuous pull on the leathers and fenders till dry. I guess some day when I get time, I will make a stretcher for myself, some day. As for the twist and wrap, I have always called it the Arizona Wrap, cause that's what I heard it called years ago, guess just twist and wrap is good enough. About half of the saddles I do are that way. Bob -
What Would You Do?
BondoBobCustomSaddles replied to GrampaJoel's topic in General Saddlery Discussion
Joel, Keith is spot on. If you can't fix it or make it right, then don't do it. After all, at night you are the one that has to sleep with the work you do. Quite often, I get similar situations with the guys from the Race Track. Being professional trainers, you would think that of all people, they would know how dangerous it is even with good tack on those horses that are trained to do one thing, go! Not the case. If I can't do it right I will just pass. I am sure that all the makers on this sight are faced with the same choices each day. Like Keith said "I do not want the government to interfere with the freedom of our industry, but if we do not police ourselves and refuse to engage in these unscrupulous practices, then we leave ourselves open for future regulation. ". Hope you don't mind me climbing on your box for a couple of moments Keith. Bob