DieselTech
Members-
Posts
1,635 -
Joined
-
Last visited
Content Type
Profiles
Forums
Events
Blogs
Gallery
Everything posted by DieselTech
-
Nice work. Looks great. What did or what is your handle/strap made from?
-
Looks nice. Great work!
- 6 replies
-
- english bridle
- bridle
-
(and 1 more)
Tagged with:
-
Cowboy Hat : Can it be sewn on my Cobra class 26?
DieselTech replied to DieselTech's topic in How Do I Do That?
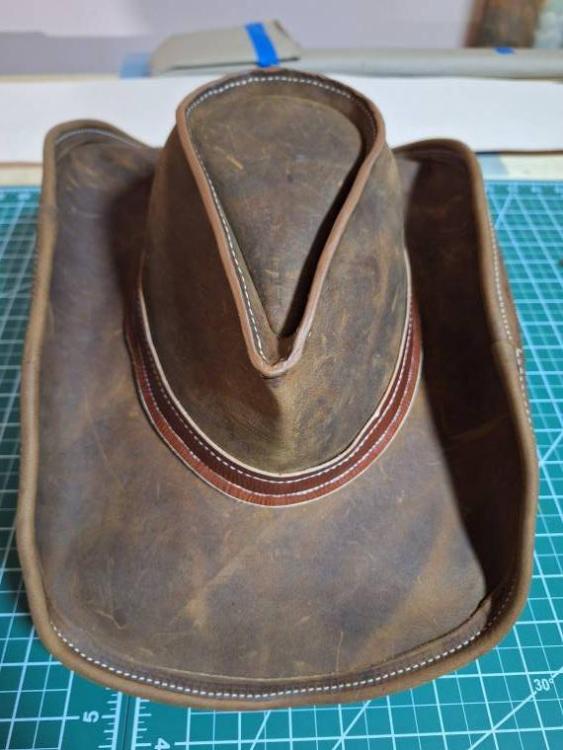
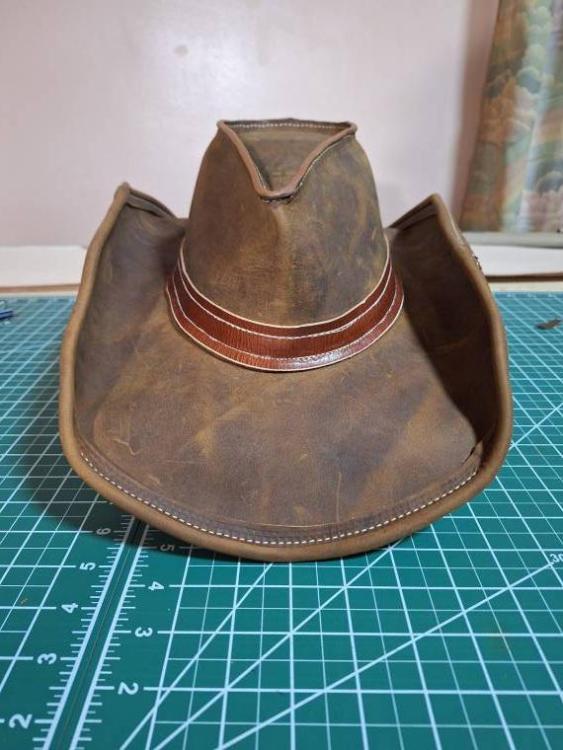
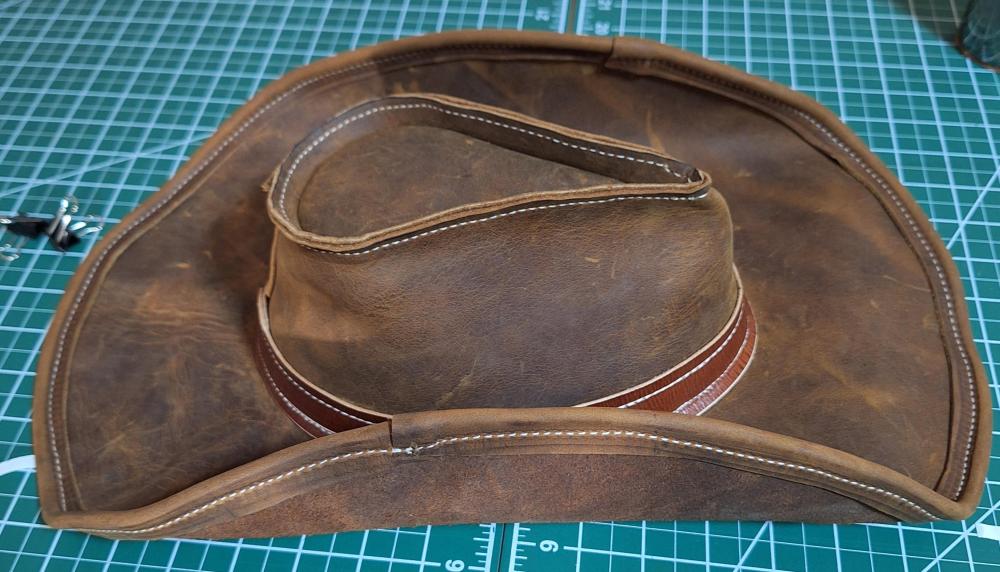
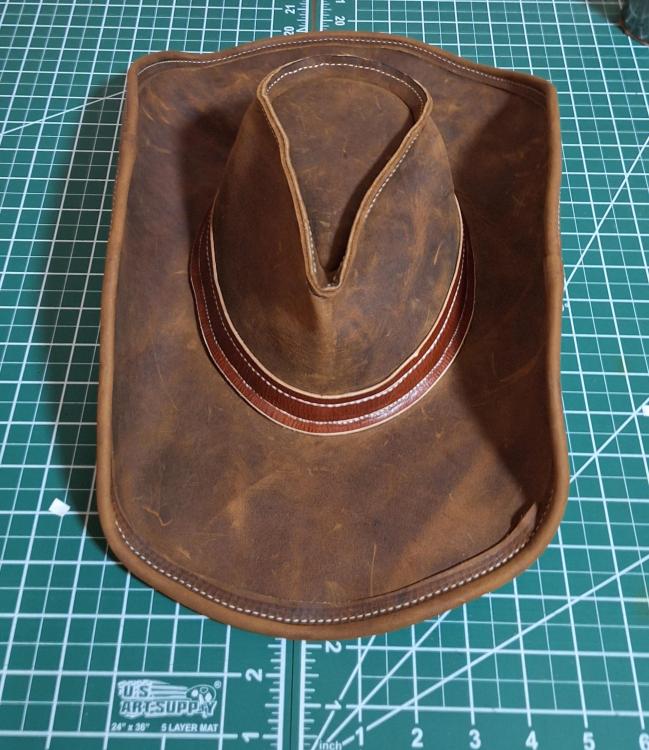
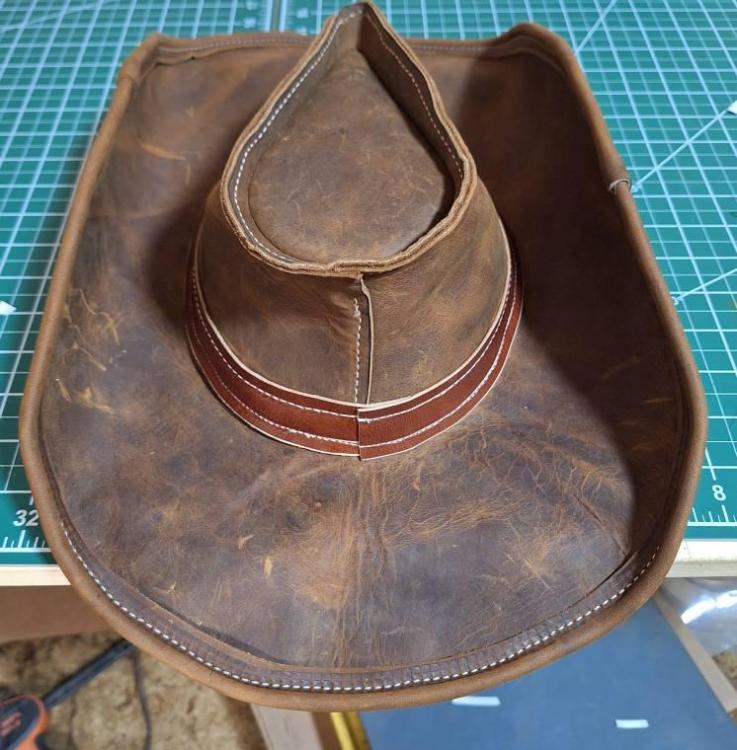
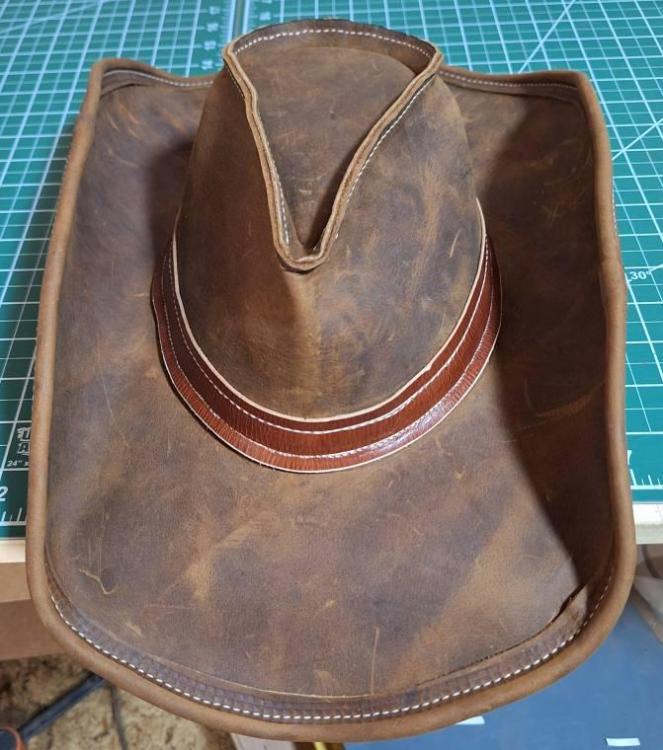
I did get around to beveling the top edge & got it painted. Since it is a heat able edge paint I might hit it with my heated edge machine later tonight. Looks alot better now I think. -
Cowboy Hat : Can it be sewn on my Cobra class 26?
DieselTech replied to DieselTech's topic in How Do I Do That?
Yes it did call for the baseball stitch on the back. I won't lie, I was just being lazy on the back seam. Also I think I used way too heavy of leather, it is is 6oz Seidel Crazy Horse. I am going to try & make a better hat this week by modifying the pattern for more seam allowance. That way it will be easier to machine sew. Or at least I am hoping so. Thanks for sharing your hat. It looks nice. Almost looks like a DieselPunk hat. Thanks for the feed back. -
Cowboy Hat : Can it be sewn on my Cobra class 26?
DieselTech replied to DieselTech's topic in How Do I Do That?
Yes. The top is constructed wrong, per the instructions. I did it that way to simplify the sewing procedure. Also I used the so called hat band to cover my drunk driving sewing. But next time I am going to use the hat band to sew/attach the brim & top it 1 step. Thanks for the vote of confidence. -
Cowboy Hat : Can it be sewn on my Cobra class 26?
DieselTech replied to DieselTech's topic in How Do I Do That?
-
Cowboy Hat : Can it be sewn on my Cobra class 26?
DieselTech replied to DieselTech's topic in How Do I Do That?
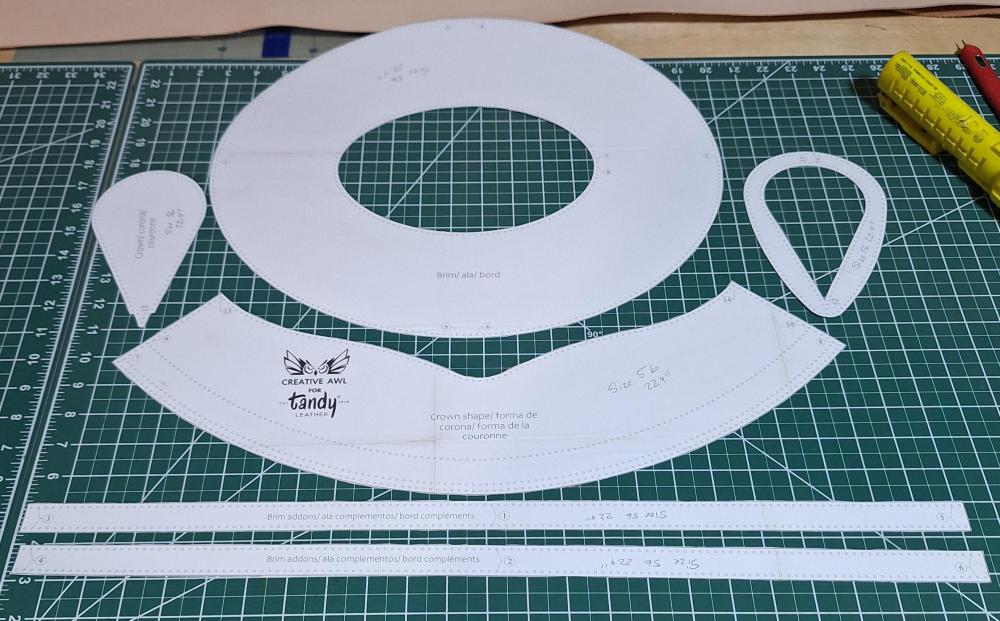
Well it is far from perfect!!! Lmao. I learned alot from this project. All I can say Tandy's pattern is not for machine sewing. It only has 5mm seam allowance, which really is not enough real estate. Might be ugly, but I am pretty happy with it. -
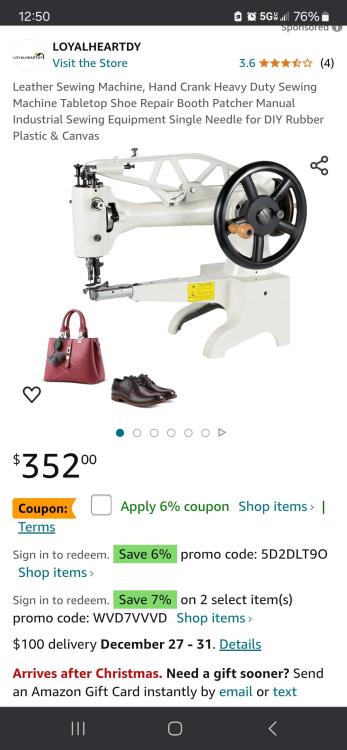
Don't know if you care or not. But figured I would mention it. They make a 29k72B or might be a 73 clone, with a 18" arm & big bobbin. It is quite a bit more money thou. Like $850-$950
-
Cowboy Hat : Can it be sewn on my Cobra class 26?
DieselTech replied to DieselTech's topic in How Do I Do That?
Thanks. Yeah I am going to use the alignment punch holes that were included & marked on the pattern. Lmao I just don't know how it's going to turn out. I think that very pointed front spot I will have to finish it by hand. Or at least I think. -
Super nice & classy!
-
Cowboy Hat : Can it be sewn on my Cobra class 26?
DieselTech replied to DieselTech's topic in How Do I Do That?
Thanks. Yeah I quite haven't figured that point part out yet, in my head or how to go about sewing it. I guess I will see how it goes. Lmao at least it's no super high dollar leather, but I hate to waste any type of leather. -
When I hand sew with poly, I will pull my thread thru the beeswax block 4-5times. As I am pulling it thru the block it actually starts to cut a groove in the beeswax block. I am usually using poly 346 thread.
-
If hand sewing with it. Just pull your length of thread thru a block of beeswax. Will straighten it right out.
-
Are you hand sewing with it? Or machine sewing with it?
-
Cowboy Hat : Can it be sewn on my Cobra class 26?
DieselTech replied to DieselTech's topic in How Do I Do That?
Thanks. I almost got all the leather cut out. I am trying to visualize the construction as I go. Trying to learn the steps to sew it together with a machine, versus awl & needle by hand. Thanks. -
Cowboy Hat : Can it be sewn on my Cobra class 26?
DieselTech replied to DieselTech's topic in How Do I Do That?
Basically I am wanting to machine sew this hat. Lmao idk yet if it can be done. Lol at least at my experience level. -
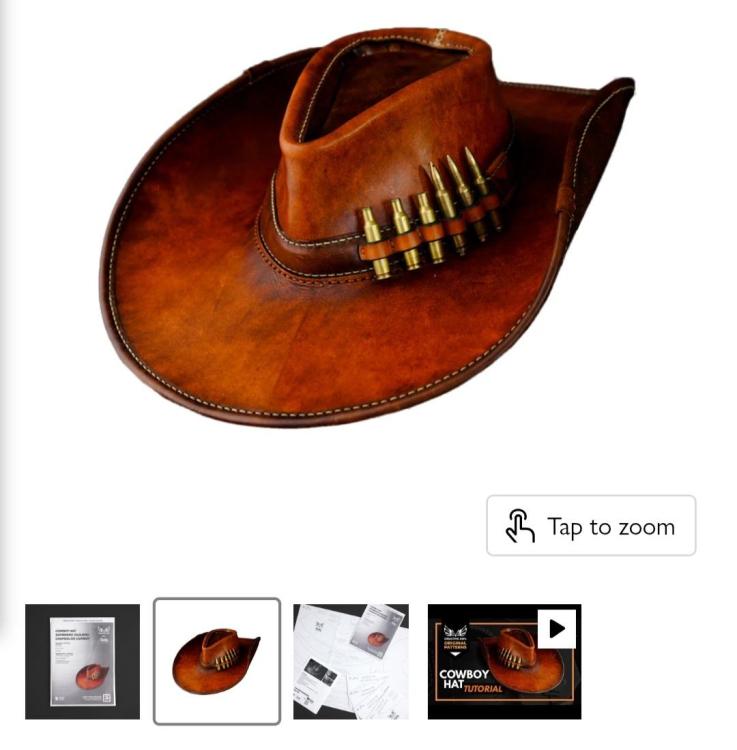
Guys & gals I got this Cowboy Hat pattern from tandy & I am curious if I can sew it up on my Cobra class 26? I am going to use some 4-5oz Crazy horse pull up leather, or at least planning to use. I think I will have to sew most of it, inside out, at least the top anyhow. Can this be done? I kinda want to use this as a learning aid to get more confidence with my machine sewing. Thanks. Any & all help will be greatly Appreciated.
-
I am a newbie to this sewing machine stuff too. But I am thinking if it is sucking/pulling the thread in deeper on the back side of the leather. That you need to decrease the tension on the top thread. Or tighten the bobbin tension to pull the top thread in deeper to the leather. Basically I think it can be done both ways, but 1 way might produce better results than the other.
-
1st off, so everybody is aware. What thread? What size thread? & needle are you using? Also what weight of leather? Also food for thought, the bottom stitching will never look as good as the top stitching. Or at least I think.
-
-
Good books on making designs for leather carving?
DieselTech replied to DaleksInc's topic in How Do I Do That?
Another Great guy to check out is Jim Linnel he is a master at everything leather carving. -
Good books on making designs for leather carving?
DieselTech replied to DaleksInc's topic in How Do I Do That?
Check on Joe Melings website, he does a course on designing & drawing carving patterns. I think Don Gonzales does as well. -
Looks nice. I really like that Glazed Gator!
-
All looks great. Dang you been busy on that rigging! Nice work.
-
If you got a Tandy near by, alot times they will let you demo their machines.


