


maxdaddy
-
Posts
201 -
Joined
-
Last visited
Content Type
Profiles
Forums
Events
Blogs
Gallery
Store
Everything posted by maxdaddy
-
Cool, I didn't know that. thanks
-

Gamber leather crafting
maxdaddy replied to GamberLeathercrafter's topic in Boxes, Clocks and Game Boards
Wow. That looks awesome! -
Wow, that's a great variety of looks and styles.
-
Free wallet pattern made of 6-7 oz veg tan
maxdaddy replied to mariuspirvu's topic in Patterns and Templates
YEah, the card offset is interesting. I might make it next week to see how it "rides and "sits". Thanks for sharing the pattern -
That's a cute idea. I bet you had fun putting it together and incorporating the little surprises.
-
COMIC BOOK HOLSTER
maxdaddy replied to hashtagartz's topic in Gun Holsters, Rifle Slings and Knife Sheathes
That's a very creative project and I think it turned out great. -
Neck knife and sheath
maxdaddy replied to Rossr's topic in Gun Holsters, Rifle Slings and Knife Sheathes
That whole project turned out great! That little cast-off comment probably covers up a lot of time and skill. I'd like to hear some details about that part of the projective you don't mind. I might have some spare time in the next month to get my feet wet in something like that. -
That's stunning! Wow.
-
Dan, I'd appreciate any extra detail you are willing to share about that technique. -Dave
-
Your girl will marry you for this bag
maxdaddy replied to mariuspirvu's topic in Patterns and Templates
THat's a neat design. Lots going on there in both the design and construction. I'll be buying the pattern and giving it a try. -
Perfectly executed! The matching cinch D-s and the crossover D in the back are nice design features.
-
That turned out great.
-
Finished the bandolier
maxdaddy replied to Mungo's topic in Gun Holsters, Rifle Slings and Knife Sheathes
Wow that's a lot of rivets! :-). Seriously, that looks great. -
Made a wallet for my nephew
maxdaddy replied to DarrelT's topic in Purses, Wallets, Belts and Miscellaneous Pocket Items
That turned out great. I'm sure he'll love using that and showing it off. -
Wow! As amazing as that looks as a JPEG on my laptop screen I imagine it's even more impressive in person.
-
Notebook Covers
maxdaddy replied to cbossio's topic in Purses, Wallets, Belts and Miscellaneous Pocket Items
That's an interesting solution to circle-cutting. Necessity is a great teacher. -
Just finished this side quiver
maxdaddy replied to dhaverstick's topic in Archery Quivers and Bow Cases
Wow. That's impressive. I hope they appreciate the design and build time you put into that project. -
Purse
maxdaddy replied to justingschneider's topic in Purses, Wallets, Belts and Miscellaneous Pocket Items
Nice. What app/program did you use to make the GIF? -
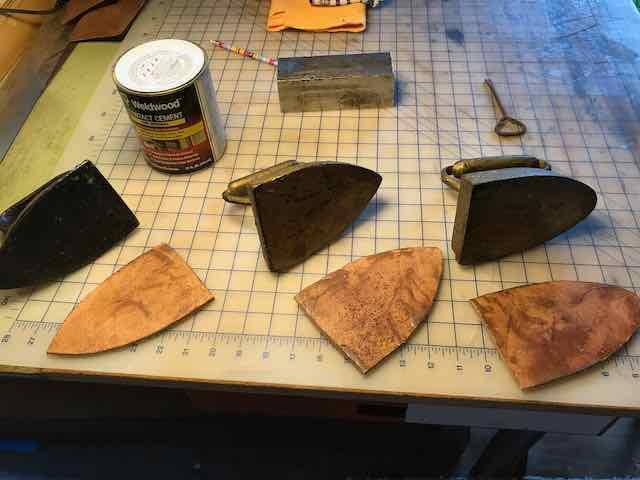
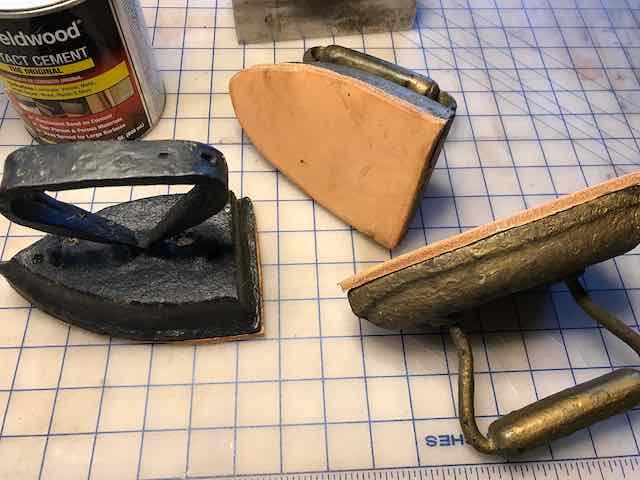
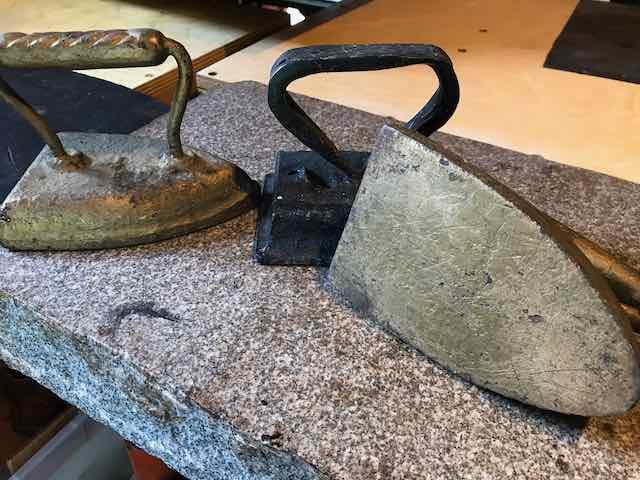
Good idea. I cemented some 10 ounce to the bottom of some antique clothes irons that I had on-hand. They make great hold-downs and even have built-in handles!
-
@Chakotay Thanks for sharing that build.
-
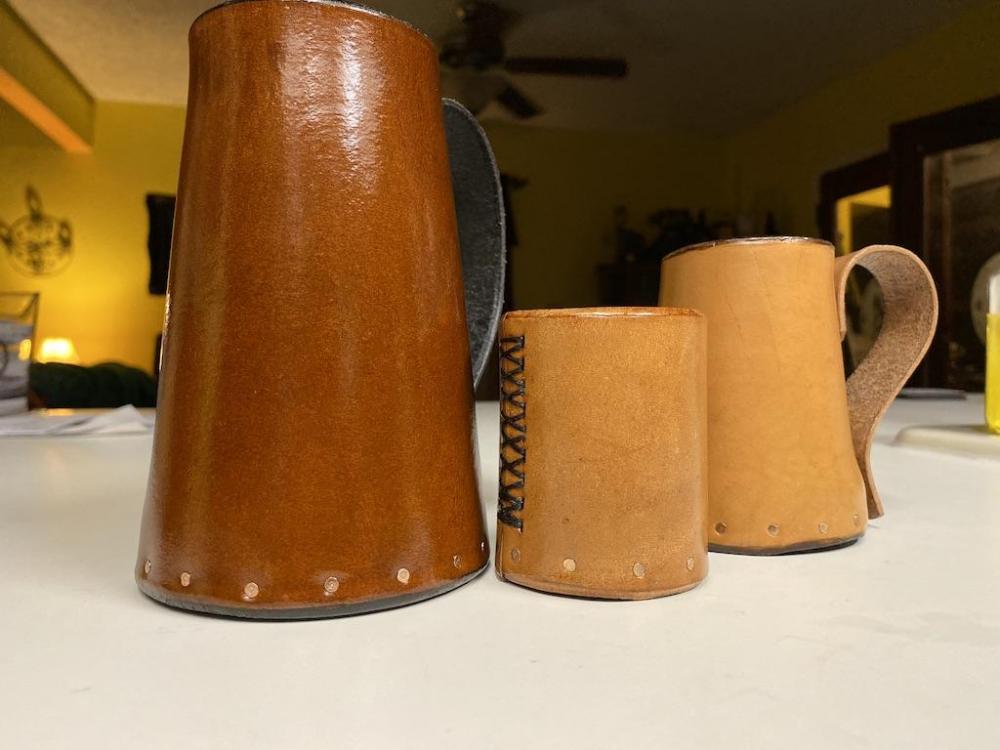
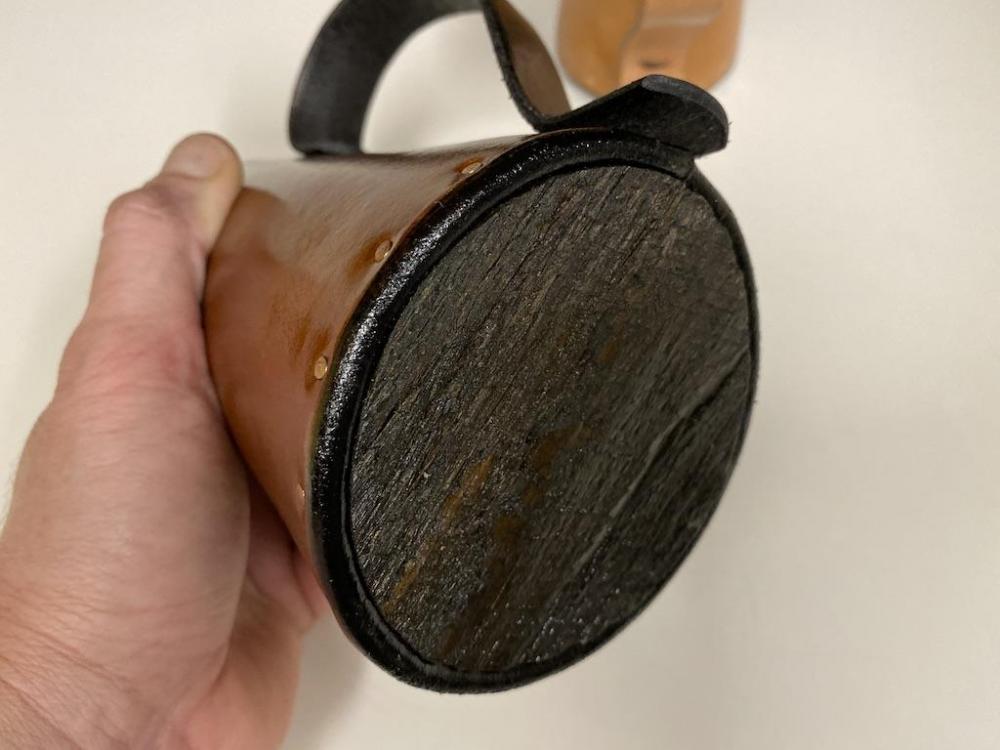
That cherry wood bottom looks pretty cool. Very random coloring and grain. Your corset mug design looks like it would be a pain to stitch but definitely gets a very feminine 'curve' due to the shapes of the panels.
-
Those are good ideas. I only stamp letters on two or three projects per year, but every time I do I wish that I had something like that jig to keep everything in good alignment. I guess I need to spend an evening putting something like that together and then maybe I'll find more excuses to stamp letters.
-
Tooled Shoulder Bag
maxdaddy commented on AlexOstacchini's gallery image in Gallery- Our Leatherwork
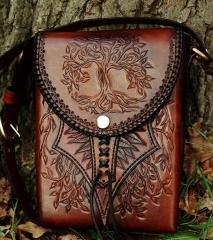 Wow, that's a beautiful design and great execution!
 -
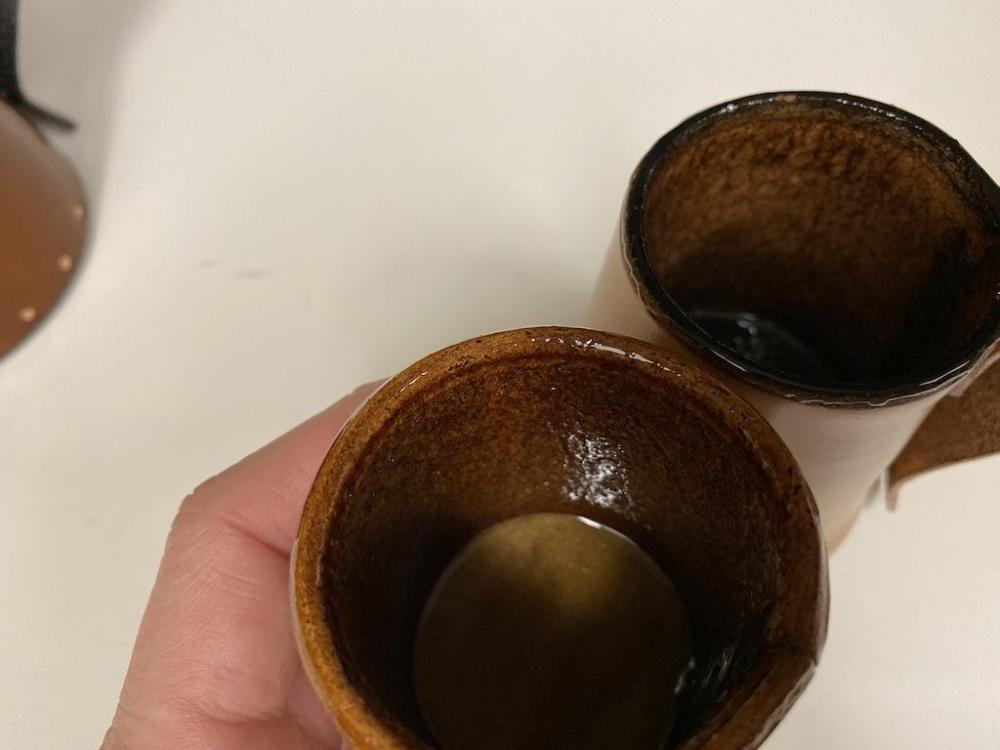
I bought the 32oz Envirotex kit from Michaels on the way home from work yesterday and then made a couple of small-ish mugs and a large shot glass for the purpose of sealing with the Envirotex. My results and opinions are mixed and I'll likely end up making a beer bottle cap table top with the rest of the Envirotex. For starters, the Envirotex is not as easy to work with as beeswax. Even with the added necessity of melting the beeswax in a double boiler, I still consider it easier to use for the purposes of sealing a mug. The Envirotex simply takes too long to 'dry' to a point that it stops running and trying to find a level. This is great for the purposes of horizontal surfaces, but no so much for a three-dimensional object like a mug. Secondly, I called the folks at Envirotex (and a nice human answered who knew the product) and asked about the safety of Envirotex. Apparently it's only FDA rated as safe for incidental contact with food, like on a cutting board or the outside of a cup for example. She said that it was not approved for direct food contact or lining the inside of a cup. Hot liquid, like coffee, could soften the product enough to cause some of the nasty stuff to leach back out and into the contents of the cup. I don't get cosmetically perfect, drip-free, seals but have gotten much better results over the last few years by adjusting my techniques. Sloooooow swirls with the mug almost horizontal is the trick. You can watch the wax depositing onto the leather as you work the 'edge' of the wax up closer and closer to the lip of the mug. Then pick a spot and pour back into the melting pot. That's usually when a 'blemish' will appear in the lining. There's a beekeeper here in town that I can buy 10-pound blocks of beeswax from, so that's pretty convenient supply chain. I've not had any trouble with the beeswax other than from physical damage near the opening from dropping. That's the only downside to beeswax in my opinion, it is relatively fragile when compared to the rest of the mug. Maybe pitch is a more durable lining? Where do you get your pitch from? I'd love to try it but I'm not sure what kind of pitch to buy that is safe for direct contact with the drink. The melting technique (double boiler versus direct heat) shouldn't make a difference to the final job. It seems to me that it's either melted or not and how it got to that state shouldn't matter. If the wax gets 'too hot' from the direct heat method I suppose it could be possible that the wax would behave differently, but I don't know. Everything I read on the subject warned about beeswax catching fire if it got too hot, hence the double boiler. Here's some pictures of my first tests with Envirotex as a sealer. This is how I typically do bottoms nowadays. For this one I used some reclaimed rough-sawn barn wood.
-
Those are very unique looking. Is this the Envirotex product that you use? https://www.amazon.com/Environmental-Technology-128-Ounce-Finish-Gallon/dp/B000LNW022?psc=1&SubscriptionId=AKIAILSHYYTFIVPWUY6Q&tag=duckduckgo-osx-20&linkCode=xm2&camp=2025&creative=165953&creativeASIN=B000LNW022


