RockyAussie
-
Posts
3,265 -
Joined
-
Last visited
Content Type
Profiles
Forums
Events
Blogs
Gallery
Store
Everything posted by RockyAussie
-
Just reduce the pressure. When it is too tight it makes it hard to get a clean start without cutting in too deep.(Hard veg will need to be a bit tighter) With good settings and a sharp blade it does not matter. Its quicker to rotate the job clockwise but sometimes it is safer to go anticlockwise. When you offer the skived edge into be skived you hold back away from the guide a little and curl up the edge so that you have a start on top of the bell. If you don't have a roller in that can be a bit harder to do as you have to overcome a fair amount of resistance at the start with a standard foot. Your knife has to be very sharp and not have any rough feel at all. The pressure setting have to be just right for the leather being skived. Being able to go slow with the feed without the bell going slow as well does help. On Fortuna's and FAV's etc the bell runs at a constant speed always with the feed stone being independent from the bell speed. If you were using a router on wood would you be happy if the spindle slowed down when you slowed down? Many people have opted to put a separate motor drive on these 801 skivers to have the bell run separately. The new Cowboy versions in Australia are now selling with an independent motor set up for this reason. There are a few tips that just may help in this video I did on circular skiving awhile ago- The skived pieces above are for the wedding ring boxes I make which if you go to my profile and look in the about me section you can see the topic which shows how to make them.
-

Techsew 5100 and narrow feed plate and dog
RockyAussie replied to Thescandall's topic in Leather Sewing Machines
All good news and thanks for sharing your findings with us all. This last point you mentioned reminded me I want to come up with a wider side on the feet to help reduce the pressure marks you can get on veg tan leathers. Will let you know how it goes sometime soon. For anyone looking for more info about the narrow needle plate set being shown you can see all about it in this post - -
Great news for the Techsew 5100 owners. Thanks to member @Thescandall I can now confirm 100% that this set will fit straight up to these machines. For reference here is his post -
-
Raising and lowering that presser foot is something that you should hardly ever need to do. The first trick is to first on light soft weight leathers is to make sure that you have very little spring pressure applied to your feed stone. Back the hook off until it is in the last notch perhaps but also wind anticlockwise the pressure spring knob that tensions the feed stone for angle. These are often set way too tight. Secondly when you feed in something thick do a 1/2 way in corner off skive then when you put anything in hold a little way out at the start and hold it upward with your right hand so that the leather edge does not bite in or go under the blade. Often awhile it just happens without thinking about it. Practice on a lot of scrap. In Myth's Video above note at the end 40 minutes onward why it is good to have the vacuum happening on these type of leathers. This video I did awhile ago shows me using the technique I have described above. It was not made to show the procedure but if you study it hard you can see it. Using a roller foot will also help a LOT.
-
Professional wallet making tutorial (book)
RockyAussie replied to Danne's topic in Marketing and Advertising
Thanks Chuck, With all this Covid stuff around I may have to get a whole lot more tech savy first. I way prefer one on one teaching really. -
I very much doubt that anyone could show me how to do the skiving I show in this video without a roller foot installed. I have made a couple of different roller shapes but for 99% of the jobs the one shown here does the job.
-
Have you got any pictures of these feet? Most skivers come with what they call a flat presser foot I thought. I only ever use a roller foot myself. Made the first one myself because I had not heard of any at the time (20 or maybe 30 years ago). They never jam or stall like the standard ones do.
-
That alone is the service that we need to support. I do believe that we should all do our best to supply where possible this type of service. I like and appreciate it and always try to give a customer more than they expect. Referrals just follow and saves a lot on bullshit advertising.
-
Hey @Spyros the best would be a 24/180 needle but they will still have some trouble whether it be Riri or Ykk metal teeth. If possible pull the teeth out where you are going through. Knipex cutters or side cutters whichever you got on hand. This link shows a fairly good thread chart on the Toledo site - https://www.tolindsewmach.com/thread-chart.html
-
Thanks for the update. Just curious ...you say you have #19 and #21 needles and some #138 thread. The smallest leather point (LR if you want the slanted look)needle on these is a #23 which is what I have used on many of the products in the pictures in this posting. I am not sure that with 138 thread that you should use less than a size 22 needle even with the fabric needles either.
-
Professional wallet making tutorial (book)
RockyAussie replied to Danne's topic in Marketing and Advertising
Good questions and good points. I see a lot of people these days selling very little of their product but offering to teach or sell people on all their techniques and secrets etc. Many come here to learn and share knowledge and grow their own business as well. I am only trying to warn that many of these video's and pattern sellers are only catering to the hobbyist who in their spare time can use a knife and some awl and needles at home. The likely hood of the patterns and techniques they offer is very unlikely to give much help to someone wanting to make a living from it. I like making well made leather goods and I like making it profitably as well. I am happy to share some of my knowledge here for free, like this post where I show a video using a device that enables a quick lining up of the pockets in a wallet and some of the other machinery and steps involved. Not shown in it after the credit card pockets are assembled is the second cutting at the clicker press to get a quick, clean straight line around the edges. I do hope in the near future to start running some very limited number classes on how I make and design products with a focus on a what machines to buy and how to use them. -
Looks like a good deal to me
-
Professional wallet making tutorial (book)
RockyAussie replied to Danne's topic in Marketing and Advertising
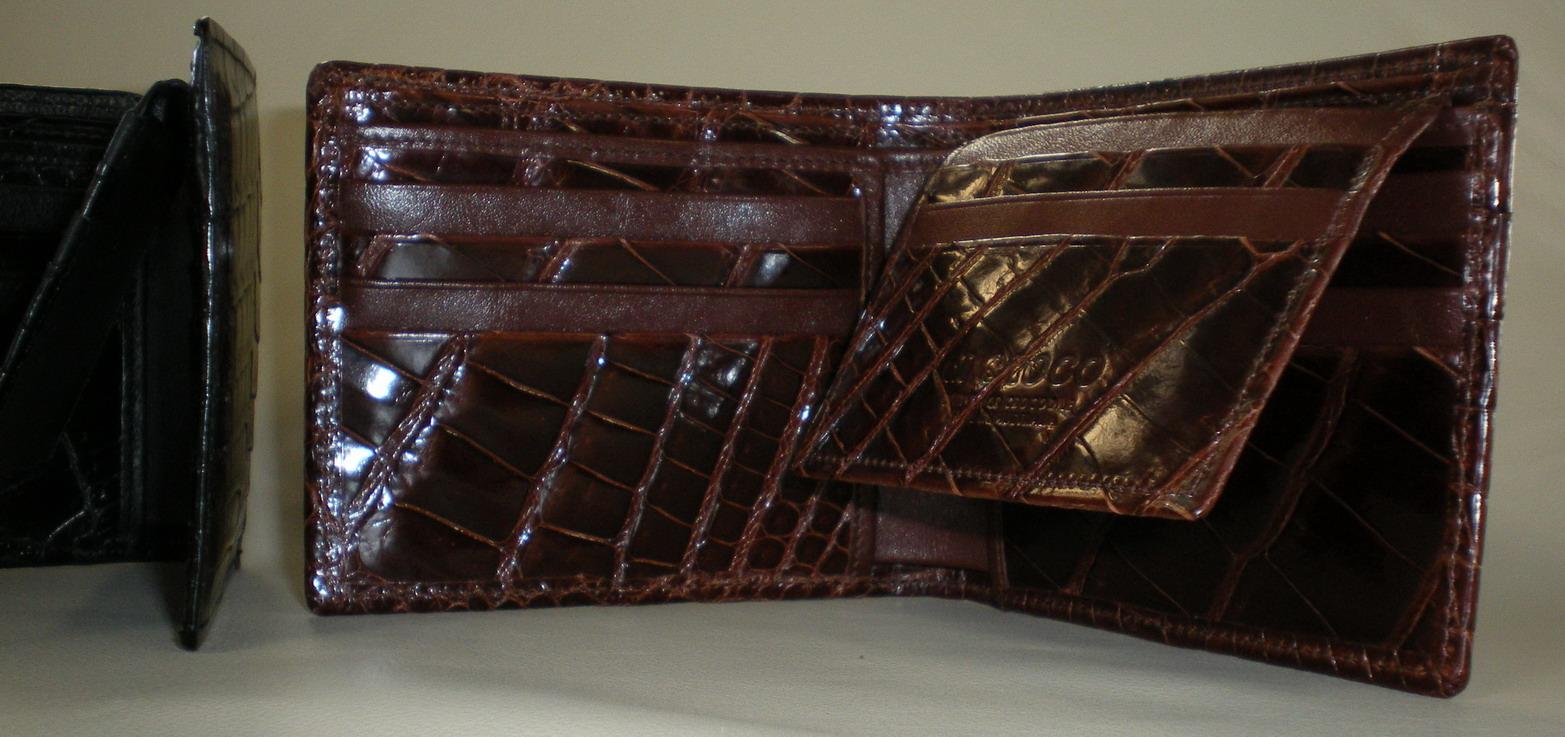
A very common repair I got when I had the repair shops was people bringing this type of construction in to have the fabric re glued. Not very successful as often the glue they used ended up going tacky/slimy and trying to remove it was just not worth it. From what I learned there I have never done that method unless it was stitched and that is only on special custom jobs. For most makers this method of skiving would add way to much to the cost and would not happen easily with a skiving machine. Getting a level looking edge all around is good practice whether it be an finish edged or a folded finish but a better construction method will give you that and take less than a quarter of the time to achieve. If we are making a run of wallets like this one below the average time per piece would be approx 1.5 hours. This uses a clicker press, splitting machine, skiving machine, glueing machine, line up and folding machine, 2 stitching machines and a polishing machine. If made in plainer leathers the time can be a lot quicker than that. This is in no way meant to deter anyone from looking to learn but I do get a bit pissed when I see so many people thinking that if they learn some of these techniques from the masters that they will be able to sell their products and the same outlandish prices that the masters supposedly get.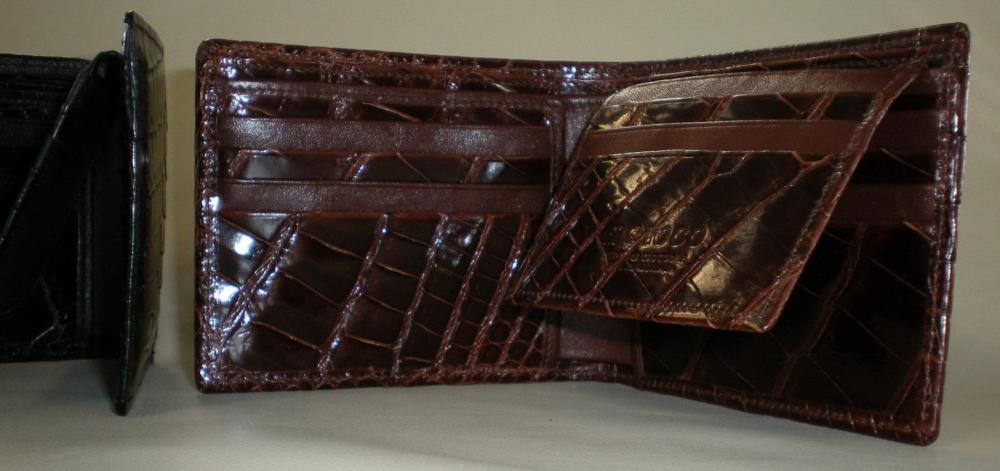
-
TechSew 5100 vs Cobra Class 4 vs Cowboy CB4500
RockyAussie replied to WiscoSam's topic in Leather Sewing Machines
Any of the machines above you mention can do thinner leathers with the help of a narrow needle plate and dog foot set. This post shows the set in use if you check out the video. If you go ahead and want a set contact me and I will help make it happen. AS far as any of them being better or worse.....they are all good but do get the table top stand version like you see on Jeff's machine above. Some machines come with a u shape cut out and they are as good as tits on a bull. If you want to check my youtube channel I have a video showing why the stand table is better. -
really struggling with which sewing machine
RockyAussie replied to ToddW's topic in Leather Sewing Machines
I think @MtlBiker biker has answered that very well. Only thing I would add is that the EPS machines I have are Variostop which include a pneumatic foot lift as well. They are a very nice feature to have as you don't need to push side ways as you do with a knee lift. You just heel back on the peddle and up the feet come. Knee lift means you have to have the pad close to your knee and often have to spread wide to get the feet to lift. That gets tiresome and its possible to lean your knee and get enough foot lift to upset your tension sometimes. Very annoying when you get sweaty nuts and need to spread too.. P.S. It gets pretty hot at times around here. -
really struggling with which sewing machine
RockyAussie replied to ToddW's topic in Leather Sewing Machines
I have some machines that have eps and some that don't. The ones I have can have the needle always stop in the out position or the down position. I always have them stop in the down position and hand wheel if I want to take the job out which is usually at the end of the job. When I say the down position this is normally when the needle has just started coming up and the job is safe to turn without having to worry about missing a stitch. Getting that position without an eps can be a bit slow and time consuming depending on the job. If I were to be stitching something like bullet loops down ....up a few stitches stop and turn a few stitches stop and turn etc then for sure an eps you want. Like most things it will take a little time to master but once you learn to stop just short of the last stitch you can save some time not worrying about fixing up corners that you missed a stitch on. -
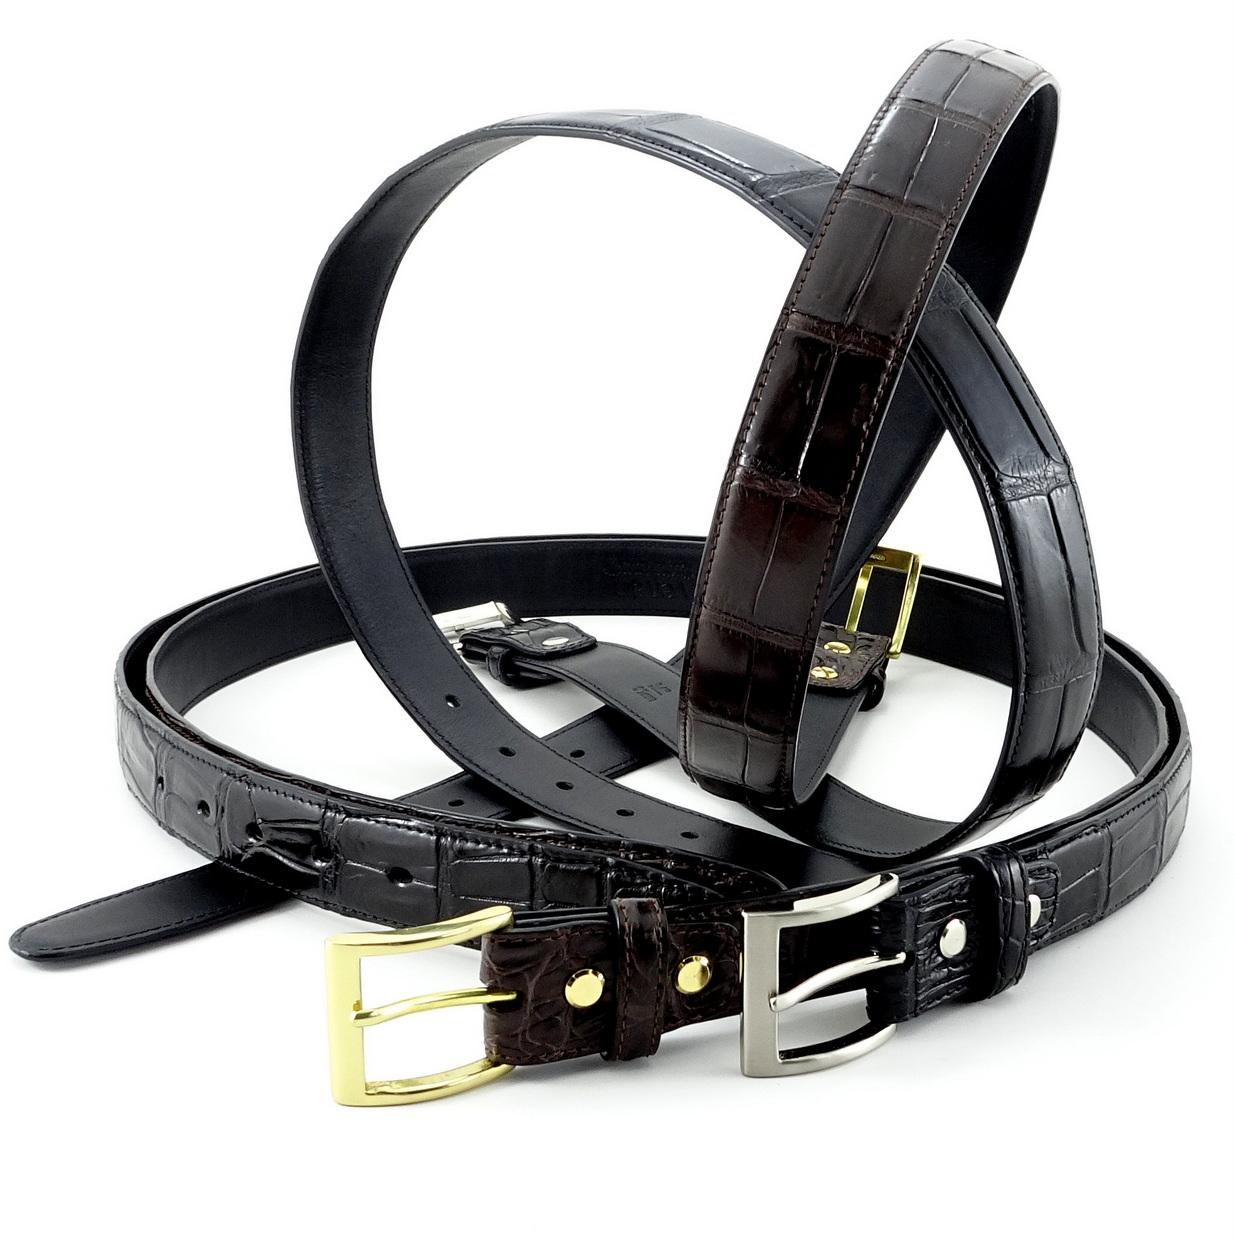
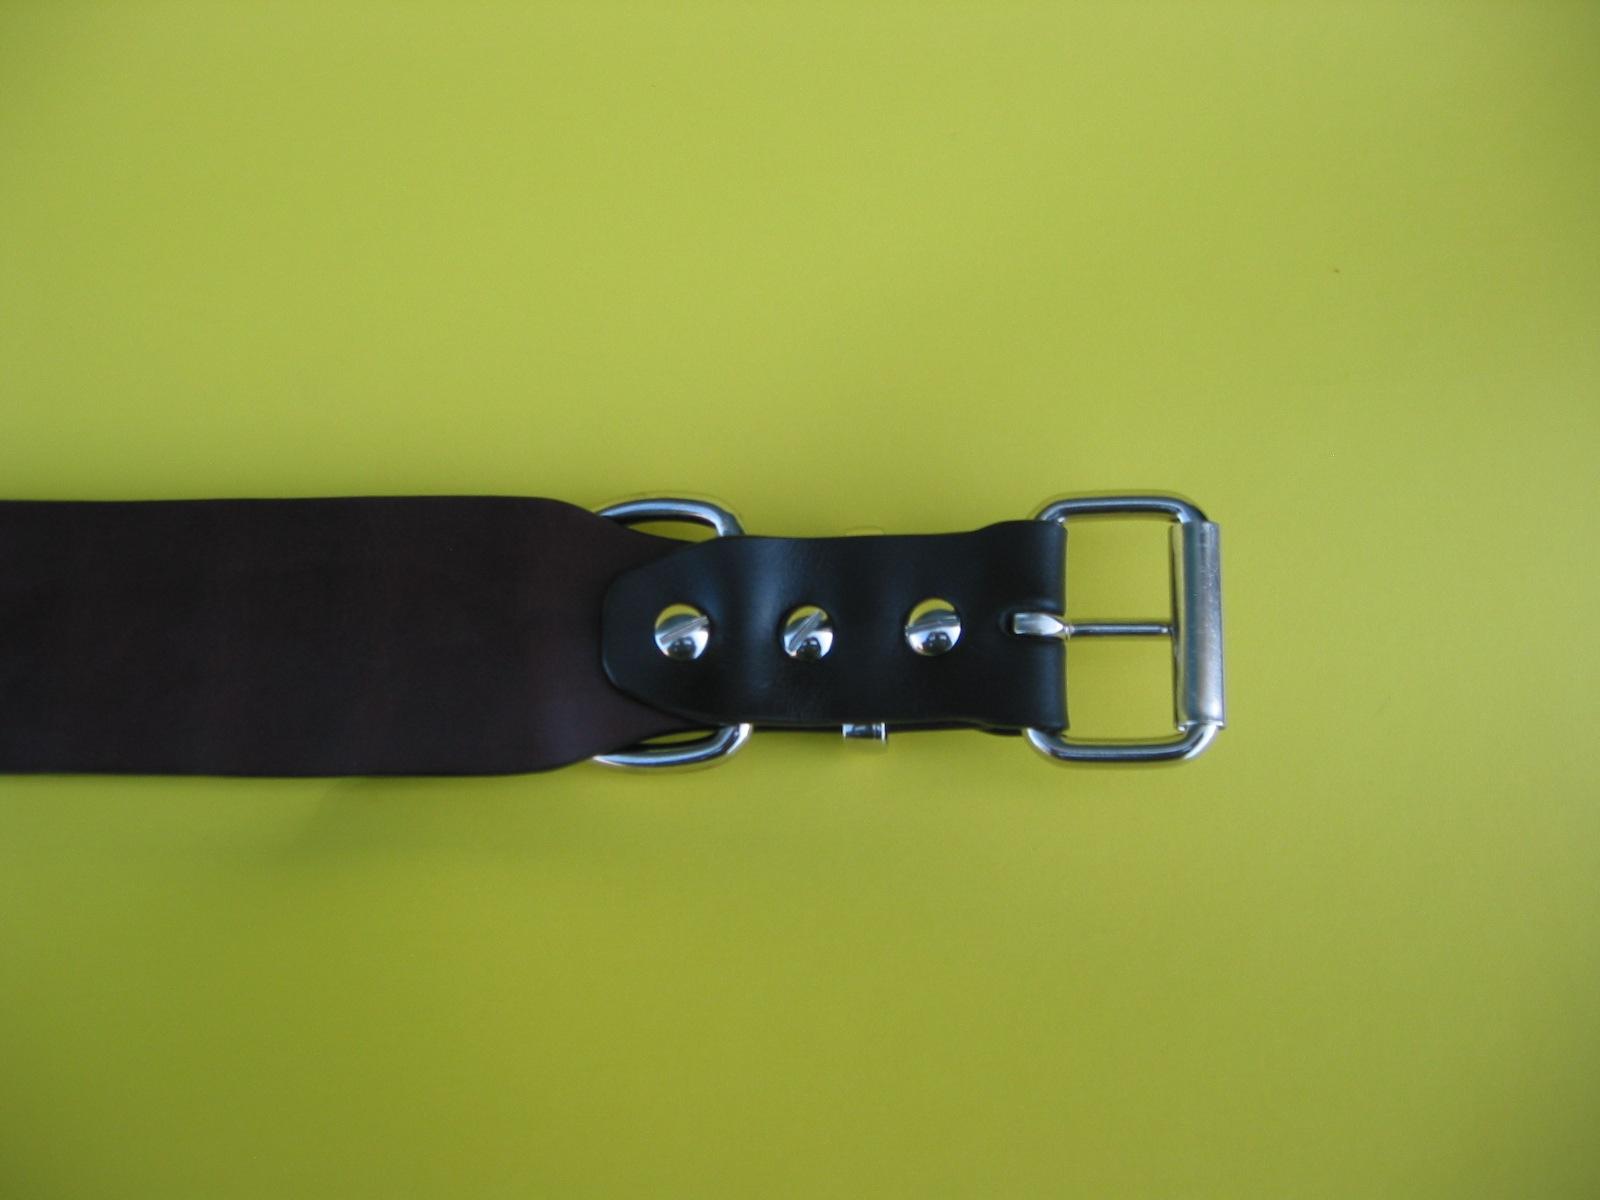
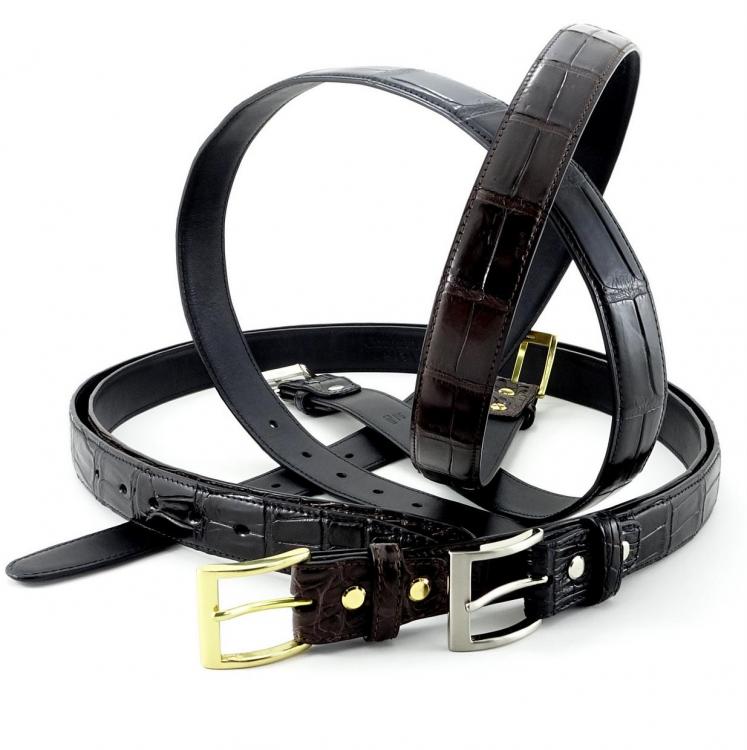
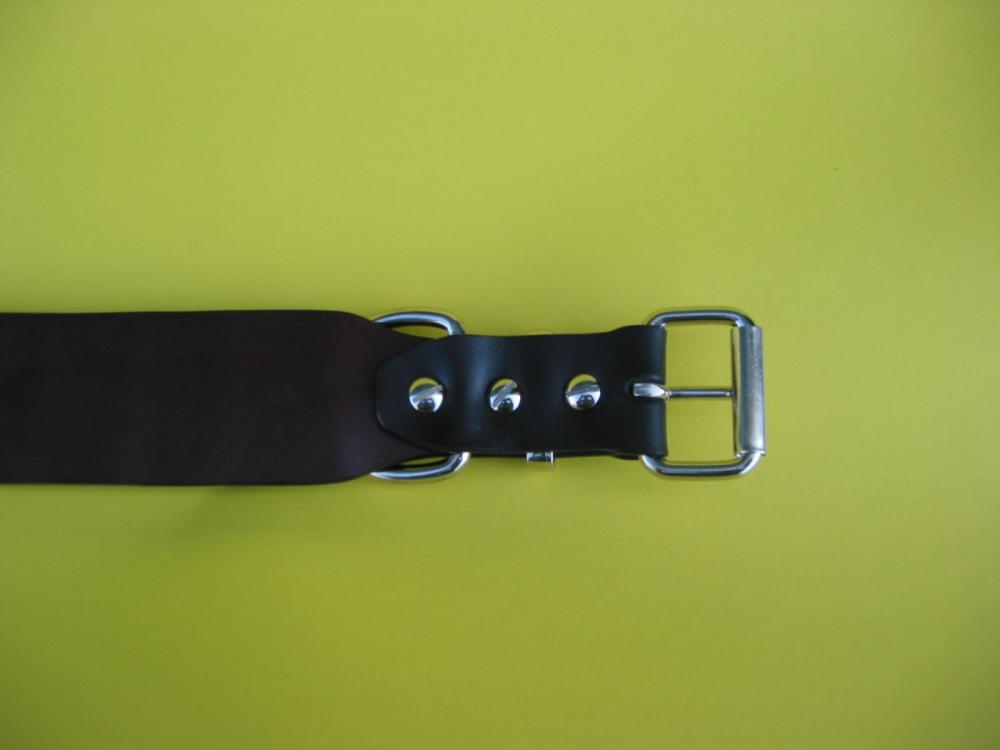
Just a way I would do it is to make up an extension piece. I do a lot of my belts with a separate extension in order to make them quick and easy to cut back in size if needed but also they can be made longer with a longer extension piece if needed. A good thing here is that the tongue of the belt will cover over your connection whichever way you go. In your case above I would cut it at the start of the crew punch hole and skive and add in that extra inch or so your chasing. Follow this up by adding an extension over the top so you end up with something along the lines as shown in the following pictures. You can stitch the top part of the extension to the main part of the belt or not , your choice.
-
really struggling with which sewing machine
RockyAussie replied to ToddW's topic in Leather Sewing Machines
In the USA it is known as a Cowboy LS - 1341. It is a very good machine for a broad range of leather good manufacturing. I have done a few videos on it and have a couple of other ones I would like to get done yet as well. The very wide range of feet you can get for this machine so easily is one of its great features as well as the fantastic control it offers. -
The paddle foot @TomE mentioned can be seen in this thread on page 2.
-
Sometimes it can be just bad thread but most often it is caused by a slight needle deflection which makes the hook miss the thread or sometimes spear the thread. When it spears the thread and only takes a part of it you then see you have here. What caused the needle to deflect can be hard to work out but often it is something uneven in the edge. You stitched it inside out first then stitched over the top so there is a good chance that there is some little fold inside that could cause it. The sewing machine may not be suitable for the job. The wide spaced dog foot that is being lifted on one side only on this edge means it probably is not that secure when the needle goes in. If your check spring is not coming into play when it needs to then also you can get this problem. I have to ask why you have not used the Techsew 2750 to do this instead? The dog foot is right there under the foot and moves on through with the job.
-
That holster looks like a good effort to me. I use a set of them magnifying glasses always when I sew and I do spend a bit of time getting the light so that it gets right in where I need to see the needle going in. I also use an open toe foot for that reason. One thing I did notice is that the thread cones are way too close to where they feed through the stand. This will often give you a bit of intermittent tension issue and it is best practice to get your cones as low to the table as you can get them to avoid that problem. Very nice looking set up other than that.
-
What you believe will be true if you think that, but if it helps..... If you were working for me and could not do it then you would no longer be working for me. Practice doing on some scrap first and you will find it is not that hard. You have an open toe foot and a good directional light. These happen out of the blue and learning how to deal with it is what you need to work out. Thankfully its not Croc or some other expensive skin because on them I remove all the threads and start again just so you cant see anywhere the thread is doubled up and out of place. You will find that the needle does not have to hit every hole perfectly to still look alright and a blunt needle can be better as well as they sort of slide there way into the hole a bit. If I have to do a extra large piece I will remove the needle and polish it blunt especially if the back is fabric as you have in this case. Last bit is to check that your thread return check spring is adjusted correctly. If it allows too much looseness on top, the needle can spear it or even end up on the wrong side as it goes in and you will get this problem happen regularly.
-
What other sewing machines are like the Cobra class 26?
RockyAussie replied to ToddW's topic in Leather Sewing Machines
Just an observation....the CB-341 and the CB-1341 (aka:CB- 6900) may look similar but are really quite different. If you want to see one in action I have a few on my y tube Channel like this one - They have a square drive needle movement and therefore do not alter the length of stitch much going from thick to thin and are better at reverse for the same reason. The handle are larger thread more easily (double tension discs) and have a control knob on top for adjusting if you are doing large thickness changes on the run. I see your looking at production in future so also take into account that these are mostly self oiling as well.Double check back with Bob if he has one of these in stock as I believe they may suit you better. (Bigger bobbin too I believe) -
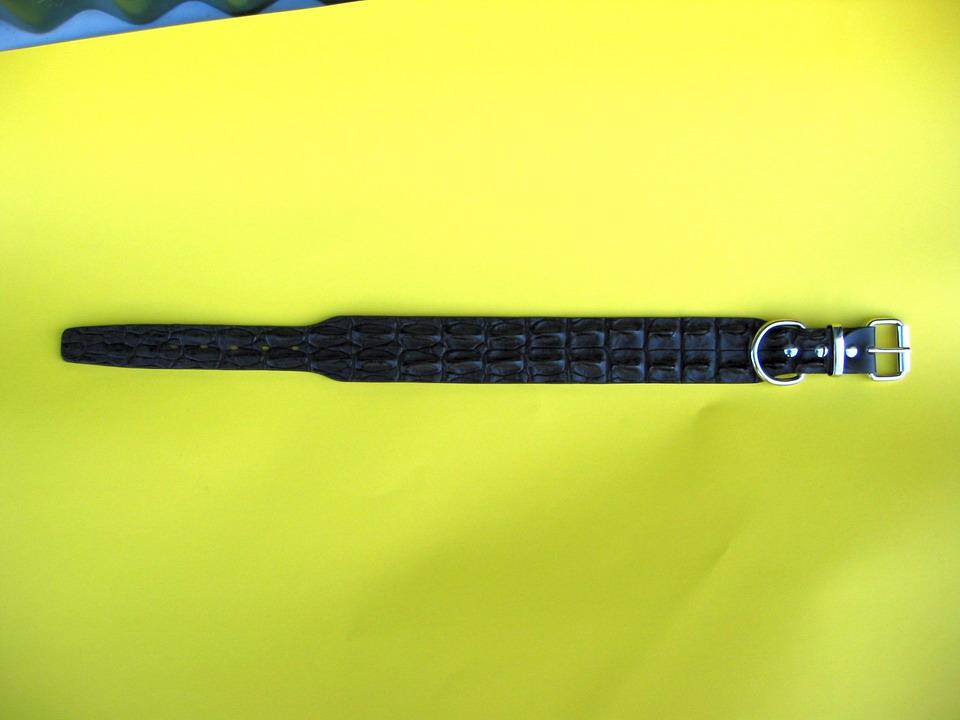
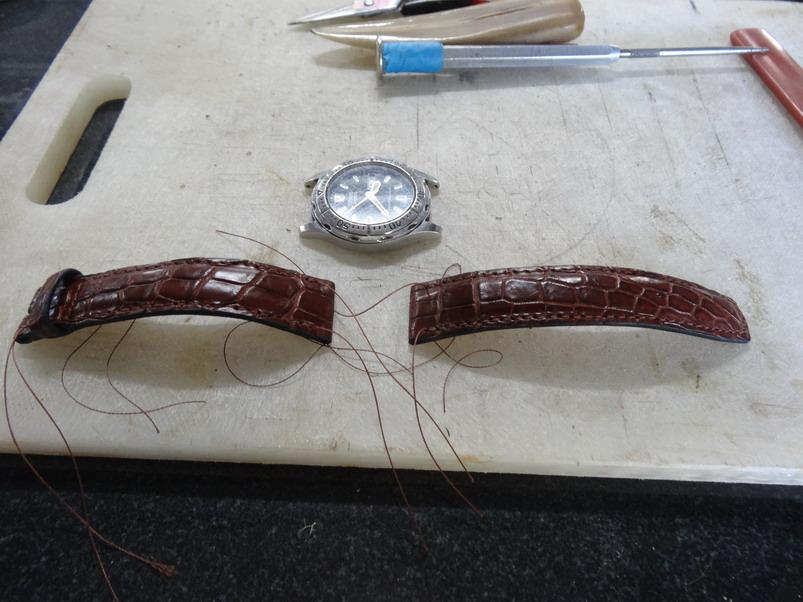
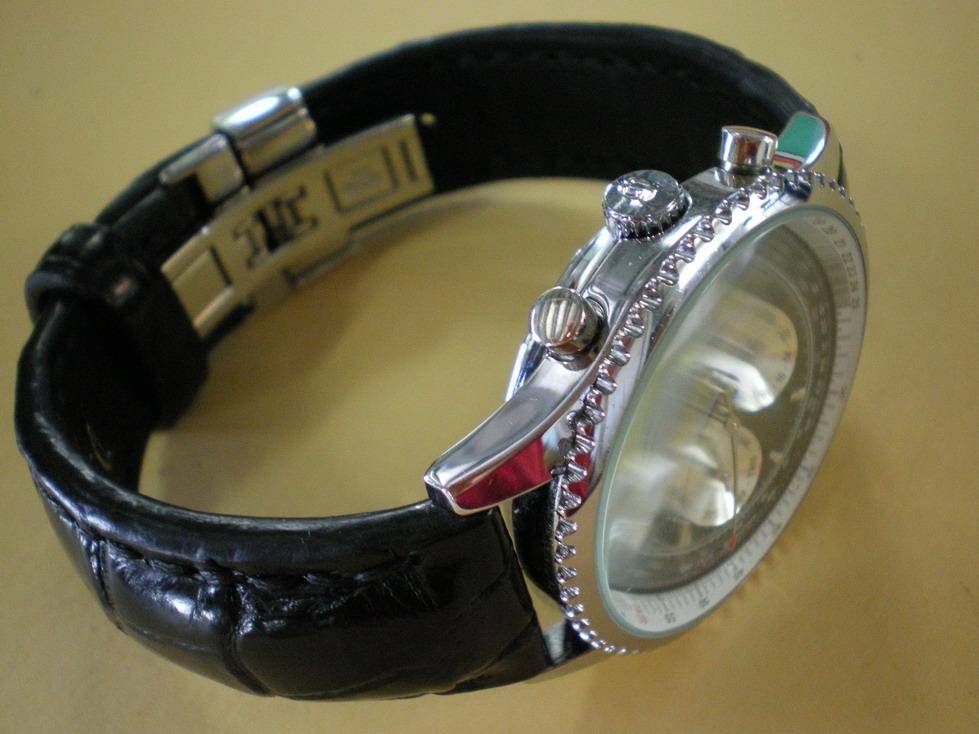
A watch band with the low profile would be no problems with the machines I mentioned or even ones with a medium profile like this one is alright as well - Note that I leave the threads long to do the finishing off by hand. Ones with a heavy varying height profile like this one I still do by hand though - ( Over 5mm thick rubber filler from memory)
-
This shows to me that the top tension needs to be tighter. You can see the knots on the bobbin side and it looks loose. I would also consider changing the Serafil thread as I have found it to be a very slippery thread and sometimes hard to get a even tension happening.