


RockyAussie
-
Posts
3,265 -
Joined
-
Last visited
Content Type
Profiles
Forums
Events
Blogs
Gallery
Everything posted by RockyAussie
-
-

Computer Drawing Software For Making Leather Patterns
RockyAussie replied to Blackey Cole's topic in Computer Help
Thanks for that. I assume that you wanting this drawings to go into a cad drawing program on your computer for printing out further hard copies? I seem to remember you used auto cad in the past. What I have done sometimes is take some pics and then measurements and drop the pic into auto cad and squish the scale up down etc untill it matches my measurements and then draw the lines over the top. I do that only if I am wanting to go on a pattern up a project. Another way that may be of interest goes back to when I made shoes and the orthotics for them. For a relatively low price you can buy these casting foams which are for doing the feet impressions like these in the pic below- They come as you see with a foam either side to do both feet. I think if a gun were pushed down halfway into one side and again for the other side of the gun on the other foam, you would be able to cast either a plaster of paris or resin to get yourself 2 halves of the gun. This half would then be very easy to get you a 2d outline and have the advantage of having a blue gun of sorts when you tape or attach them parts together. A scan of this outline can then also be put into your drawing program and should true to size if done correctly. What do you think?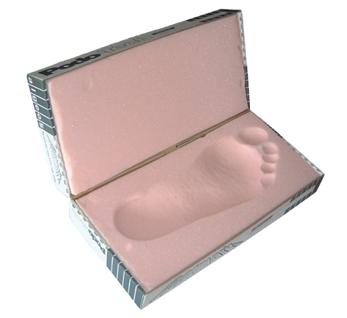
-
Computer Drawing Software For Making Leather Patterns
RockyAussie replied to Blackey Cole's topic in Computer Help
I hate to admit I am not understanding what above the guard means? Are the pictures above good and the type of thing that you want to be able to do for other guns? Would it matter if there was more detail as when taken from a photo? Is this only for the purpose of arranging the bottom leather piece patterns or ...... I am only wanting to understand if these pictures are what it is that you want to achieve or not and if so, do they need to be done on what size paper if that matters etc. Brian -
so so true.
-
I have to ask why then you do not just take it to an upholstery place and pay them a few bucks to stitch it up for you. Way way cheaper and probably a better outcome. Plywood is not that hard to stitch through as some might think but a decent sized machine would be best.
-
@YinTx The best thing I can think to say is that you should not try and sew the pieces together untill you can have front and back pieces meeting together without much difference in length, meaning the top should not be hardly any wider than the bottom at this area. It (the top) needs to be wet moulded and dried to shape if going for the flat back look or the pattern would need to go more 50/50 at that area and wet mould the lot, putting in the knife after the stitching. On one off type pieces a trick I worked out years ago is to cut myself a strip of hard veg about 3/4" wide and quite thick depending on the job. From there after the leather is wetted and ready to mould (and initially over size by 3/8 to 1/2") staple down the base to hold position well and then I staple the thick welt down over and around the top piece keeping the staples about 1/4" out. This allows after the piece is dry for me to trim away the excess and loose the staple holes at the same time. This saves making up a full blown wooden or plastic mould and pressing technique. I do have a large board that is put together with the end grain up and it works beautifully for this type of work described. This knife sheath along with most of the ones I have made use this technique. I believe you could do this on the bottom surround edge if you were looking to maximise the flat back look. Best of luck. Brain

-
Yep its just you .....it looks good as is and nice any minimal in just a good way.
-
I agree. Grind away is a last resort. Needle bar may need to revolve a bit.
-
I'm thinking that the holes may be laser burnt and that would help with cad spacing. The top holes would be probably just burn marked in a bit and used to line up to with an awl. The other one is I agree with @Mattsbagger and I think plugged. Stitched out flat and then glued. That is how I do my wedding ring boxes.
-
Way before the time there were 3D printers a fairly successful way of doing this I found was to carve/stamp the design heavily into the leather and then seal it up well.After that I put on some release agent and the pored a mix of high impact casting epoxy on to it and immediately followed this with a steel plate and allow to set. I did this procedure on a cowboy boot cigarette lighter cover which stood up to the pressing for many thousands of copies. The old guy who used to sell them all over the country passed on and I let it all slide after that. This is a much easier process than learning how to do the 3d drawings and printing out but either way if you can draw up the 3D design whether its printed or CNC carved would make little difference. The cost of the print though would be less than 1/10 of the price and I found that the stamps held up very well as shown in this post I did awhile back. - https://leatherworker.net/forum/topic/82905-is-there-a-font-for-ivan-alphabet-stamp-set-8132-00/
-
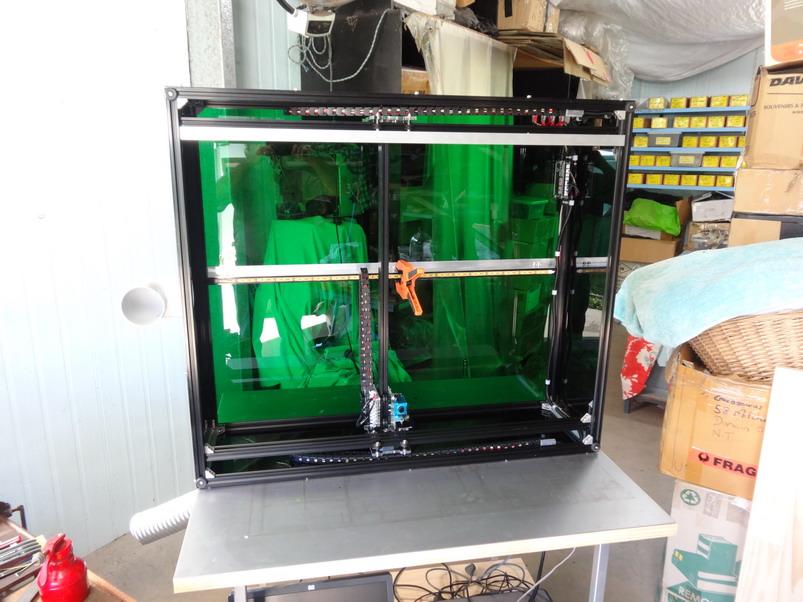
Although I do this type of edge coat edging every day I have never really got round to doing a tutorial on it as yet. This link to Danne's tutorial is similar enough to my own and perhaps more applicable for small volume jobs - https://leatherworker.net/forum/topic/85026-finishing-edges-tutorial-with-edge-paint/?tab=comments#comment-575922 A bit of my own methods can be seen in this post of mine - https://leatherworker.net/forum/topic/86675-how-i-make-crocodile-skin-leather-belts/ Some more can be found in some of my other posts which can be fond fairly easily by looking at my profile here and then looking down the list in the (about me) section. The black acrylic I have used on the sides is not see through and covers 90% of accidental viewing and the top green is there just as an extra safety when viewing the job on the run. It is not a extra special grade bought in for the job, but I have found that it seems to be better than the cheap glasses they provide with these lasers. Unlike your earlier statement about being surrounded by genius's that is not true in my case as I have found my self guilty tooo often at seeing the laser beam in action with out having my goggles on. The green top thankfully has helped in my case but I can not say that this is the right thing to do. I tried to find some method of putting it to some safe testing procedure and could not find anything useful. It is certainly less glary than looking through the goggles supplied.
-
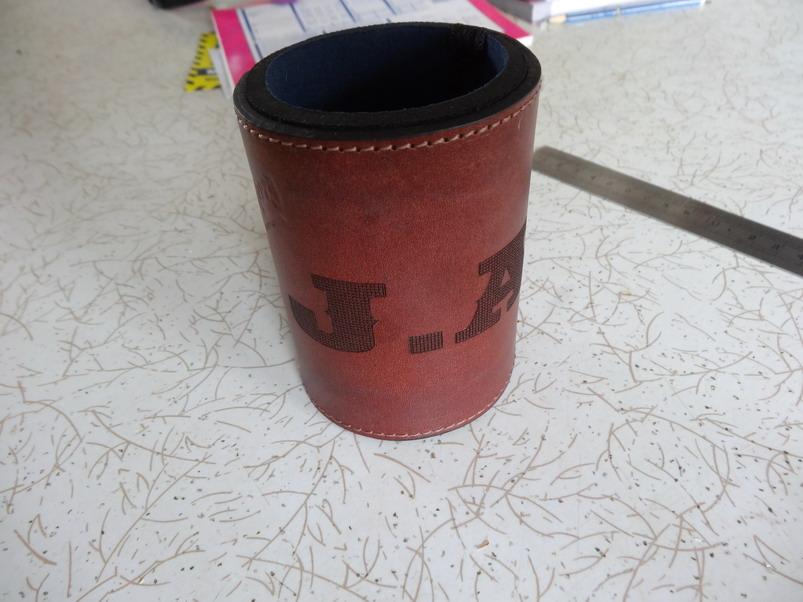
The machine was originally an Elksmaker A3 purchased through Banggood and I gave it a few mods to do poster size stuff. I have not had any call to do any curved or radius stuff so until then...... Yeah the beer coozie on the flat is the way to go and easy. Believe or not I have not yet tried to burn in Croc, in the laser anyway. I will give a try sometime. I think I may have posted this pic of a stubby cooler before before but ....


-
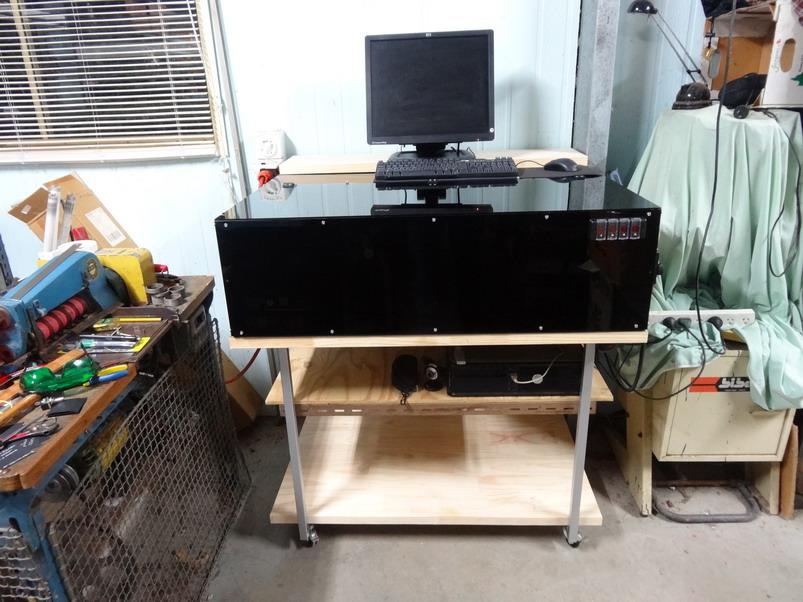
I am not knowing what you mean by this question ??? Temperatures here can reach pretty regular about 40 degree C so for me keeping the temp down may be more relevant than in the UK. I like the laser to be able to run for at least an hour or more if I want and as mine is in an enclosure for better fume removal AND eye protection I need a more direct cooling method than the standard set up. The pedestal fan or an air conditioner works pretty well in an open arrangement but not so if you want to extract the fumes. This pic shows my somewhat modified laser as at the moment. The rails,acrylic panels and extraction fan and all of those extra bits set me back probably about $500 and for my eyes and lung health and other around me, that sounded alright to me. Set of glasses cost nearly that.
-
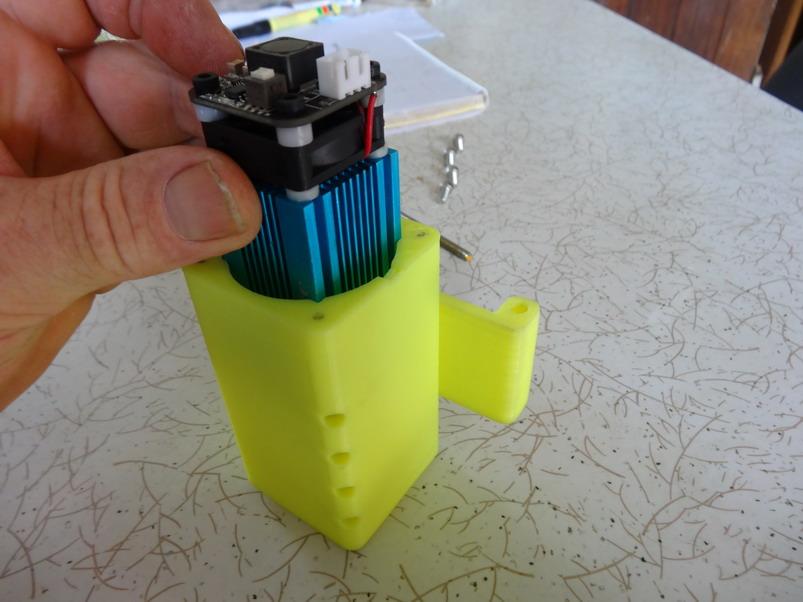
Getting that focus spot on is a real surprise deal at times. I found that I can get that dot as small as can be and it still can be out from the best. I make up a wedge shape box /\ in thin cardboard and set it to do some lines up it. Where it cuts through I find the middle and then adjust for that height. If you have a check on the dimensions of the laser housing it may be 33mm square the same as mine. To enable it to run for a lot longer I made up a housing to take a bigger fan and also give me a manual Z lift at the same time for easier focusing. One turn = 1mm. Here's a picture that'll give you the idea. The temp gauge helps me to check that she's not getting over hot occasionally. The funnel is to give further air assistance if required and is held in place by magnets for easy removal. This one is for my 2.5 and as well 5.5 watt lasers. Let us know if you are ready or want any more info on it. Brian


-
that is a very fine result @mikesc and @toxo. I hope to see more in the future.
-
Free spill stand for Fiebings 440ml dye
RockyAussie replied to chrisash's topic in 3D Printers and Lasers
Good thinking -
Batman's wings is bugge..........never mind
-
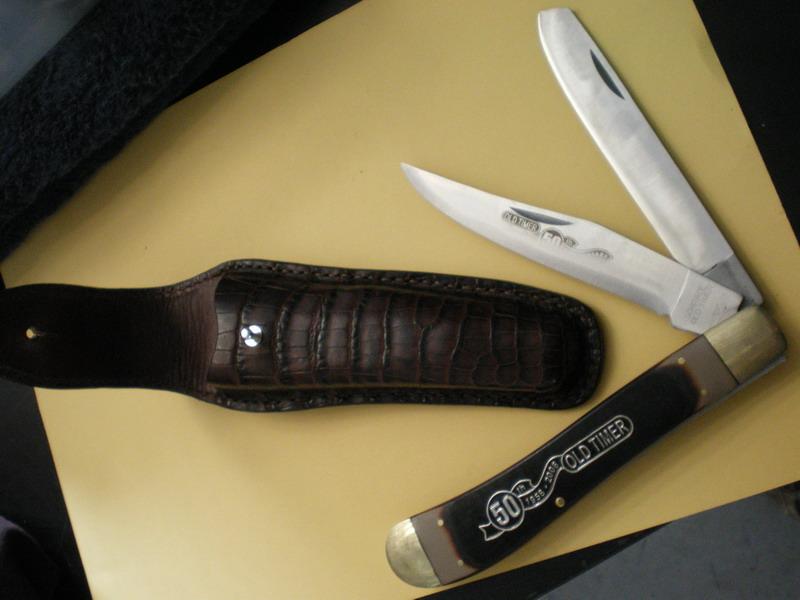
I think you got a bit of a rare breed there @DavidMac. I have one vaguely similar which was made by Australian Press Knives Pty Ltd .Very old and with the same tediously slow to change blade spacings arrangement. If you don't get any better answers try contacting Texon Aus in Melbourne and ask for John or Spiro to have a look. Brian
-
Looking at the angle of where the feet would normally be makes me think that it may be a roller foot. The feet on a sewing machine are what is used to hold down the work and sometimes help feed the work through as it is pierced by a needle and thread.
-
Computer Drawing Software For Making Leather Patterns
RockyAussie replied to Blackey Cole's topic in Computer Help
I reakon if we was advancing we'd be using contact glue instead of bullets. Non lethal mostly, better spread over the allowable defending yourself range, no need for rapid fire.........Not so Macho tho I guess or somethin like that... Ya off topic I know. -
Homemade Clicker Press and Steel Rule Bender
RockyAussie replied to abrahamd2k's topic in Leather Tools
Well done. Re the die bender I would think to make it foot operated as well so both hands are free to position the rule with. -
I should have thought to say earlier that with knives/dies you can generally get them supplied with an ejection rubber which is a little similar to a rubber thong material. Sometimes you may have to add a little to it in thickness and sometimes sand some off depending on what thickness you are normally running. This saves you having to waste time poking them out as they stay on the board until you want to remove the waste leather and then scoop them all up together. When you have to add some to the rubber you just cut out some leather and put it up above the rubber.
-
Wet forming: how much curvature is too much?
RockyAussie replied to Leb's topic in How Do I Do That?
The detergent makes the water wet. It allows the water to soak in to the fibres more fully and thus become more supple. Belly leather will give you more stretch for sure and I have seen seamless shoe uppers made from it. What I am saying is that you need to do a lot of stretching and softening before trying to mould to shape. In this post I did awhile back you can see I formed a fairly tight and high handcuff pouch. Note that at the bottom of the top mould there is a relief groove that allows the leather to grip more as the top goes down and give the leather somewhere to swell into and resist back pulling and wrinkles as it dries. The end result of the waste to cut off on these in the end came down to just over 3/8" (10mm). Too much extra can require bigger wrinkles to try and accommodate and is why @robs456 says to V cut the leather I believe. -
Excellent outcome. Got to say that's the first time I ever saw a clicker press on caster wheels.I love the coasters and glad to see you've done a double cut straight from the start.
-
Wet forming: how much curvature is too much?
RockyAussie replied to Leb's topic in How Do I Do That?
I have not done anything quite with so much stretch and it does say that the leather was boiled which also I have never done. I think your thickness is getting a bit much but for the little it is worth I will say how I would try to do it. Leave the leather soak in hot water with detergent in it for a half hour or more. If you check up on how staking is done in the tanning process you will see a somewhat pointed stick that the hide is repeatedly pulled down over and with a fair bit of effort this can stretch a hide a lot in any given area. By working the centre outward you should then only need to work on broadening the point out to give you the more dome shape you are wanting.