kgg
Contributing Member-
Posts
3,344 -
Joined
-
Last visited
Content Type
Profiles
Forums
Events
Blogs
Gallery
Store
Everything posted by kgg
-
That video is incorrect starting at 5:50 when he threads the top thread around in an "S" pattern in the top pin (can be done this way if you need addition top thread tension) then he continues with another mistake by going under the tension disc before going through the twisted part of that guide. The tension disc is only used when you are winding a bobbin. I stopped viewing the video stopped at this point. The best video to view are the ones made by Sailrite. An example would be Start Sewing with your New Ultrafeed Sewing Machine https://www.youtube.com/watch?v=c_TC4bztXVo&list=PLAbM539i4biWOFtdRlX6JE0F_Y9uLPO-z&index=3 even thought this is for the LSZ-1 they are threaded the same. Your guide that you have just before the main tension disc is incorrect and should be turned 90 degrees towards the head. The top thread needs to be pulled up above the little thread guide in the tension disc just above the thread spring. kgg
-
Yes. I do like how you also included the drop test at about 4:21 in the video which you called the "yoyo". Since most people don't use a gauge for measuring tension knowing how to do the drop test can be very helpful starting point. I can only imagine some of the tensions you would measure using a non brand thread. kgg
-
That is good price as it does look like it's in good cosmetic shape with a nice table setup from the photo. No, it is a clutch motor with a box of tricks and needle positioner. For a servo motor check out Japan Sewing Machine & Supply Co. (146 West Beaver Creek Road, Unit 5, Richmond Hill, Ontario, Canada L4B 1C2. Tel: (905) 764-0100 ). If you want to keep the needle positioner ability I know they carry a 1 HP brushless servo motor with a needle positioner. I don't know if their 1HP will work if you decide to put a speed reducer on. For now you could put a brushed servo motor on, 550 watt or 750 watt, with or without a speed reducer. I use their 550 watt brushed servo motors on all my machines as they are nice simple motors with no electronics. kgg
-
My understanding is a skiving machine will do a nice job on veg tan but not on chrome tan leather. So if most of your leather chrome tan I would suggest other methods. kgg
-
The instructions are good basic instructions. When doing the bobbin tension as the method shown in the video their method is a good starting point but the drop test will provide a better method or you could use a bobbin thread tension gauge to be even more accurate. To check the top thread tension a top thread tension gauge can also be used to adjust / set the top tensioner. In the end it is really going to come down to what and how thick/tough a material/leather you are trying to sew and choosing the right thread needle combination. kgg
-
Once you get the other photo's sized down please post so we can see the full thread path. We maybe able to offer some more suggestions. What I see so far in the photo: i) The top thread needs go in the top hole of the pin as you have done but it also needs to wrap around the pin and come out of the bottom hole so as to make a "S" shaped wrap around on the pin. This will help in getting the coils out of the thread and add a very slight top thread tension. It appears you are using a 8oz spool of white polyester thread and I assume the little 4 oz spool on the top cover is your N66 bonded nylon. ii) Are you trying to use the little 4 oz spool of thread on the top of the machine or are you replacing the white polyester thread with the black N66 bonded nylon? iii) The base of the top thread spool needs to be better secured so as not to move around on the table from machine vibration or accidental bumping of the spool. The center of the thread spool should be directly under the thread support arm. As the amount of thread on the spool reduces the easier it is for it to wander off and explore the floor. kgg
-
I am not familiar with this thread but did read some mixed reviews of the product from customers in Canada. I would suggest: i) you purchase a brand name thread like American & Efird either directly ( www.amefird.com www.amefird.ca ) or from places like Wawak (wawak.com wawak.ca ) or even Sailrite. A&E sewing threads are made in both the US and Canada and are quality threads. I have never had any problems with A&E threads in any of my machines. ii) readjust the bobbin thread tension by doing the drop test. When you go from one type of thread (bonded polyester to bonded nylon), change thread size (V69 to V92) to another or change thread manufacturers you should or at least recheck the bobbin tension. If you have to change the bobbin tension turn the tension screw in very small amounts like 1/16 of a turn on the screw and do the drop test again. Any chance of posting a photo of your top thread path from the thread spool to the needle it maybe helpful. kgg
-
Bonded polyester is usually a softer thread which is great for items that are going to be exposed to UV and chemicals like bleach. Bonded nylon can be stiffer with darker colored thread being stiffer with black the stiffest. A lot of thread problems can be related too: i) poor quality needles having burrs. Buy brand name needles.Also check that the needle is properly inserted and aligned squarely. ii) needle deflection causing the needle to rub on the presser foot or feed dog which may have a sharp edge. Check for rubbing, smooth out sharp edges and maybe move up a needle size to eliminate needle deflection. iii) poor quality tensioners. iv) poorer quality no name brands that the thread often comes off the spool more like you were uncoiling a wire spool with too much coil memory. Buy brand name thread. v) poor thread tension on the spools of thread particularly the 8 oz thread spools size. Buy brand name thread. vi) incorrect head height from the top of the thread spool to the top guide hole of the thread stand. A rule of thumb is the distance from the base of the spool to the top guide hole of the thread stand should be 2.5 times the height of the spool of thread. Re-located / readjust thread stand. vii) to steep of angles from the top guide hole of the thread stand to the sewing machines thread guide pin. Ideal is that the thread enters as close to horizontal as possible into the sewing machines thread pin. An example of how this can be done is mount the thread under the table as I done on a table mounted portable zig zag walking foot. Note how the thread comes through the table top and the thread spools one for the bobbin and one for the top thread are mounted on the K-leg.
-
What size of thread and needle size combination are you using? In thicker / tougher material you will probably have to go up one size above the recommended needle size. A good thread versus needle size chart can be found on the Toledo Industrial Sewing Machine website (www.tolindsewmach.com/thread-chart.html). kgg
-
Nice. Nothing as classy as the old iron. kgg
-
Which would you choose: Pfaff 145 H4-6/01 or Singer 211u166KA?
kgg replied to SewCool's topic in Leather Sewing Machines
The Juki brand of machines are a really good machines which most of the clones are copied after and parts/ accessories are easily found at reasonable prices. The $1350 price is way over what I typically see here in Ontario for Juki 563's. which usually go for between $580 US ($800 cad) and $725 ($1000 cad). Once you get into the $1300 usd plus price range you would better off ordering a new machine like a Consew 206RB-5 with a table and servo motor online for $1449 plus shipping from a dealer like Toledo Industrial Sewing Machines (www.tolindsewmach.com/consew-206rb.html). kgg -
Which would you choose: Pfaff 145 H4-6/01 or Singer 211u166KA?
kgg replied to SewCool's topic in Leather Sewing Machines
Neither. My reasons are: 1. PFAFF: Parts / accessory costs for the Pfaff are in general more costly and in my area not an overly popular brand name which makes it more difficult to resell down the road. Price also seems high but that will depend on your area. 2. Singer: The price of the machine is high particularly when you add in the cost of a table and a servo motor. A servo motor will probably run around $150 US and a used table probably another $100 so the machine would cost around $1000 US. Also without the machine mounted in a table how can you really tell if it is in good running condition???? I would suggest going to a industrial sewing machine dealer with what you want to sew and see what they can offer in both a new machine and a used one. kgg -
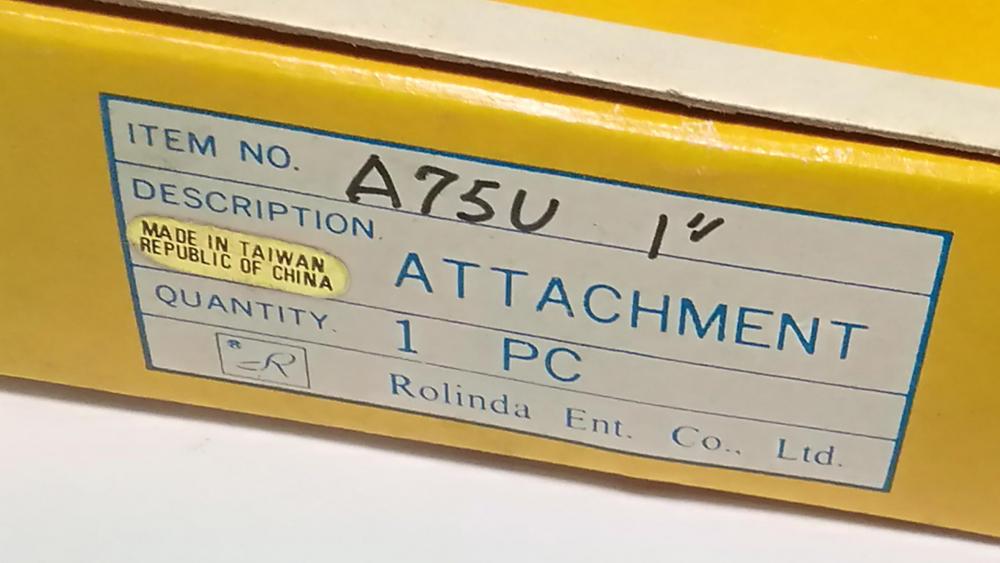
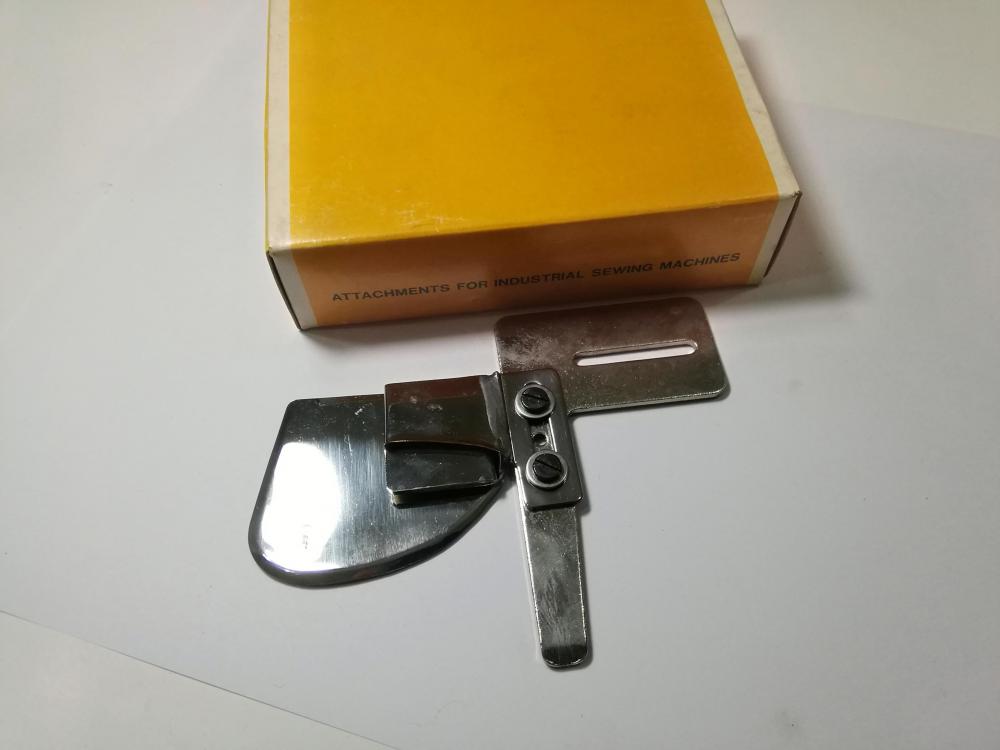
While sorting and taking some photo's of the 2000 plus bits and pieces I started to notice some of the Rolinda attachments had a small gold tag on the label. I thought this was interesting since the company is out of Taiwan, Rolinda Enterprise Co. Ltd, that started up around 1979. So those items had to be produced between 1979 and 1987. All the attachments are for industrial sewing machines ranging from 1/4" to 5 1/2" like edge binders / hemmers, etc with 90 percent still in their original boxes from companies like Suisei , Golden Eagle and Rolinda. kgg
-
Since this is an older machine which I don't think is that common my main concern would be getting replacement parts at a reasonable price. The price to me seems on the high side for the amount of wear in the photo of both the machine and the table edge. But these days the price of everything particularly sewing use sewing machines are all over the place. To help determine the amount of wear on the machine are there any thread paths cut into any of the guides? Even though the machine has a larger size bobbin then your Juki LU-562 another consideration would be the max needle size is a #22 which would allow for V92 in thick material or V138 in thinner material. If you can test drive the machine take a sample with the thickest material including seams and see how it works. At the price, I would pass and look for Juki DNU-1541S, new (~$1800) or a similar clone or a more common good used machine where parts and accessories are really available. kgg
-
The link to "Change Presser Foot Lift On Rex 607z Sewing Machine" which are the same as all the other portable walking foot clones ( https://www.youtube.com/watch?v=pqk1OUR72Ig ) may help in getting a higher lift then the normal 1/4". According to the video in about the 1/2" range. There maybe other problems doing this????? Another solution for belt replacement is to use Rough Surface Polyurethane Belting like the green colored ones made for drives. It's cheap, comes in various diameters, you get about 33 feet in a coil, easy to join and get the exact length needed for about $25 USD off Amazon ( https://www.amazon.ca/gp/product/B07W4HKK7H/ref=ppx_yo_dt_b_search_asin_title?ie=UTF8&th=1 ). If nothing else to get you out of a jam you should have a coil just in case you break a belt and can't really get the proper one like on a Sunday. kgg
-
Check with Hoffman Brothers in Chicago I think they bought a lot of Ferdco stuff. kgg
-
As Wiz has said the Juki is one of the best sewing machine brands out there. Lots of accessories are available and fairly inexpensive compared to some of the other brand names. The Juki DNU-1541's are still made in Japan and come in two versions the DNU-1541 or DNU-1541"S". Capability wise no difference just the DNU-1541"S" has a safety mechanism that will trip should you jam up and at some point I think everyone will overload a machine at least once. The cost difference on a quick check of the sew machines plus website shows the new cost of DNU-1541at $1729 US and a DNU-1541S at $1795 US. Those prices include a table and servo motor but shipping is extra. Those prices will give you an idea of how good or bad the price for the use one is in comparison. kgg
-
Save yourself some money and 1) get a clone like the Reliable Barracuda or the Kobe LSZ-1 for about $500 US 2) mount it in a table similar to what I an others have done for less then $75 US 3) If you like what they can do with the machine add a servo motor Reliable sewquiet 6000sm for $200 US. I don't know who copied it Sailrite or Reliable but it is the same motor as on the leatherworker. This is how I decked a portable walking foot out. Since you first priority is bags a compound cylinder arm would definitely be the way to go but look at machines in the Juki 341/ 1341 class not the 335 class as most can only do V92 thread. I would suggest adding more dollars to your budget of $1500 and get either a new machine or find a good used brand name machine. I think you will be sadly disappointed with the portable Sailrite. Another thing is the stitch length will decrease as the thickness being sewn increases on these machines. Sailrite machines are also made in China however their quality appears to be better then the other portable sewing machines. Going to depend on what size of thread you want to use and the thickness of material you want to sew. If all you think you need is a plain jane flatbed machine maybe consider the industrial Juki DU-1181n for about $1400. If it doesn't workout you should be able to sell it fairly easily without to much of a loss. Rather then just gamble on a machine you should really go to a brick and mortar dealer and test drive a few machines with what you want to sew. kgg
-
I should have corrected my post the handwheel does have the ability to accept a turning knob but it appears that it was removed at a very early part of it's life or was never installed as there was no rubbing marks whatsoever around the hole. On cleanup I figure they must have just removed the thread from the needle and wound a bobbin or wound a bobbin as they were sewing with the motor running. Everything on the end shaft was seized to the shaft the eccentric, the spring loaded disengaging pin and pullout mechanism were seized into both the hand-wheel and the eccentric, the two eccentric set screws, and the large center screw of the handwheel. The hardest part was getting the two set screws out then it was a matter lots of oil, pounding wedge, a 32 oz hammer and a few good selective words finally got those parts off the end shaft. The winding arm looks like it was never placed to the front side of the frame as the groves in the side mounting shaft look like they were never touched by the two sets screws. Personally I like having the handwheel on the side of the patcher as I think it is more convenient then reaching to the end of the machine to handwheel. Once I get it running I plan on adding a couple of items to this machine like what I added to the my Singer 29K71 so I can utilize the darning tensioner as a bobbin thread tensioner and wind a bobbin as I am sewing. kgg
-
The OA Leather Supply website says it is as you stated at 0.8mm but if you go to the Black Crown site ( blackcrowngarage.com/thread-shop/product/b-277-halloween-bundle-1-4lb-spools/ ) you will see it should be 0.667mm for their Polyamide 66 Thread in size V277 thread. I think there was a minor mistake made on the OA Leather Supply website. In general as there are a couple of exceptions threads for any given sizing system has to meet a certain criteria for a particular size. When it comes to threads and systems you can go down a very long and deep rabbit hole particularly if you try and convert from the older systems. Most threads in North America use the US twisted thread standard (Vxxx) or the Tex (Txxx) designations where a 1000meters weights so many grams. However in Canada you are liable to see the metric designation (Tkt xx or Mxx or #xx) as well where the smaller the number the bigger the thread. The easiest thing to do is get comfortable with a sizing system and stitch to it for both the needle and thread sizes. kgg
-
Thank you, I'll go through it later today. kgg
-
Don't cheap out and buy a machine based on price alone. Buy the best machine for what you are planning on sewing and remember no one machine will do everything well. That is why some have more then one machine. There is nothing worst then buying a machine, irregardless of price, that is not capable of doing what you want or are prone to problems. Those machines are soon replaced usually at a dollar loss. If you buy a brand name machine you will pay more up front but if you decide at some point to replace the machine a brand name machine (Juki, Adler, Pfaff, etc) will command more dollars and be easier to sell on the used market. Trying to compare the Cowboy CB341 which is a industrial class 341 / 1341 to the Sailrite Leatherworker which is not an industrial machine is like comparing apples and oranges. If you can only afford one machine buy a industrial class cylinder bed with a flatbed attachment and as time goes on invest in an industrial flatbed machine. kgg
-
Help identifying Consew Cylinder bed machine
kgg replied to CitroenLVR's topic in Leather Sewing Machines
To me it looks like a Consew 287R. kgg


