Brokenolmarine
-
Posts
592 -
Joined
-
Last visited
Content Type
Profiles
Forums
Events
Blogs
Gallery
Store
Everything posted by Brokenolmarine
-
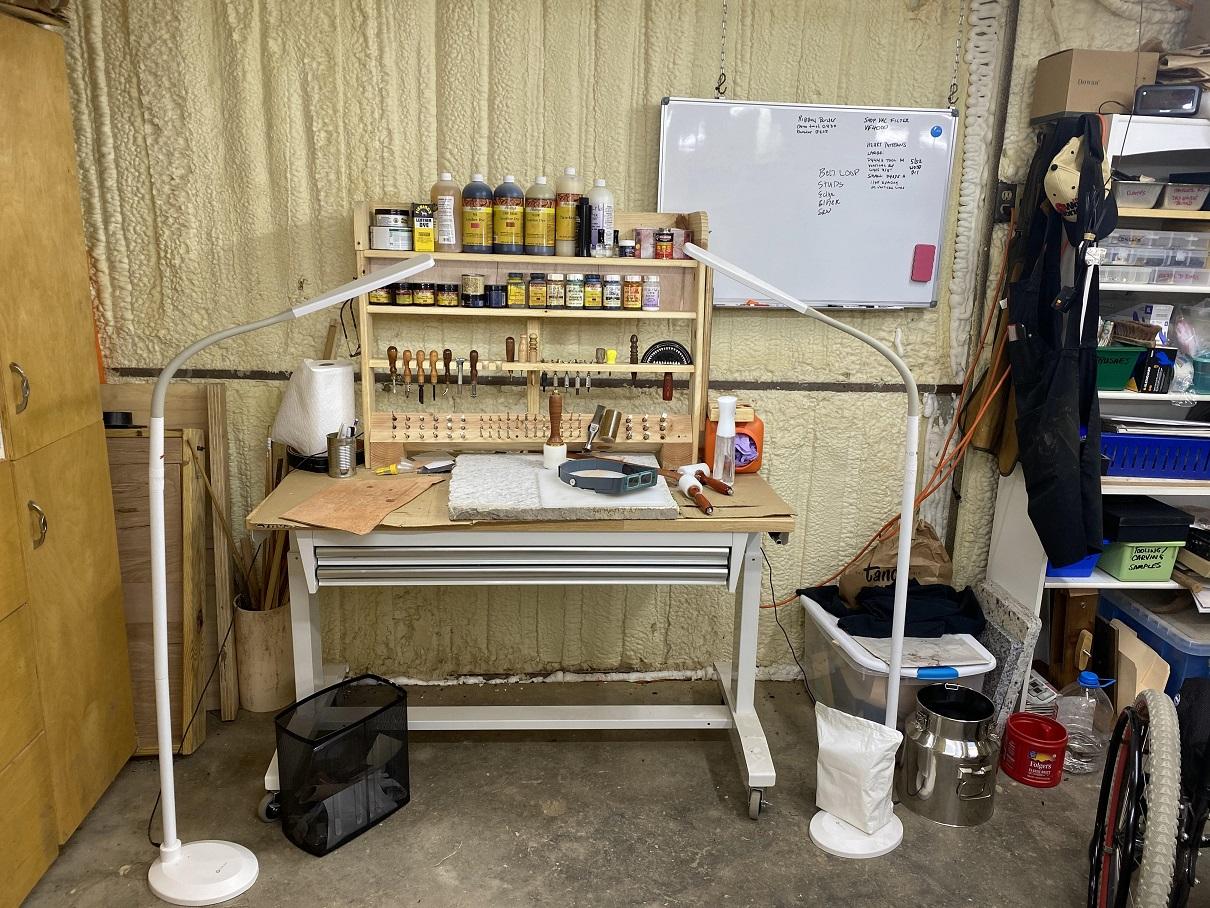
I made mine with scrap 4x4 fence post and some shelving board. It fits on my bench. I told the wife this past week that it's almost time to make a new one, that will extend the width of the bench so that I can put some L brackets on the ends HOOKED under the end of the workbench to avoid drilling the bench to secure the tall structure. Also, the extra width will provide MORE space for stamps. I'd add a few additional shelves and rethink hammer storage, and add slots for mallets.

-

New belt for myself
Brokenolmarine replied to Ddat's topic in Purses, Wallets, Belts and Miscellaneous Pocket Items
I'd go with a heavy duty belt. You know, to hold up a holster and mag pouch.. but I see the poster is from CA... he may not need to do so. I see why you went with Blue thread, picks up the buckle. Could have gone with Orange as well. Both would have looked sharp. Great Job. -
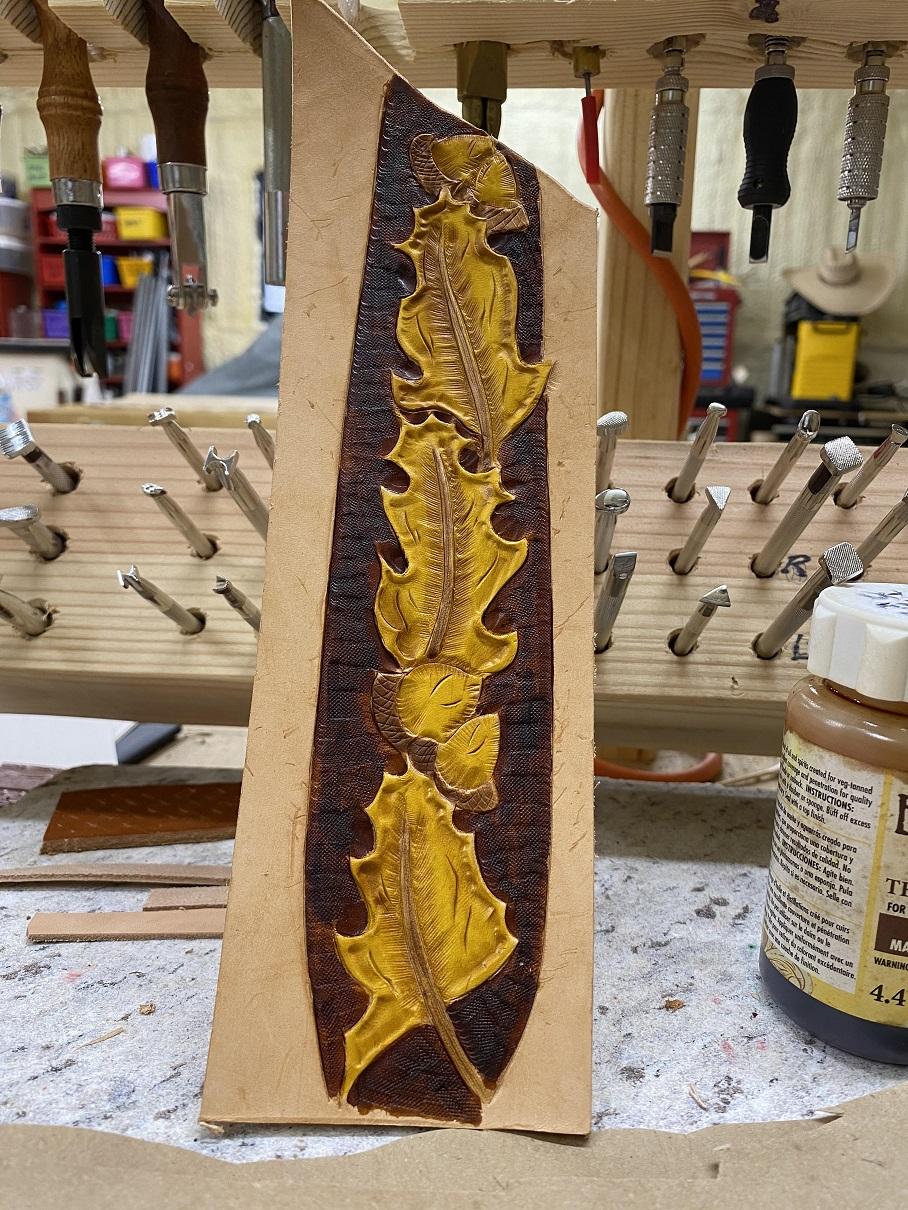
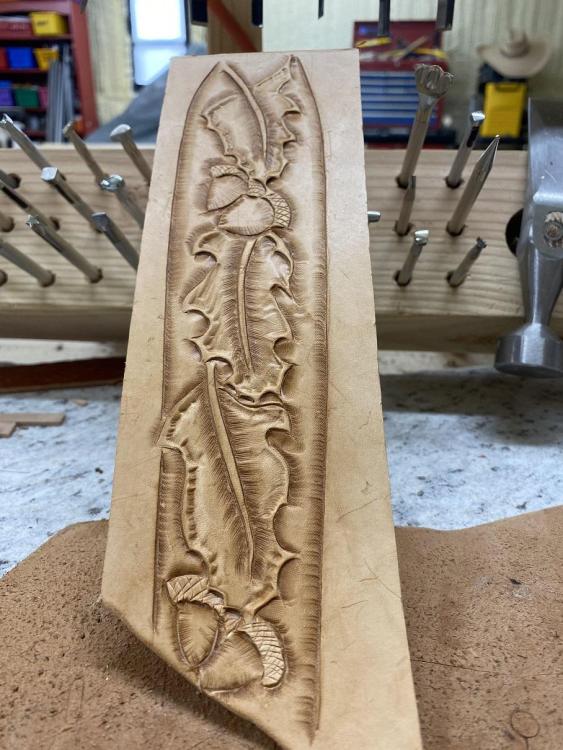
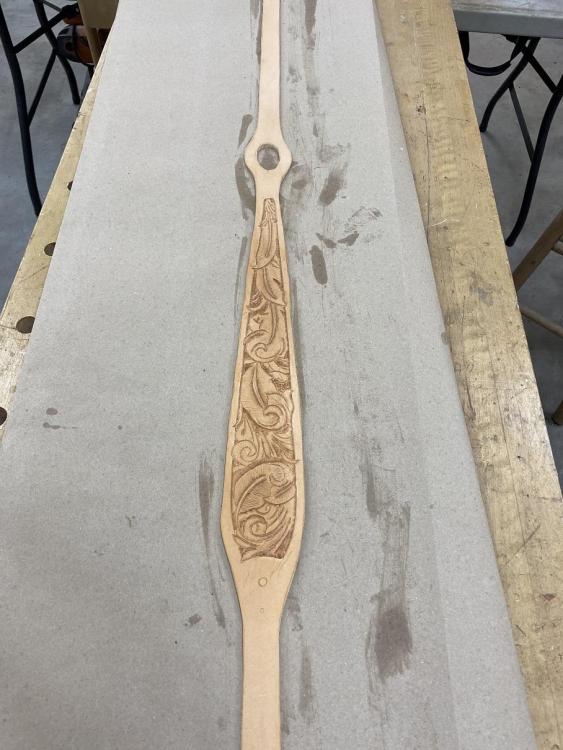
Thanks all. I have started on a practice plate for the sling for MY Bolt gun. I had been waiting for the pattern books from Joe Meling. I have had three sessions on the practice piece to work on the oak leaves and acorns, but we are in the middle of a winter storm, and have two more days. Our property is a sheet of ice and the boss won't let me out on the ice. I'm unstable in good weather. I can't use my chair to get out there, it's uphill. THAT would be a Winner on America's Funniest Home Videos. Anyway, here's where the practice panel is so far. It's a representation of the upper section of the carved portion of the sling. MY sling will be black, so I dyed the border black. Of course the sling will have 1/2" borders around the carved section. I still have to antique and finish this panel. I started posting a step by step of the practice panel in "Resources" as I had asked where to get a good pattern for the Oak Leaves and Acorns. I felt it only fair once I got the pattern to share the outcome there. If the finished panel works for me, I'll start on the sling. If I think I need more practice... I'll do another practice piece before starting on the sling. Wish me luck.

-
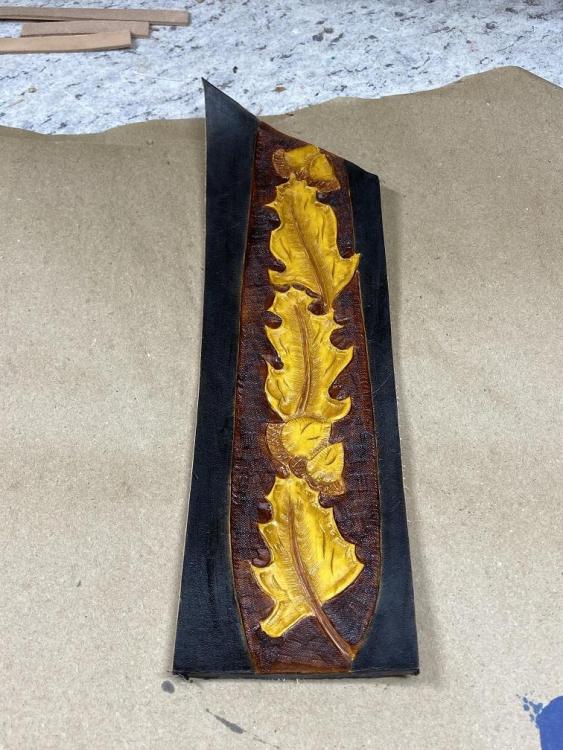
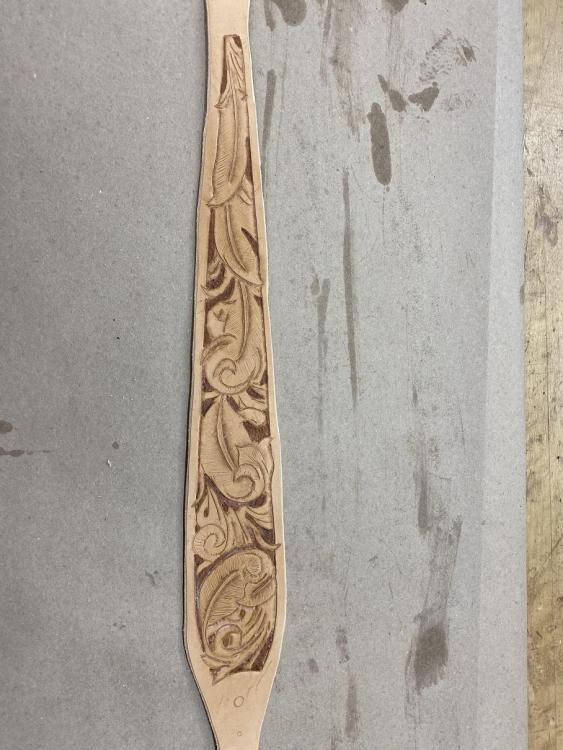
Third Session. Went out and corrected my pattern error, touched up some of the background dark brown, added a second coat of light brown since the first coat faded almost natural again. Then dyed the edges black to see how the sling was going to look in black. Finally I added the resist coat, using tan coat and went back inside to allow it all to dry. I'll think about sneaking out to antique it this evening if the Ms. will allow it. It's 20 degrees out and we are in the middle of a winter storm.
-
Avenger Holster for CZ75 BD
Brokenolmarine replied to PastorBob's topic in Gun Holsters, Rifle Slings and Knife Sheathes
very nice. Like the color a lot. -
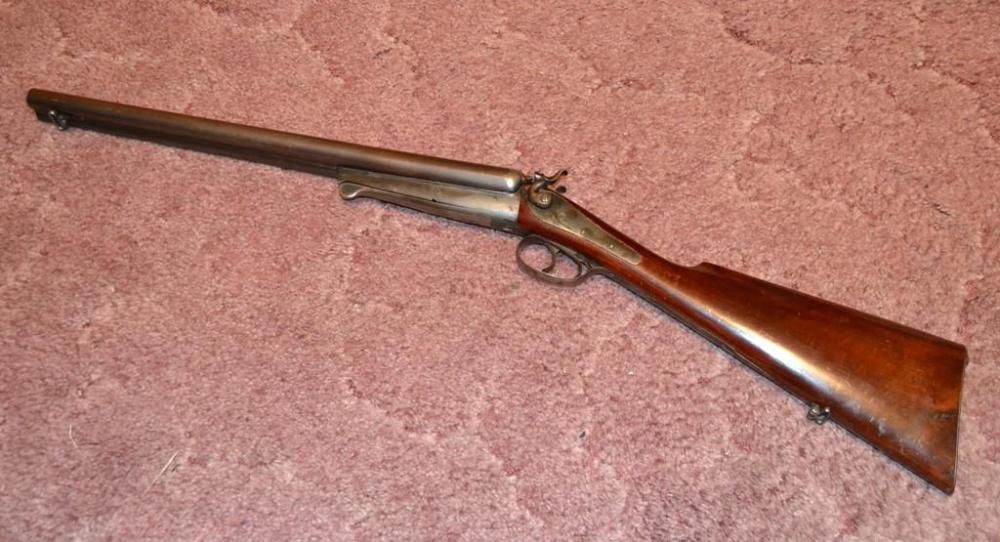
Hey, I have one of those! Nice job on the cheek piece. I don't shoot mine though. It was a wall hanger over my armorer's bench in my den in VA. It is capable of being shot, I just didn't. Now it stands in the corner of my home office. No wall space. Much smaller room.
-
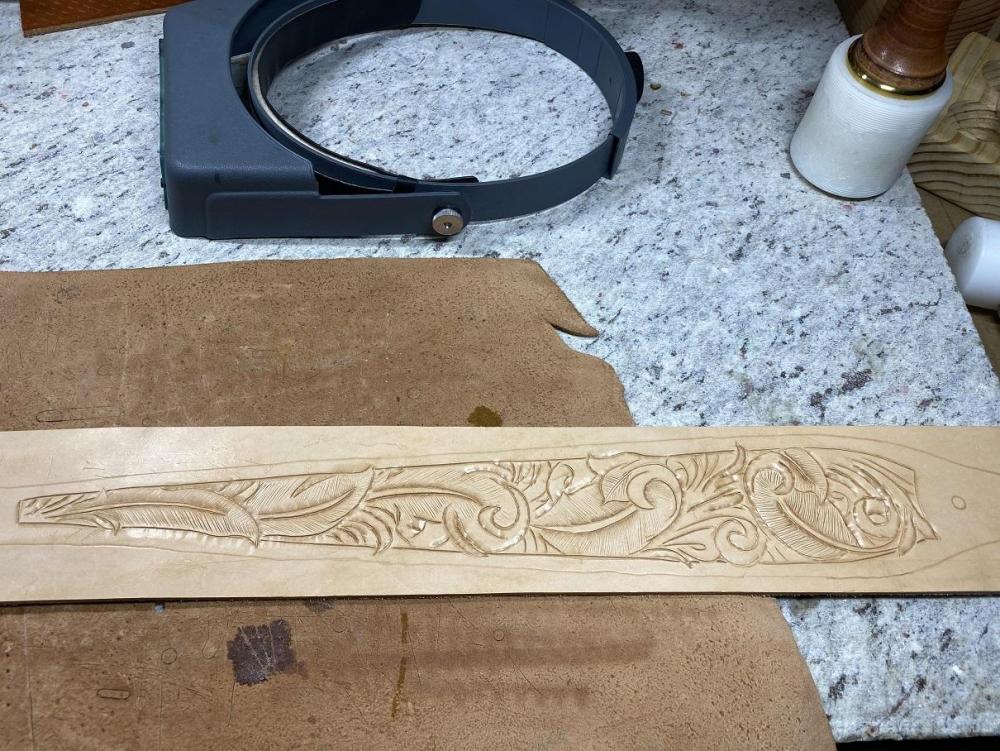
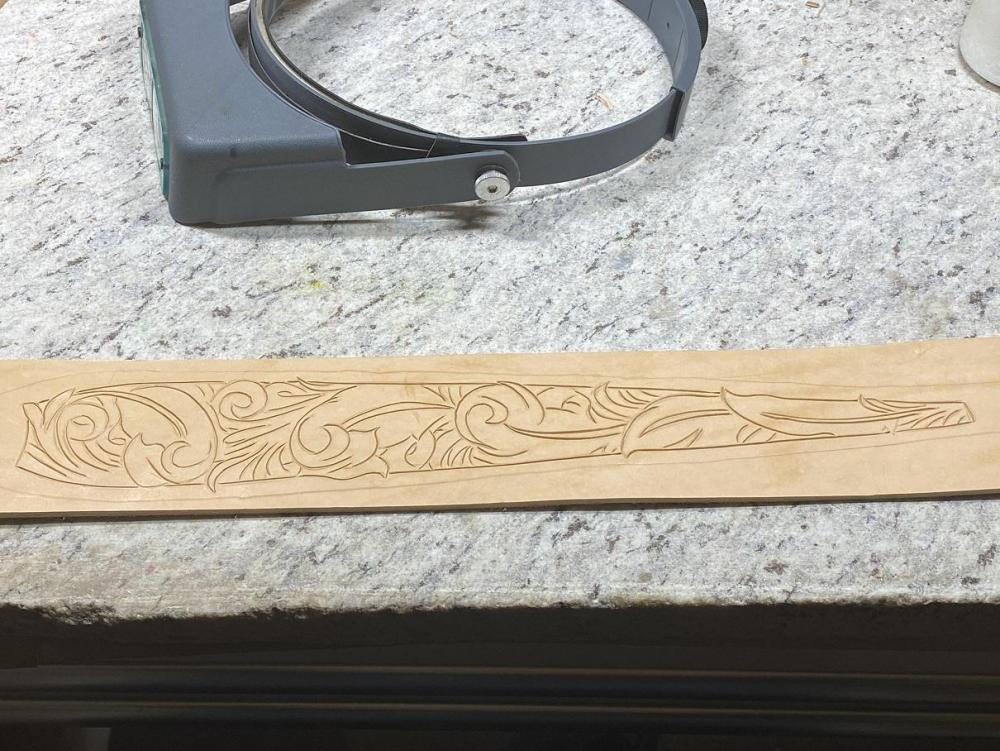
I got all three of Joe Meling's books in this week. I started a practice plate yesterday and worked on it again today. The practice plate is basically the upper half of the carving area for the Thumbhole Sling. I adapted one of the Oak Leaf patterns from one of Joe's books to fit the area I have. I'll finish this plate and if I'm satisfied, I'll use this template on the sling. If necessary, I'll do another practice plate or perhaps put a little more wiggle in the design. The first day I got the design cut in and did some basic tooling. I went out this morning and did a bit more tooling, adding detail and lifting on the edges, then dying the background and the various components of the pattern. I used a detail brush and my opti-visor. I am pretty happy so far. Tomorrow I'll put on a resistor coat and dye the outside edges black, which will be the color of the sling itself. If it dries in time I can antique and see how it looks. I am getting better at achieving the 3D look I am shooting for. Note: That bottom leaf in the bottom pic is MY error not an error in Joe's pattern.

-
A LITTLE HOLSTER
Brokenolmarine replied to Bawarrior's topic in Gun Holsters, Rifle Slings and Knife Sheathes
I just started on the practice plate for my Thumbhole Sling. Oak Leaves and Acorns. I'd love for them to turn out that well. -
I agree, very nice. Inlay is my goal on the gunbelt I plan to do in the very near future.
-
Thanks everyone for the advice. I'll certainly be investing in the 23+ books, one here, one there until I have them. HIS videos have taught me a lot over the last year. Several others as well. I'll look for that Belt book too. You can't have too many references.
-
I learned a lot from both those guys. The hard copies of Joe's books are rather steep, have you seen them? If they are quality I'll spend the money. I have just finished the Thumbhole sling from Don's pattern, but didn't like the Oakleaf and acorn pattern included. The others were okay. If I don't find another source, I'll likely buy at least one pattern book from 23+, the one with the oakleaf and acorn belt pattern. thanks....
-
I bought the ones from Tandy, and they recommended the Stohlman books, a couple others. To be truthful, the quality of the patterns in many of the "Old Standards" were less than impressive. The books I bought from Tandy had patterns that were .... disappointing. The quality of the design was not what I expected and the reproductions were often blurred, like it was the tenth printing off the original. I'm looking for Carving Patterns for Oak Leaves and Acorns, Belt Patterns and the like that someone of intermediate talent can build on and up to. Suggestions? Thanks.
-
I have watched several videos of the folks in India making a living sorting thru the dumps, collecting trash and recycling it into real actual usable products.
-
need something like that for the milk cow. 20 acres, she's always wandering into the woods to cool off in the shade.
-
Holster with inlay
Brokenolmarine replied to Bawarrior's topic in Gun Holsters, Rifle Slings and Knife Sheathes
nice job, like the design. -
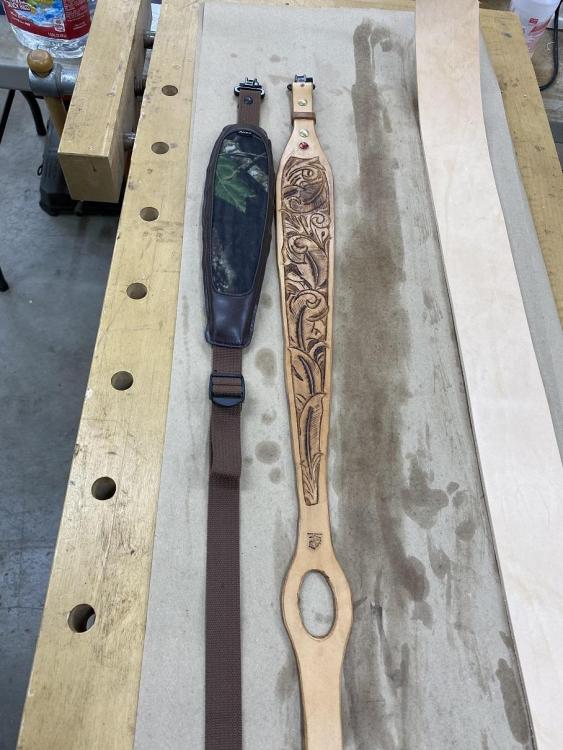
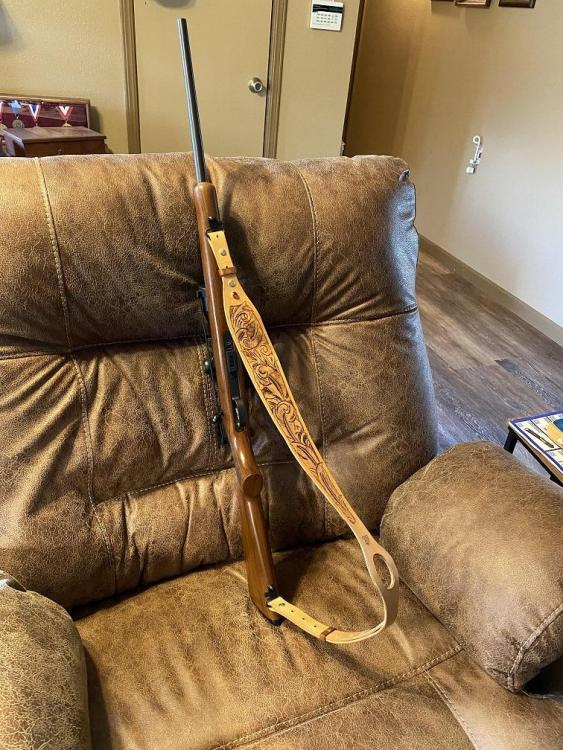
I used a template to verify and remark the holes for the Chicago Screws at the top and the bottom of the sling. Then I center punched each one to eliminate (minimize?) the chance of a wandering bit. Using the drill press I drilled all the holes for the screws, then using a scalpel to insure each hole was crisp and clean. A cobbler's hammer reflattened the straps. The one hole just above the tooled section got special attention. A pilot hole then countersunk, and then a jeweled Sequin installed, it's the WIFE's sling. Just the one, she's not all girly. I slipped the loops in place and installed the swivels. Looked good to me. Once I was happy with everything in the shop, I took the sling inside and installed it on the CZ455 .22 the wife uses around the farm to control the varmint population. That CZ is a tack driver, capable of one hole five shot groups at 25 yards. Miss T was a squirrel assassin in Virginia where we had a huge problem with them raiding the two coops for chicken feed. The Boss was very happy with the results of my labor. Next up is a sling for my Ruger American Ranch Rifle in 556. Same Pattern, different accent in the panel. We'll see after I lay it out. Oak Leaves and Acorns? Basket Weave, Quilted? Time will tell. Color this one... done.
-
Thank you Sir. If you remember, it was YOUR post back in October that prompted me to order the pattern, and put the slings on my bucket list. I told you when I ordered the pattern they would have to wait until after the knives, and then the Christmas Projects for family... but I knew I would get to them. Well, our UPS driver dropped off a DAD package today with goodies for dad... including the swivels I ordered. Out to the shop to finish Tina's Sling.
-
a tooled belt
Brokenolmarine replied to wolfago's topic in Purses, Wallets, Belts and Miscellaneous Pocket Items
Nice Job, I like the Dye as well. Overall an outstanding presentation. -
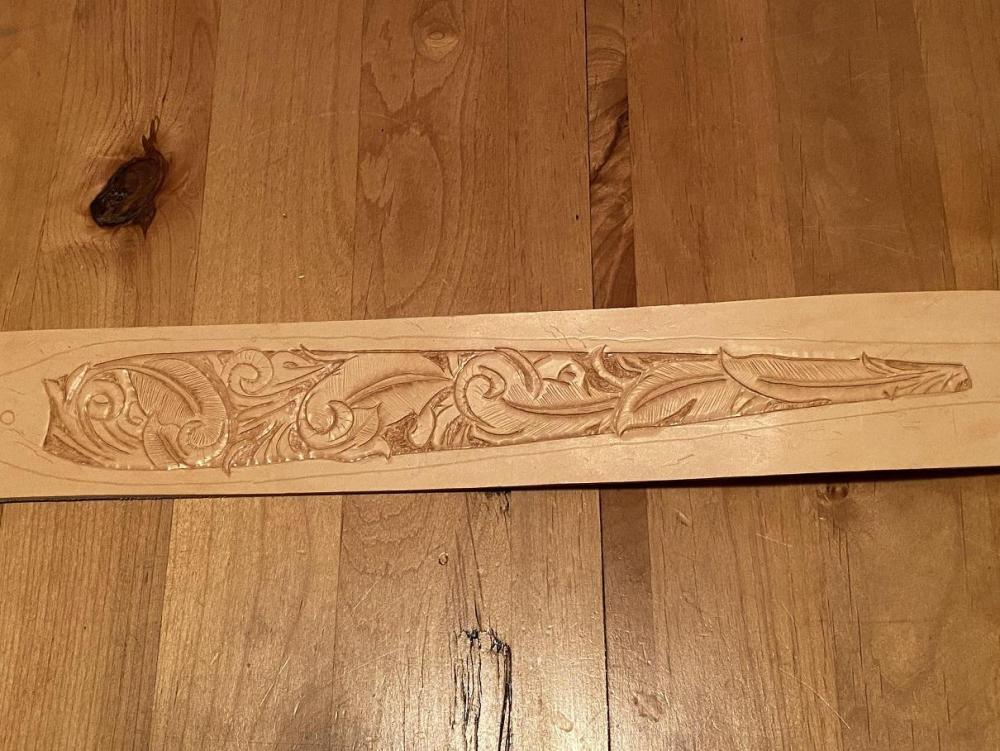
Several more work sessions. The pucker factor was high when I cut out the sling from that wider portion of the leather. A simple single slip would mean starting over. Slow... and ... steady. I managed NOT to screw it up. I did the snoopy dance. I applied the first coat of Watco Natural Oil and let it dry. I wanted that tooling to really pop, so using a detail brush with a very fine tip, I dyed the backgrounded areas with Light Brown leather dye. Once that dries completely, I'll apply a resistor coat to seal it, then coat front and back with mink oil to keep this thing as flexible as possible. After buffing that out, I'll antique the tooling to highlight the detail, then put of full coat of finish on the sling, then burnish the edges. Getting near the end.
-
Made one for myself
Brokenolmarine replied to DustinSmith's topic in Purses, Wallets, Belts and Miscellaneous Pocket Items
very nice... I love the detail. -
A little work today, in spite of the nagging headache I woke up with. I worked on the backgrounding and more details, also sharpened some of the edges Then I recalled why you don't spend an hour working under the lights and wearing an opti-visor. It turns that nagging headache into a raging migraine. Well, Duh.
-
Next on the list was the beveling and carving to bring out the 3D nature of the pattern. I worked for about an hour, then had to stop. I am limited to the time I can work by certain challenges. Mainly the arthritis in my hands. Meh, I have nothing but time. Miss Tina was asked if she wanted natural or mixed dyes to bring out the pattern. She prefers the natural look, so I will put a lot more work into the tooling. I'm still learning, so wish me luck. I am thinking of a basket weave or quilted pattern for MY sling.
-
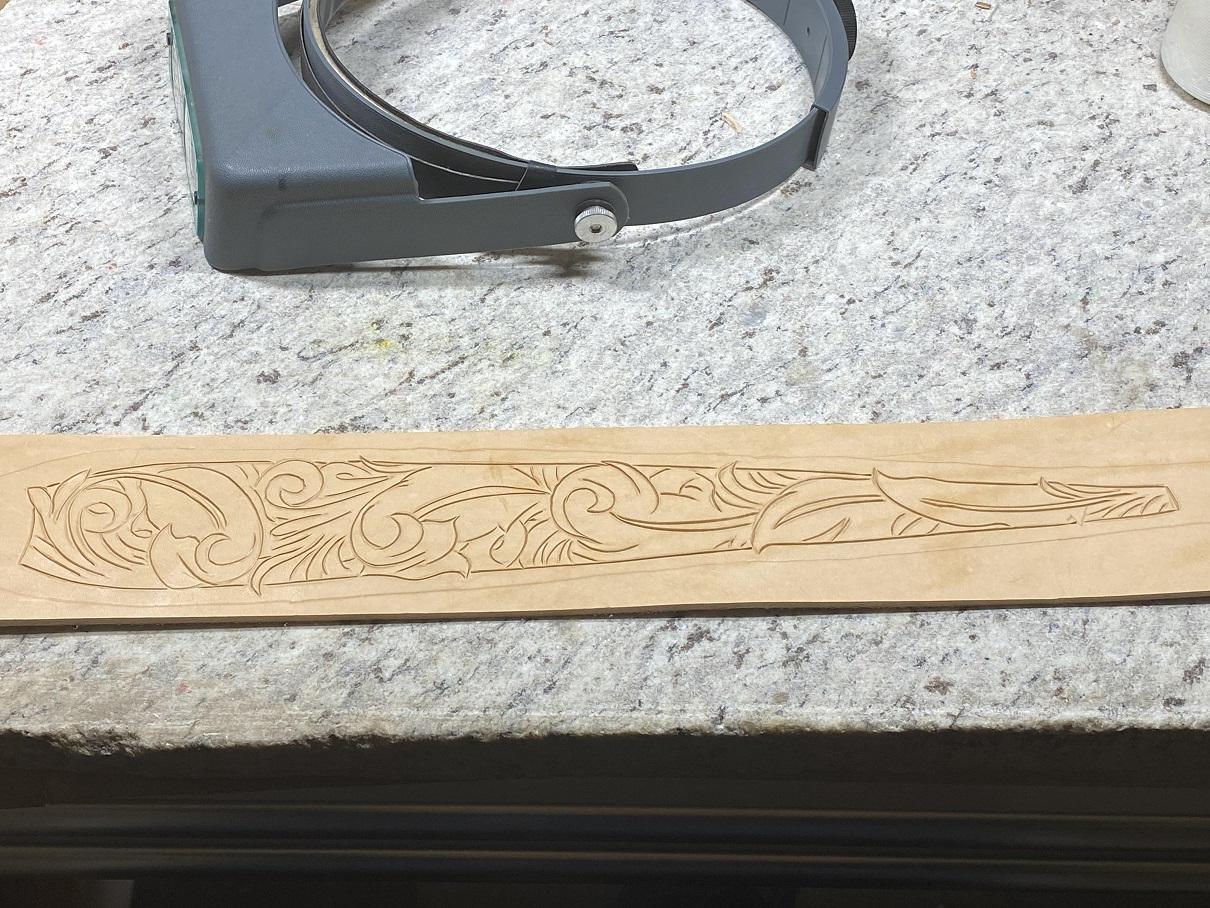
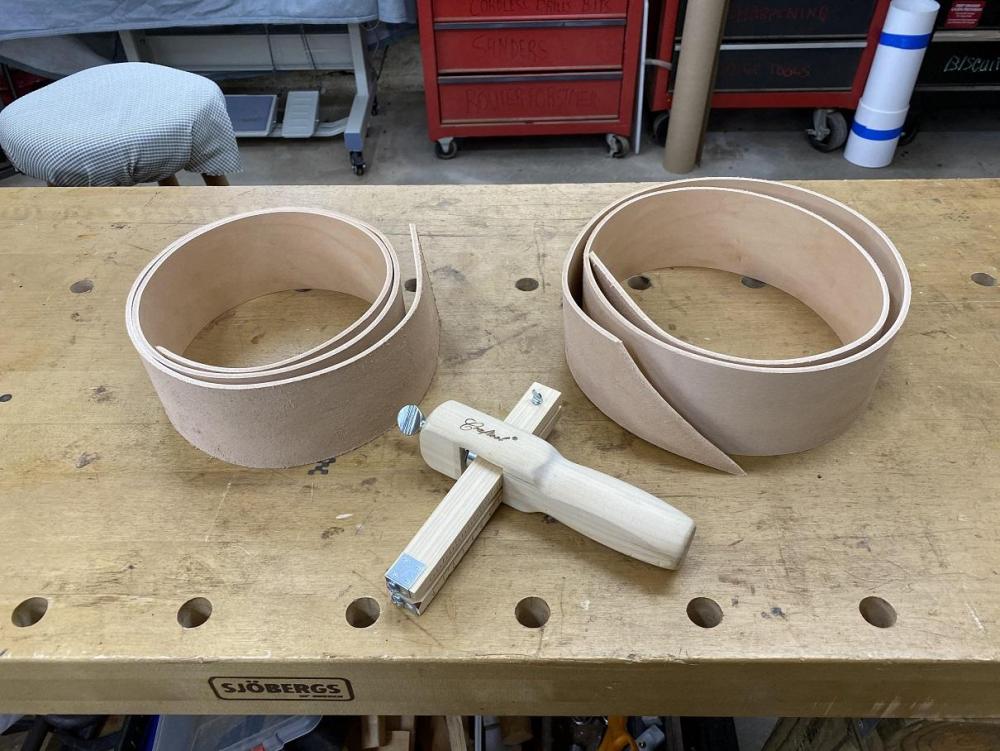
Inspired by post several weeks ago, I ordered the patterns the poster recommended, and set them aside to complete the bucket list of stuff I had to make for Christmas for everyone else. I finally got the chance to start on the slings I have been waiting to knock out. Since this is my first, I am being overly cautious. I, of course, used the strap cutter to cut TWO pieces of leather the proper length and width for the two thumbhole slings, and then marked one from the template I had transferred. After the thumbhole sling pattern, I added the pattern for tooling and carving the enhancements to the sling. I won't cut out the final shape of the sling until the lining is glued in and the stitching is done. You know, ALMOST finished. LOL.
-
Piece for a denim jacket
Brokenolmarine replied to DustinSmith's topic in Clothing, Jackets, Vests and Chaps
Turned out really nice. I know a number of folks who would love to have something like that on the back of their jackets... ... Really great work. -
If it's a stamp, I'd like the find the stamp for Naval AC wings....