Goldshot Ron
-
Posts
405 -
Joined
-
Last visited
Content Type
Profiles
Forums
Events
Blogs
Gallery
Store
Everything posted by Goldshot Ron
-
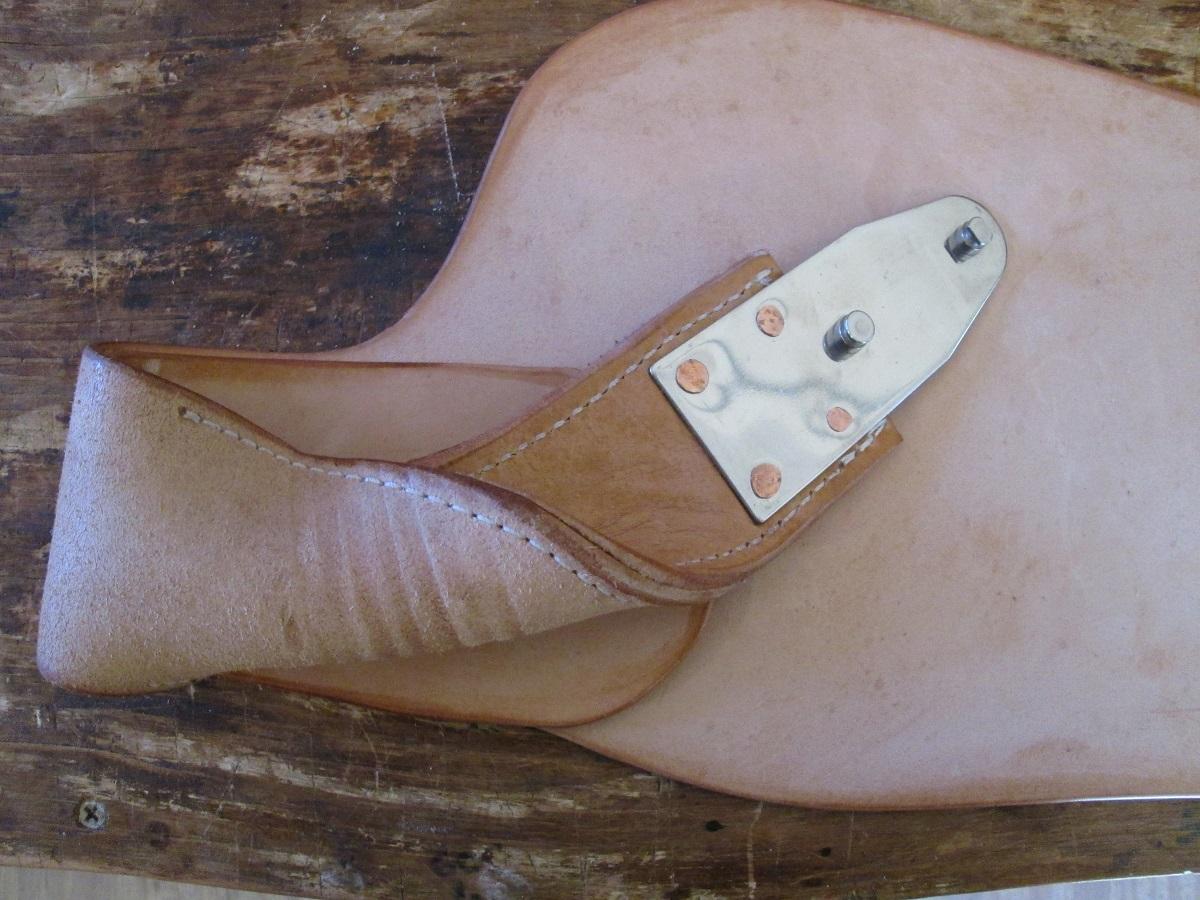
To do what you are suggesting: I would take a piece of leather larger than the spacing of your jockey's and double it over. You will have to trim the fold down to take a 1" dee. Punch your holes in the leather to match your jockey's lacing holes and lace everything together. The Dee piece would be attached to the underside of your jockeys. I wouldn't lace the dee directly to the jockeys because of the stress that would be placed directly on your lace. If this is what you are thinking, it will work. Let us know what you decided to do. Ron
-

saddles worth and info needed
Goldshot Ron replied to jowen2197's topic in Saddle Identification, Restoration & Repair
What type of fleece is on the saddles: real wool, or imitation? What are the rigging plates made of: brass, stainless steel, or aluminum, or plated steel? Just looking at the stamping on the second photo looks like a saddle from the late to early 1960's. The first saddle could be older, but we still need to see more photos. -
Leather from the supplier, what is unacceptable?
Goldshot Ron replied to FirebrandPaul's topic in Leatherwork Conversation
I complain a lot to myself, but seldom do anything about it. However, recently I did complain to a supplier about the leather that I received. It was supposed to be Grade A, but the neck and butt were useless. These sections were so hard, I couldn't cut them. Unfortunately, this isn't the first time that I have received hides that originated from this particular tannery that had hard spots (rawhide). Rolled out on the table the side looked okay, but setting out my patterns and cutting them was another matter. The company that supplied the sides was apologetic, but they aren't the tannery. Anyway, more people need to yell when something is wrong. Just my opinion. -
PM: click on person's name you want to message. Their profile appears and in the upper header you will see an envelope that says message.
-
I have used this method, but I prefer a ring instead of a dee. I believe that a ring allows for a more even pull between the front and rear rigging attachment points. Your work is looking good so far.
-
Just saw your post again. The scraping is necessary, and it sounds like you have it figured out. I never thought of Dawn, it does work well on greasy dishes. Old school leatherworkers used Ivory because it wasn't as harsh as other soaps of it's time. To be honest, the important thing to do after cleaning with any product, it to put the oils back into the leather after cleaning. I've tried a lot of different oils and conditioners; and, I always go back to neatsfoot oil. But, use whatever you feel comfortable in using, and what works for you. So, how is the saddle you said you were building coming out?
-
Thanks Ed. I used his plain rigging rings for my last saddle and was impressed by them. I'll have to check out is plain B/C dees.
-
It appears to be a factory made saddle that someone stamped over the maker's mark. I could tell you that Jimmy Stewart used it in a 1954 western shot in Circleville, Utah, about a cowboy trying to do the right thing for his elderly father and mother. BUT, if it came from an auction in Oklahoma, that's about as good as the story will be. Often times, inexpensive factory made saddles are comfortable, you just don't want to rope a steer or pull a muley pack string using one.
-
Hey Ed, Just saw something else that tickled my interest; I like you breast collar dees. Where do buy your hardware. I buy most of my hardware from Weaver, but it would be nice to have something special, other than J. Watt's (which is nice, but somewhat too Southwestern for my taste). Thanks, Ron
-
Beautiful saddle Ed. What do you do to get your rough out parts so smooth, without the ragged fleshy areas? I see a lot of thought has gone into the planning and construction of this saddle. Thanks for sharing, Ron
-
Every saddle making book and CD will show you a different way to install a ground seat and cheyenne roll filler. I personally usually fall back to a version used by Stohlman. A leather ground seat or tinplate can be the same for either straight up or Cheyenne roll, once you have laid down the foundation. I suggest using Watt's method on installing the Cheyenne roll filler in the dish. This method is easier than Stohlman's. Cary Schwarz has a style where the filler goes down deeper into the seat, but I had problems using this method and went back to Watt's method. Also Ed, I've saved some of your photos for reference; thank you for sharing, I like your work. Ron
-
Superior Stirrup Leather Buckles
Goldshot Ron replied to bruce johnson's topic in Saddle Supplies, Tools & Trees
Yes they will. I have used them also on lighter weight leathers using light leather and nylon webbing.
-
aluminum horn repair
Goldshot Ron replied to JanetNorris's topic in Saddle Identification, Restoration & Repair
On ringshank nails I start with a nail/tack puller just enough lift the nail to expose the head, then with a set of nail pliers pry the nails out slowly using leverage. Place a scrap piece of leather under the head of the pliers and rock the nail out. Worst case scenario you clip off the head. Then the leather lifts up and out of the way. Now you can use the pliers to grab more of the nail and rock it out. This way you don't rip the leather because you are finessing the nail out. I do not recommend you a Dremel tool because it will heat up the nail and burn the leather. Also, more chances of scaring the leather with the cutting head (been there, done that). Like Oltoot said, don't replace the nails with new ones, "you may have to repair it" some day. -
aluminum horn repair
Goldshot Ron replied to JanetNorris's topic in Saddle Identification, Restoration & Repair
I was going to agree with the other comments until you said it was Circle Y. They aren't my favorite saddle, but, it may be worth fixin'. Their trees are decent, and their construction is pretty straight forward. The swell cover will probably come off easily (well with some cussin'), but it is probably held on with just staples. Does it have in-skirt rigging? If it does, remove the skirts and what you need to repair should be easy to access. The gullet cover will probably come off easily also. Like Randy said, this will let you see what needs to be repaired. If it looks like a tosser, at least you have learned a lot about Circle Y's. If you continue exploring with the repair, keep us informed. I would like to know what you find. Ron -
I believe Stohlman's book shows 3" wide leathers, so if your slots are a little too small for 3", go down to 2 1/2". I've worked on a lot of saddles with less than 2 1/2" wide leathers, and they have held up quit well.
-
RDL Makes some very good points. Now, I wonder how to place breast collar dees. Lately, I've been incorporating my dees in the latigo carriers. I seldom use clip (metal) and dees because the hole in the clip doesn't always line up where I what it, and drilling into stainless steel cost more in drill bits than it's worth. I do believe that breast collar dees should be attached to the tree and not to skirts and rigging plates. I usually use leather to attach the dees, and rawhide if the repair (original equipment) of a saddle calls for it. Also, for dees at rosettes for tying on stuff, I like to use rawhide. So, what did you decide on your fenders?
-
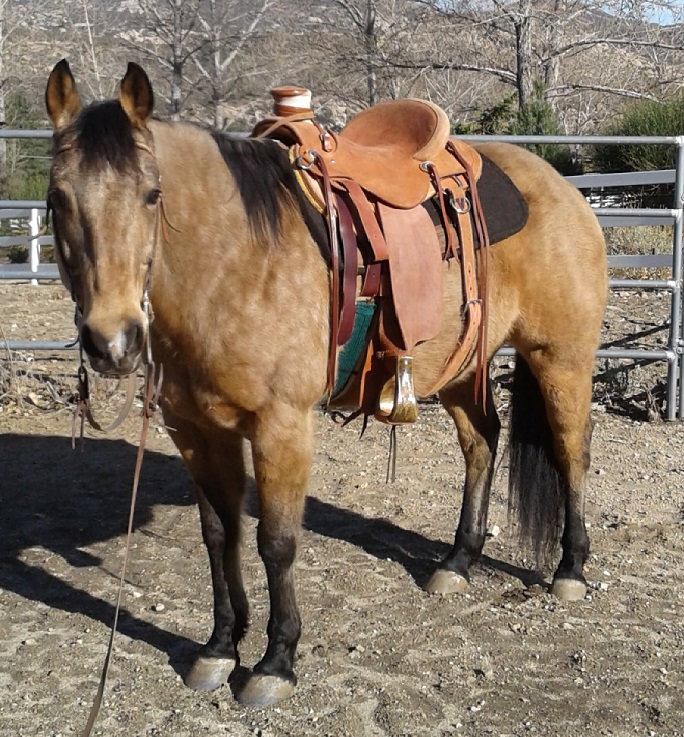
These photos, in my opinion, would be an early F.O. Baird saddle. His later saddles were more refined, and were designed more around western equitation.
-
Dusty, I think Ron mentioned this, design is up to the customer or you. Stohlman's pattern makes sense in some ways, but is old fashion looking. There are more shapes and patterns than you can shake a stick at, some good, some not so good. I always look at it this way: 1. is it narrow enough at the top to be adjusted up into the leather's slot, and yet can still have swing; 2) is the top/back wide enough not to pinch the rider's leg if he is spurring backward; 3) does it go far enough down at the stirrup tail to keep the rider's pant legs from soaking up the horse's sweat; and, does it look aesthetically pleasing. I like a fender with a little forward angle (forward of the stirrup leathers) to allow for forward swing and when stretching the leathers, can be shaped outward with a little flare. Ron's photo is a good example for a design, but see how the leathers are slightly ahead of the fender. What I have mentioned with flaring out the front of the fender, this will allow the fender to run up over the leathers. Go for it pard, just do it and have fun with the results.
-
FO Baird was a well known leather crafter as early as the 1930's. He predated Al Stohlman. He bought a saddle company from the Braydon Brothers located in Los Angeles around 1938, and I believe made saddles up to the early 60's. Some of his saddles were unique in design, and often geared more for looks than a real working saddle. They were well made and many are quite serviceable even today. The two that I have repaired and conditioned were really nice saddles, but I wouldn't ride in one. As far as price, they are more of a collectors saddle, so you would get better money through an auction.
-
Thanks Shooter, I checked their website, and they are back ordered on Aquilem, along with their solvent contact cement. I tired thinning the Aquilem that I bought, and it did seem to work better, but it just doesn't setup as fast as Barge. I am slow as it is, but waiting for glue to dry makes me even slower. I guess I'll just go take a nap.
-
Shooter, thanks for the advice. I'll try thinning the Aquilem. Which vendor had the better product?
-
I recently purchased Aquilem GL because I can't find solvent based glues in California any longer, and companies won't ship glue like Barge to Calif. Anyway, the GL is also like toothpaste. It says to apply and wait for 4-5 minutes for it to turn clear, but I have waited longer and it leather still slips around when attaching a piece to the saddle tree. Can it be thinned? Or, am I not being patient enough? After 24 hours it seems to adhere ok, and any spillage does just peal off. Any comments would be appreciated. Ron
-
Butch, My answer to you is YES, your leathers will be longer on the outside of the fender. Stohlman has a length guide in his book, but I feel you just can't take his guide and add (say) 3 to 5 inches. My answer would be to determine the length you will need using the outside-fender measurements and ADD some extra. You can always remove leather. Do not punch your buckle holes until you've tooled your leathers and attached them to your fender. When you are satisfied with them, now you can measure your inside part and cut to desired length, and punch your buckle holes. You may feel like you are wasting leather, but it is easier than mis-measuring and having to do them over. Good luck, Ron
-
Well, I stand corrected on the number of stitch rows. I went back through my photos of halters and repairs; and, many of them were 3 rows. I also make halter bridles for my mule friends, but they are lighter weight and my stitching is just around the perimeter. Anyway, you're on a good with your first halter.
-
Tom, Your stitching looks fine to me for a first attempt, it just takes practice. Three rows of stitching is a little overkill however. On most of my halters I put on an adjustable chin strap instead of a fixed one like yours. Type of oil is a preference: olive vs. neatsfoot. I use Oakwood Leather Conditioner, and hand rub it into the leather and creases. When it dries, it can be buffed for a shine. I don't use Tan Kote on tack or saddles; but, no matter what you use after stitching, your white thread will tend to yellow. Nice looking halter, Ron