bruce johnson
-
Posts
4,401 -
Joined
-
Last visited
Content Type
Profiles
Forums
Events
Blogs
Gallery
Store
Everything posted by bruce johnson
-
My experience as a user and seller. Two words - "Little Wonder". They are durable, parts available, and lots of dies available for different jobs. I buy and sell 6-8 of them a year. The major reasons most people get rid of them is they step up to a foot press or they retire/expire. If this an experienced person then they should like it. If I was buying new, I wouldn't hesitate at all on a Little Wonder. As an aside and for comparison. My second favorite are the older red version that Tandy sold. I can't comment on the Tandy Pro they sell now because I haven't had one. Those older red ones are heavy and strong. They usually very true and simple. They use the same size dies as the Little Wonder also. The Amazon specials can be OK but some are not true at all. I try to avoid it but sometimes I have to buy them if they come in a shop set. I'd stay away from them as a gift.
-
 I'm pretty sure I have shared this method of oil application years ago but bringing it to the top again. There are several posts about applying oils - daubers, brushes, woolskin scraps. Straight line and overlapping, swirling for light applications, dipping for heavy application. After that then you get the1-4 day wait and see for the oil to even out (it will). I was doing semi-production work and didn't have that luxury to wait most of the time. I needed something to go on pretty even from the start. Here's the tip of the day - fine napped paint roller and paint tray. Pour the oil into the tray, run the roller up and down the ramp a few times with pressure to take off as much excess as you can. Roll it over your piece. Much less streaking and goes on pretty evenly. Depending on tannage, thickness, and how much oil you want - you can do multiple coats. For large areas than the width of the roller, butt your laps next to each other, you don't really need to overlap much at all. For single straps I run over them at an angle so my full width of the roller will eventually make contact the entire length. That saves stops and starts to reload. This even application really saves time and once you know your leather, you can pretty well get it right without having to reapply the next day or after. I would lay out several pieces and just roll them all at once. If had a lot of projects going I just left the paint tray sitting with the roller out of the oil. If I wasn't going to be oiling a few days I'd pour the oil back into the jug and put the roller in a ziplock. I used scrap particle board as a surface. The excess oil soaks in fast and it didn't pool and wick back into the facedown side of the leather. After weeks to months the particle board would be pretty saturated. At that point chunks of it are a dandy fire starting material. In the words of a friend, you could stack it and burn a wet mule. Hope this helps somebody! - Bruce
 -
Oldest I am finding the glass slickers is in a CS Osborne 1897 catalog.
-
What size edger for 9-10, 11-12 oz leather?
bruce johnson replied to Mungo's topic in How Do I Do That?
There are very little standards between makers on size numbering in the last 50 years. Best bet is to ask the maker for a recommendation if you can. If you can’t then ask on forums about a particular maker’s sizing from people that use that makers tools. -
There is a little confusion on the Adams tools. Thomas was a very common first name and Adams was a common last name. There was a Thomas Adams in England who was a tool maker. Also one in the US and I think Philadelphia. The punches have the English style and most assume one of two things - the punches came from England or they were made in that style. The bigger question is were there two Thomas Adams who made tools or did the original migrate to the US and make tools here too. There is cases to be made both ways. I will check my older Osborne catalogs and see when they had glass slickers. I’ve also had old steel plate slickers too
-
Makers Leather Supply is in Elm Mott. They sell them new and might have a lead if you’re looking for used.
-
If you think you need to split 6”, even a 8” crank splitter will be tough. Pretty much your choice is the wide Cobra (Leather Machine Co). If you‘re splitting straps then the wider blade crank or pull splitters give you more blade width to work across before you need to strop or resharpen. I’ve sold splitters from $50 versions to $2500 versions and realistically there are pluses and minuses for each. I’ve got a tutorial on the website about choosing splitters. Since I got mentioned above I’m going to add a shameless plug. If you buy anything from me I will continue to resharpen it for free - just the cost of return shipping.
-
I get my spiral sewn and loose wheels at Ace Hardware. I get the sisal, denim, and yellow treated wheels off Amazon. I run 8” on the bench grinders and 6” on arbors for the drill press. I rake my wheels when they start to get hard.
-
As Chuck said my needs are different than most people. I am refurbishing old tools and sharpening new ones. My realistic safety procedure is this. My grinders are all turned around on the bases so the top rotates away from me. I have big arrow stickers on each end of the motor to remind me of the direction of rotation. I work on the top of the wheels. I can see my edges and I feel like I have better control of the angles. I have tubs behind each wheel to catch extra compound that flies off when applying. If something catches, it goes away from me. There are exhaust fans behind the grinders that will pull the dust out. I had a consult with a dust control industrial advisor to determine what capacity fans I needed. Overkilled it - full air exchange every 2 minutes. I have an overhead air filtration unit too (Rikon). I've got an air quality meter and noticeable differences when they are on. There are summer days if we have a forest fire blowing our way my shop air is better than outside. Safety gear - mask with N99 cartridges. I have a face shield now from Benchmark Abrasives - awesome deal and allows masks with cartridges. Leather apron. I wear leather welding sleeves over my arms. The looser the wheels the more they can catch a back edge and throw a tool. Gonna be honest, it happens but way less than it used to. I don't like the airway buffs and stopped using them. Yes they run cooler, yes they are durable and perform well. Yes those folds/pleats catch back edges and throw tools like crazy. I also have gotten away from much pressure on the wheels. I almost want a butterfly kiss touch and works better than pressing into the wheel. That was a hard habit to break -grinding or buffing. I watch my angles and edges and am careful when I get to tips and corners. Again, working off the top of the wheel gives me a better picture. When I am working on handles and bolsters the edges of the blades get taped with two layers of aluminum tape. I threw more tools doing handles than edges.
-
I'm not sure where it started but i did some pouches and sheaths requested with horsebutt. It may have been a military deal at one time - don't know. Tighter grained than cowhide, slicks and burnishes extremely well, and wears like iron. The soft roll molds easier and tools easier. I never carved much of it but stamping requires every bit of casing skill you ever learned. It is isn't "wipe and go stamping" for sure. Warm water and casing mix additions help it case better in my experience. The hard roll is good for flat work. I lined some rear billets, back cinches, and breast collars, especially on the higher ends. It was my favorite choice for lining and treads on Monel stirrups too.
-
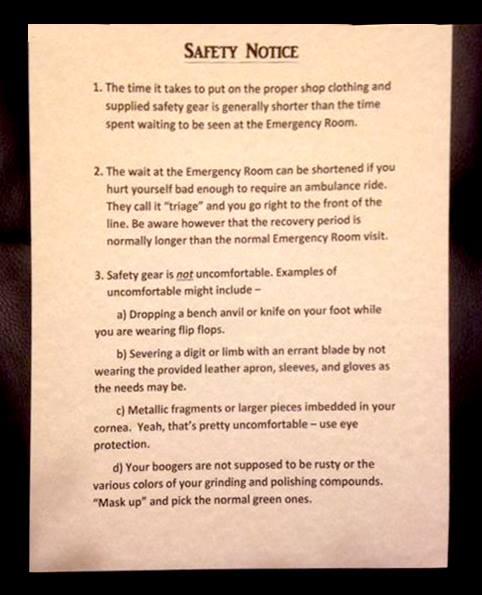
My shop safety poster I made up for the door of the tool room
-
class 3 & 4 buckstitch needle opinions
bruce johnson replied to maggielj's topic in Leather Sewing Machines
Good reports on them. A shop by me kept an old Landis around that didn't sew, just had a wide needle and used it to punch holes for buckstitching. I think it was Shane Deeter who got these going for the closed eye needle machines. -
I'm definitely the wrong guy to ask. I have 5 variable speed grinders and then three VS bench lathes (essentially small bench buffers). Some of wheel/grit combinations are 1/2 inch on an arbor for my drill press. Everything for the grease based compounds on the grinders are two stacked 1/2' wheels. I use 1" denim wheels for five grits of greaseless compounds. For waxy grease based compounds I use sisal, spiral sewn treated and spiral sewn non treated, and loose wheels. Once I get past the greaseless compounds I use four grease based compounds currently. All my compounds come from Maverick Abrasives now. They have been more consistent and economical for me. Black compound on sisal is most aggressive and removes grit marks pretty well. Makes a nice transition step up from the 600 grit greaseless. Next step is green - treated wheels first and then spiral sewn regular wheels to give a nice reflective polish and most people probably quit there. I go to purple compound on a spiral and then a loose wheel and it really brightens up after the green. I use pink on a loose wheel as a final buff or softer materials - the pink is really more of a polish than much abrasive - can use it on wood, plastic, or brass to really make it pop. For my leather stropping wheels - black and green then purple on a loose wheel
-
Pricing for Custom Saddle Tree Made by Kent Frecker
bruce johnson replied to Teddyi's topic in Leatherwork Conversation
My first call would be to Karsten and see if he wants it back to build on. The shop isn't closed. If he doesn't want it he could give more guidance on what to price it at. -
Wayne Cates (TSTI Amarillo) passes
bruce johnson replied to Ruark's topic in General Saddlery Discussion
Several good saddle makers went through there. -
You will like it! Great blades and super smooth action. I've dealt in several of them and have a few kept in my set.
-
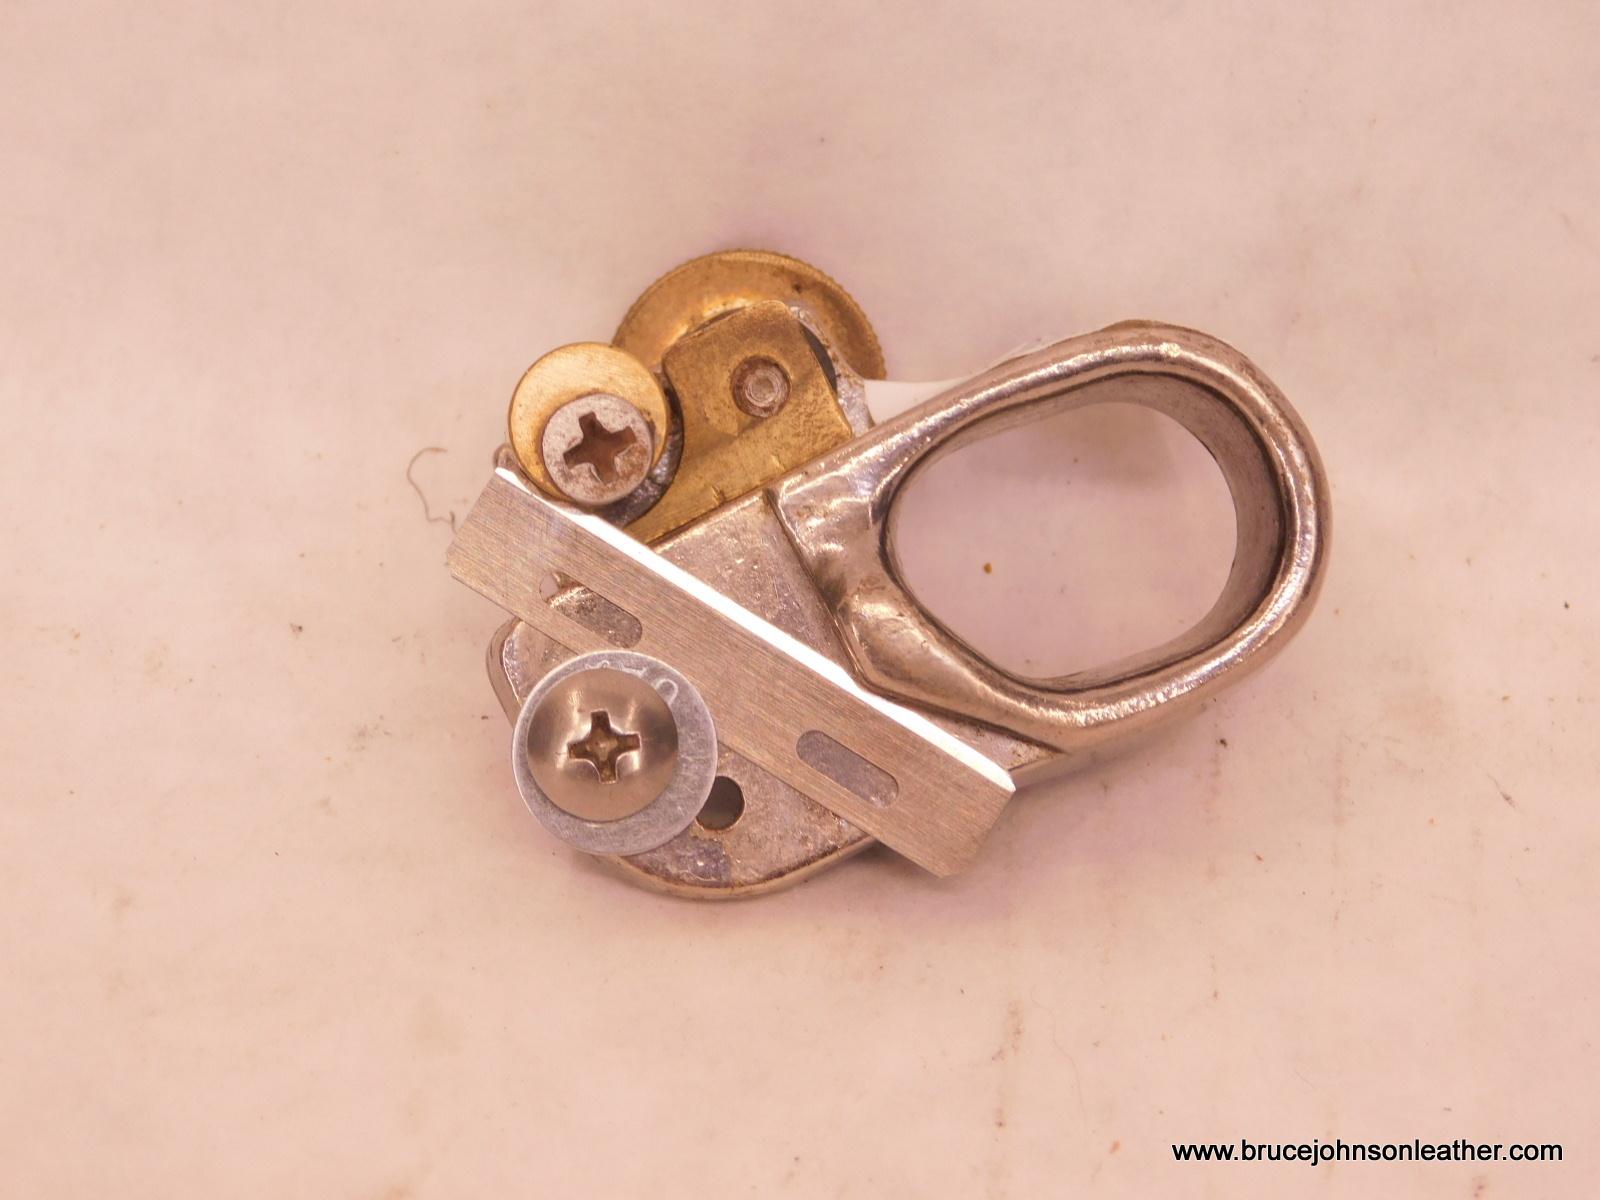
Hand cranked fudge wheel, I've seen it called a hand crank wheel welt press too
-
I'm probably the one you are referring to with the 3/32" of cut. That is how I am starting to describe edge tools. Good or bad, at least it gives some sort of reference. There are NO industry standards for size numbers anymore. It used to be that every number corresponded to that many 16ths of an inch. That standard went away years ago and now the numbers from one maker to another don't match usually. I am starting to just give the tool maker's size number and widths of cut so something/anything will relate. Size wise? some people like a heavier rounded edge and want a 180 degree rounded side edge. Others want a tiny bit edged off and a mostly flat side edge profile. Comes down to personal preference. I've got a tutorial on my website how I sharpen and strop edgers. I still do them mostly like the tutorial even though that was years ago - https://brucejohnsonleather.com/tutorials/
-
I've got a drawer with at least a dozen of the black iron vintage versions hoping for some NOS blades to float up but likely will never happen. Blades could be fabricated but not worth the time and effort vs return for me. Most people of the people I deal with want the modern version with disposable blades. The cam action of the top guide helps keep the different lace thicknesses flat and the unit is easy enough to replace a blade on for the folks that have trouble sharpening. I don't extend my blade up nearly as much as Handstitched I guess. I have mine set so the sharp edges are within the frame and cam bar on either end. I don't have as much blade edge but can switch the blade end for end once before it either gets stropped or tossed.

-
They are flat bottom edgers, not rounded.
-
Differences between these two Ferdcos??
bruce johnson replied to Teradee's topic in Leather Sewing Machines
H was their high lift version. Not sure what frame they based the grey one on. Ive had Juki marked 2000s and white Pro2000s. -
Trouble adding EPS to cobra class 26
bruce johnson replied to Alexfisher's topic in Leather Sewing Machines
Vince would be the one to talk to now at Cobra. -
A stake in the hardy hole of the anvil will work on some level. Something that would be solid enough to peen against.
-
Imperial Tex Tan Cutter Restoration
bruce johnson replied to Rudegal's topic in Saddle Identification, Restoration & Repair
I've already written and deleted two replies and here is version three. I am answering the questions out of order. 2. the whitish finish. After maybe 50 years and who knows what it was treated with during it's life - could be petrified Saddle Lac or who knows what. Pretty much any solvent will be hard on the leather. Might be some sort of acrylic too 3. Since you didn't mention the glue looks like crystallized tree sap, might not be dextrine but again who knows what they used back then. Not drying and still sticky could be some reaction of solvent glue and foam or just rubber cement residue. 4. Anything else to know about these old TexTans? I'm maybe a little biased. One of the higher points of my younger life was when I was 14 and made enough money from a summer job to buy a used Price McLaughlin saddle and I never had to ride that damn TexTan Imperial saddle on the "form fitter" tree again. Not everyone in my family shared my enthusiasm for the upgrade but they were not the ones riding it. Later on I was in college and working for a trainer I bought two Billy Cook BW tree cutting saddles. They weren't much happy about that either. My candid thoughts are there isn't much helpful to learn from this saddle. I don't meant to sound hard, but this saddle is dated and old and built to price point with production techniques. The seat won't be right without pulling the guts out of whatever groundseat there is but then afterwards the seat likely wont stretch down into place. That cantle is nearly impossible to sew back without a ton of experience. How decent will the rigging be after this many years? -
It depends on which maker. The new Craftool and entry level Amazon blades are not that great but workable. As you move up the ladder generally the blade material and grind quality gets better. I've had some Asian made Amazon-ish swivel knives with pretty good steel and some were not. I've got one friend who uses a blade made from a point file that Chuck Smith made years ago - awesome blade and he strops it on his pants to just wipe it off. He said it has never been resharpened after years as a carver in a shop. I believe him and have used it some. I told myself I wasn't going to name names but here goes....Top of the heap for me is Bob Beard - hard to get and expensive - something to aspire to, not start with. The cobalt blades Chuck makes now have really good reviews from a couple people I respect. LeatherWranglers, Red Ox (Gordon Andrus)are similar in price to Chuck Smith and can't go wrong with any of them. Barry King, Clay Miller, and Gomph-Hackbarth (Lonnie Height) make good knives. The skinny on this - If I was outfitting a new bench - for the mid level price Barry King would be where I'd start. He's got a moderately priced swivel knife in more yoke and barrel choices. He's got a selection of blade choices. He'd be way more consistent than taking a stab at Amazon. He can give you advice on what he thinks will work best for you. With his pricing you could actually buy 2 or 3 swivel knives from him in different barrel and blade setups for the price one of the premium knives from another maker. If you decide to move up the food chain in a couple years, Barry King tools hold value more than the lower ends. In the meantime you will have learned to sharpen and maintain, what you like and more of what your carving style is and what you need to do it.