jimi
-
Posts
1,418 -
Joined
-
Last visited
Content Type
Profiles
Forums
Events
Blogs
Gallery
Store
Everything posted by jimi
-
If that is the newly painted machine Soren then you might consider JB weld, I think that would work, then drill and tap again. Or if you have a plate with three screw holes and the casting has the place where they go and not drilled yet, you could drill and tap them and have the three screws holding on the plate???
-
Hello Niles, Yes you can take the large flywheel off after taking out the 2 grub screws. It might be a little tough because the grub screws can cause a burr on the inside sometimes and this could stick the flywheel a little. Be careful not to push in if it sticks without holding the front cam under the face plate or you might break or bend something!! when you move the flywheel then the axle will have some play in it, moving forwards. So be careful not to move the axle forwards too much because you will be pushing the needle bar connecting arm.
-
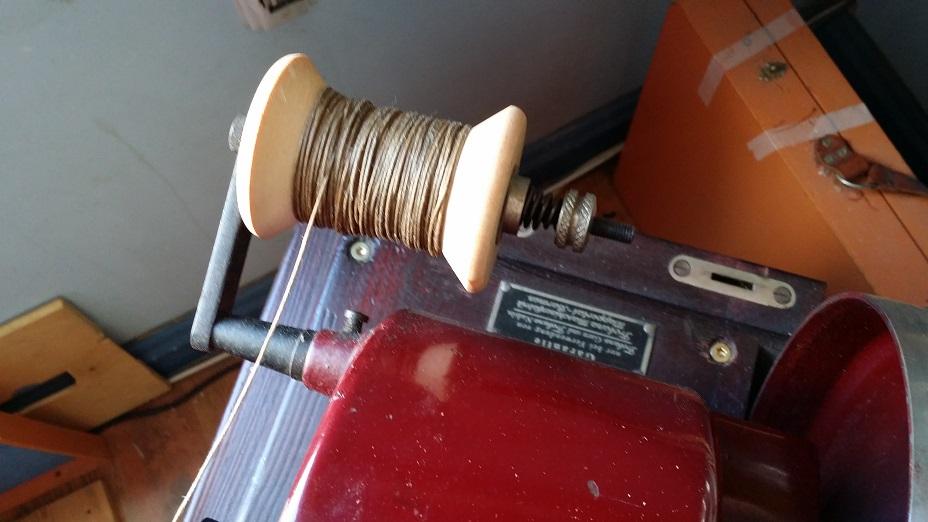
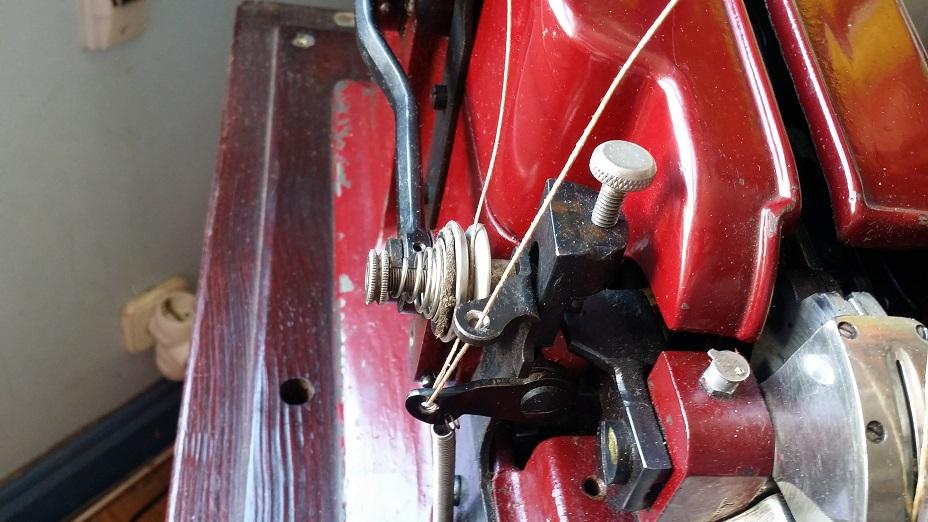
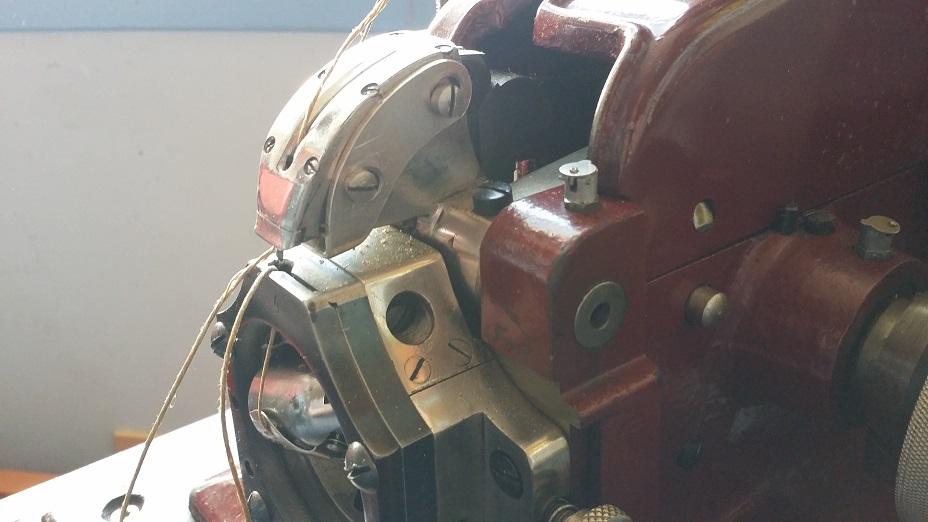
I think first of all you might want to look for a smaller bobbin, that way you can get tension on the top thread. By the looks of it, that big cop of thread will not let you get the proper tension. It consists of a felt or leather washer each side,spring cup washer,spring and nut. Remember 1 1/2 times around the first tension pulley.It might be just the position of your wheel but the head looks really high?? You normally put the leather under and adjust until it is just gripping when the arrow on the machine is in line with the one on the hand wheel. I have just noticed that your arrow is missing?? Looks like it has been worn down where it was. There are two kinds of feed dogs for this machine, one is for rubber soles with two teeth like the one you have in the machine and the other is for leather soles which is a knife and a small point. If you are sewing leather then change the feed dog to the knife.
-
Exactly, that is where you should start Sean, what if you are wanting to sew....... gloves....... Lol....
-
You may need to lower the head to press on the leather for it to move along?? It is hard to see from your pictures?? when you lower the head does it press on the leather??
-
Yes Chris, I usually do the same if a skin has this. I use these parts for small pieces and where possible on the inside of a wallet etc.. out of sight.
-
Yes, Nice place Salamanca, and sounds like you had a good time over here Gregg. Sorry Stor...
-
Hi Doug, I am not too sure but i think your machine is the same as the Pfaff 335? and as far as i know and can see, i am not able to move the feed dog up or down?? it goes forwards and backwards only not up and down. Is your machine different then?
-
Here is the pulley for the jack servo motor. 50mmpulley.stl
-
Hi, I don`t think there is any walking foot adapters for the old singers out there, Back then you either bought one with or without a walking foot. The one you are talking about is probably just for the domestic type, hence the filing away the metal in the post you put there. You would have to adapt it like the guy in the post. seems like it is that small arm that gives the lift to the foot i suppose that needs adjusting. I doubt you will throw the timing out if you are careful. I don´t know the difference between the professional and the other?? you will find out when you open it. I would just open it and see whats going on inside and then install it and go slow by hand to see if it needs filing etc.. HTH
-
No Gregg, it is a 13mm bore with a 2x4mm key way. I printed one out yesterday in two halves to avoid support material and time (and i am a noob at this...Lol..) and it works real slow and nice, BUT the needle positioner will give you a error5. So today after trying to figure it out i can only think that the chip is programmed to a certain time lapse?? it will trigger the error if the disk in the positioner takes longer to trigger the sensor ?? So it seems that a 50mm pulley Will work, I have just printed one and tried it. I dont know if a 45mm one will work?? So if anyone wants the Stl just say, but it is real easy to do.
-
Singer 16-188 help with timing, threading?
jimi replied to Hodgie77's topic in Leather Sewing Machines
I must say that is in excellent condition!!! Great find that one BellaBee. You do not come across many machines in this condition these days! -
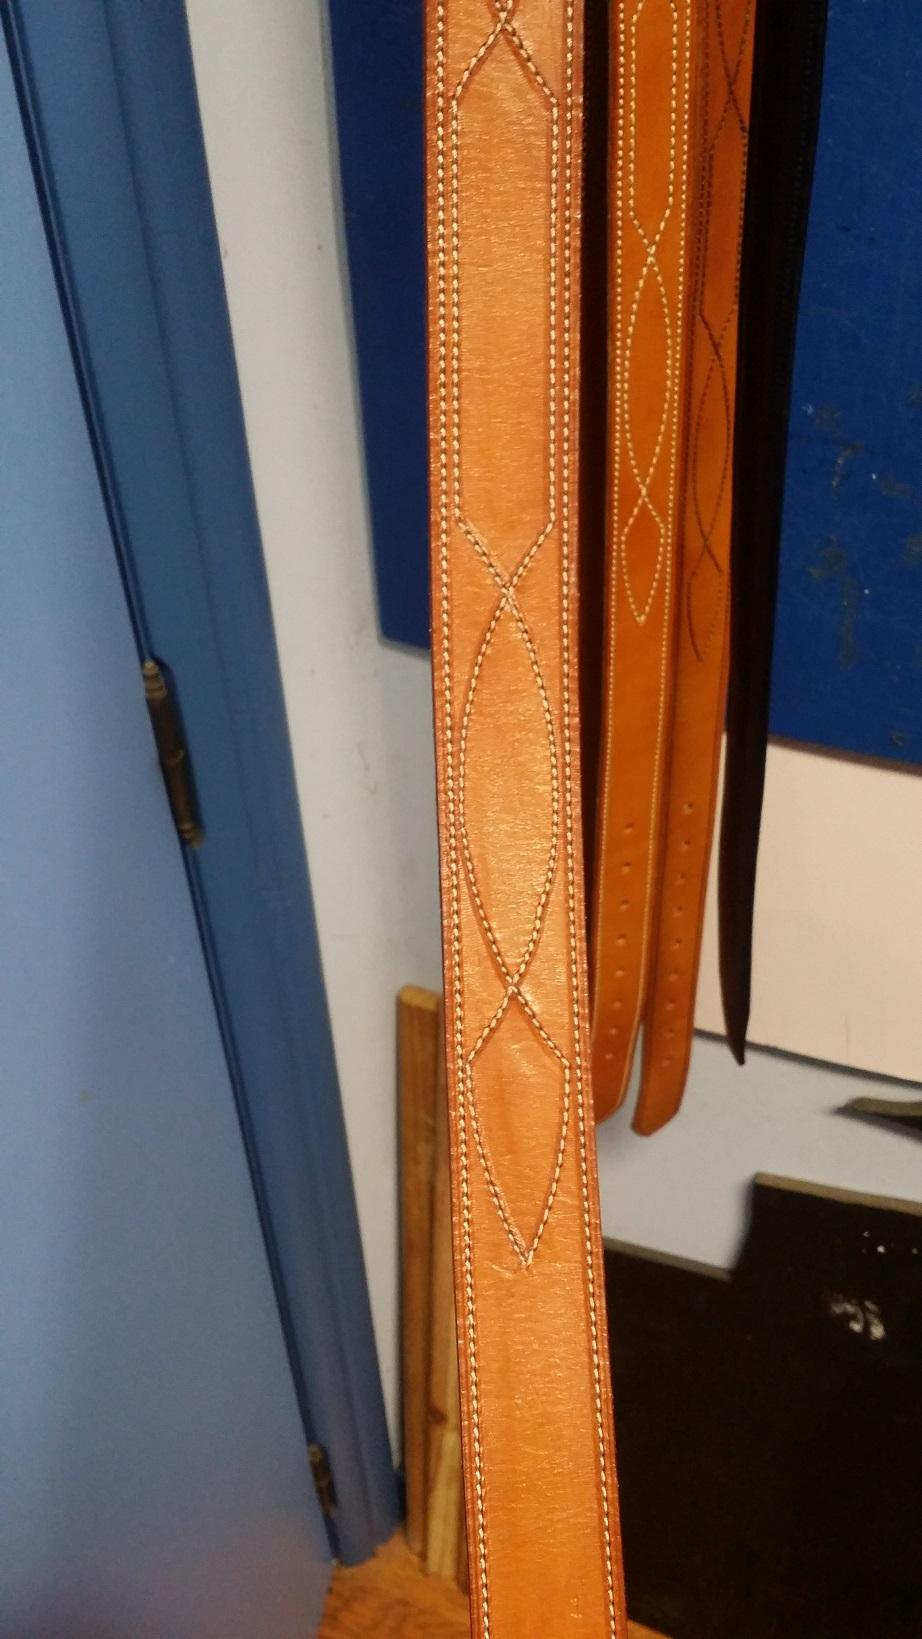
I use the one bellow in your link, the one they call pro stitching tool ( I don´t find anything pro about it??) with the fence off and up against a cardboard template for example if i am in from the edge like so....
-
Ok then Rachael, Tell us how you got on with the new parts, and get your hubby to undo that grub screw
-
can anyone tell me how to end a stitch ???
jimi replied to bryan4christ's topic in Leatherwork Conversation
Hi Bryan, On your 29k machine you have the option just to turn the foot 180º and stitch back again, Like zuludog said, with the needle down in the work, that way you do not have to turn all of the work around. But you need to loosen the front screw locking the foots position. -
Excellent match Pinto!
-
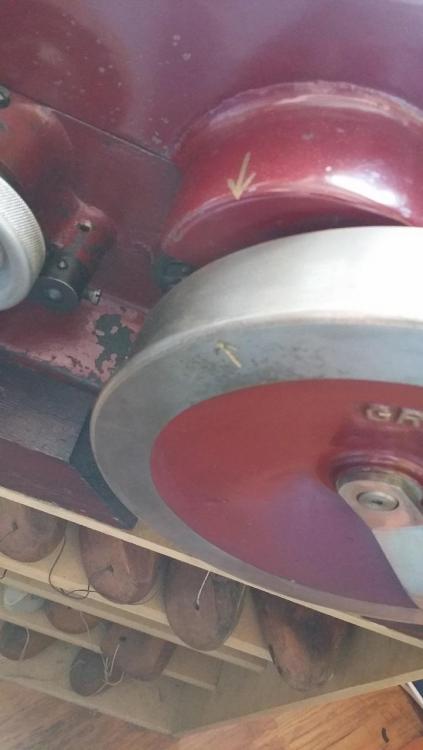
Is that the colour on the flywheel??
-
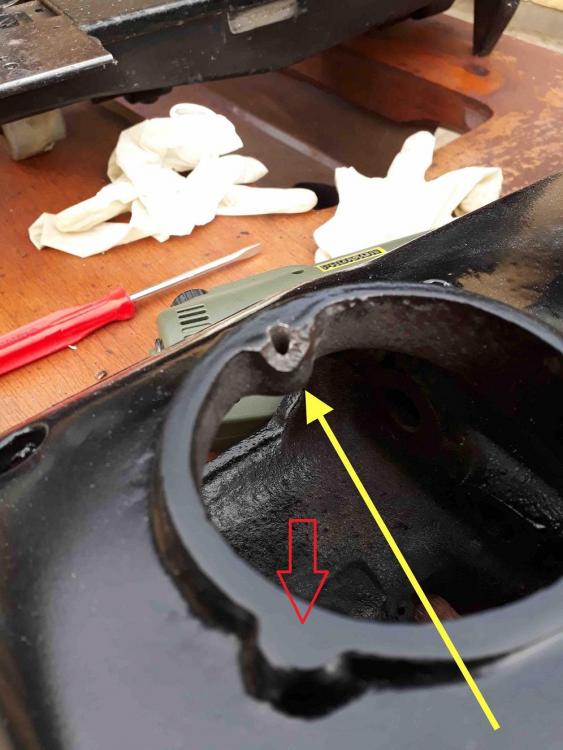
As for the stitch regulator, if you take off the two front screws the plate is still held on with a spring ( at least on the Pfaff 335) which i could not see where to get it off. anyway the screw on the pfaff mmmmm? not sure if it just screws out or it might have a small grub screw holding it in as well, so when you pull away the plate you will see if it has a grub screw locking it or not. then it will spring up if i can remember. also behind the tension disks there should be a small rod which opens the disks when the foot is up to release the thread tension, that might not be working as it looks like the spring is bent?? as is the top cover plate? Sorry to see that happening again to people, looks like it is the senders fault for not packing it correctly?? anyway yell git that goin nah problems...
-
Well Hiya and welcome to the Forum, Seems like i have been down that lane before??? Check this one out Rachael.
-
Skipping stitches on 29K70 and Needles, Needles, Needles...
jimi replied to Snakeoil's topic in Leather Sewing Machines
I don´t think Brazing would be a good idea? The heat could bend the needle bar?? and there is a small channel for the thread to pass which has a small wall where the groove is closed with a thin strip of metal, that could come loose maybe?? -
I Agree with Matt and Chris, Also what you could do is from the start set out your stitches on the template and adapt to your iron spacing, I imagine you are doing it the other way? cutting your pattern first, then hoping the stitches will fit??
-
What about a tommy button, you know, the screw in ones with the ball on the post?
-
Hi There, Maybe try a flat diamond stone? the ones you use for chisels?? Jimi.
-
Cheers Rob, That is a nice little book
-
Hi Arturo, I have used contact cement on oily leather and can say that it will hold it in place long enough to sew the parts together (most of the time) but will not hold them together for long. Hope this helps?