toxo
-
Posts
2,261 -
Joined
-
Last visited
Content Type
Profiles
Forums
Events
Blogs
Gallery
Store
Everything posted by toxo
-
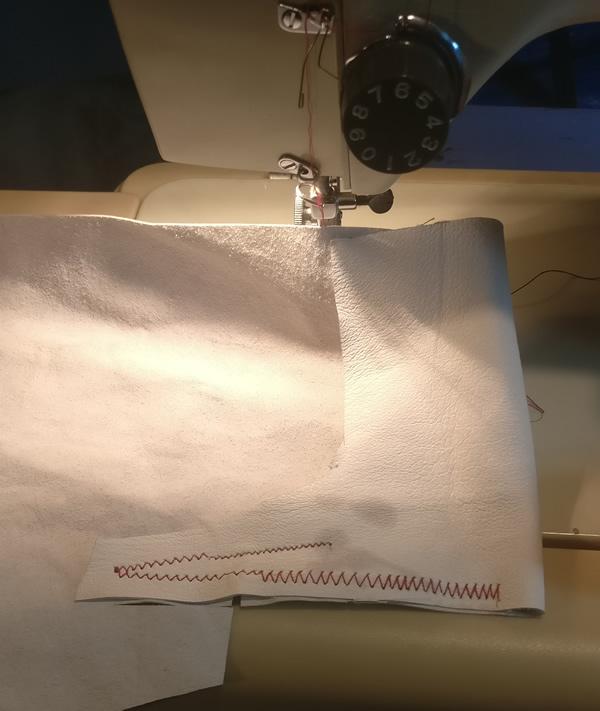
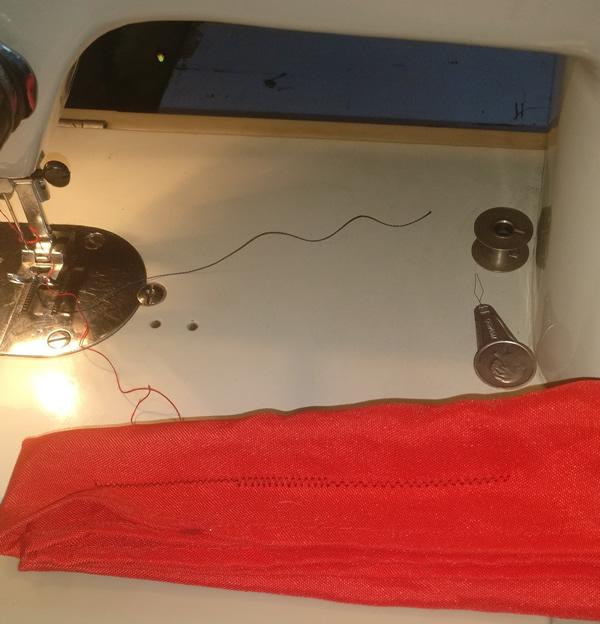
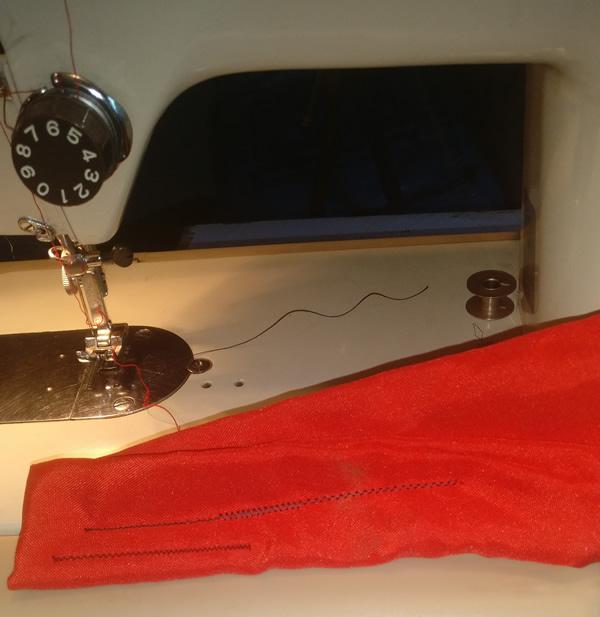
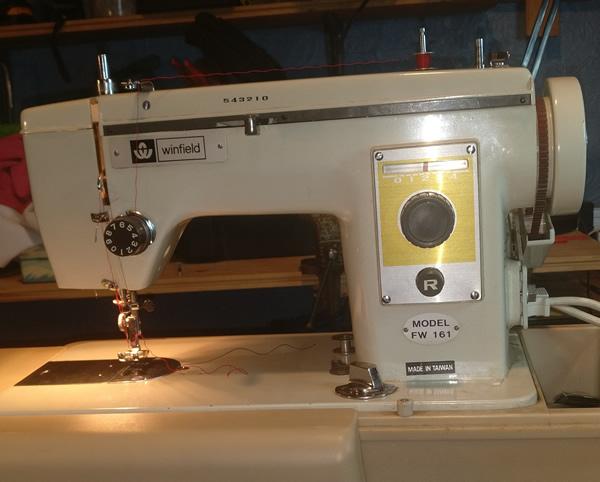
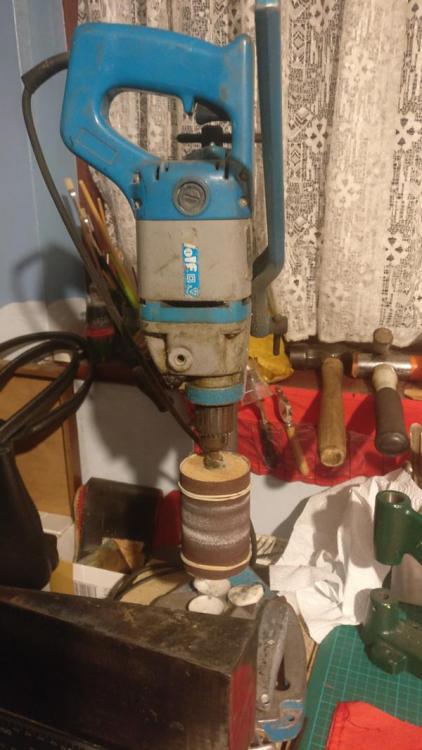
I had trouble with thinner thread through my Adler 69 so on a whim I dug out my old mums little domestic to see if it would do ripstop nylon. After oiling and cleaning I was pleasantly surprised. OK the small motor needed a turn of the wheel to get started and I don't think I threaded it properly (anyone got a manual?) but it had no trouble with two layers of pigskin lining or eight layers of ripstop nylon.

-
I found a bigger drum does a quicker job plus different profiles for different jobs. The emery paper was cut on the slant, skived and glued. the elastic bands just help to keep it there but I've never known it to slip.

-
It seems unbelievable Fred but it seems your suggestion of using duvets for filling is the cheapest thing I can find. I can get em for £6 in the high st so using them and what's in their current beds shouldn't hurt too much. My dogs are spoilt Fred but I like spoiling em. they keep me sane. My youngest Westie is worse than a mischievious child but she's also very loving. When I'm watching TV she'll often park her arse in the crook between my head and my shoulder, sometimes pushing my hed over to one side. Does make me laugh. Even before she was born she's made me laugh. Her mother was 10 days overdue and showed no signs that there was anything in there. Then out of nowhere she started shaking. Then I thought maybe there was someting in there after all and it had died so I rushed her to the vet. Now picture this. There was this Spanish female vet and me and a young english girl whos a trainee ande we were looking at an Xray. She was explaing to me that there was one puppy in there and it was alive, It was a large puppy because obviously it had been eating all the pies. After looking at the Xray for a couple of minutes I said to the Spanish vet with a straight face, "Has that big puppy eaten all the other puppies?" With eyes like saucers she said "Oh no". The English girl was cracking up as was I. I won't say why she was telling me to hurry up.

-
Thanks again Folker. I guess I'll have to try to envisage what I might want to bind in the future and then what size tape and how many folds etc etc . I'm really surprised that I can't find a comprehensive article/video explaining what does what and why.
-
Amen to all of that Sheila. I have two Westies that are getting on a bit and two younger ones. I also have a big ol Staff that's ancient. His mind and eyes are still A1 but he's a bit stiff these days. I massage him every morning to get get him kick started and he's ok after that. He always used to run away from puppies but he bonded with my last one, she's about 2 1/2 now and she's taken years off him. You should see the pair of em rolling around on the floor biting each others legs I plan to make these beds completely enclosed with just the top layer detachable/washable. I'll get five beds out of five meters of this stuff (well done Fred). Do you think it'll need anything on the back of it to stabilise it? I guess whatever it is needs to be machine washable. Any ideas? https://www.amazon.co.uk/Fur-SHERPA-FLEECE-Sheepskin-Material/dp/B00LND5FOO/ref=nav_signin?_encoding=UTF8&pd_rd_i=B00LND58J6&pd_rd_r=18462703-5c26-42fe-8bcf-a16205534d5c&pd_rd_w=EwI0m&pd_rd_wg=16wO6&pf_rd_p=91679b4c-230c-4b41-99ee-c0eec98b90bb&pf_rd_r=EKQ53AWJ8X1CK4F979CV&refRID=EKQ53AWJ8X1CK4F979CV&th=1
-
I'll look at anything that's cheap Fred. I'm even rethinking the shearling. would work out expensive at nearly £4 a ft.
-
Instead of keep buying new beds for my five dogs, I should be able to make a decent fist of making em myself. I'm thinking just a padded boxed rectangle with a shearling top that snaps off for cleaning. What would be the budget waterproof material to use? They do occasionally scratch and tear the thin fabric types
-
Nice idea! If it get's those constructive juices flowing it'll do.
-
Thanks Folker but what I need to know is what type of tape/binder is used for what application? Some raincoats for my dogs using ripstop nylon are gonna need a different setup than binding leather surely? And binding tape with a raw edge (that you cut yourself) would surely need a double fold right?
-
Anyone? I've done some looking but there seems to be a lack of info on these tape turny things.For starters I'd like to make some raincoats for my five dogs but I don't wanna be buying stuff that's gonna sit in a drawer.
-
Thanks Glenn. Appreciate it. Everything arrived this morning from KHsew. Took awhile but if it all works as well as the packing I'll be pleased. Just need the tape turny thing now. Do I have to buy one for a particular tape width or are there ones that will cater for various widths? And does the tape come with a finished edge or a raw edge and does the turny thing cater for that? What should I be looking for?
-
You'll no doubt be aware that the chessmen in that picture are the wrong way round. Bottom left hand square must be black.
-
Sheepskin Question
toxo replied to Seagrove59's topic in Dyes, Antiques, Stains, Glues, Waxes, Finishes and Conditioners.
I always find with a question such as this at best you'll get three different answers. I would either try it on a scrap piece or try a very diluted dye and proceed with the darker if it doesn't bleed. And of course leave it to dry with the shearling side up. -
Witches brew - clue. Re; The buckle. Depending on the strength needed, I know Batchelors do some really heavy duty ones. Maybe if you cut the down side of the perimeter next to the bar you can slide it over the end of the belt and still have enough strength in the top piece with little chance of it falling off especially if it's worn.
-
You'll find it difficult with anything but veg tan and the thinner it is, the easier it is.
-
Belt bag and other bags
toxo replied to AbleToDream's topic in Purses, Wallets, Belts and Miscellaneous Pocket Items
I think you have a future in leatherwork my friend. Well done. -
You do nice work. I'm doing some dies to cut those circle/half circles. Pondering whether to include a handle as well as a strap. Should do both I guess.
-
Welcome to the forum. Some nice work there and an unusual design, Where's the rest of the pics?
-
How Much To Charge For A Small Laptop Bag?
toxo replied to AzShooter's topic in Marketing and Advertising
This question never gets old and it's impossible to answer specifically because each transaction has it's own variables. The quality and speed of your work/the quality and cost of the materials used/the target market? They all have a bearing. Added to that, the reason for making the item plays a big part. Is it simply to make money? How much altruism is in you? In this case some people might relish the opportunity to pay back some of the kindness already shown. If it were me I wouldn't charge her a penny and there's always the hope that I'll get all or part of the cost back on the surplus five yards. Which is puzzling in itself! Why not not buy the right amount? I'm sure there are suppliers who don't just sell whole sides, especially when told it's a gift for a carer. Of course if you're the sole supporter of six kids who haven't eaten for two days or the recipient has the kind of money that allows them to tip that amount to the doorman at the theatre, the picture changes somewhat. -
Very nice and clean. I have one nit pick. It looks like the handle ring keeper goes through a slot and doubles back on itself which would put undue strain on the slot. Please tell me I'm wrong and the keeper strap goes under and back out of the other slot which would spread the load better.
-
Thanks Lynn. I noticed the spare punches are quite reasonable. Would it be prudent to order a couple when buying?
-
I'm not getting what you mean. Are you saying the hand held one I listed above won't go through unless you hit it with a mallet?
-
Long shot! Does anyone know if this tool will put say a 3/16th hole in rule steel? Or where to get the dies to do the same with the arbor press. https://www.zoro.co.uk/shop/hand-tools/punches---wad-and-hole/hand-operated-hole-punch-kit/p/ZT1001882X?utm_source=google&utm_campaign=pla%2B%7C%2BHand%20Tools&utm_term=ZT1001882X&utm_medium=pla_css_3&mkwid=-dc&pcrid=314494376348&pkw=&pmt=&prodid=ZT1001882X&slid=&pgrid={groupid}&ptaid=pla-394844308538&gclid=EAIaIQobChMI9evxh8LI7AIVxOF3Ch3MoghUEAQYBSABEgJQp_D_BwE
-
Does anyone know the shaft size of a Nakakima 341L?
-
My first leather sheath
toxo replied to Arutemu's topic in Gun Holsters, Rifle Slings and Knife Sheathes
Nice Job. I hope you've got a welt in there else it will cut the thread eventually.