-
Posts
2,221 -
Joined
-
Last visited
Content Type
Profiles
Forums
Events
Blogs
Gallery
Store
Everything posted by Uwe
-
It’s possible that your problem occurs when you stop the machine at precisely the wrong time and the hook moves backwards a tiny bit. In the video below I show a problem that I had with a Consew 225, which has a very similar hook design to the LU-563, just a bit smaller. If you can purposely make your machine drop the thread in the position shown in the video, then it will probably happen on its own on some occasions. In the video I show a modification of the hook, which solved the problem, but it probably wasn’t the only way to fix it. I later replace the tab with a full shim ring on that hook and it worked nicely. I’m not saying that you need to modify your hook! A small advancement of the hook timing may keep the thread taught enough to prevent the thread from falling. Also, the check spring plays a key role in how taught the thread is when it gets wrapped around the bobbin.
-
@DonInReno thanks for sharing! I’ll try not to let all that fame go to my head
-
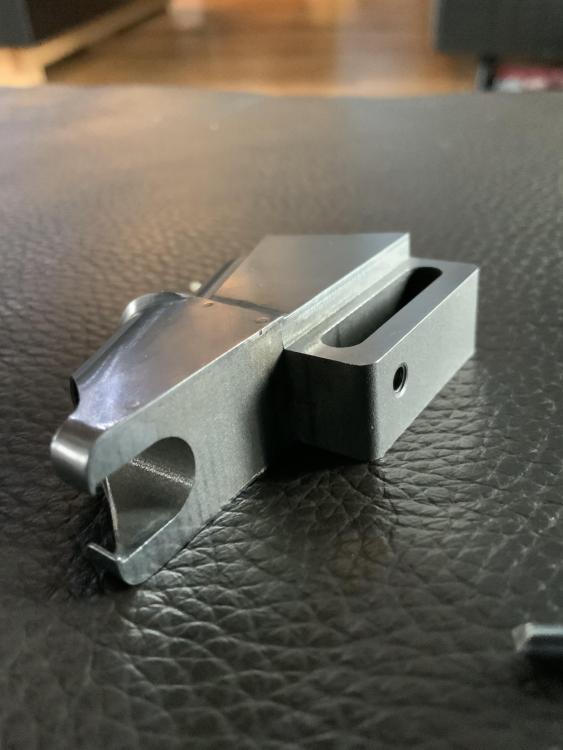
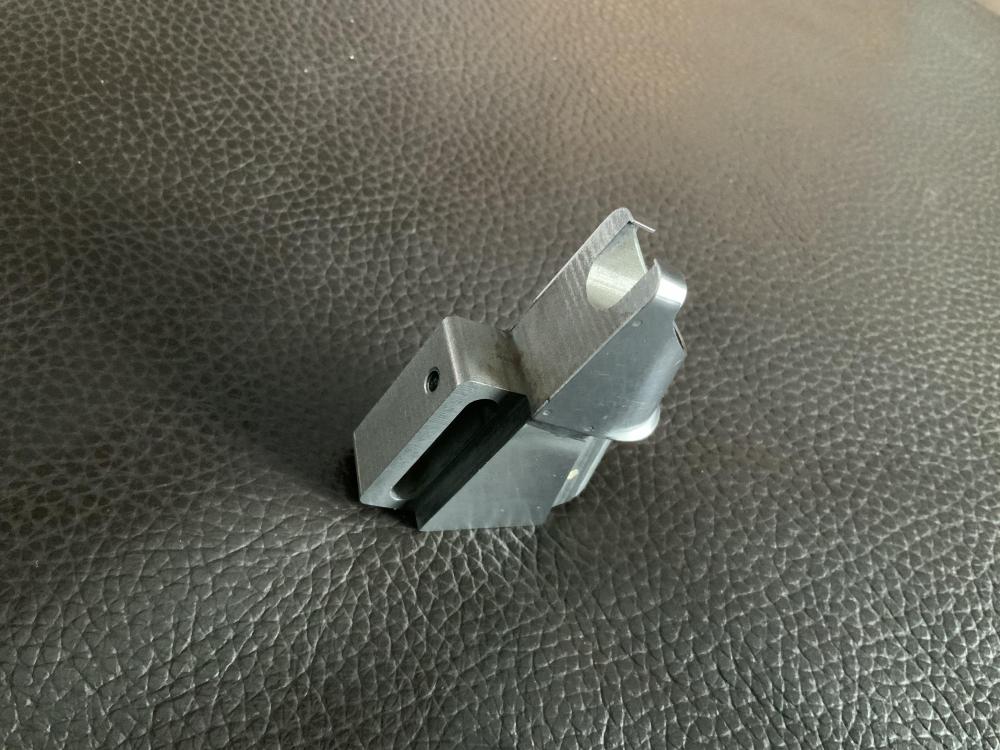
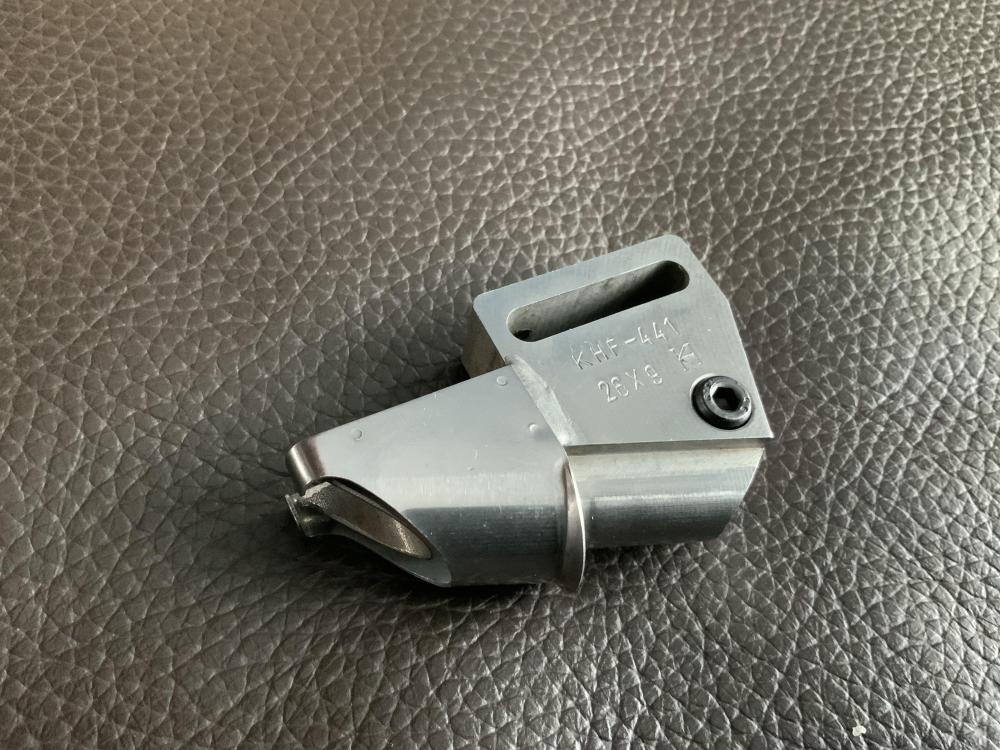
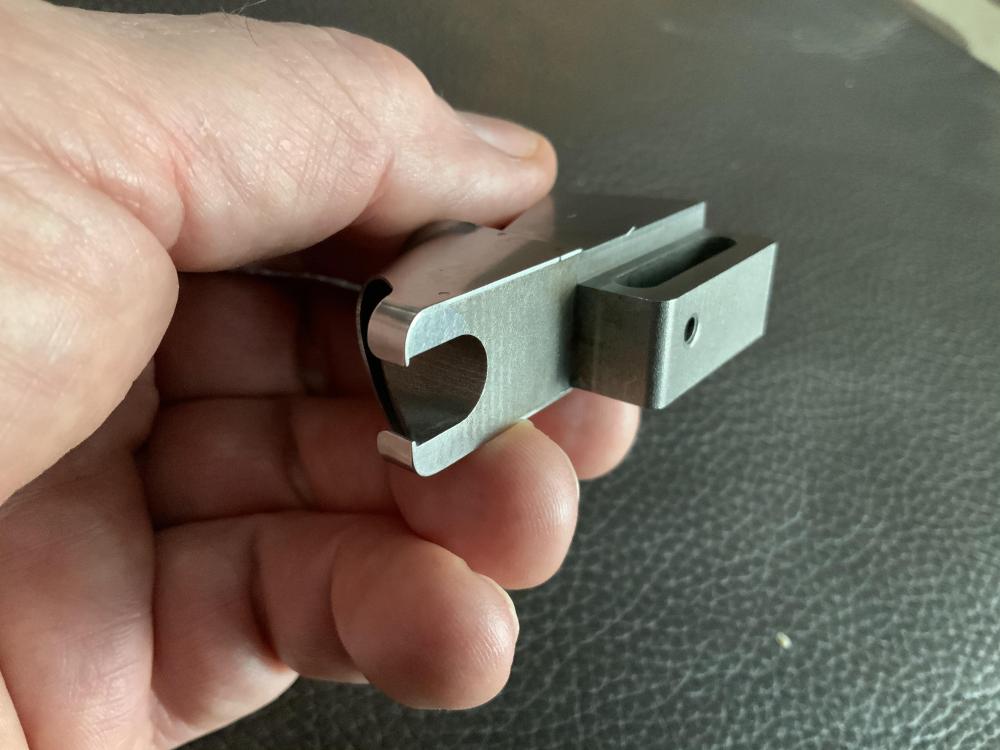
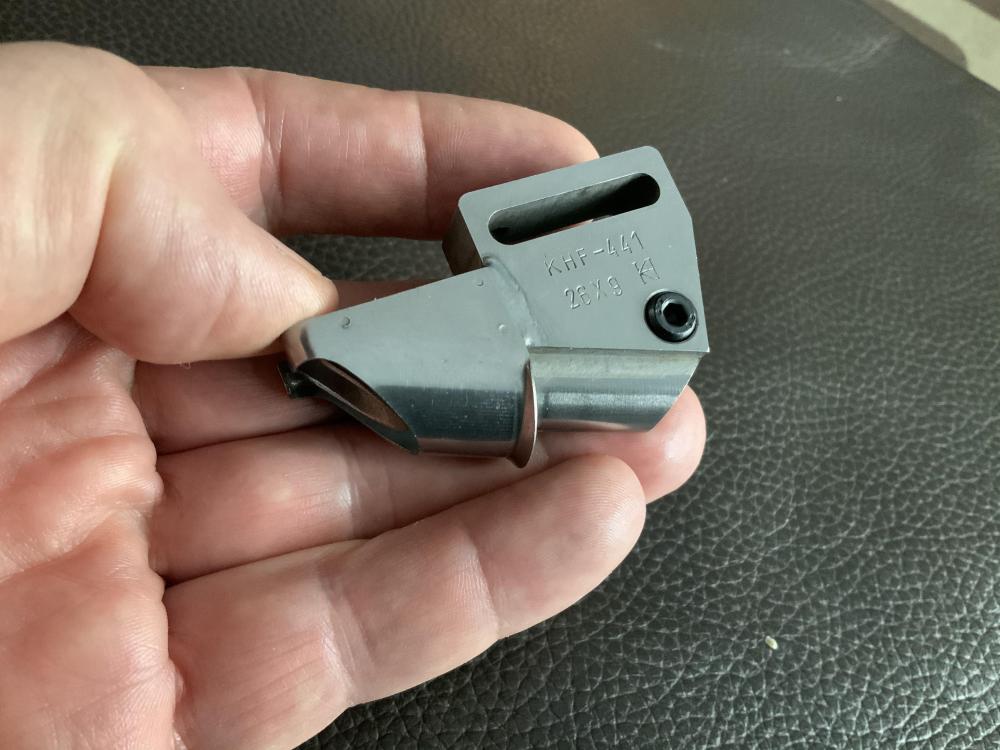
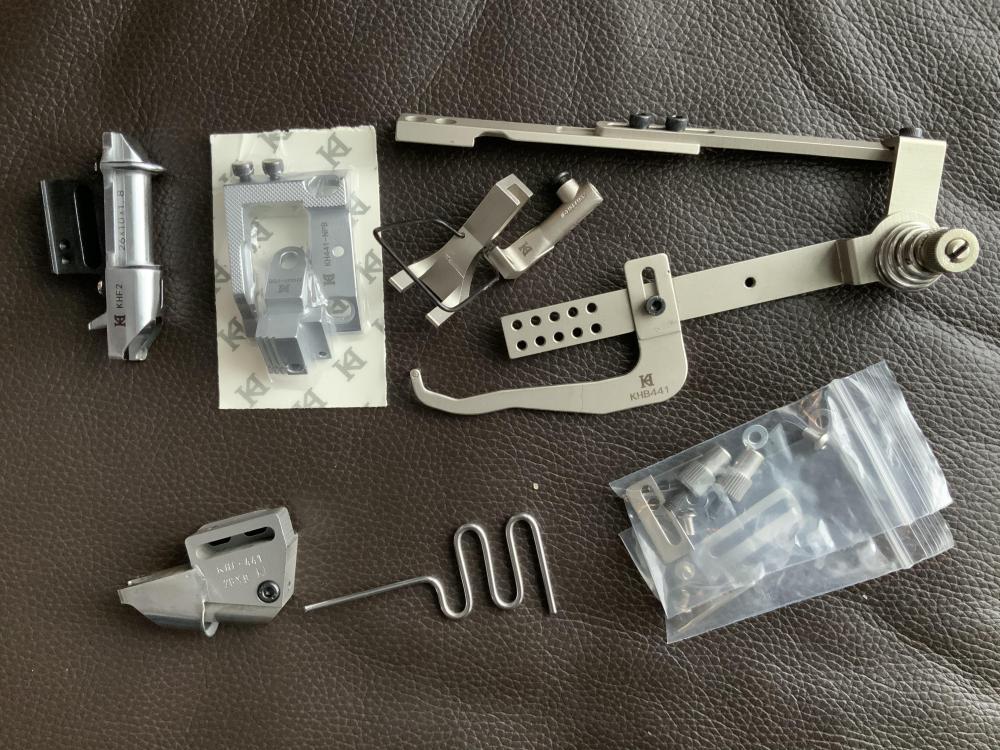
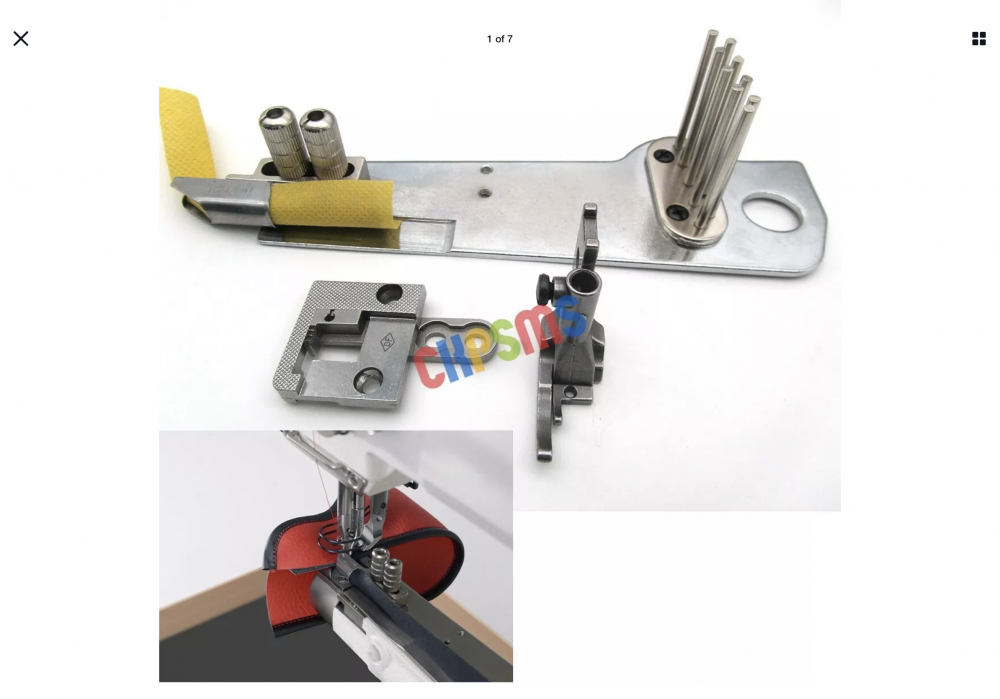
I just got that same tape folder to try out on my 441 class machines. I think it’s designed for application where the tape folder floats in mid-air, mounted to a swiveling arm. That tape folder is BIG and I think it’s designed for 441 class machines (also implied by the KHF-441 part number.) It has an offset on the underside to lower it for proper alignment with the throat plate. I don’t think this tape folder is suitable for mounting to the slide plate of a flatbed machine. Here are some pictures of mine (wire guide not installed): There’s more to the binding story, especially more parts. Here’s the full set of parts I got to make this tape folder work on a 441 class machine. I’ll make a separate topic once I’ve had a chance to try it out. This photo is just to illustrate that it takes more than just a tape folder to do binding on certain machines.
-
You may just need to adjust hook timing a little to make sure the take-up lever and the hook don’t fight each other over the thread. I remember having a machine that would snag on the end of that hook gib. It’s been a while and I don’t remember all the details, but replacing the hook may not solve your problem. I think the little finger on the gib of other hook version is mainly there to keep control of the loop a little bit longer as it’s being pulled up by the take-up lever, so that the loop doesn’t get caught again by the tip of the hook as it comes around. Thinner thread tends to flop around more, especially at high sewing speeds. As the take-up up lever pulls the thread up, the hook needs to let go of it at just the right moment. If the hook holds on too long, it will interfere with the take-up lever’s job, the thread will snag and cause problems. If the hook lets go of the thread too soon the tip of the hook may catch the too-loose loop a second time and cause a bind. Most people only focus on the tip of the hook catching the loop when timing the hook. How the hook lets go of the thread on the second go-around is important for a buttery smooth stitch cycle. I think on my machine I advanced the hook timing a little to make the tip of the hook arrive at the needle a little bit sooner. This, in turn, also lets go of the thread a tiny bit sooner after the thread gets wrapped around the bobbin case. A short close-up video snippet of a very slow, hand turned stitch cycle would be very useful. Post it to YouTube as non-public and then post the link to it here. It’s the best way to share videos, and the best way to analyze hook timing issues remotely. I had a Juki LU-563 clone five years ago and installed an aftermarket “BA0” thick-thread version of the hook. I had trouble timing it correctly but eventually got it sorted out. This video shows my hook when timing was retarded (too late). It made a good looking stitch but it made snapping noises because it would let go of the thread too late. This is the hook timing after I got done adjusting timing. The caption talks about timing belt changes, but I believe now that it really was the advanced hook timing (making the hook arrive earlier at the needle) that made everything come together:
-
This Singer/W&W 51W23 also looks a lot like yours. Unfortunately, documentation is nearly non-existent online. http://industrialsewingmachinereviews.biz/industrial_singer_wheeler_wilson_model_51w23_post_bed_sewing_machine_head_only.htm
-
Apparently, Singer took over Wheeler & Wilson in 1905. Your machine is likely a circa 1905 model, since Singer retired the Wheeler & Wilson brand soon after acquiring it. Singer was, in some ways, the Microsoft of its day, absorbing small companies into its growing empire to add patents and features. Singer has a bit of reputation of being brilliant at manufacturing designs hat others invented on a large scale, sometimes contributing to the demise of smaller companies. Wheeler and Wilson patented both the rotating hook and the four-motion feed dog. No wonder Singer was happy to add those patents to their portfolio. https://en.wikipedia.org/wiki/Wheeler_%26_Wilson
-
Very likely an early Singer 51W variant. No documentation on a Singer 51W3 that I can find, though. Singer may have made a special version for A.E.N. Co. This looks like a very close relative to a machine that @Constabulary restored:
-
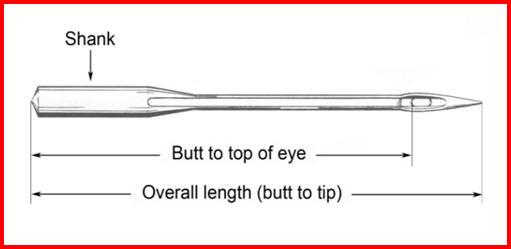
Like @Constabulary said in the an other topic, the needles are obsolete. Chances of finding some are very slim. Since you apparently don’t have any needles to take measurements off of, your best chance of sewing with your machine may be trying to use system 1000H needles, which are still being made by Schmetz. I doesn’t cost much to try. If you are lucky the shank diameter is the same, and you may just have to lower the needle bar enough (about 20mm) to time the machine. System 1000H needles are 73mm, and System 794 needles are 60mm butt-to-eye. Both have 2.5mm shank diameter. Here’s the previous topic with all the details:
-
Forum rules say that you have to state a price.
-
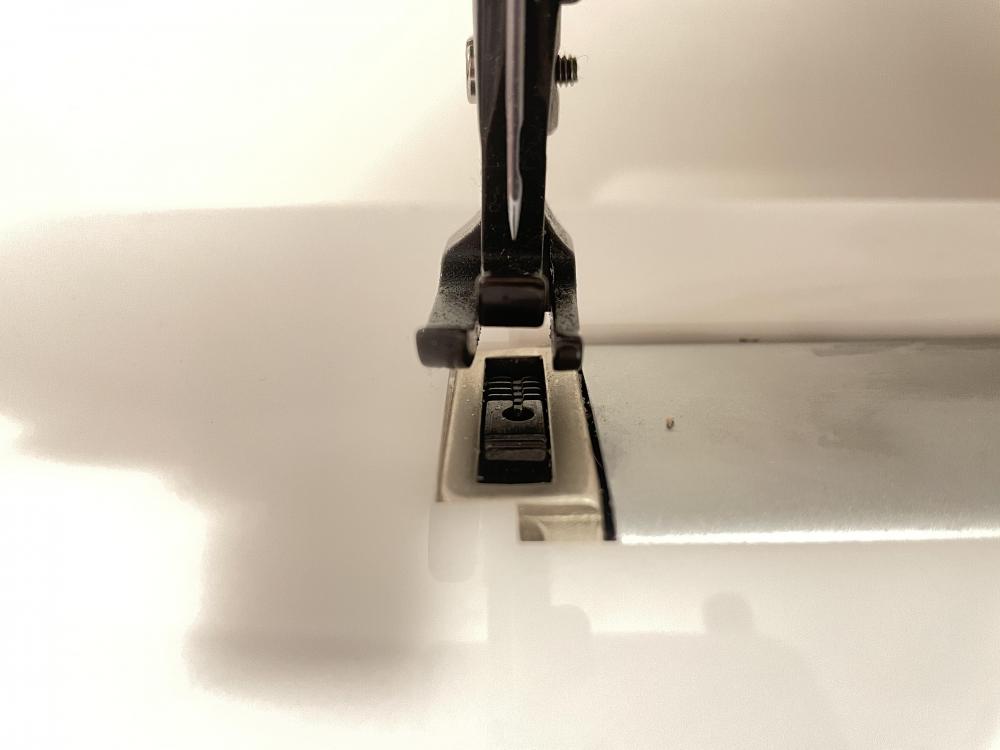
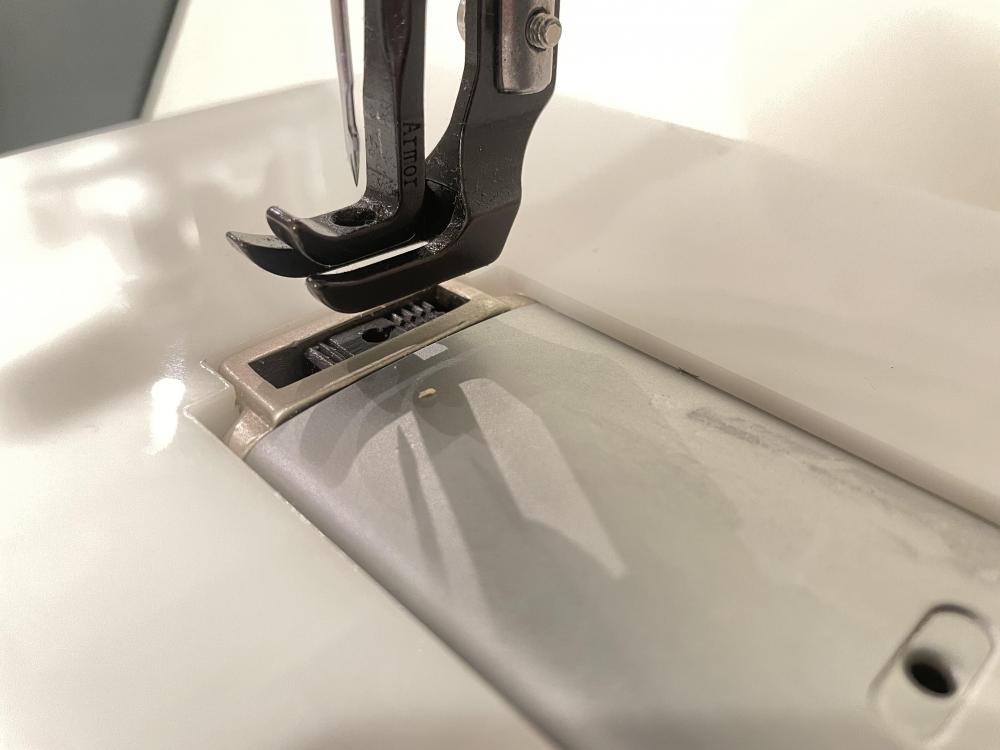
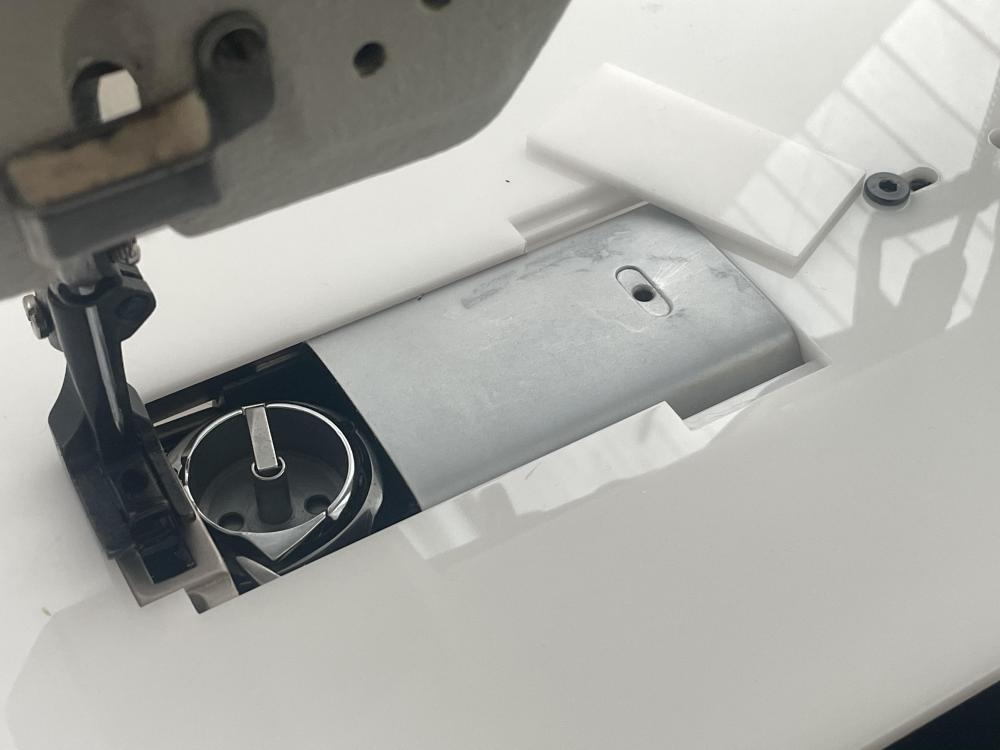
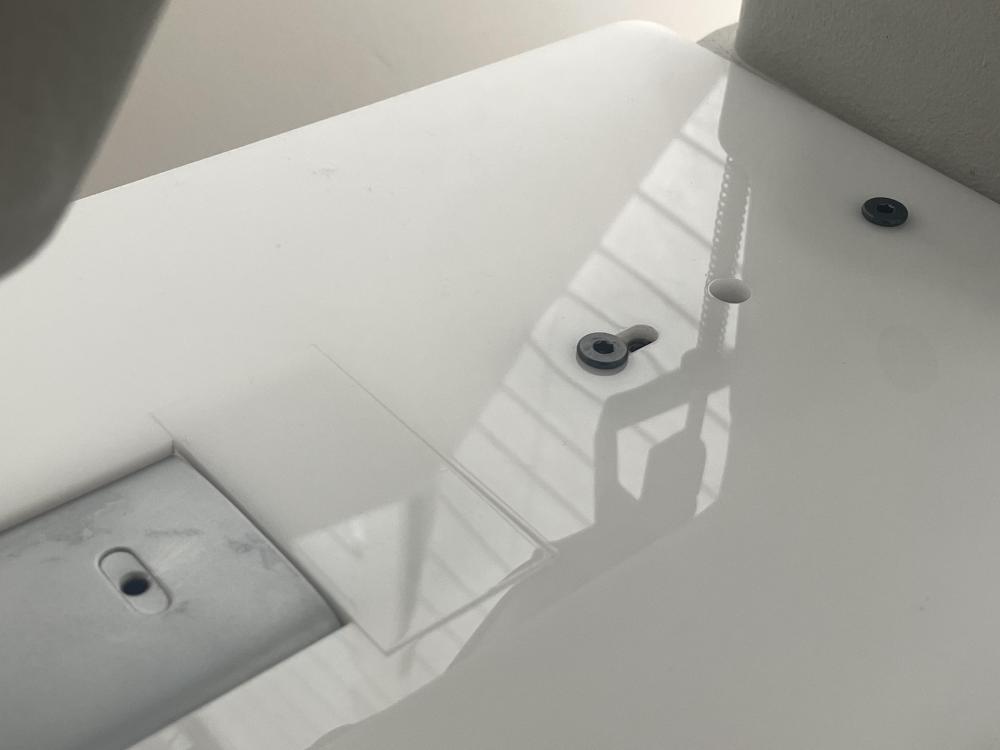
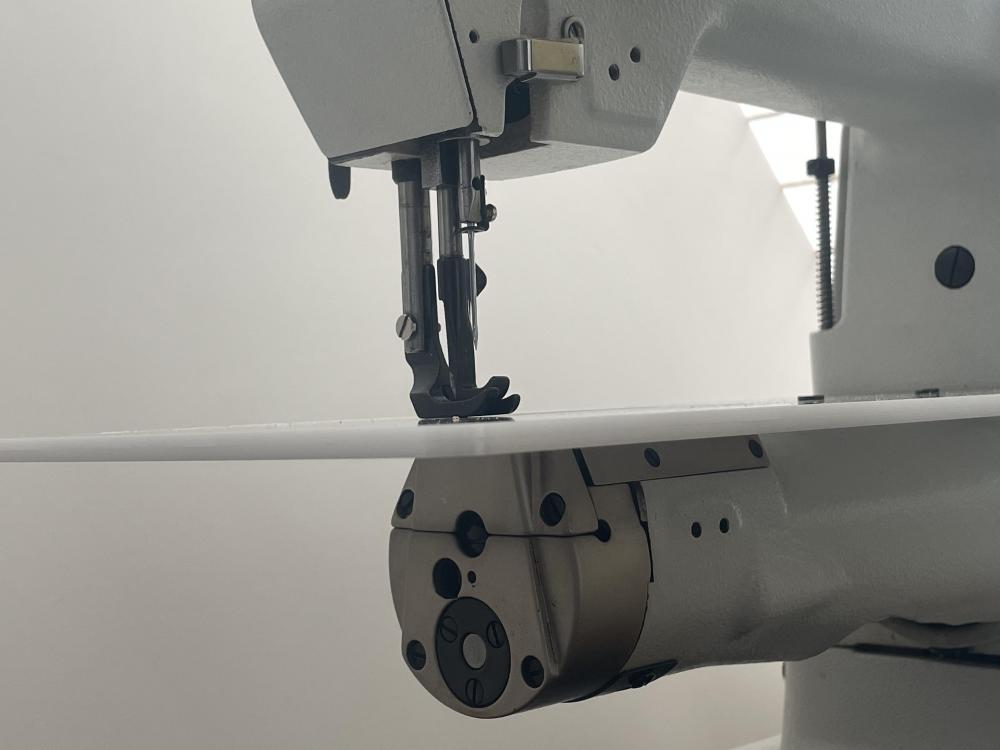
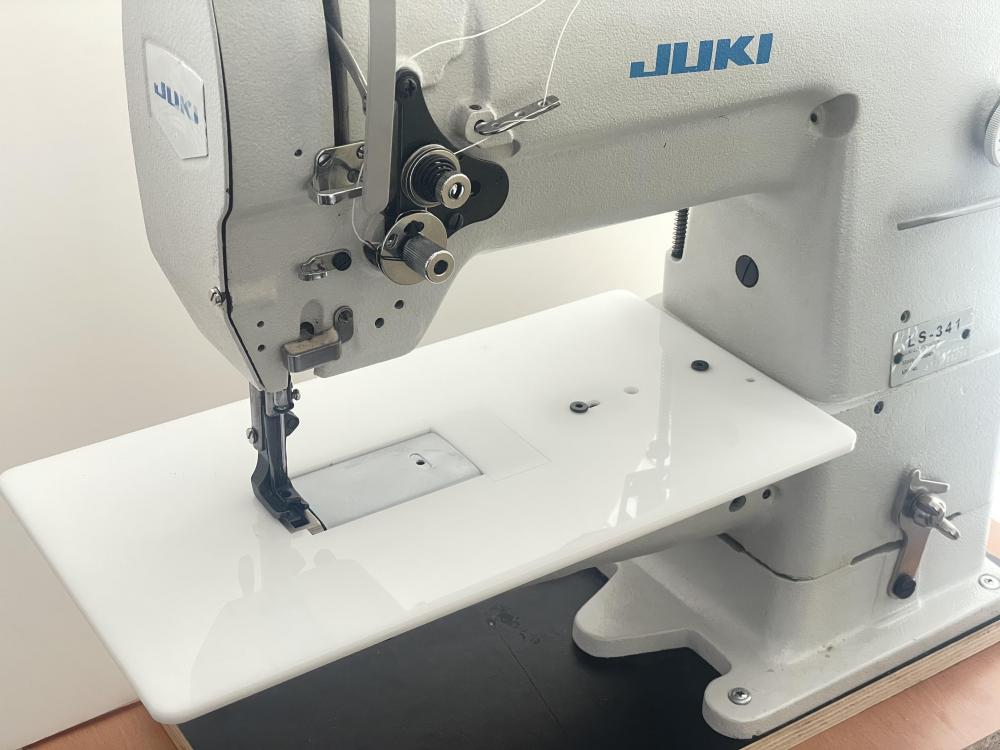
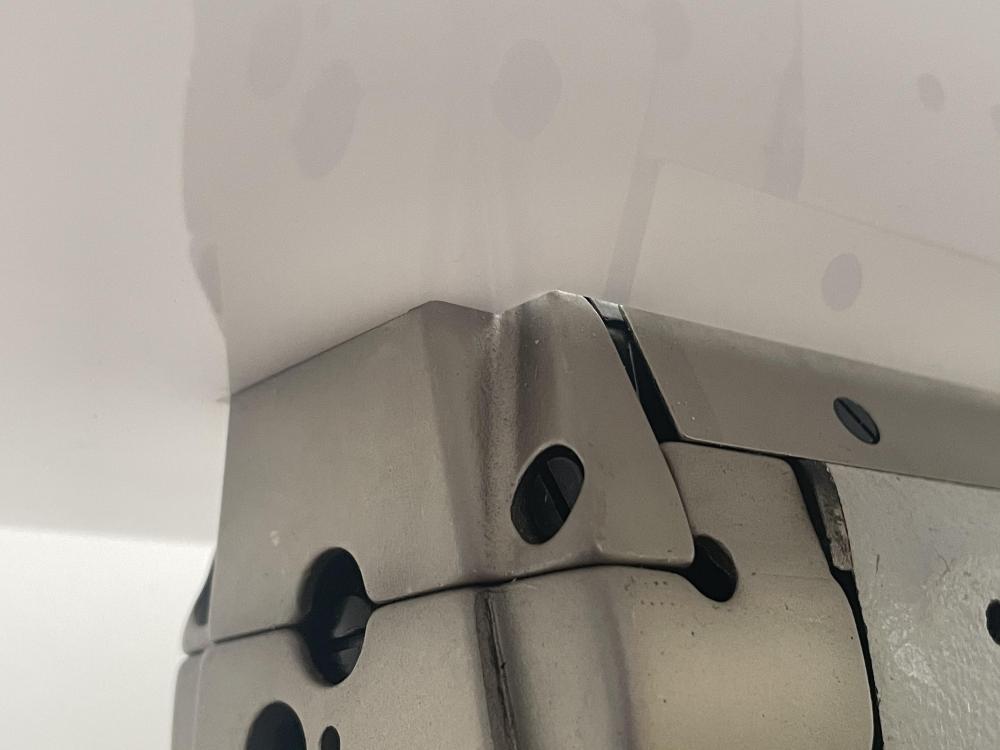
[Infomercial alert] I finally got motivated to make an acrylic flatbed attachment for my Juki LS-341. I like it enough to make a few more for sale. Below are a few pictures and a video. I’ll call it the UT341AC and It’ll be available in my online store at http://uwe.store for $60 starting on February 1, 2021. I’ve only tested fit on my Juki LS-341. It may also fit other machines and clones of the 341 or 1341 designs (Juki LS-1341, Cobra Class 26, Cowboy CB-1341/6900, etc. TechSew 2750/4800 , etc.) If you live in the US and have one or more of these machines, please let me know via PM if you’re interested in a test fitting on your machine and taking a few pictures.
-

Difference between Adler 105-64 and Adler 169?
Uwe replied to Wintersunset's topic in Leather Sewing Machines
Mainly the Adler 69 and 169 have very different arm and hook designs, each with its own merits and shortcomings. Both are light/medium duty machines. Relative merits of thin vs. thick arms, and horizontal vs. vertical axis hooks have been discussed in multiple topics previously. This question really belongs in a new/separate topic, as this particular topic is about Adler 105 vs.169. -
Those google drive links don't work for me. It's far better to upload pictures directly here for archiving purposes. The editor window will show a "Drag files here to attach, or choose files..." near the bottom. You may have to resize pictures if they're too large to upload here directly. The Adler 67GK373 are VERY nice machines and if in good condition are likely worth $800 or more, depending table and motor. It's hard to judge the true condition of a machine without sitting in front of it and seeing/hearing it sew. Drag files here to attach, or choose files... Insert other media
-
My Pfaff 545 has the same presser foot adjustment spring design. What you described is all there is to it, I'm afraid. Pfaff designed the machine to have a "reasonable" foot pressure, you get a tiny adjustment range around that starting point. Pfaff engineer with fake German accent: "Vee vill set zee spring pressure for you and you vill like it!" Other versions of this machine have one or two spring blades across the top, offering a wider adjustment range. My recommendation is to just live with it and enjoy this fine machine as it is. Chances are it will hold most materials just fine. Presser foot design and footprint may have a bigger impact on marking leather than spring pressure. If you find yourself losing sleep over the limited adjustment range, shop for a version with the spring blades. @sandmanred: By the way, you have to select a user from the drop-down menu (it will look like this: @Uwe ) to make notifications work. A simple @uwe does not work.
-

Sewing machine models for carpet binding/auto upholstery
Uwe replied to Rachal's topic in Leather Sewing Machines
Congratulations on your Juki LU-563, they’re very nice machines. There’s plenty of topics here on LW about that machine to read up on (search Google for “site:leatherworker.net Juki 563”). Start a new topic if you have specific questions. -
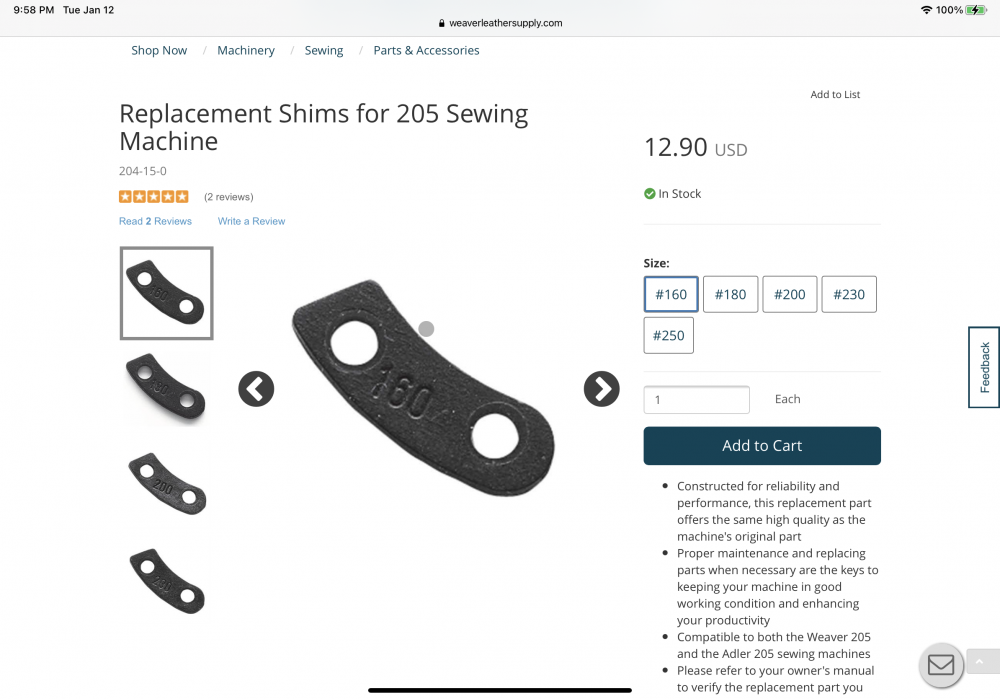
What’s wrong with Weaver’s needle guide shims? International shipping will likely be more than the part itself. The earlier link pointed to a different part that is used for adjusting needle-to-hook distance. Based on your description, I’m guessing you want these: https://www.weaverleathersupply.com/catalog/item-detail/204-15-029-0/160-shim-for-the If they’re too expensive for your taste, just leave the needle guide off entirely. Chances are you’ll never know it’s missing unless you sew wicked tough material or have an entire saddle dangling off the arm. You can also make your own shims from aluminum scraps of suitable thickness (250=2.5mm, 160=1.6mm etc.) I’ve contemplated cutting some from acrylic sheets on my laser.
-
@BattleAx you can hide a user’s signature by clicking on the little down-arrow pop-up menu in top right area of the signature. Embedding videos in the signature is perhaps not a recommended practice. It took me a few moments to figure what was going on and how Arnold infiltrated this topic, haha. I’ve hidden quite a few signatures over the years.
-
The Pfaff 335 binding kits are readily available on Ebay. Since they come from China, they likely ship to Slovenia. Here’s one example: https://www.ebay.com/itm/1SET-With-Binder-and-gauge-set-Complete-Binding-Attaching-fit-for-PFAFF-335-/152962537273?_trksid=p2349624.m46890.l49292 This picture from the Ebay listing shows everything you need to do binding on your Pfaff 335.
-
The topic below has some details that may be of use. The KHF48 by Kwok Hing is a very nice option.
-

Juki 1541s Presser Foot Not Moving Not Walking Not Working
Uwe replied to threedwag's topic in Leather Sewing Machines
@HannahWingateDesigns Welcome to the forum. Don’t be afraid to start a new topic for a new problem. It keeps the topics cleaner and more focused. List the machine and problem in the title of the topic just like this original post did (e.g. “Juki 1541S: can’t put cover back on”). I suspect you have to turn the knob (Juki calls it the alternate vertical dial) into a certain position in order to put the cover back on. The knob likely pushes aside some spring loaded lever underneath and when you take the cover off, that lever snaps back into its starting position. Try turning the knob to either limit and see if the cover will go back on without interference. Look at the mechanism and see if you can figure out how it works. Post some detailed pictures of the open machine and the underside of the removed cover. We might be able to use the pictures figure it out and add arrows to explain what you need to do. You’ll have to learn some essential debugging skills, otherwise you’ll be dead in the water every time some little thing goes wrong, waiting for a callback from tech support. Study the user, parts, and engineer’s manuals to learn as much as you can about your machine. Closely inspect the machine to see how things connect and move before you make changes. Resist the temptation to blame the vendor for something you did. Many companies are plain shut down over the holidays. No need to get agitated over a delay in response at this time of year. In general, don’t take things apart unless you know how they go back together (unless you can afford down time want to just explore and learn) Edit: I just found this snippet in the Juki 1541S Engineer’s Manual that describes how to put the cover back on: -

Juki 1541s Presser Foot Not Moving Not Walking Not Working
Uwe replied to threedwag's topic in Leather Sewing Machines
The walking feet only walk when you actually have presser feet attached. The rear foot can only lift up if the front foot steps onto something. Whatever “standard adjustment” you made to accommodate the thick stack caused this problem. I suspect you raised the rear presser bar. Undo that adjustment. Don’t raise it again. If the material doesn’t fit under feet, it’s not meant to be sewn on that machine. Raising the rear presser bar does not solve that problem, it just creates other problems. Attempting to sew material thicker than the design allows may cause a bind in the walking mechanism and as a result may cause an adjustment to slip (if you’re lucky) or something to break (if you’re unlucky.) When you raise the feet using the manual foot lift lever, the rear foot should lift a precise amount - no more, no less. That manual foot lift height varies between machine designs and will be shown in the adjustment manual for your machine. Bring your rear presser bar to the correct height before you proceed. There’s an adjustment on the back of the machine that may have slipped. The video below shows the basic concepts and adjustment procedure. It’s shown on a different machine, but yours should have very similar adjustments. -
Just compare them visually against a known v69 or v92 thread, or against each other. And if you can’t tell the difference, then it likely won’t make a difference in real life. Or just pretend they’re all v69, to be on the safe side strength wise. Then wind some new bobbins with v92 for when you MUST be certain it’s v92.
-

TOTALLY BUMMED OUT!! CANT GET A COBRA Class 26!
Uwe replied to KennethLee's topic in Leather Sewing Machines
This post sounds like a first world problem. It also sounds like some Guerilla advertising gimmick for Cobra. I’m not really sure what to make of it. You appear to have worked yourself into a state over a sewing machine you’ve never worked with but suddenly can’t live without. If nothing else is acceptable in your mind you will just have to wait. My advice is to spent he extra $500 on a good therapist instead. -

Advice on buying a post head sewing machine
Uwe replied to kjack88's topic in Leather Sewing Machines
Durkopp Adler also put together a comprehensive guide to shoemaking and the machines involved. It’s good reading for anybody interested in making shoes. Here’s the link: http://www.duerkopp-adler.com/export/sites/duerkoppadler/commons/download/technology_praxis/Technologie_Praxis_shoes.pdf Here’s the PDF file in case the link stops working in the future: Technologie_Praxis_shoes.pdf -

Advice on buying a post head sewing machine
Uwe replied to kjack88's topic in Leather Sewing Machines
Much depends on what type of shoes you plan to make. There’s a lot of specialty machinery involved in shoe making. I’ve never sewn a shoe myself, but I’ve spent a fair amount of time researching machines and watching demos at trade fairs and during a visit to the Durkopp Adler factory in Germany. Those vintage Puritans are nice when they work, but you’ll need an in-house mechanic to keep them working. I have a triple needle Puritan and have pretty much given up on getting it to work right. I don’t give up easily. It’s for sale, in case you enjoy pain and suffering. A dual driven wheel type post bed appears to be the machine of choice for sewing dress shoe uppers. Sewing the sole and then attached the sole to the uppers are *totally* different ballgames, again depending on the type of shoe or boot. On the modern end, both Pfaff and Durkopp Adler make very good machines that are not cheap, just like a good luxury handbag. Juki and other major brands have similar offerings. The post bed machine in the middle portion of the video below that shows it sewing just about the entire upper dress shoe is a M-Type Durkopp Adler with quite a few bells and whistles. The sewist makes it look easy - she’s been doing this for decades, no doubt. If you have a well adjusted machine like that and you fail, you can pretty much only blame yourself and keep practicing.


