Uwe
-
Posts
2,221 -
Joined
-
Last visited
Content Type
Profiles
Forums
Events
Blogs
Gallery
Everything posted by Uwe
-

Adler 067 GK-373 tension problem (advanced)
Uwe replied to HardenGoods's topic in Leather Sewing Machines
Ah, the joys of technical translations. I'm sure the manual actually does call it that, but it's really just a case of a poor translation of the original German term "Spulengehäuse-Lüfter," where "Spulengehäuse" means "bobbin case", but "Lüfter" only sounds like "lifter." (similar to another popular mistake like translating a phrase like "Ich bekam einen Computer" as "I became a computer" instead of "I got a computer.") The function of the part is to open a passageway for the thread, not to lift anything up. "Lüften" means, among other things, to open a passageway. Sometimes you do lift something up to open a passageway, but not really on bobbin cases. So, rather than perpetuate an instance of poor translation, it's better to use the term "bobbin case opener", which is the term generally accepted and used in manuals that were authored in English and not translated from some other language. There you have it - more than you ever wanted to know about that obscure detail. As for the groove under the bobbin tension spring on the bobbin case cap, it may be getting worn but I doubt it's bad enough to cause a problem yet. It's really the tip of the spring blade that provides the bobbin thread tension (unless you overtighten the spring blade adjustment screw). Two of my Adler x67/x69 bobbin case caps have similar grooves, but to varying degrees. New replacement caps are not cheap, I'm afraid.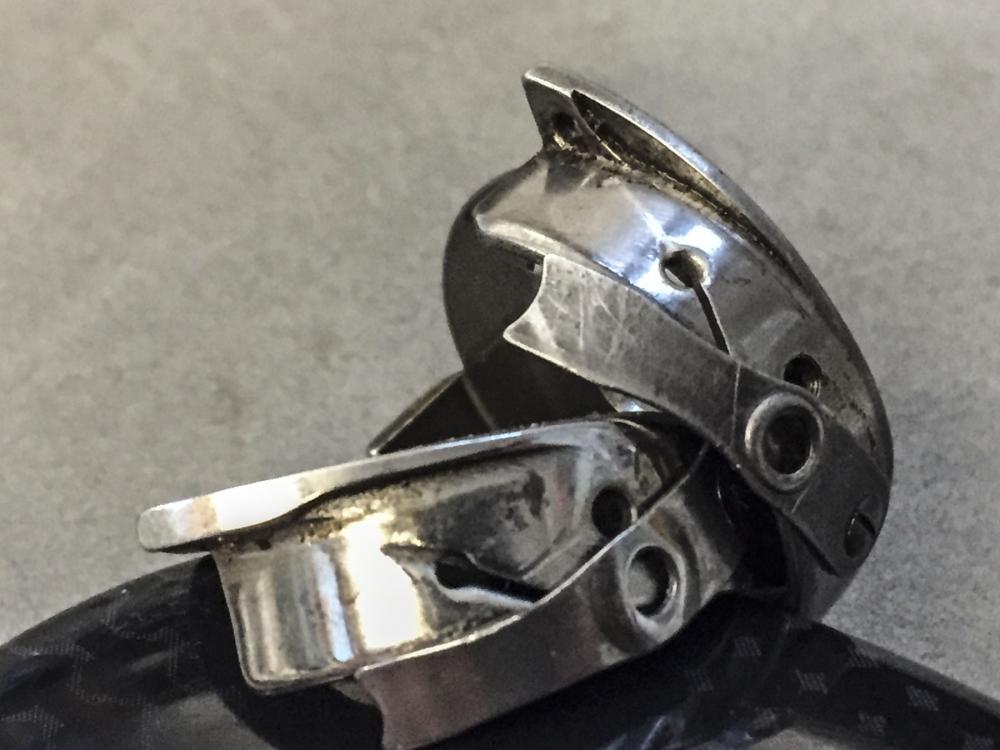
-
Can you please post your parts list here so that others can find it in the future?
-
Perhaps the Toyota is just a re-badged machine for the Australian market that was made by somebody else. With "LS2" in the name, Mitsubishi may be a candidate. Also check out this older LW topic on the Toyota LS2:
-
I have a strong feeling it's not the machines or the vendors that are the problem here. Between the Techsew and the Atlas you managed to turn two brand new machines into door stops. Put down the screw driver and step away from the machines. Let somebody else find the screws you loosened and forgot to tighten again.
-
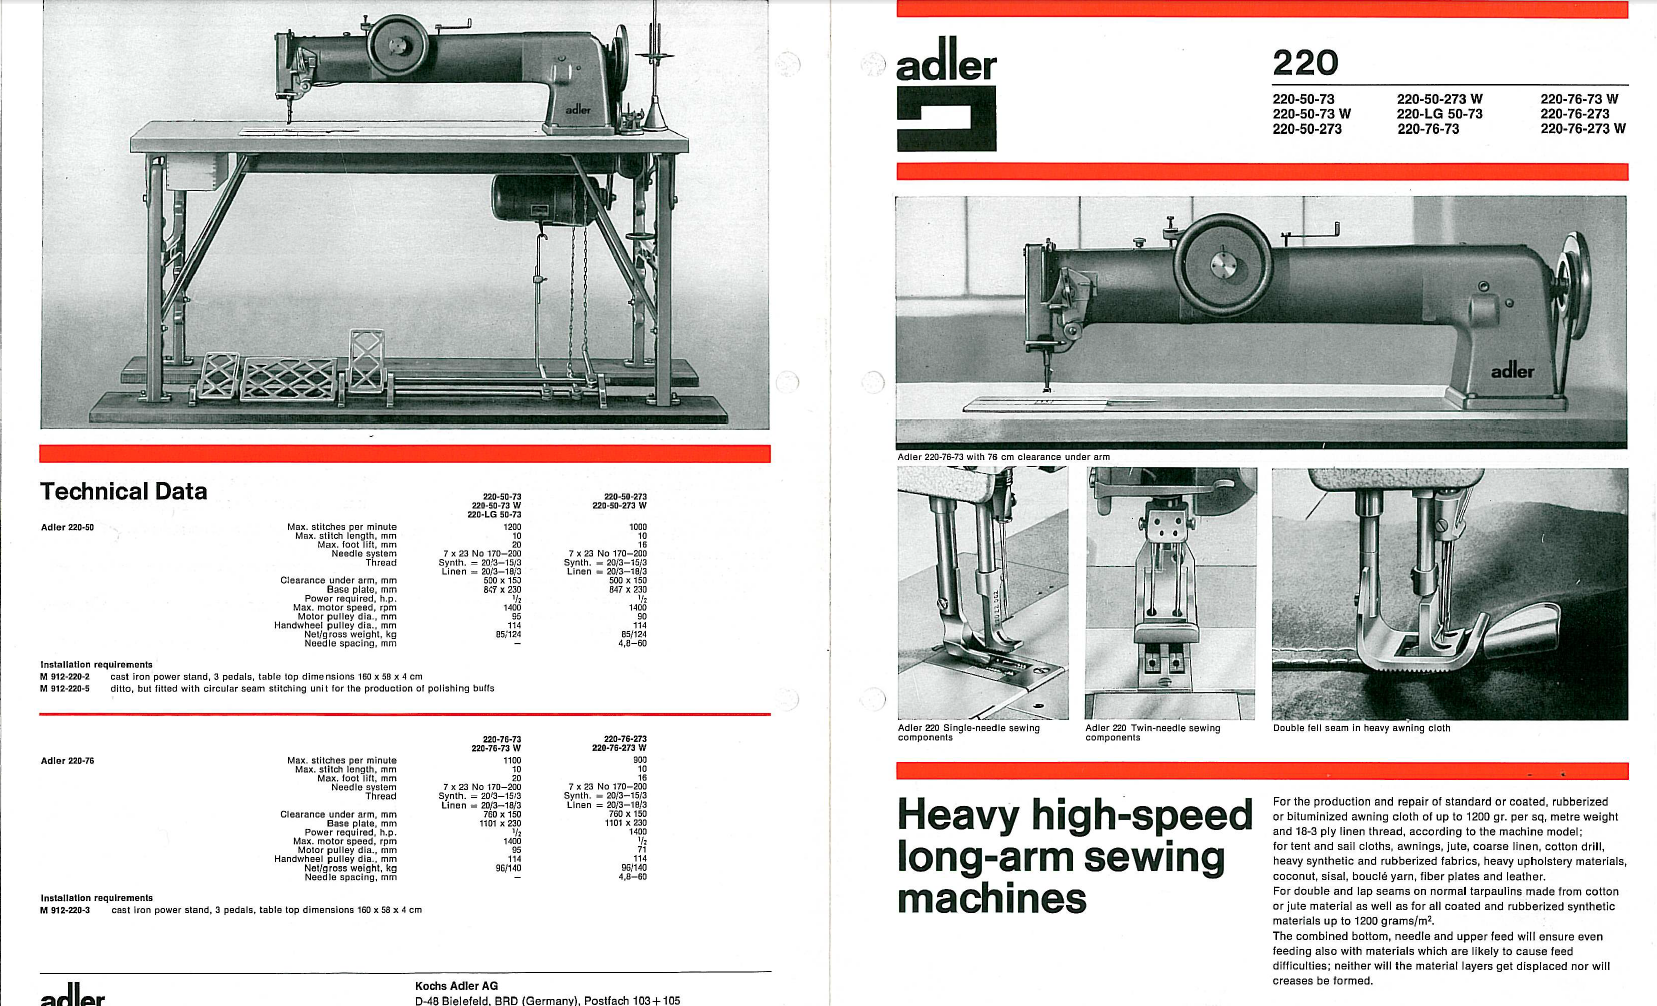
Congratulations on your new arrival! It's most likely that the machine will need some adjustments to work properly. That's just normal and does not affect its value. If parts are missing or broken, that's a different story. However, if you have to get a service technician to come out every time it needs and adjustment, that will add up over time. There's a lot you can do yourself if you are the least bit mechanically inclined. If you want remote, internet-based help, then you'll have to describe problems and details as precisely as possible and provide good photos or videos. You can crowdsource a lot of help right here on LW if you are patient and have a tolerance for noise and opinions. If you prefer one-on-one help for specific troubleshooting or adjustment, I'm one of the people who offer remote one-on-one service calls. An Adler 220 Parts Diagram (Adler 220 parts.pdf) will be helpful in working on the machine and to identify parts in question.
-
That machine looks a lot like a Rex 11-155, which was made by Nakajima, which later was absorbed by Juki. There was a topic about the Rex 11-155 some time ago, mostly relating to the reverse mechanism of that machine.
-
Did you take a picture of the machine? It would be a great starting point. Most vintage machines Consew sold were re-badged machines made by manufacturers like Seiko. Finding out what the original is may be your best hope of finding documentation. Posting detailed pictures of the Consew 39 machine is a great start to find out what the original may be.
-
Converting Efka 3 phase to single without convertor
Uwe replied to radrider's topic in Leather Sewing Machines
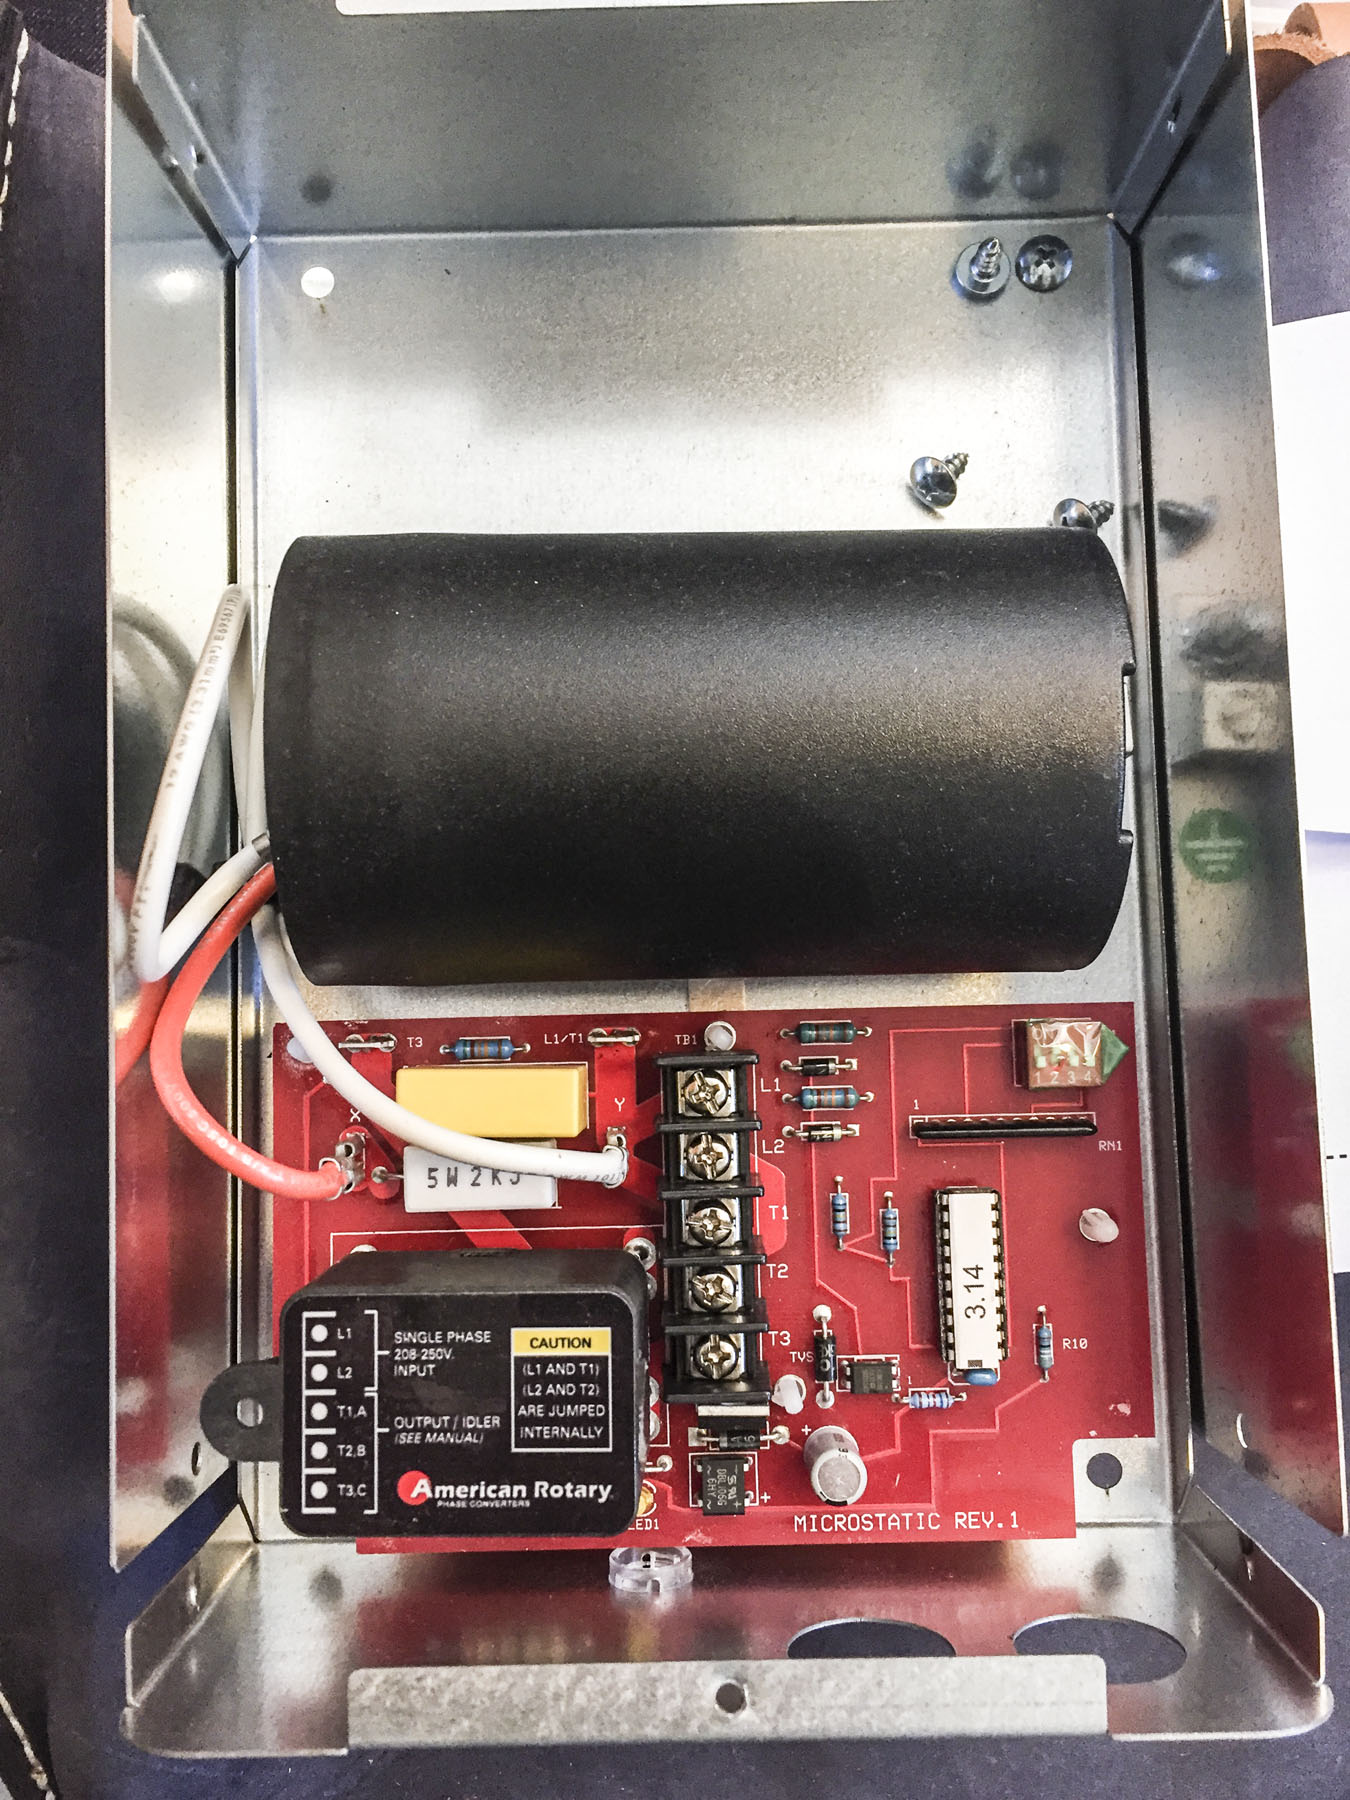
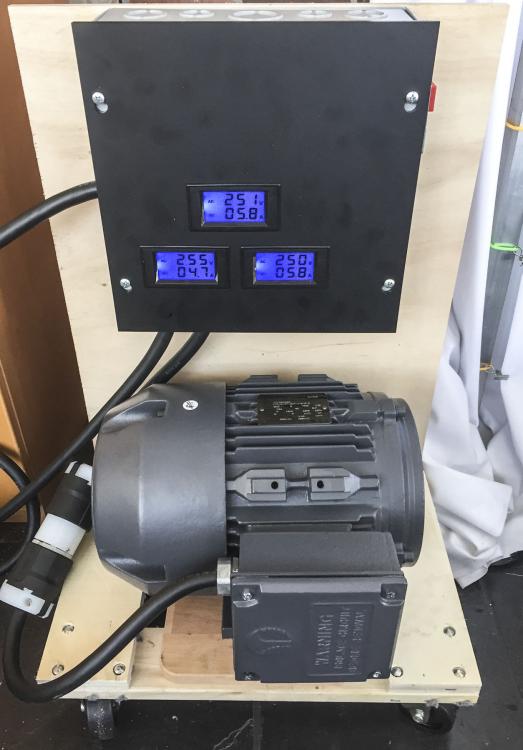
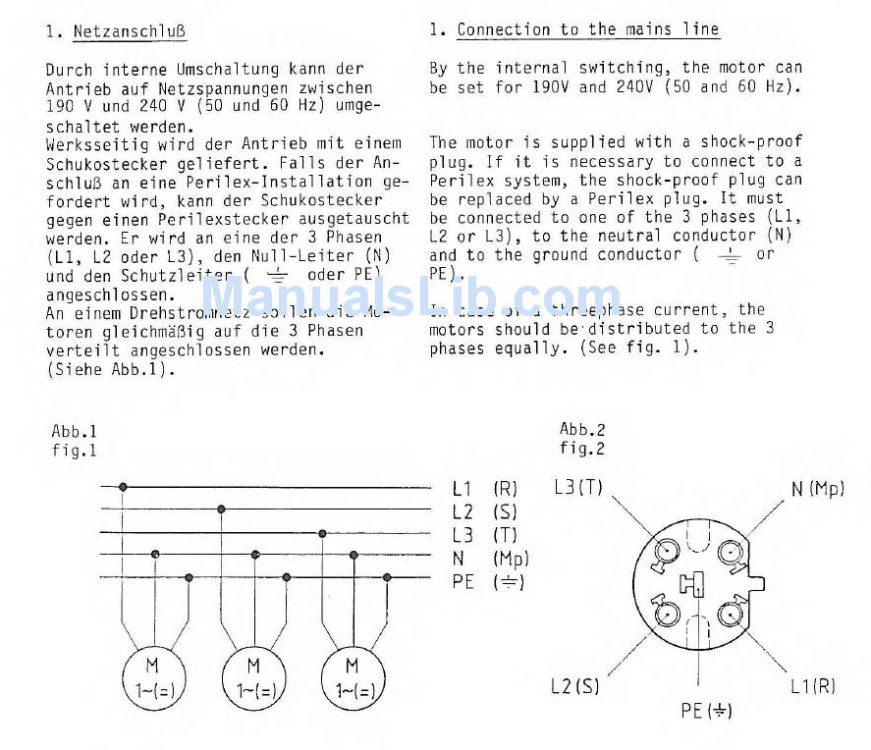
More all-googling and all-manual-reading than all-knowing, really. That German paragraph above reads: Motors that have serial numbers beginning with 7,8, or 9 start poorly or not at all due to differences in winding paths and rotor geometry (to start these motors a 40μF capacitor would be required, but it would draw a lot of current during idling and heat up.) Motors that have serial numbers starting with 10,11, 12 or 6,5,4 have no trouble starting up. My DA467 has an Efka VarioStop setup with 3-phase motor that are apparently a candidate to run nicely on single phase 220V. In North America 220V power supply uses two powered wires (it's different in Europe and elsewhere.) You can hook up those two power wires (L1, L2) to the terminals that continue on to the control box (red and black wires in the picture below). The terminal with the yellow incoming wire would be empty. You may still need to add a suitable capacitor. I've not yet tried this myself. Here's a picture of my DA467 Efka wiring box with 3-phase wiring. Single phase wiring would not have the yellow incoming wire. Another option that is less expensive and less bulky than a rotary phase converter would be a static phase converter. It basically does the same capacitor-based third leg generation as in the diagram above to get the motor started. But with a static phase converter you should also make sure that the two original power wires (L1,L2) that are passed straight through are the ones that also go to the control box. Here's a picture of the inside of my $70 static phase converter, which is essentially a capacitor with some added circuitry and a relay to turn power on and off when the generated third leg is available: And, just for reference and to illustrate the bulk of what I consider a "proper" rotary setup, here's a picture of my 3HP, 120 lb rotary phase converter setup, which cost me about $600 to put together. I added some displays to check how balanced my three phases are (they balance out nicely during actual use, this is the "idle" picture):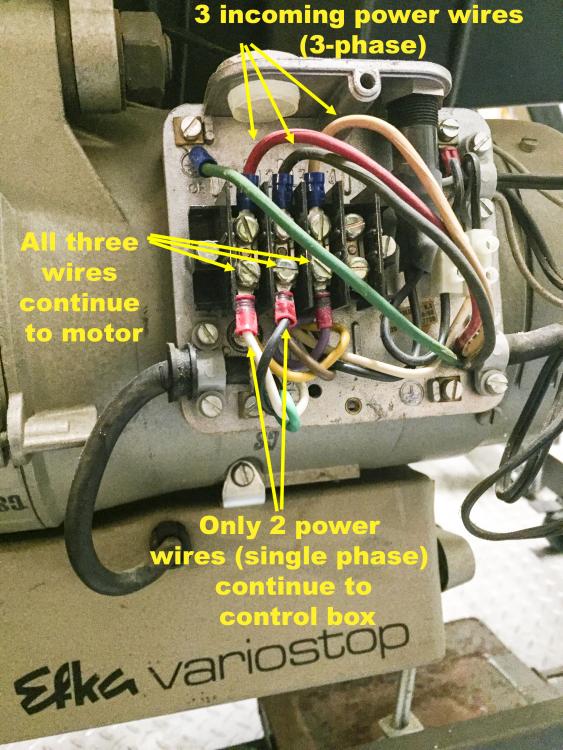

-
Thanks for the additional info an link to the cross reference ( I had looked at it before and forgotten all about it )
-
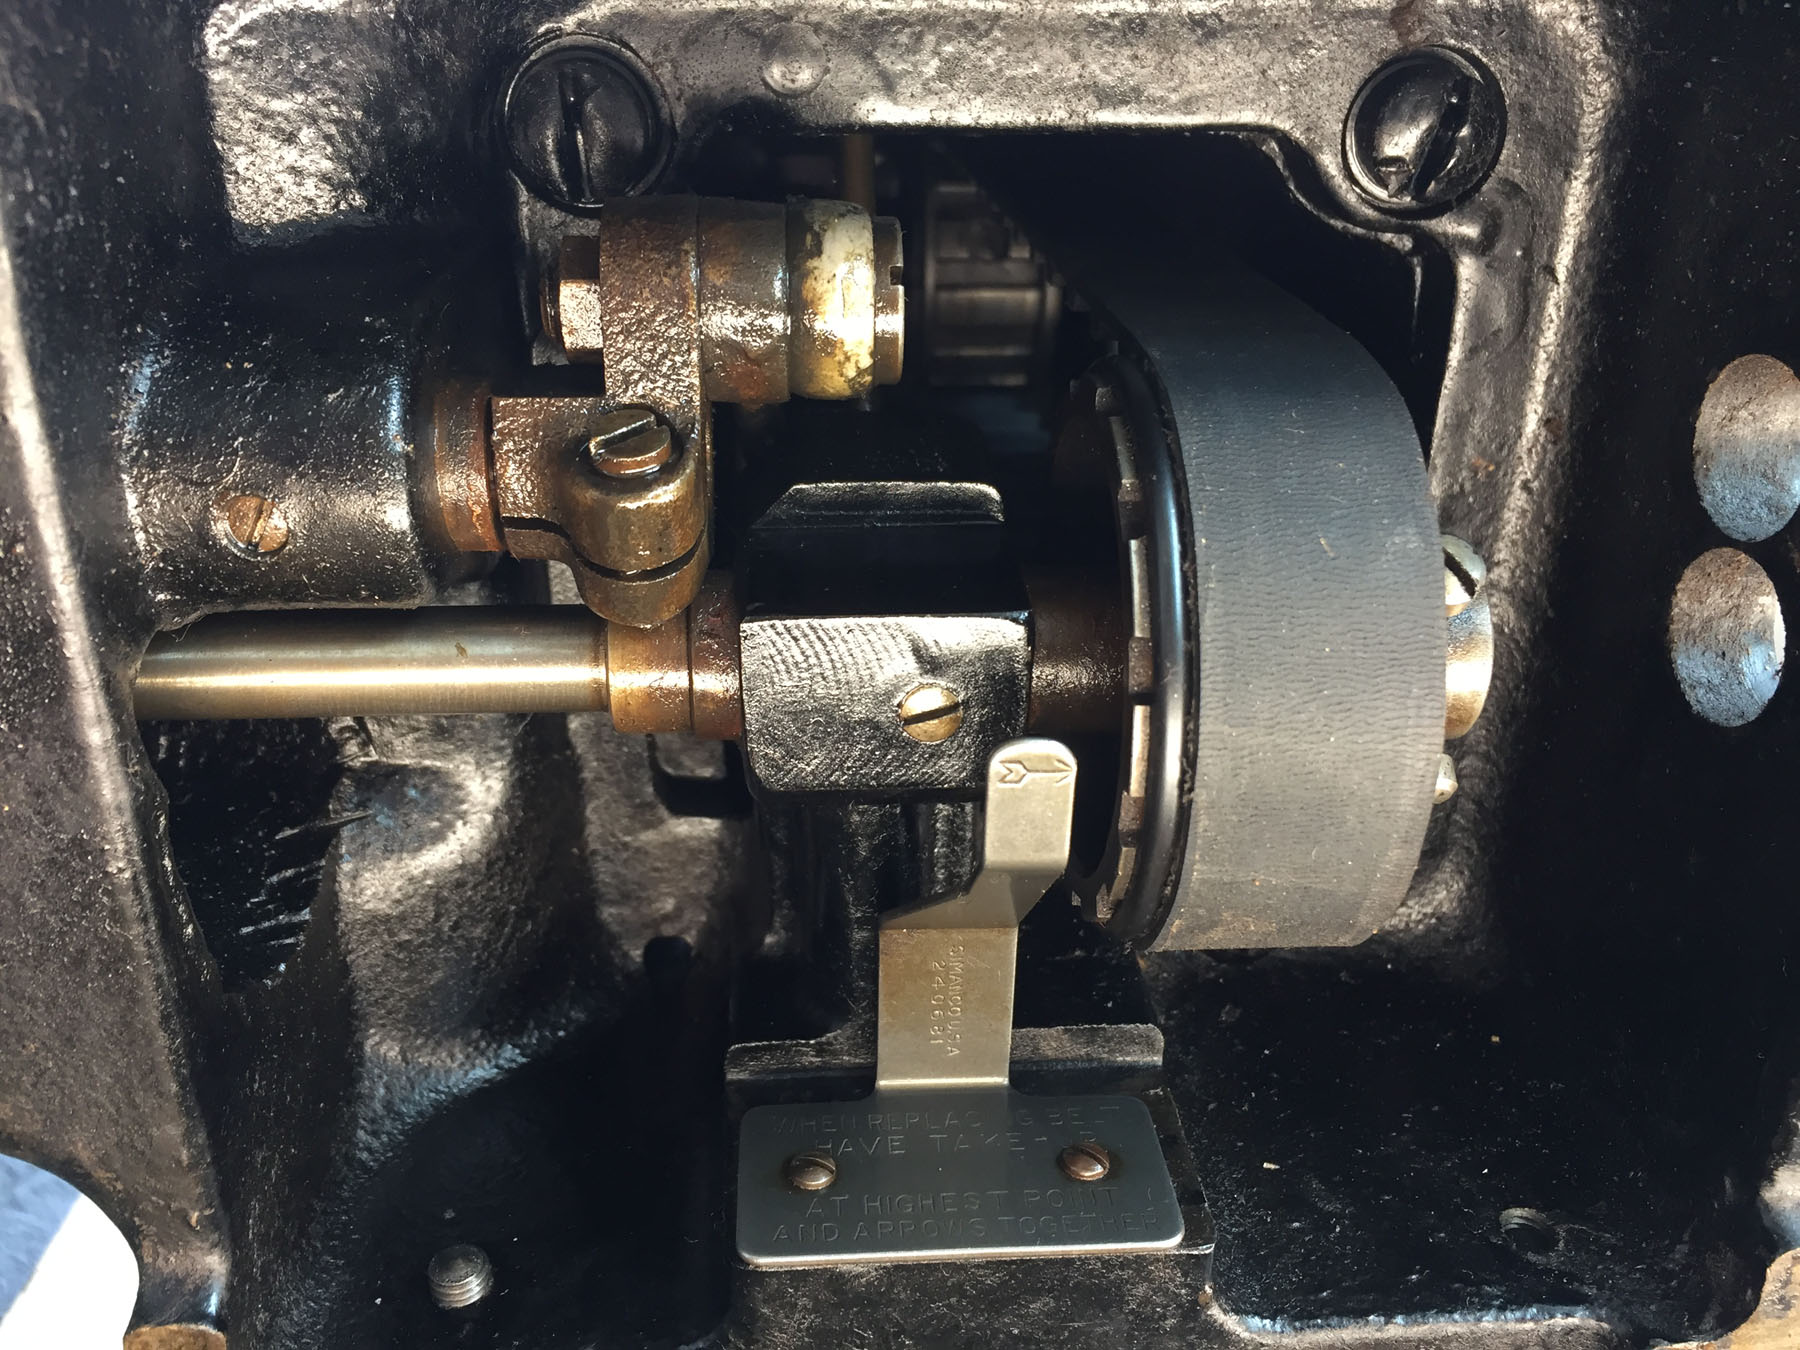
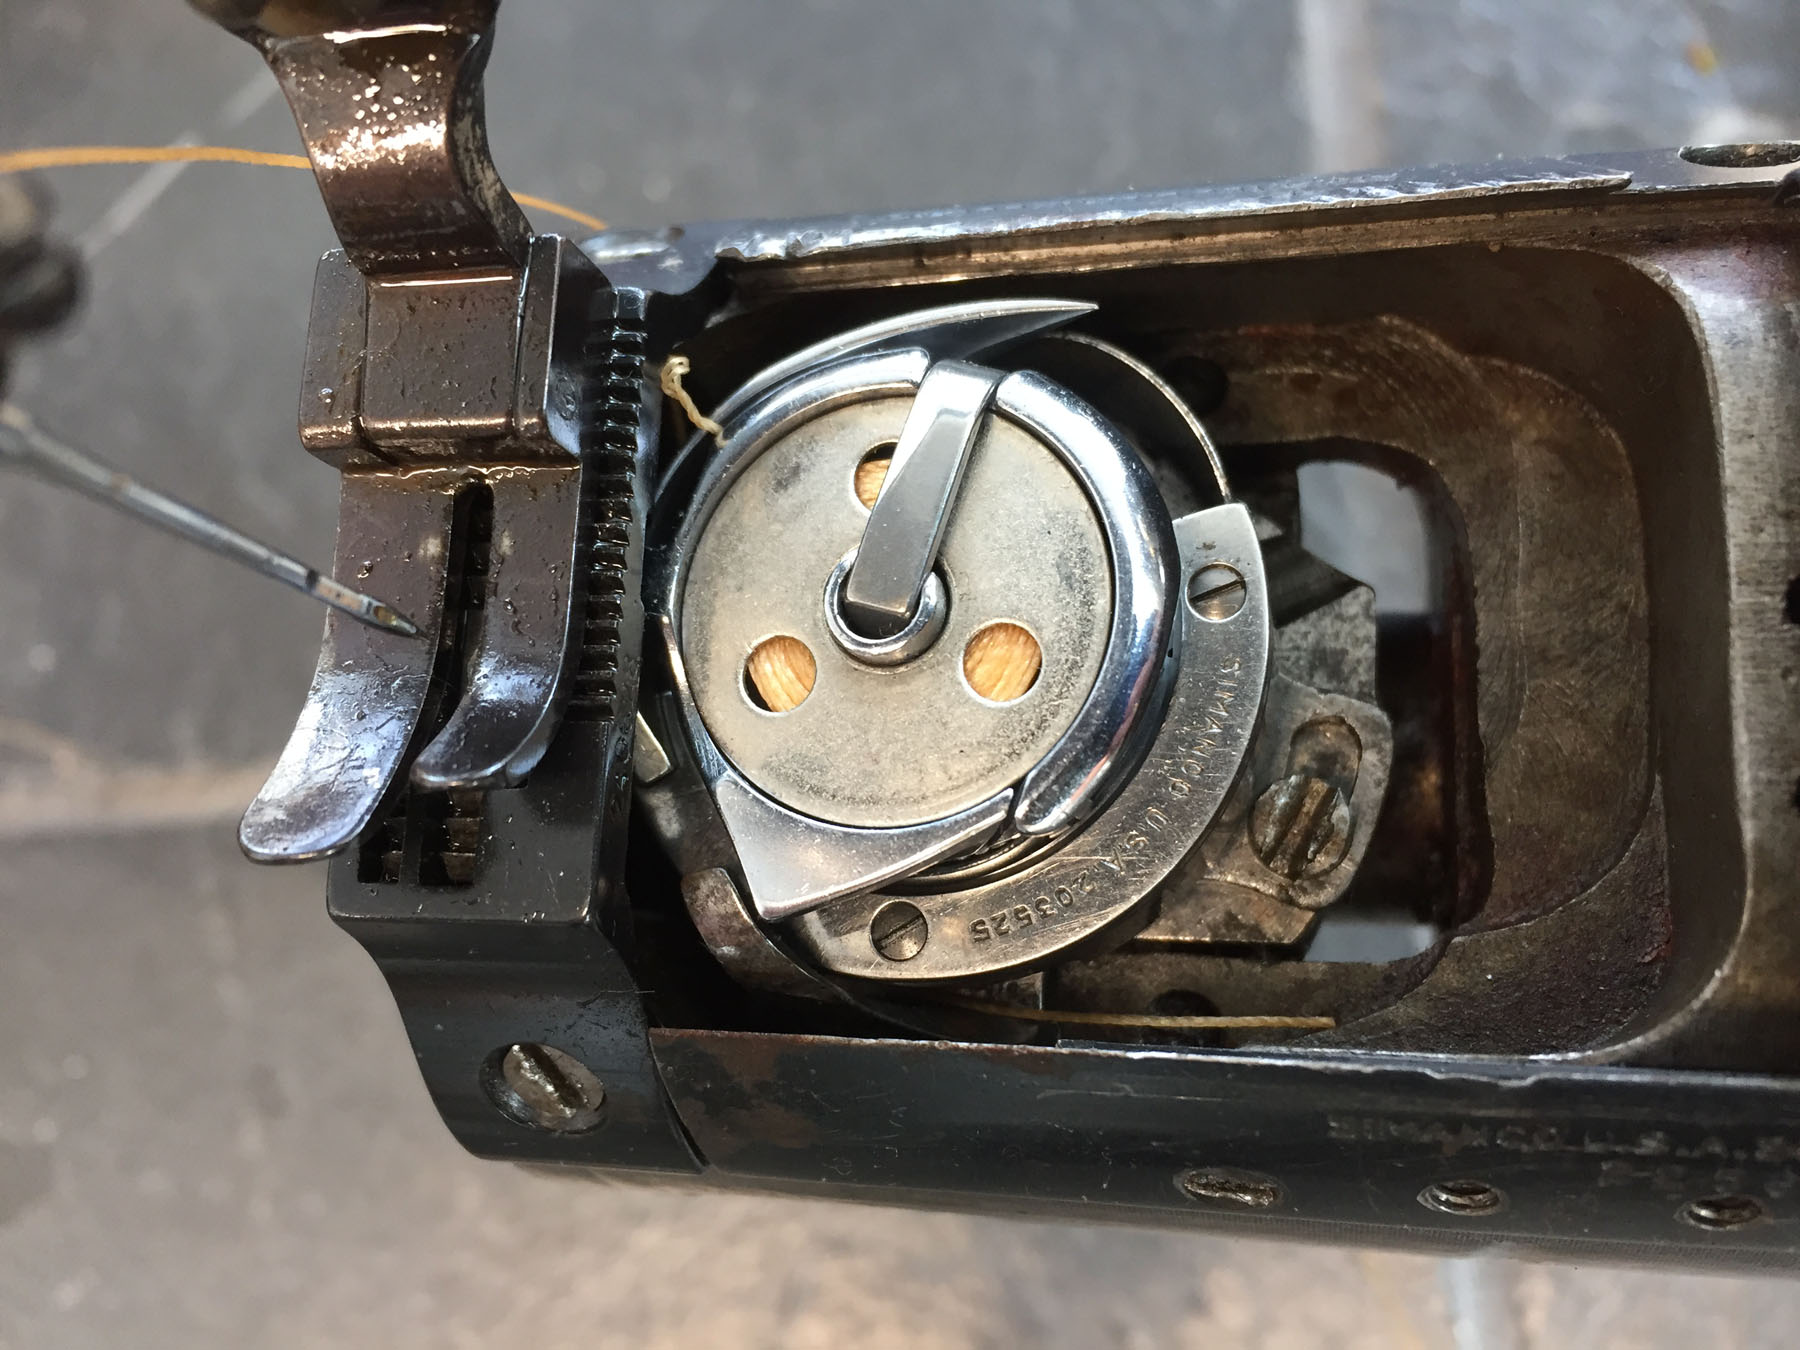
I'm afraid the Simanco part number and picture alone is not enough information. It should be, but it's not. There's no cross-reference that correlates Singer screw part numbers to thread size that I know of. There's isn't even a good way to find out which Singer machines that screw was used in. The usual wholesale vendor suspects do not show that screw part number at all. If you can tell us what machine model the screw came from and where on the machine that screw is located (a photo of the crime scene would be great!) then we have a better chance to figure out what the thread size is.
-
servo motor Servo motor with syncro and speed reducer
Uwe replied to Reacher10's topic in Leather Sewing Machines
@AdamPCain : No, the servo motor controller has to support the input from the needle position sensor. Not all controllers have that feature. @Reacher10 The needle positioning problem with speed reducers usually stems from the fact that most controllers have an internal programming rule that limits how many motor revolutions it will attempt to reach the desired needle position before it gives up. If the needle position sensor does not give the "we have arrived" signal before the maximum number of allowed motor revolutions is reached, an error condition will trigger. It's a safety feature to keep the motor from spinning uncontrolled forever when you let go of the pedal and the position sensor has failed. The motor controller basically thinks there is something wrong with the needle position sensor because it's not reporting back in time. Exactly what that limit is depends on the controller software. -
They've had email troubles in the past. Perhaps @CowboyBob or his webmaster @Wizcrafts aren't yet aware of the problem.
-
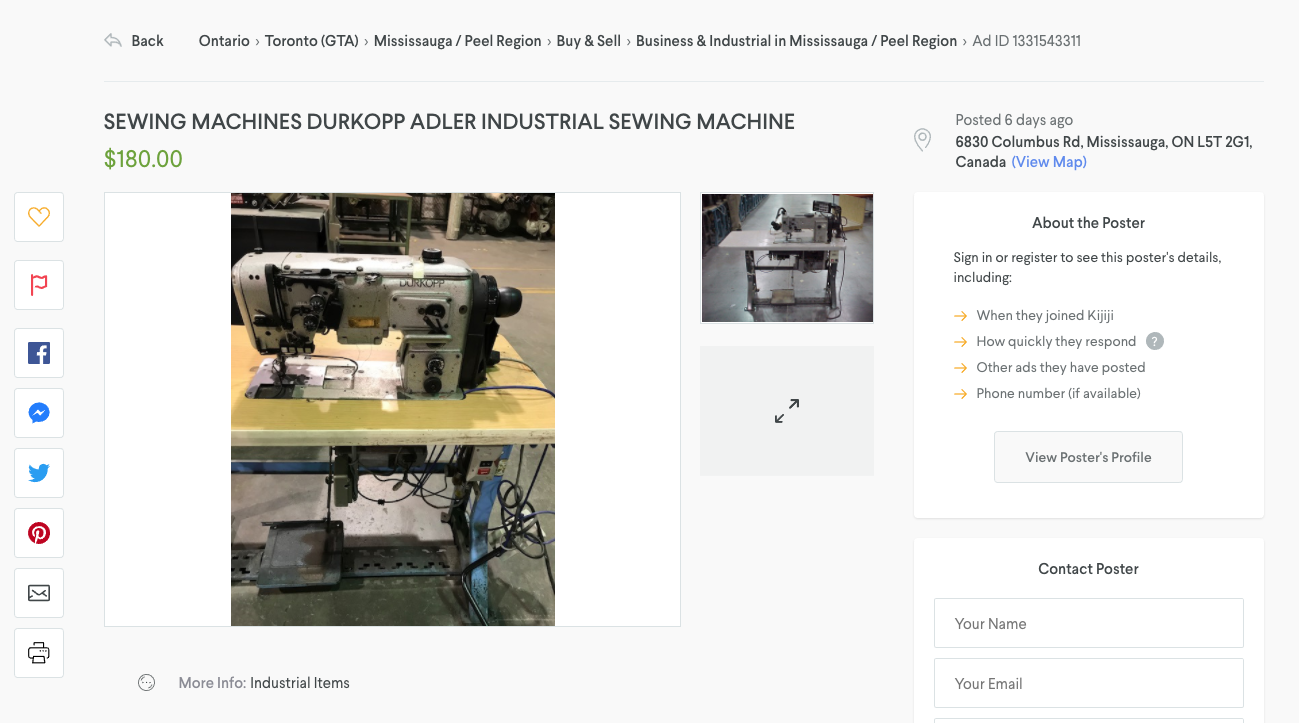
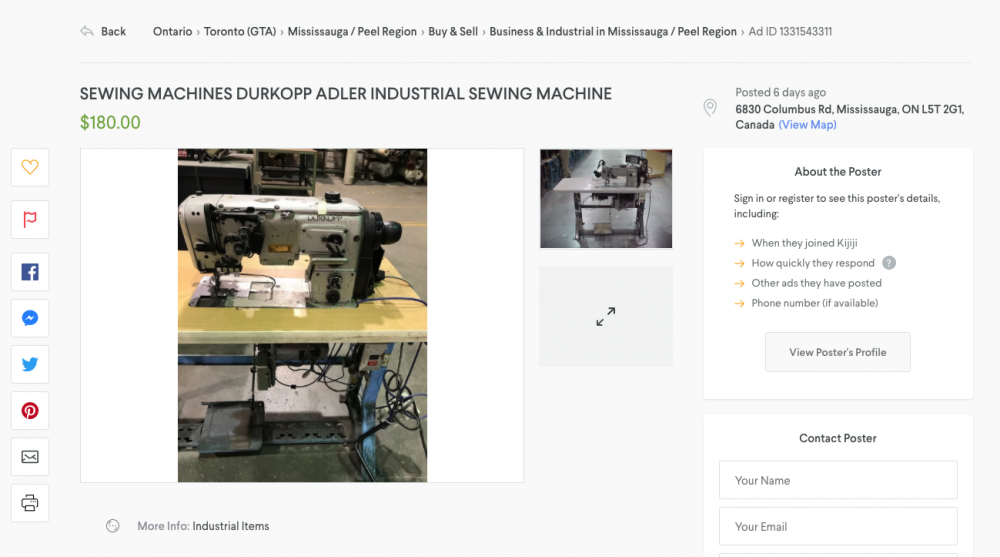
It's Kijiji Ad ID: 1331543311 I'd be surprised if they wanted to bother with shipping.
-
Congratulations on your new acquisition! That control panel is really an EFKA V720 with a Durkopp Adler logo on it. Here's the manual for the Efka V720 control panel: EN_BA_V720_7_7__210995.pdf
-
We can't really tell you what you should pay your friend for this machine. Somewhere between $1,000-$2,000 between friends would seem reasonable to most people in North America. But my idea of reasonable pricing was shattered when I went out for a casual dinner in Oslo, or took a subway ride in Stockholm (it was by far the nicest subway I have ever been on.)
-
Looks like the machine is in nice condition and the Variostop is a good Efka motor/controller. The pedals indicate foot operated presser foot lift and reverse. I think this may be a model shared by Adler and Singer. It looks just like an Adler 220 and the "A" in 144A305 may well indicate a re-badged Adler. You can look for Adler 220 documentation and compare. The Adler 220 brochure (2205073.pdf) has some specs. @Gregg From Keystone Sewing has a double needle version of this machine on his website (http://store.keysew.com/catalog/product/1bb153606d494c4a9b634c398c3a8095) so he may know more about it.

-
It looks like you can run the machine on single phase 220V, according to the Durkopp 291 installation manual.
-
I don't see a manual foot lift lever either.
-
Well, the Toronto area should be good for a while with fancy vintage Durkopp machines. You can start a local Durkopp 291 support group! Some of these fancy full function packages are all-or-nothing propositions. Either it works or it doesn't. There's often not a whole lot of middle ground. Buy two or three. Trying to convert the head to a plain manual setup may not yield satisfactory results. If everything works as it should, they're a joy to use. One downside to super cheap, fancy vintage machines is that everything else afterward will seem super expensive. A decent rotary 3-phase converter and a quiet air compressor will cost considerably more than the machine, but the whole setup may be well worth it.
-
If you can live without reverse, my Singer 153W102 may be a candidate. I just made a posting for it:
-
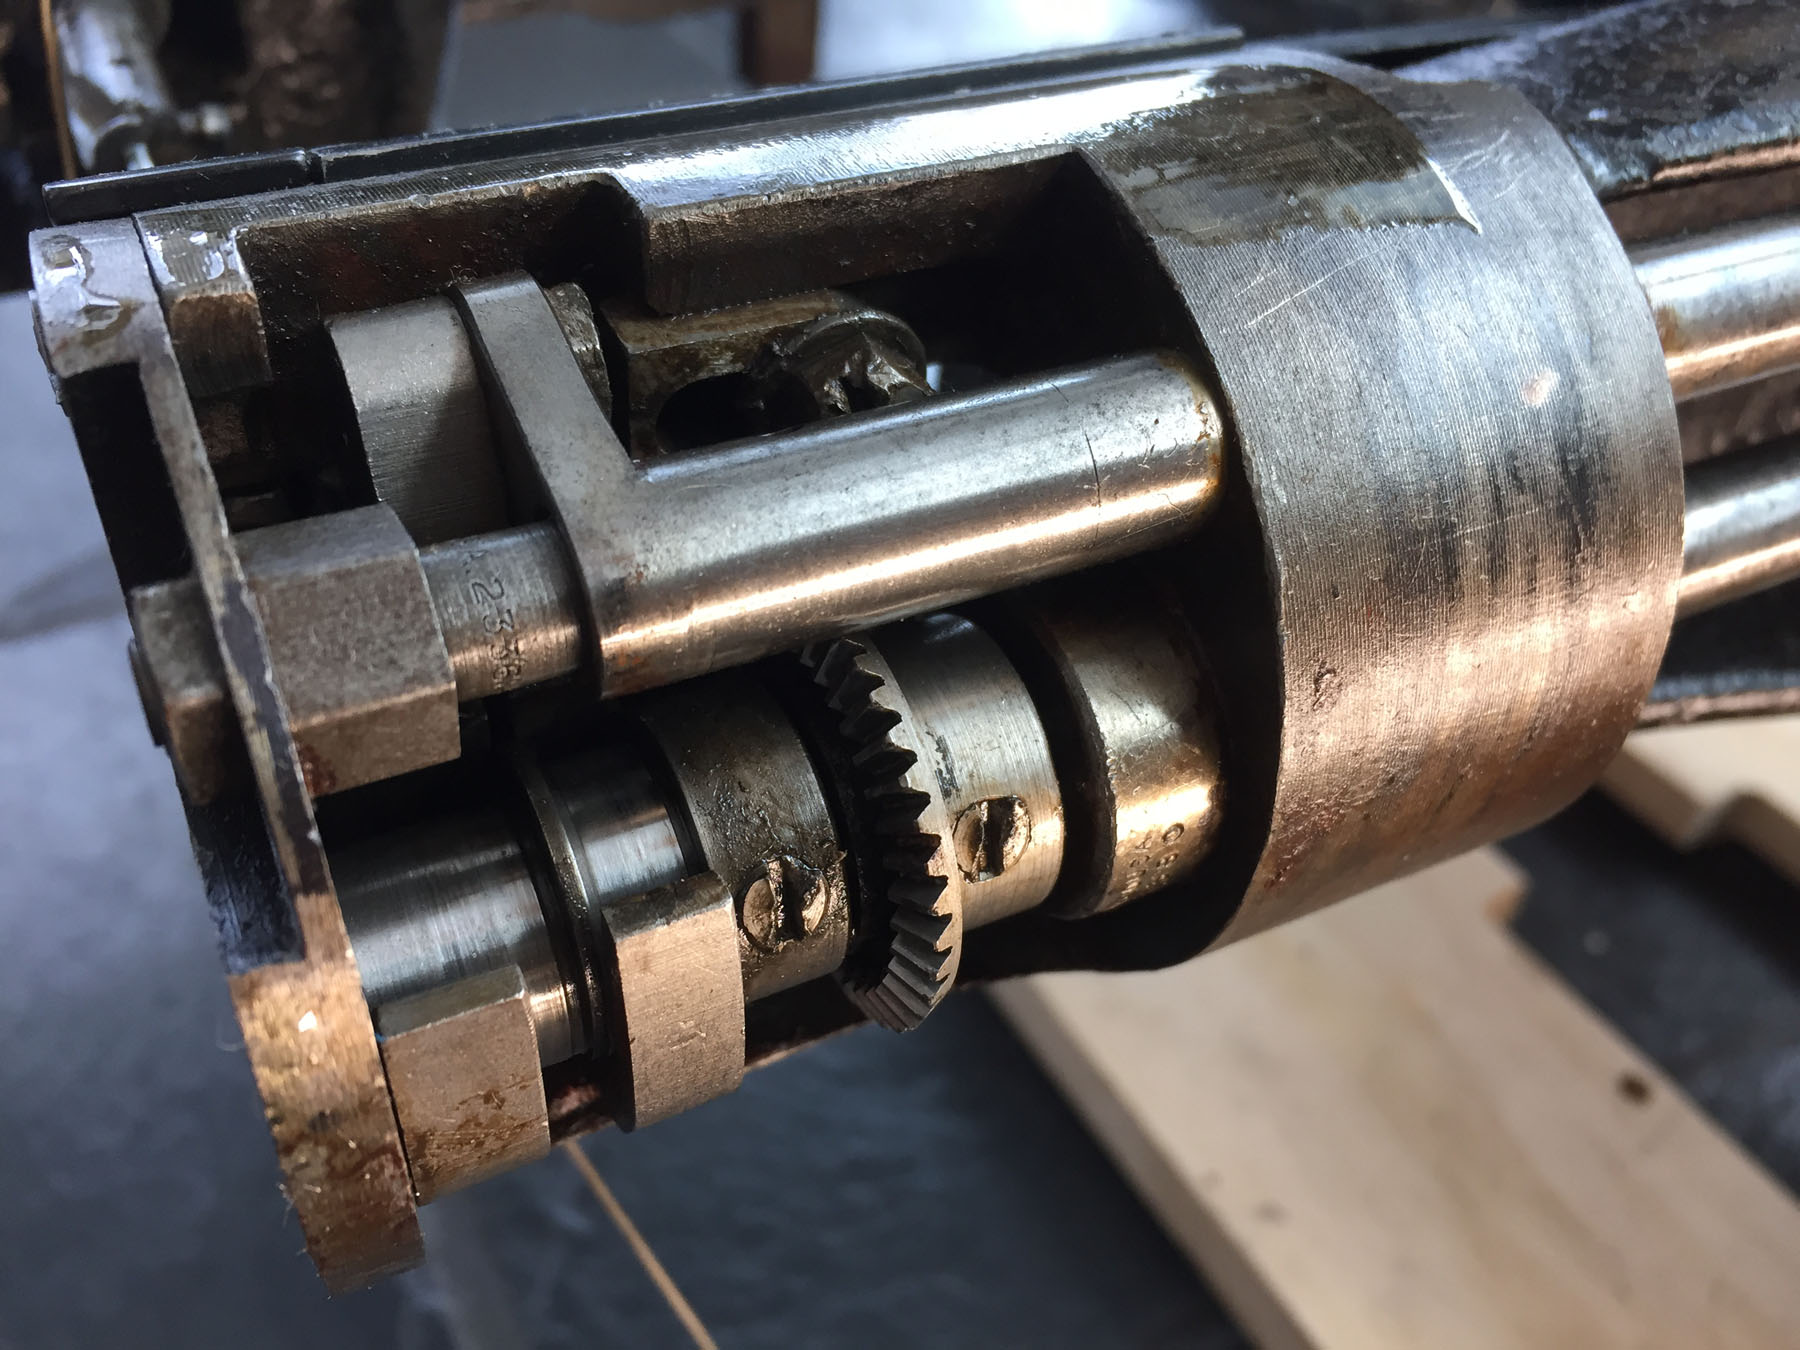
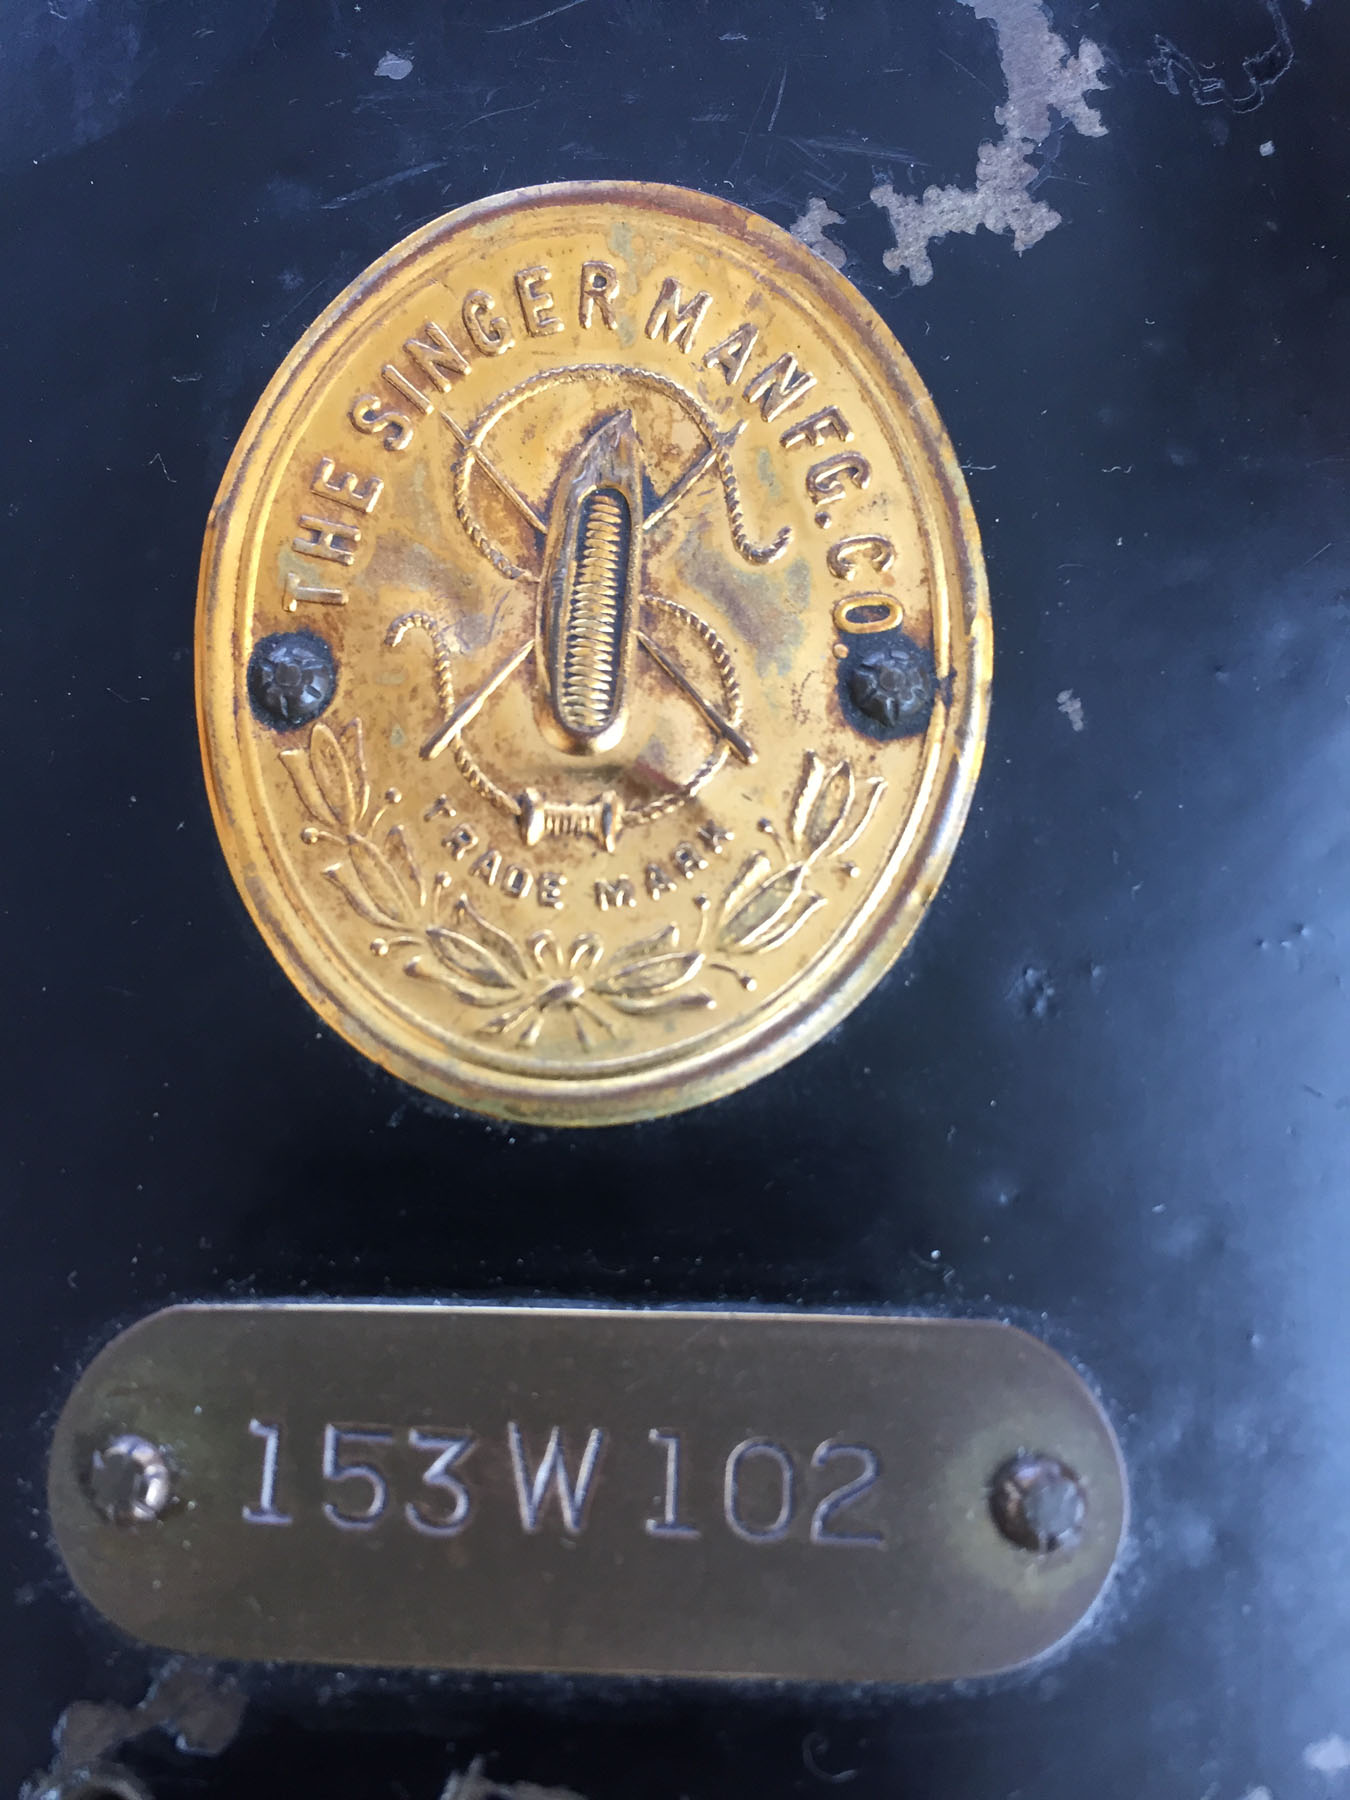
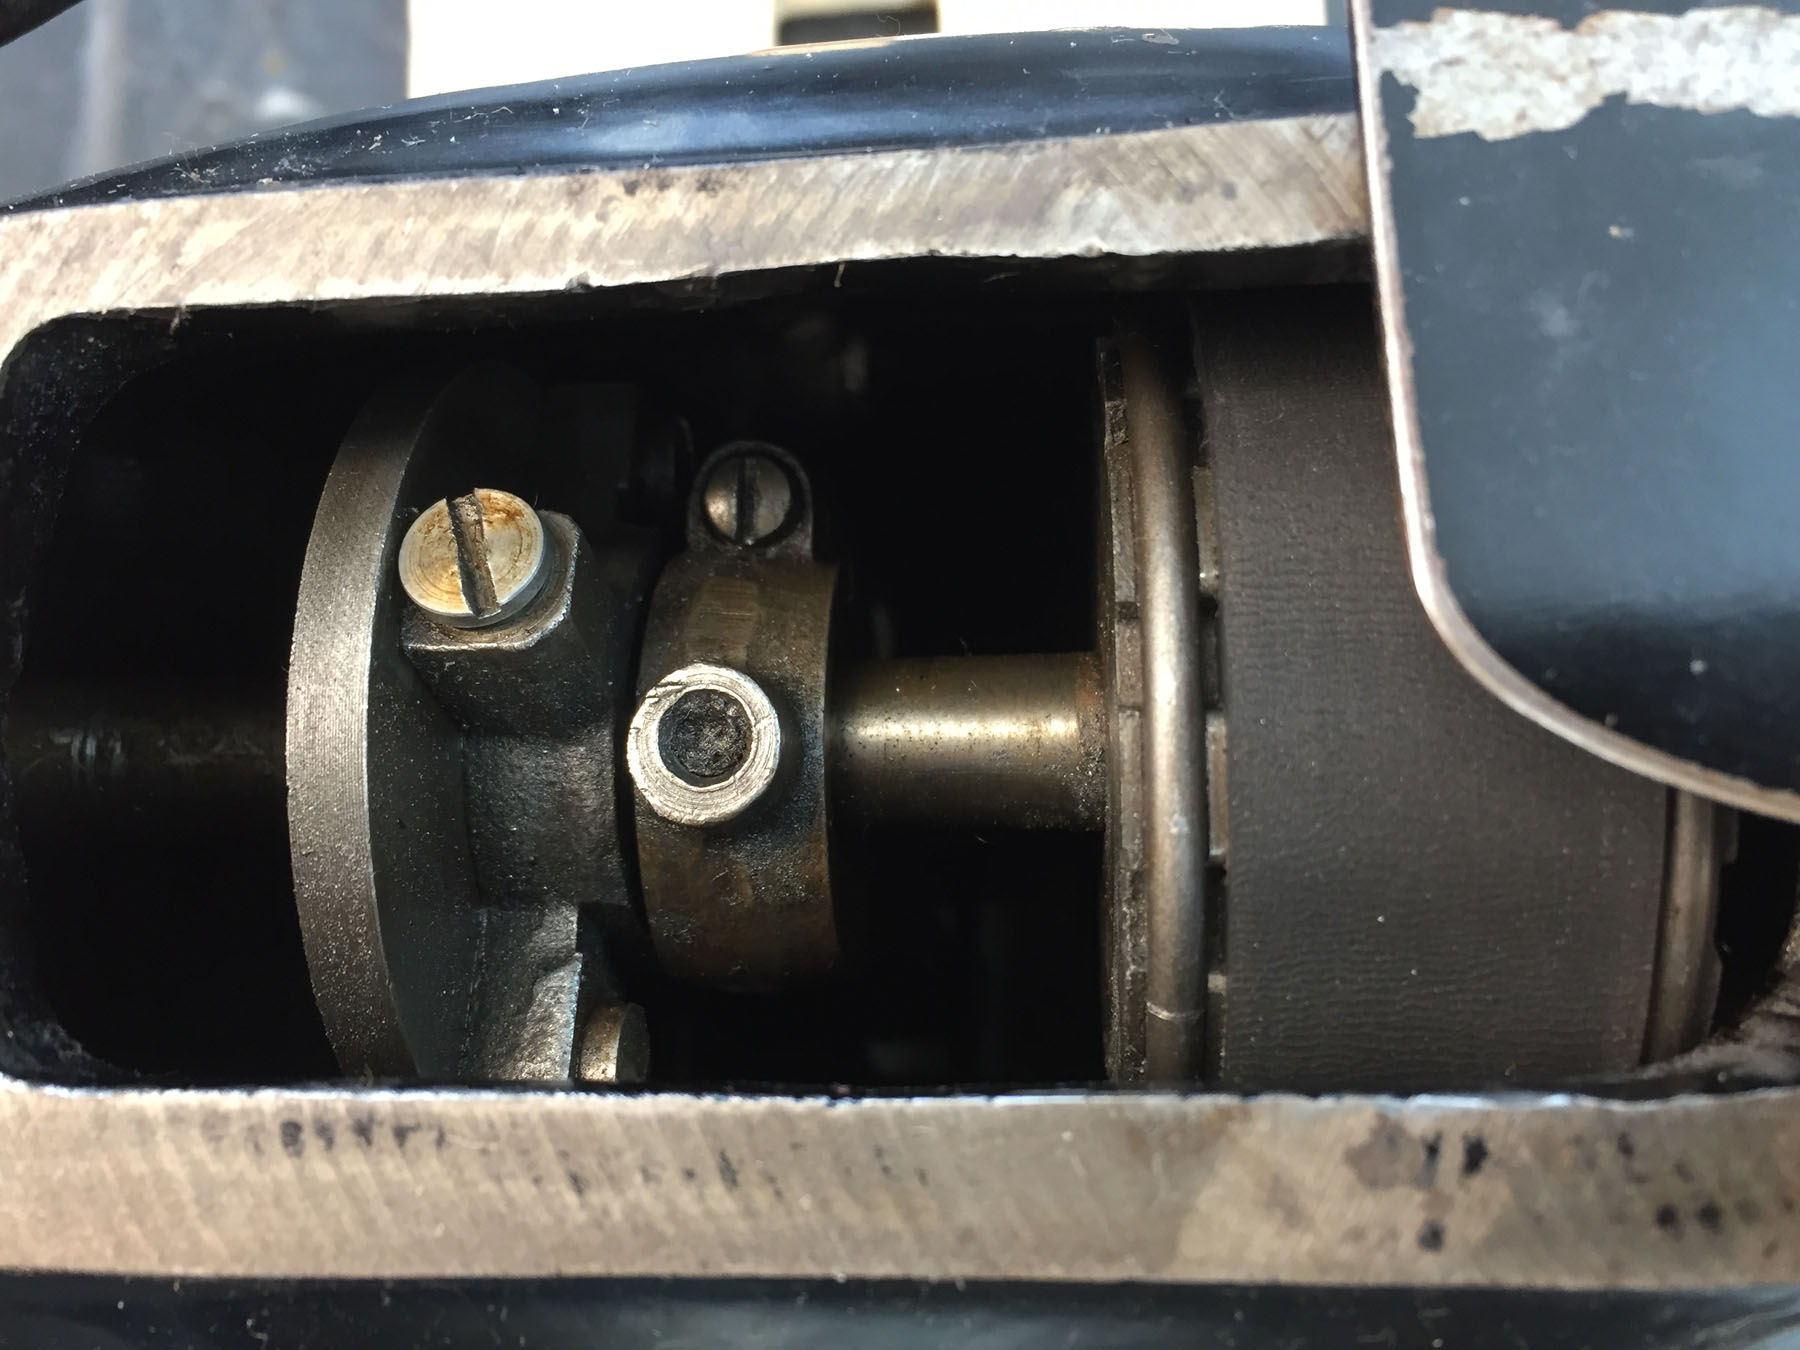
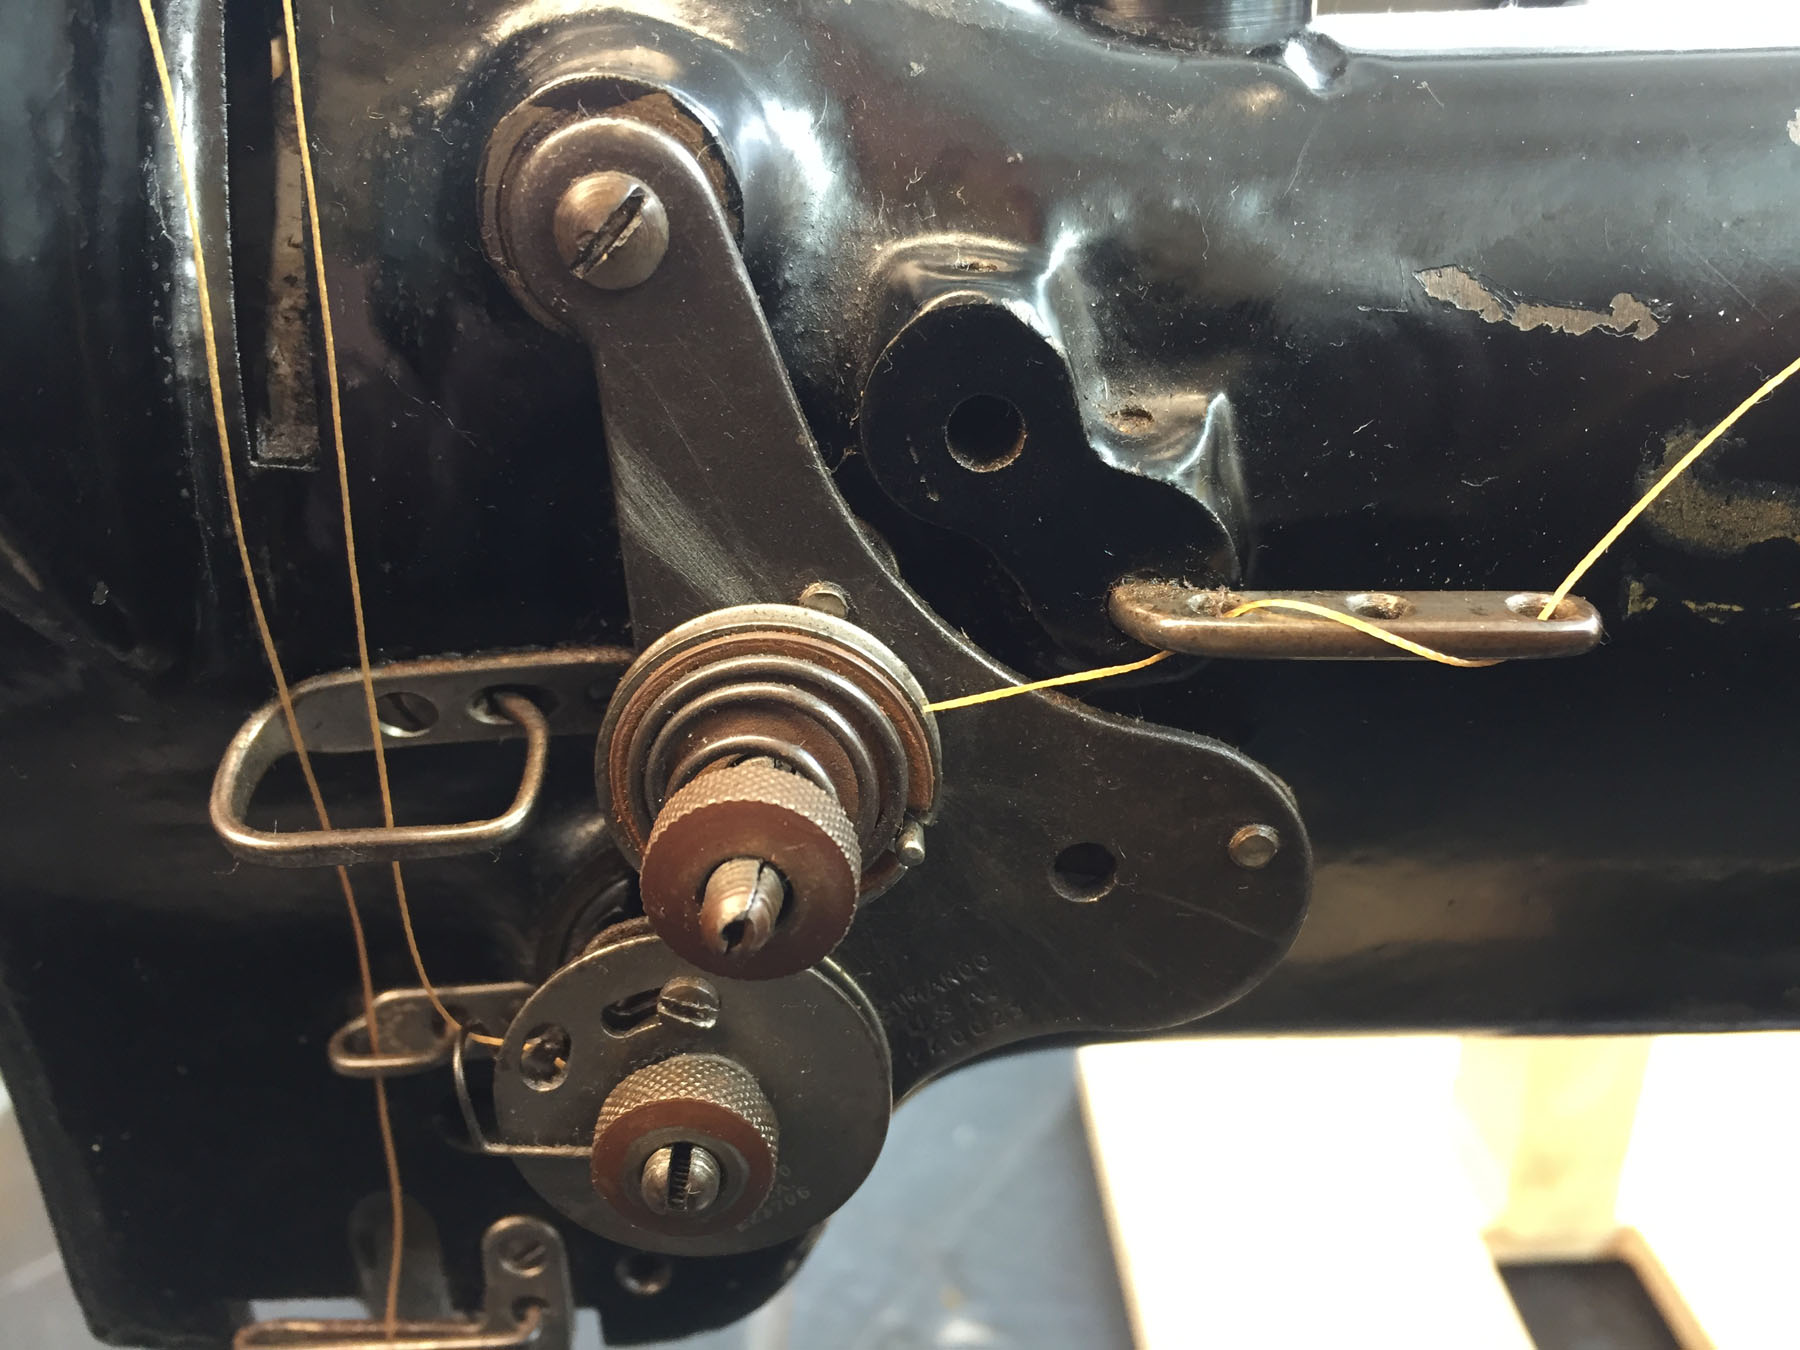
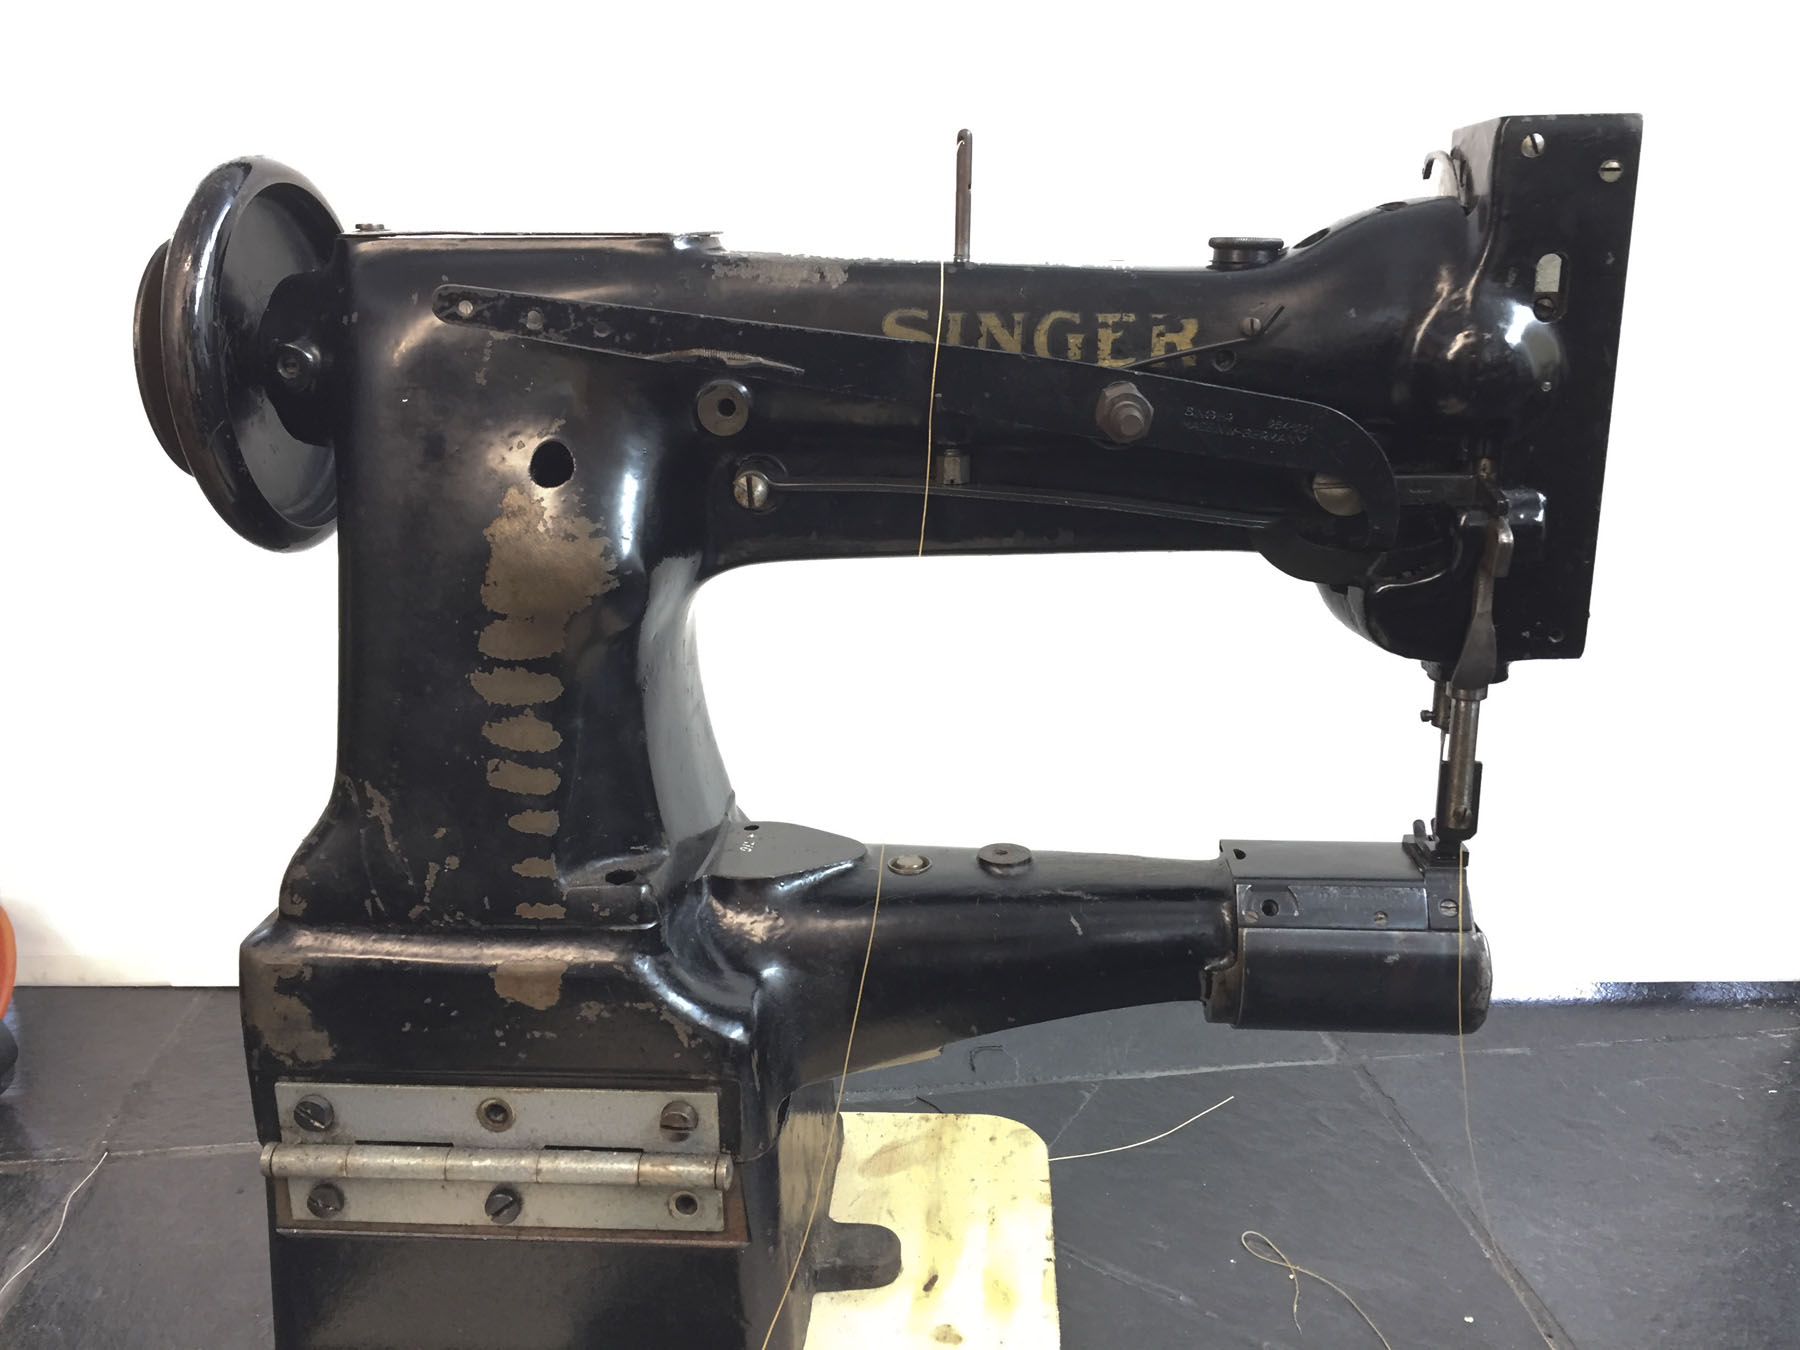
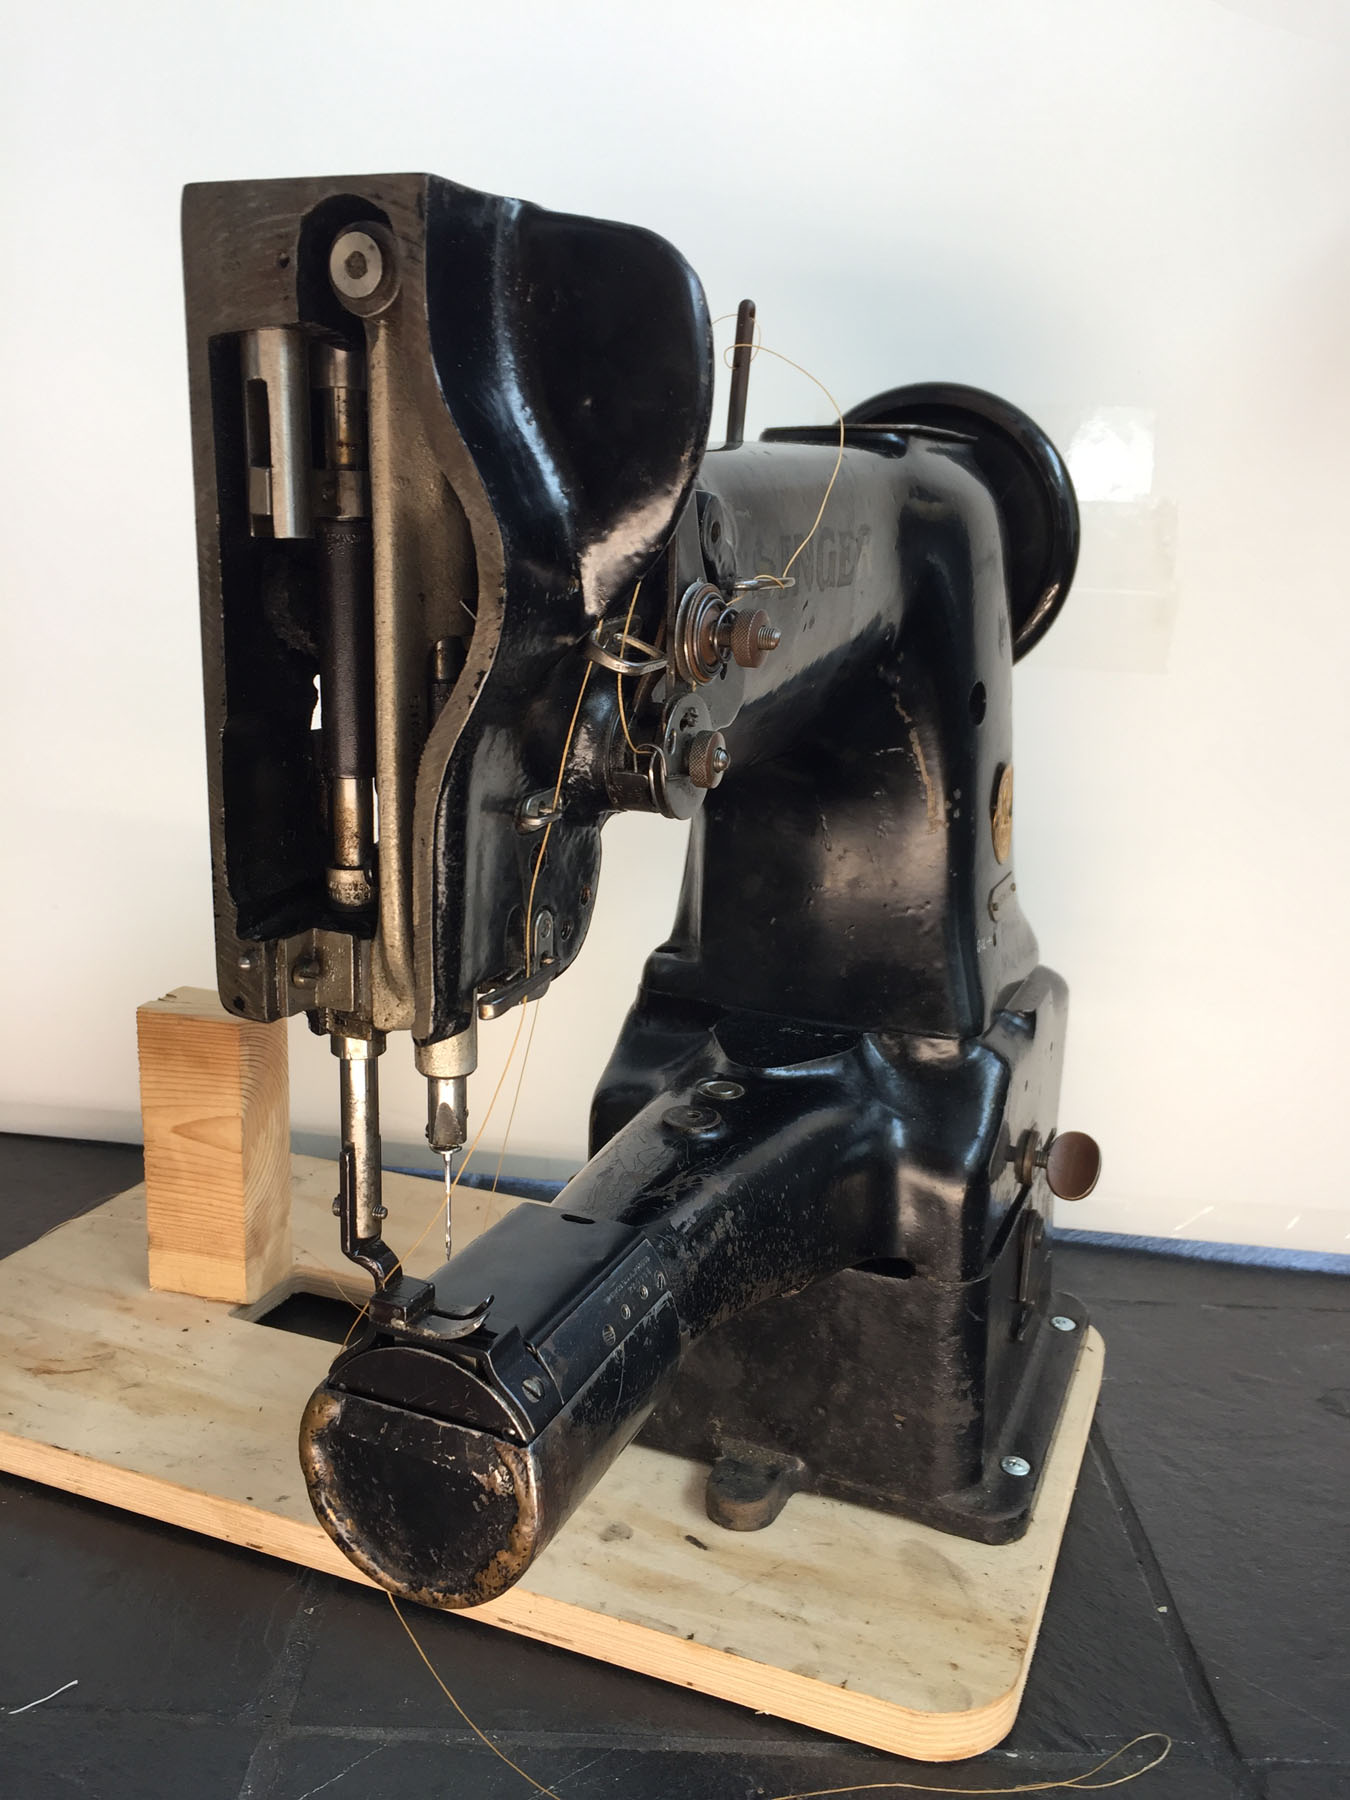
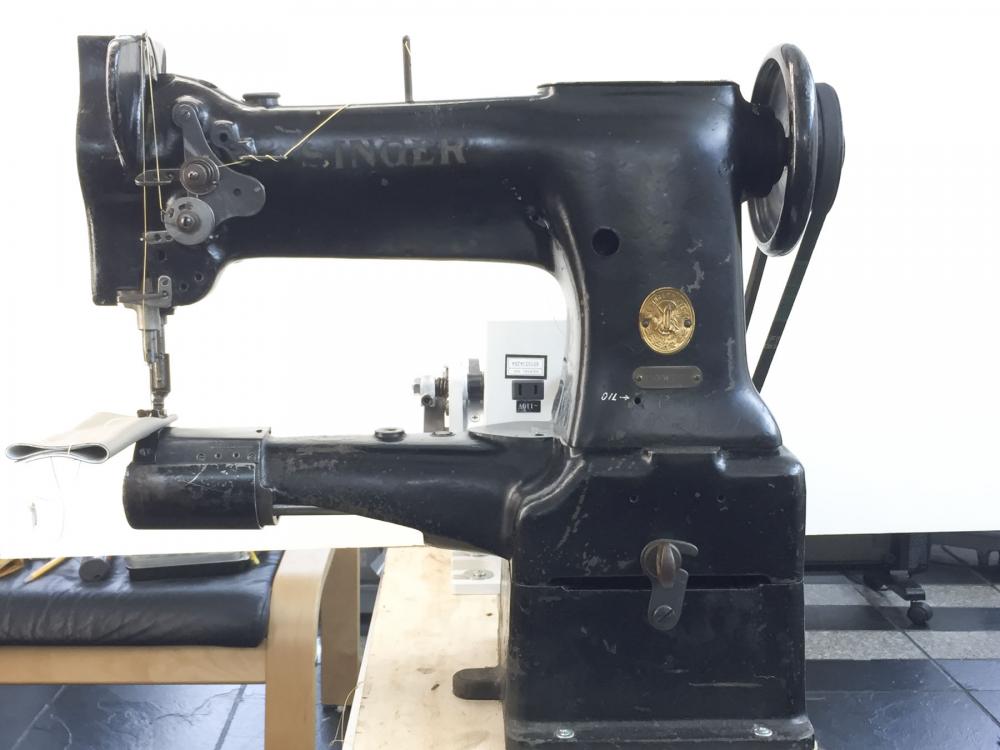
I have a Singer 153W102 bottom+needle feed cylinder arm sewing machine is for sale. Just the head, no table or motor. Price is $450 if you pick it up near Detroit, Michigan. Pickup is preferred, but this head could be shipped in a box. The head alone weighs 65 lbs. Packaged well, the shipping weight would be close to 90 lbs. Dimensions would be around 16x20x24 for the outer box. Packaging takes time and new nested cardboard boxes and foam-in-place pouches are not cheap. Add $50 for packing. Shipping itself runs about $1.00-$1.50 per pound within the U.S. depending on carrier. I replaced the timing belt and made the stitch length mechanism work again. It won't win any beauty pageants, but It's adjusted well and makes a very nice stitch. Here's a demo video of this machine sewing heavy canvas and vinyl material: Below are a few pictures:


-
google
-
Please upload some photos of the machine here. The original photos are being held hostage in Photobucket hell.
-
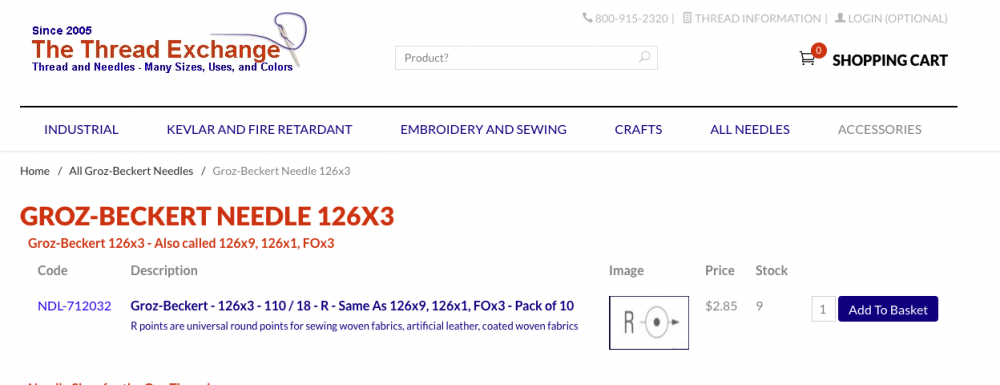
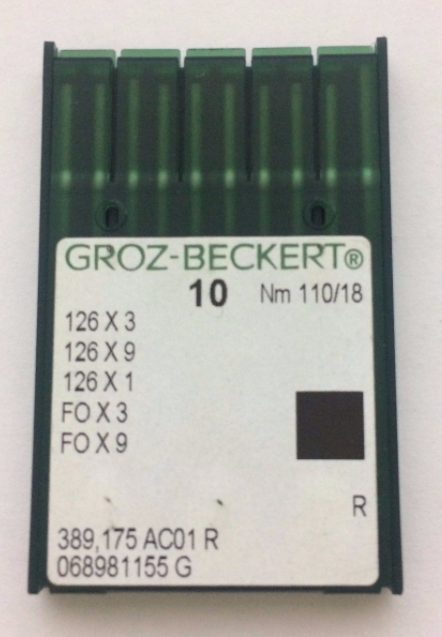
I'd try some 126x3 needles, which apparently are the same as 126x9, according to this Groz-Beckert needle pack: The 126x3 needles are available online: http://www.thethreadexchange.com/miva/merchant.mvc?Screen=CTGY&Category_Code=NDL-126x3 Our trusty banner vendors may carry them, too.
-
Simple Singer 241 large hand/balance pulley Mod
Uwe replied to Sledzep01's topic in Leather Sewing Machines
I needed to figure out how to make a CAD animation and this seemed like a good practice piece: