-
Posts
2,221 -
Joined
-
Last visited
Content Type
Profiles
Forums
Events
Blogs
Gallery
Everything posted by Uwe
-
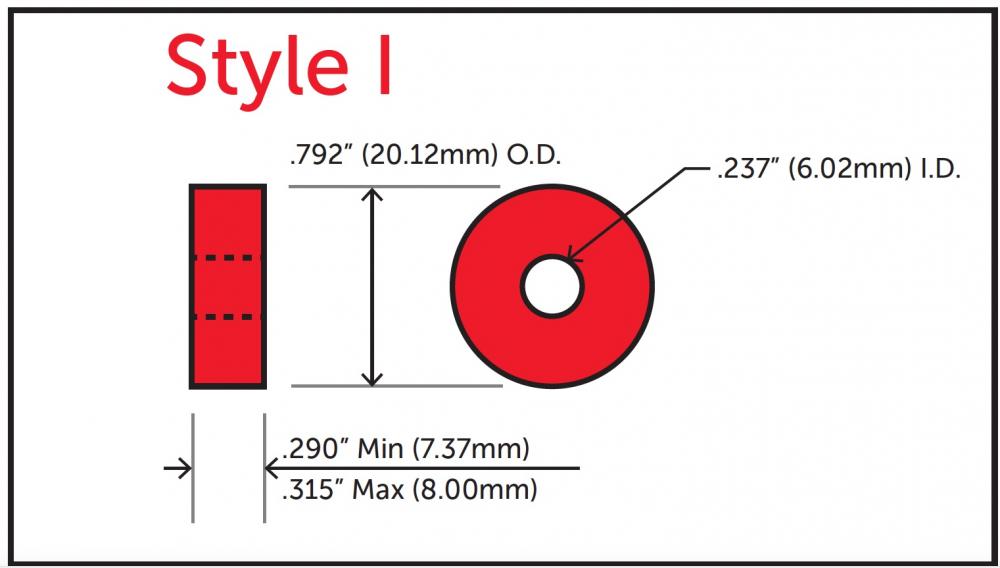
This PDF has a somewhat comprehensive list of bobbin sizes, including Style "I" : Bobbin Selection Information.pdf You may be able find a standard style that fits your 29K60 without giving up too much thread (not a whole lot of thread to give up, for sure. ) The good folks at The Thread Exchange have various prewound bobbin styles in stock and might be able to offer advice (they also have a bobbin style guide with dimensions)
-

Looking for Singer 29k thumb nut #113088/nn88w
Uwe replied to Wizcrafts's topic in Leather Sewing Machines
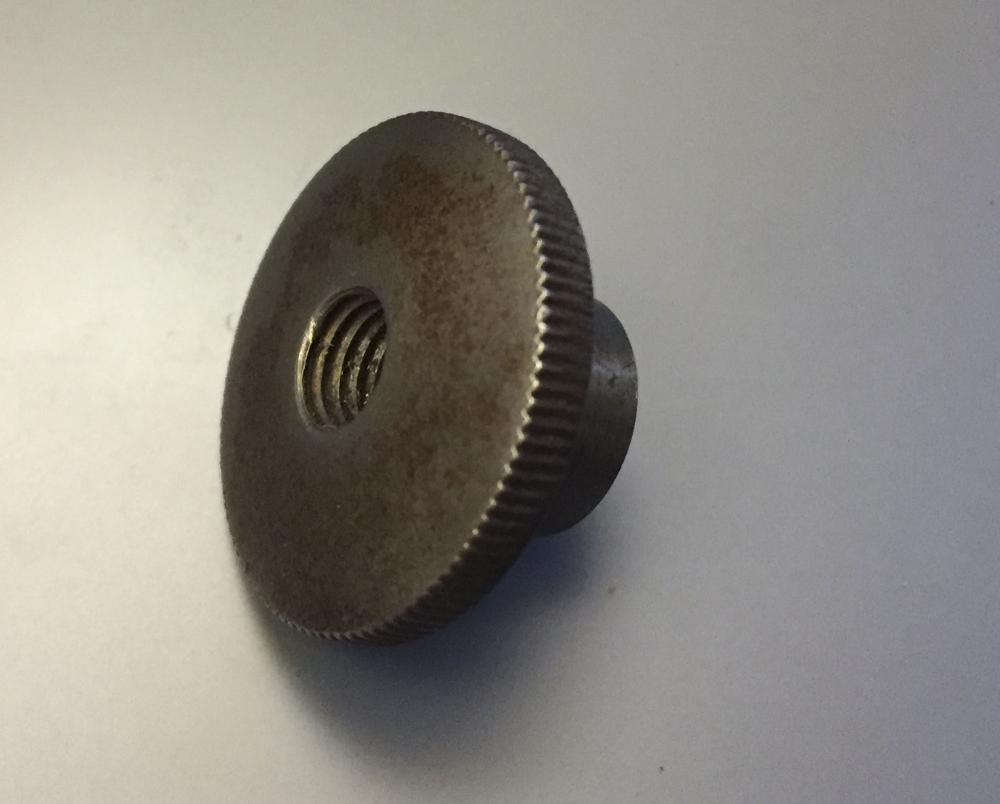
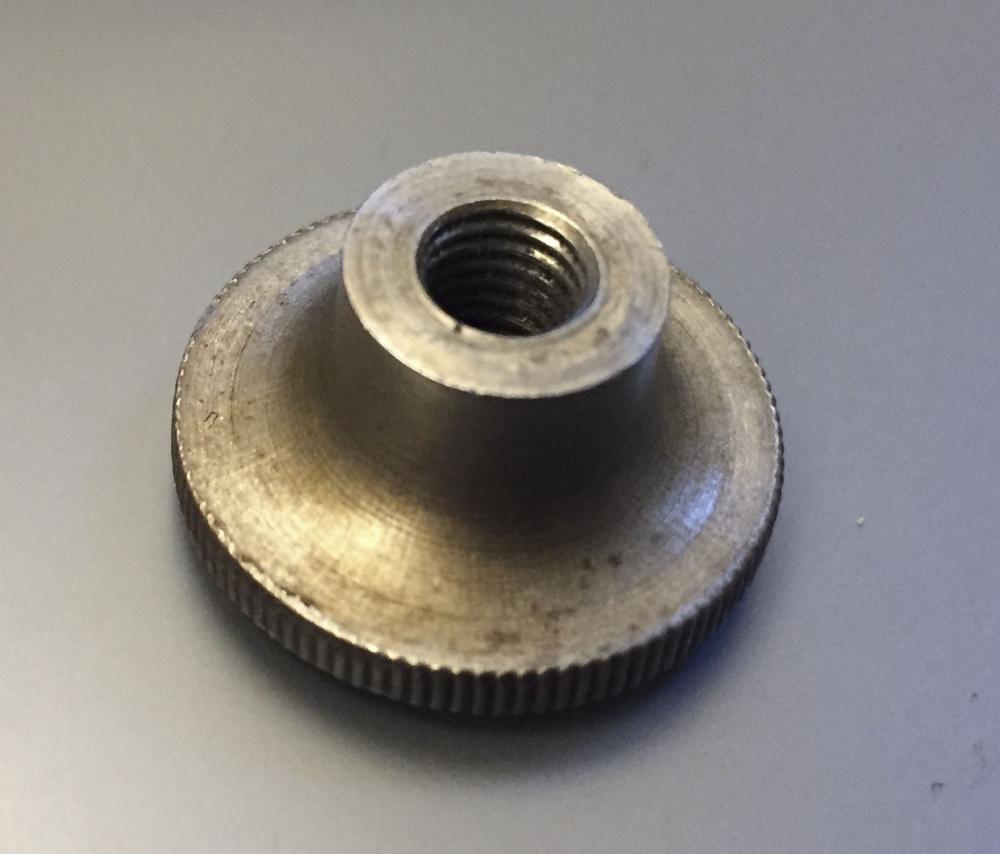
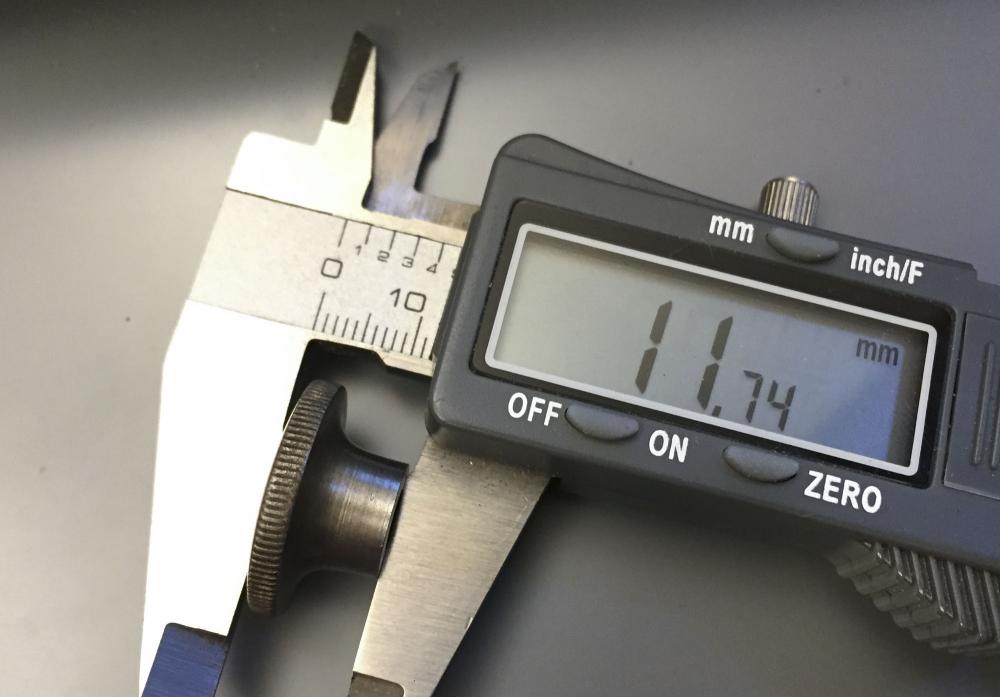
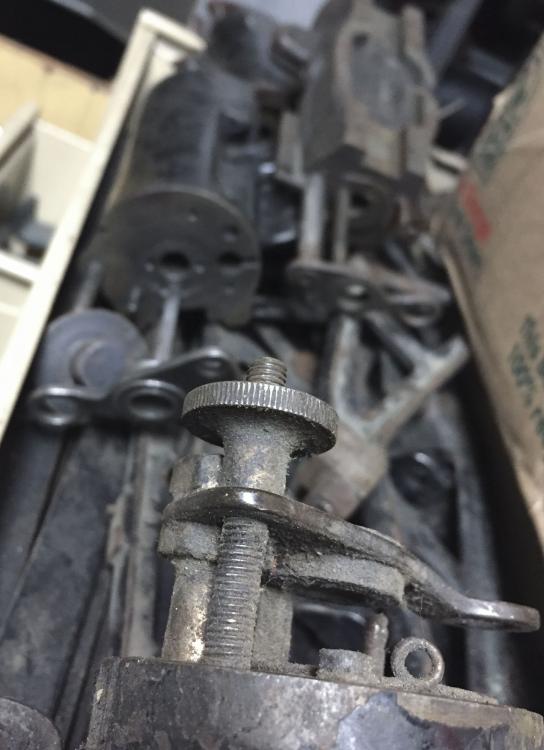
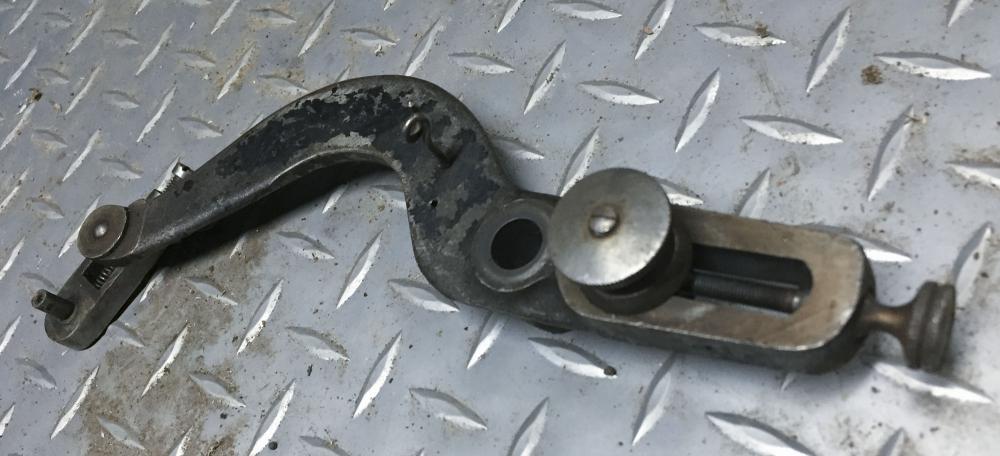
This pretty Singer NN88W thumb nut is $12 shipped. I have a few disembodied Singer 29K heads floating about in my drawers. The same thumb nut also appears on a another part, but I'm not sure which machine this part goes with. -

Looking for Singer 29k thumb nut #113088/nn88w
Uwe replied to Wizcrafts's topic in Leather Sewing Machines
-
Bump and price lowered to $1250.
-

Inline Cowboy presser feet on Cowboy CB4500
Uwe replied to Wizcrafts's topic in Leather Sewing Machines
A thread groove would be fairly easy to add with a small diamond file or an angle grinder. I also considered making a variation with a slightly angled/curved bottom surface to conform to the standard curved throat plate, and also one where the rear foot comes super close to the front foot with almost not gap at all. But realistically, I have to stop making changes and settle on one design at some point to start with. I'm lucky if I sell enough of these to pay for all the end mills I broke making the half dozen iterations leading up to this one. -

Inline Cowboy presser feet on Cowboy CB4500
Uwe replied to Wizcrafts's topic in Leather Sewing Machines
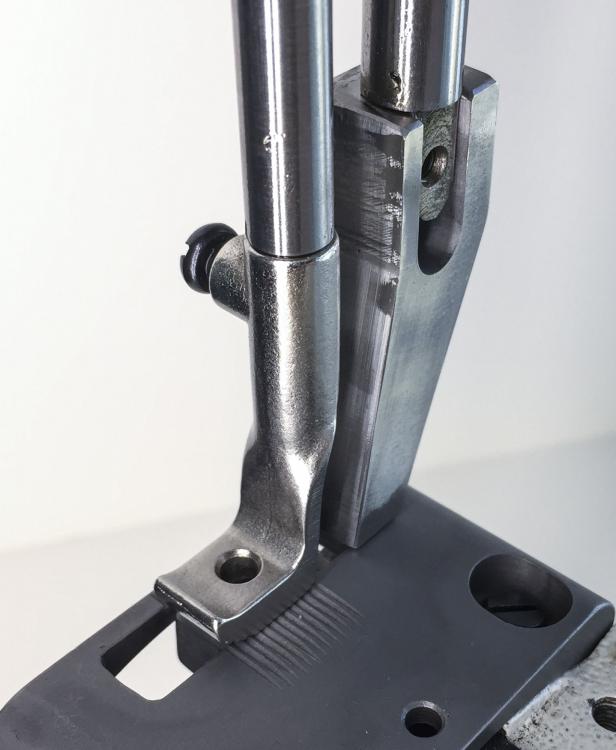
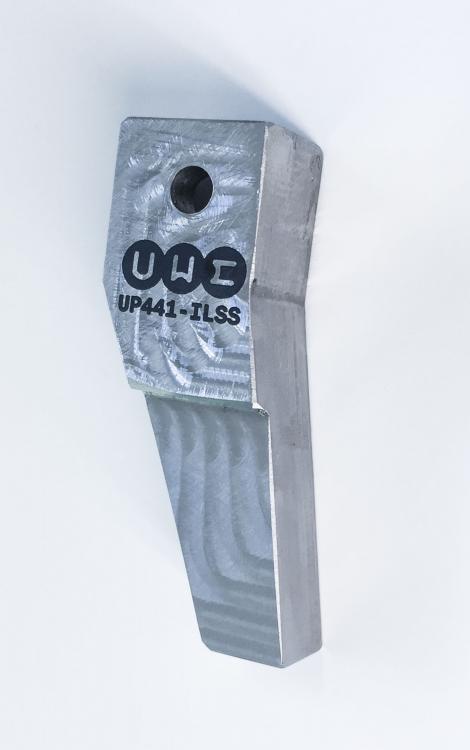
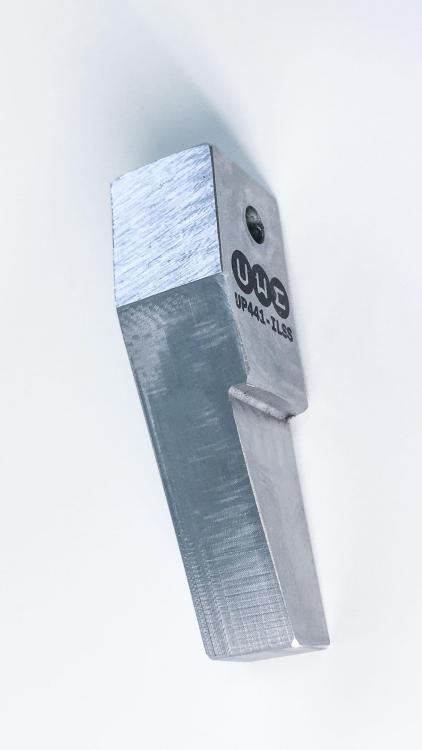
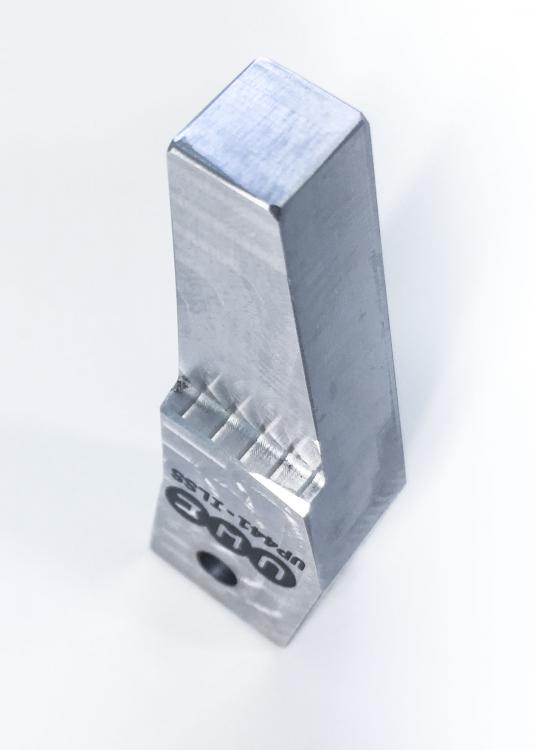
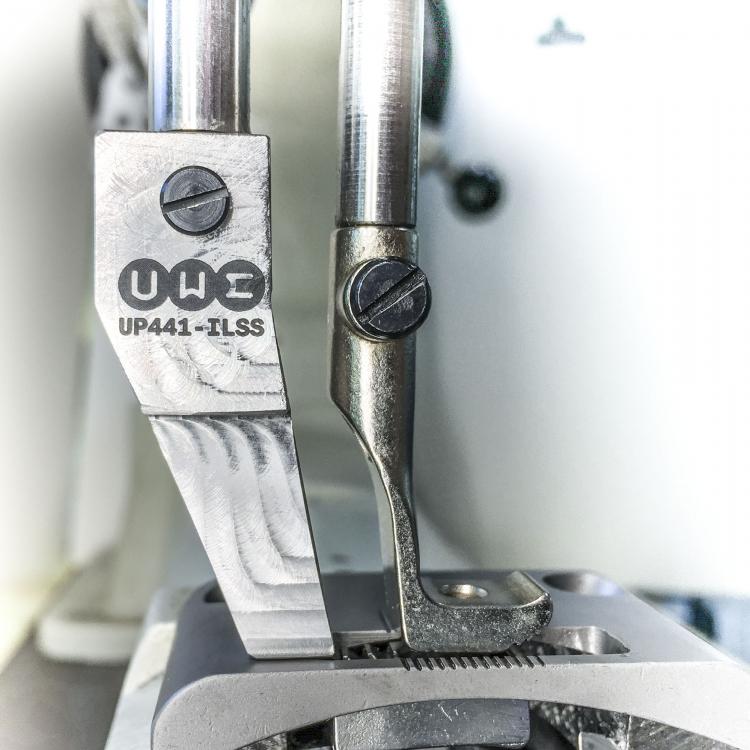
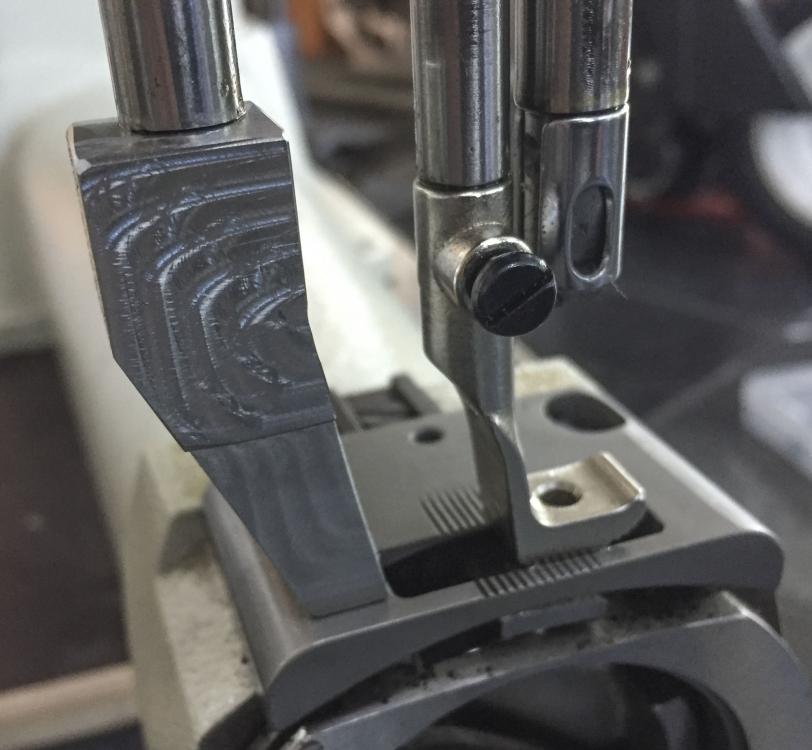
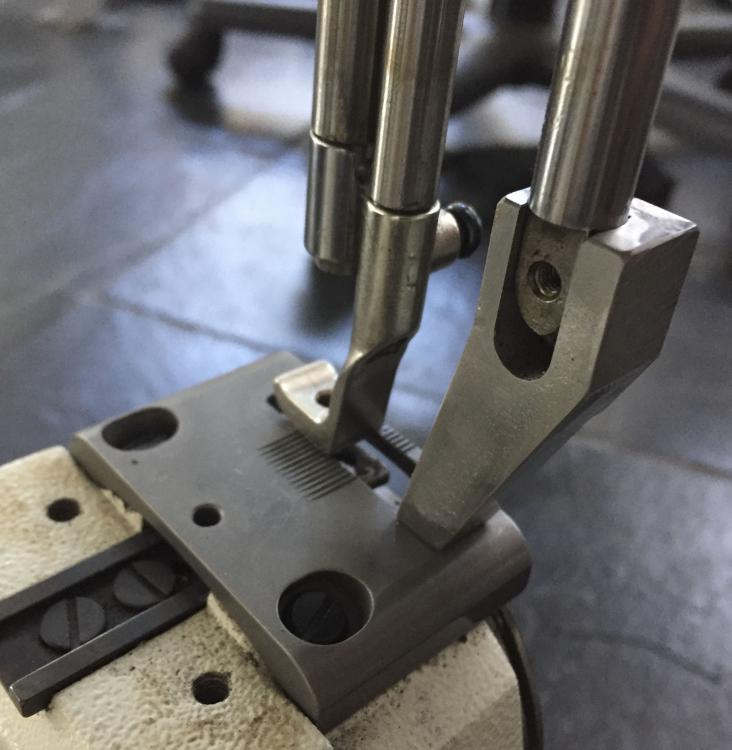
I made a small batch (5) of my version of the inline presser foot (named UP441-ILSS) and they're now available for sale for $70 ($90 for the set) in my ebay store: http://r.ebay.com/C7t3Tt If you're located in the U.S., you can also order directly from me for a 10% discount (send me a PM to get the ball rolling) Here are a few shots of the production version: -
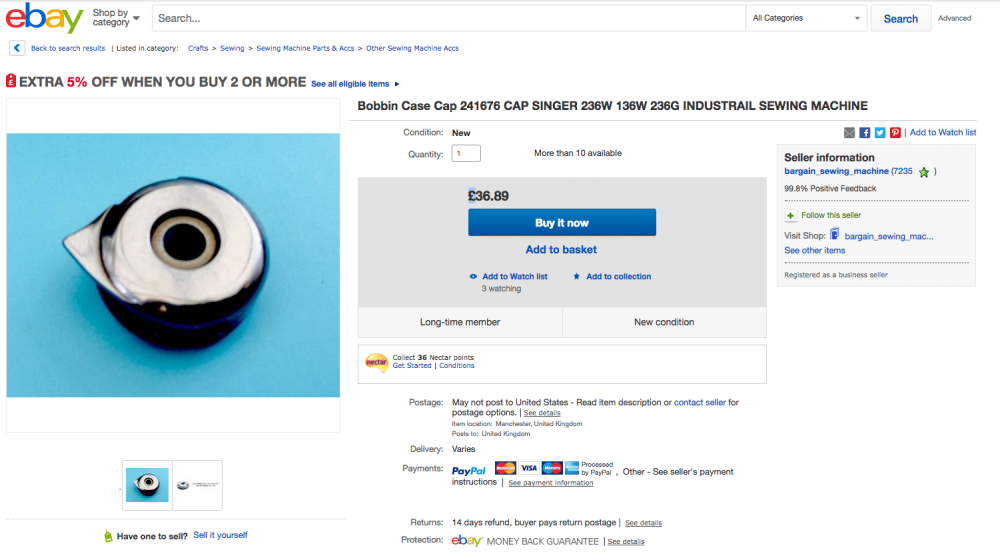
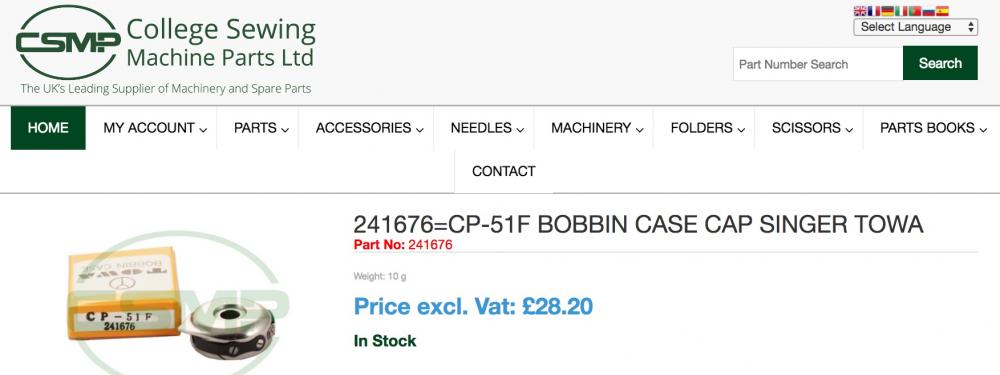
Part numbers are your key to Singer part nirvana. Surprisingly, no part list is available online for the Singer 138W101. Luckily, I have one of these machines and my bobbin case has a decipherable part number stamped on it: 241676 There's one on Ebay in the U.K for £36 - surprisingly expensive for a Singer part. College Sewing in the U.K. also carries this part new, made by Towa, for a little less: https://www.college-sewing.co.uk/store/241676=CP-51F-BOBBIN-CASE-CAP-SINGER-TOWA
-
I'm not aware of a list, but it would be nice to have one. Realistically, though, it's a little like asking the server to recite dozens of craft beers when all you really want is a Bud Light. That Bud Light in this context is one of well over a dozen versions of a Juki TSC-441 class machine. There are lots of other vintage brands and models out there, but few folks are willing to deal with them and even fewer are willing to write a dissertation on the topic. You could spend months coming up with a comprehensive list of vintage machines categorized by thread handling ability. I hope somebody does one day. "Heavy Stitcher" is what you are looking for. That generally also means that the machine head weighs 100 lbs or more. If by "reasonable price" you mean what a machine is actually worth, you should be golden.
-
I'd take it for $80. I had a curb-rescue Tacsew T1563 a while back and it came together beautifully after buying a few parts for it. Parts are readily available and generally cheap. I made a video with mine when it was done:
-
I got a little teary-eyed when I found several of these beautiful Adler 30-1 machines for sale on Ebay in Germany for under $400 just now (examples: http://r.ebay.com/YACnvn and http://r.ebay.com/5BFCMo ) Germany is the place to be if you're into these machines. Hopefully @Constabulary will find a suitable throat plate for you in his parts stash. The part does look rather simple to make, at least the top side looks easy. Some of these have space carved out on the underside, too, which might complicate machining one a little bit.
-
Thank you, @cjartist
-
Sunny Sewing Center has a nice image gallery of an Adler 30-1 they had for sale. It's a good reference gallery to see what things should look like. The throat plate is indeed quite different from the Singer version:
-
You're gonna scan that to PDF and post it here, right?
-

Inline Cowboy presser feet on Cowboy CB4500
Uwe replied to Wizcrafts's topic in Leather Sewing Machines
I finally got around to making a real-life version of my CAD model inline presser foot. Coincidentally I also became warden of a like-new Ferdco Super Bull 2000 with a career-ending massive crack in the casting (it fell off a moving cart years ago before ever being put to use.) The machine lets me test parts for proper fit and take pictures. Unfortunately I can't make videos of it sewing. This version is done in 304 stainless steel. It looks simple but the CNC mill labors for nearly 30 minutes on a single part. Stainless steel is really hard to work with, literally. No mounting screw yet - I'm still deciding between hole and slot. I'll have some for sale in a week or so, after some fine-tuning and polishing. Pricing will be around $70 for just the stainless steel rear foot, or $90ish for the set including the generic front blanket foot. Plain polished steel will be $20 less. -
If the pressure plate does not have a channel worn into it on the underside then you may be able to simply remove the pressure spring and bend it down a slight bit in the middle. That should allow it to better squeeze the thread for improved bobbin thread tension control. It's worth a try.
-
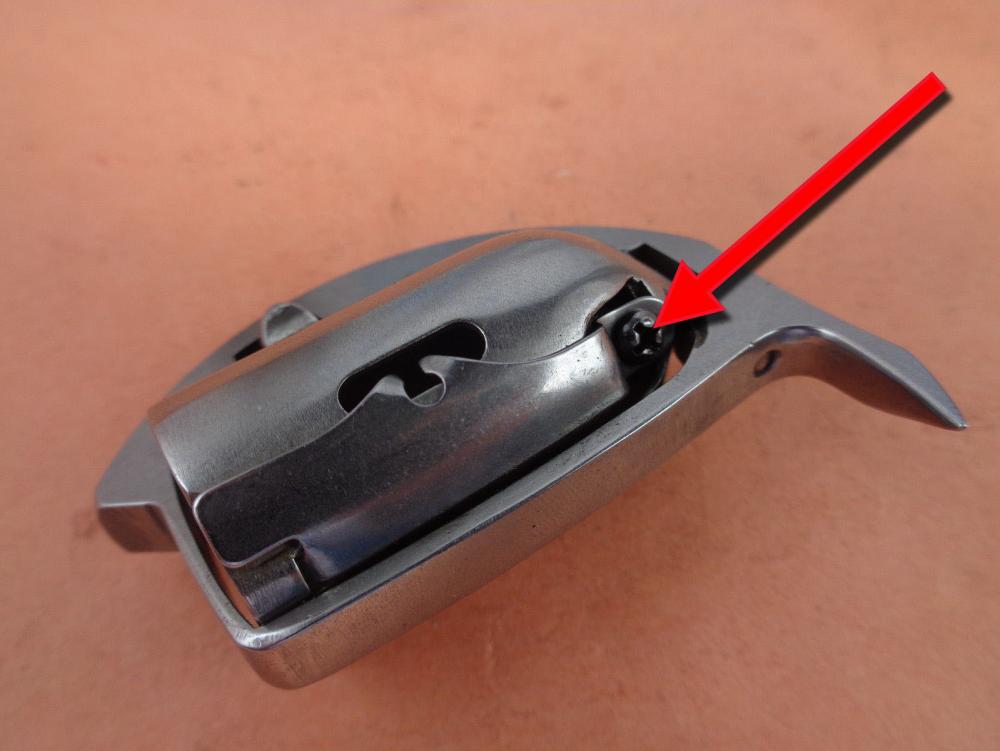
Did you not get a manual with the machine? There's almost nothing available online for that machine. @Techsew Ron is your guy for definitive answers and hopefully manuals. Based on an ancient video snippet on youtube, I'm guessing the shuttle hook is very similar if not identical to that of the Juki TSC-441 or Adler 205 class. Both have an adjustment screw for bobbin tension: Depending on how old the machine is, the pressure plate for the bobbin tension may have a groove worn into it from the thread. If it has a groove you may not be able to adjust bobbin tension anymore. A new pressure plate or whole new hook may be in order. I covered how to adjust bobbin tension in a video for the Adler 205 class (starting at the 14:39 mark). Your shuttle hook bobbin case may or may not have the lock screw shown in the video.
-

juki 5550 sewing thick material (foot height)
Uwe replied to beltbuckles's topic in Leather Sewing Machines
You'll have to check you machines parts manual to see if you have all the parts to make the knee lift work. Usually the oil tank models have a umbrella-like pin that gets pushed up through the oil pan by the knee lift. That umbrella part in turn pushes up against the internal foot lift mechanism of the machine. That pin often goes AWOL during transport (it's missing on both oil pans I have sitting in my garage). The pin looks like this: I'm not aware of another practical way to get the feet lifted all the way up. -

juki 5550 sewing thick material (foot height)
Uwe replied to beltbuckles's topic in Leather Sewing Machines
If your machine has pneumatic automation bits (air cylinders etc.) installed but you're not using them, then you have some limitations. Removing pneumatic bits and converting a machine back to manual mode is often complex and sometimes not feasible. Sometimes you can simply add a knee lift mechanism and keep ignoring the pneumatic cylinders. Or hook it up to an air compressor and use it as intended. -

Juki LU-563 chrome tan and inconsistent tension
Uwe replied to Willbury's topic in Leather Sewing Machines
A needle will generally last quite a long time in a well-adjusted machine and without abuse. If your needle develop burrs it usually means it's touching something it shouldn't. The needle may get deflected by lumps in the material, or by a snagged thread pulling the needle sideways. Does you feed dog hole look all jagged around the edge? Chances are that your needle burrs and thread snags are caused by the same or a related problem. I suspect your top thread occasionally snags somewhere as it wraps around the hook or elsewhere in the thread path. Verify your hook timing is spot-on. Make sure the needle guard actually does its job of protecting the needle. If you recently installed new throat plate or feed dog, make sure they are burr free. Inspect your thread/hook action as you make a few very slow turn by hands with the hook cover slide removed. Is the bobbin case opener pulling the bobbin case back enough for the thread to slip through the gap easily, and then get out of the way quickly enough to let the thread pass? Here's a video snippet of how the thread should wrap around the hook and how the bobbin case opener should operate on a well-adjusted LU-563 class machine (on my machine the timing belt synchronization had been off before): Here's a short video on how the needle guard should be adjusted: -

juki 5550 sewing thick material (foot height)
Uwe replied to beltbuckles's topic in Leather Sewing Machines
According to the Juki DDL-5550 Manual your machine should have 13mm foot lift using the knee lifter mechanism. The hand lever may have less of a foot lift. -
I came across a previously super-rare Adler 167 Service Manual today and scanned it to PDF for the greater good and to collect some karma points. Here's the PDF: Adler 167 Service Manual.pdf (40 MB) The manual originally contained multiple languages, but only the English language pages were left when I found it. Page 32 and the very last page are intentionally blank for booklet printing. The graphic pages at the end have page numbers starting at 301 (some page numbers at the end are a little hard to read)
-
I came across an Adler 167 service manual in my documentation archive today and scanned it to PDF: Adler 167 Service Manual.pdf (40 MB of high resolution goodness!)
-
Congratulations on finding such a great deal on such a beautiful machine. LOVE that stool, too!
-

Textima/Claes 230 or DDR Clone of Pfaff 335
Uwe replied to alexitbe's topic in Leather Sewing Machines
Thanks for that link to the CLAES info page, Alex - great info and lots of detailed pictures! For slim diameter arm cylinder arm machines it is actually unusual for the feed dog to have vertical movements. Neither Pfaff 335 nor Adler 69 have vertical feed dog movements in their standard configuration (rare subclasses add the full-motion feed dog movement to those two machines.)

.jpg.d60258221c476480a6e073a8805645bb.jpg)

