


dikman
-
Posts
4,828 -
Joined
-
Last visited
Content Type
Profiles
Forums
Events
Blogs
Gallery
Store
Everything posted by dikman
-
Impressive little tool. I have no need for one, fortunately, as between the currency conversion and shipping it would be expensive importing one to Australia.
-
Looks like it's been "finished" with a fairly coarse grit belt. You can make it better (with a bit of work) by working through several grades of abrasive paper, finishing with a fine grit used wet and then polishing it. If you know someone with a belt grinder and buffer then even better, won't take long.
-
That's a good idea, I might give it a try as a way to "recycle" magazines before throwing them out.
-
HDPE = high density polyethylene. Same thing plastic milk bottles are made of. I made a couple of mauls from chopped up milk bottles, melted down. I suppose if I was keen enough I could make a cutting board using the same process, but it would be a lot of work!
-
Use of the leather to hang it with gives it a finished look () but being an Aussie I'm surprised you didn't use fencing wire.
-
The purpose of left stand sewing machines
dikman replied to Constabulary's topic in Leather Sewing Machines
Of course they do! -
Impressive! Putting the thread spools below the table is an interesting idea. I'm waiting for you to make a complete sewing machine with your 3D printer.
-
That two-tone is very impressive. Well done. It's just a shame that some of the paint will wear off with use.
-
Left Stand Singer 45K Variant → Singer 145K1
dikman replied to Constabulary's topic in Leather Sewing Machines
You're not wasting any time, I see! -
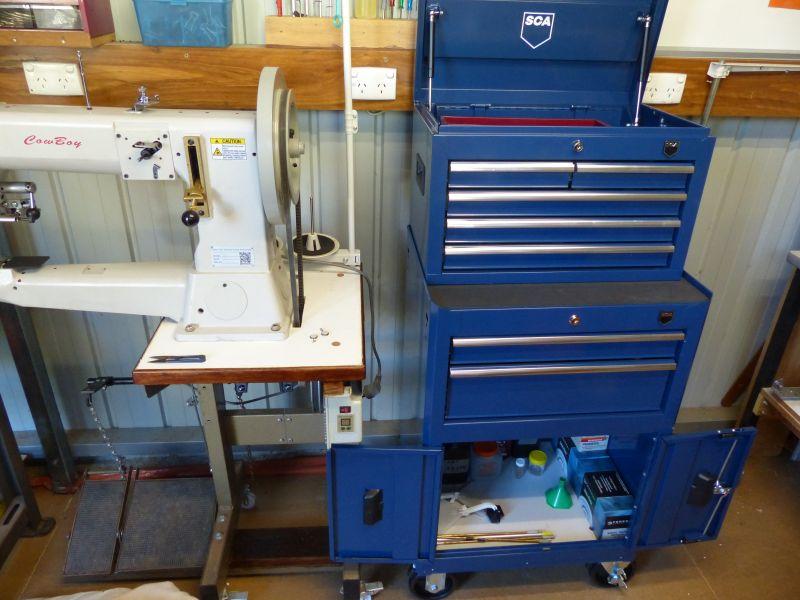
This thread got me thinking, so when a local autoparts store coincidentally had a special members offer (35% off) on some of their tool chests I figured it was time to get rid of the large tackle boxes that I stored some of my tools in. It is a "house brand" but the quality is far better than I expected. My stamps and punches are still stored in a cupboard but I still have some room in the shelves so may re-organise things later. As it has a lockable lower section I decided to use it for storing powder and primers as the shed is also where I reload. That got rid of another toolbox off the floor! Oh, and the only reason it would fit is because after remaking the table for the Cowboy machine I got carried away and cut down the other two tables in the shed! I realised that for what I do I don't need full-width tables for the machines. The post-bed was a bugger because I had to completely dismantle everything and reduce the width of the metal frame but the Seiko was simpler, I just removed the machine so it didn't get any sawdust in it and then lopped off the table that overhung the frame.
-
You could mark the shaft and pulley with a permanent marker first, or a small scratch mark, if you're worried about aligning it. Once it's off if you clean the shaft and inside the pulley thoroughly it should go back on ok. Steel wool might help if solvent won't remove any built up gunk. The heat gun might be worth a try.
-
You will probably need a pulley/gear puller, very useful for tight pulleys. You should be able to get one on ebay or your local auto shop. Or you could try tapping (gently) around the inside rim with a rubber/nylon/leather mallet to try and loosen it. None of my machines have guards 'cos real sewers don't need them.
-
What he said, the first ones are for hand stitching.
-
There's something nice about a smooth even coat of grey primer, sometimes I think all it needs is a clearcoat over the top. It's looking good so far, that green looks better than I expected.
-
Great news, Tequila, you must be feeling very relieved.
-
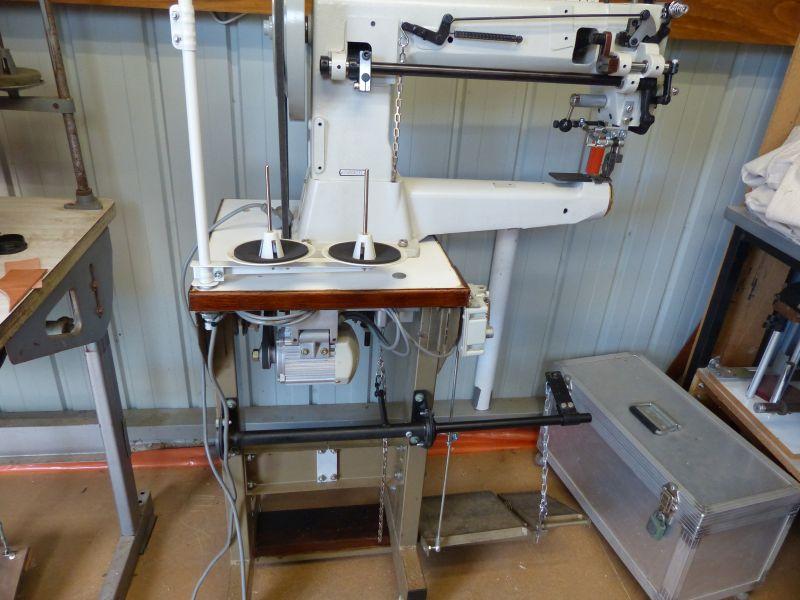
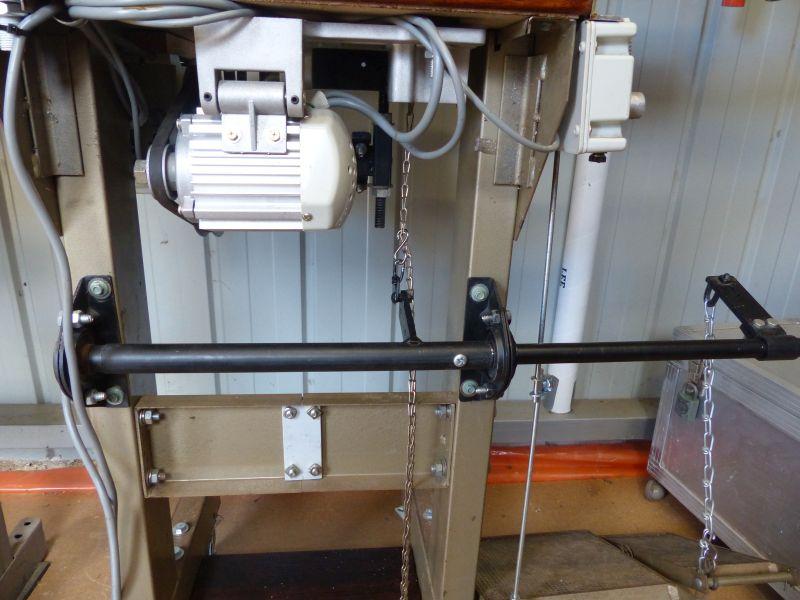
These machines aren't well-balanced, the weight is slightly to the left-of-centre so if it's not bolted down it tilts down! I moved it in slightly from the left edge to shift the (substantial) weight of it over the leg, however it still wanted to tip the whole thing over!!! The bottom rail, carrying the two pedals, has a heavy duty steel ball castor mounted underneath at the end to give it stability. It hasn't fallen over - yet.
-
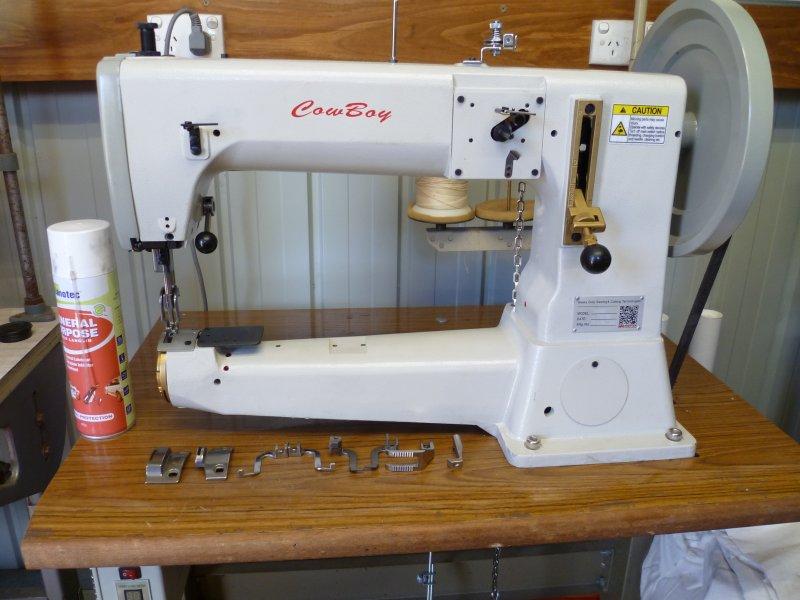
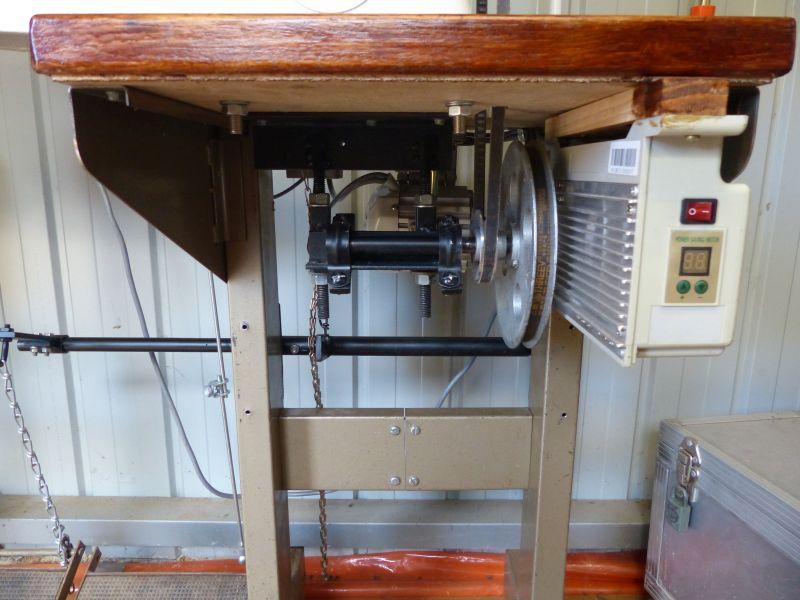
I originally fitted my 4500 to a "standard" table that came with my Pfaff 335. While it worked ok it just seemed clumsy and took up a bit of space, so I thought maybe I'd build a pedestal-type table for it. After much cogitating and considering all manner of construction - single square pedestal, round-tube pedestal, 4-tube table (like Constabulary built) and one or two other ideas it occurred to me that the simplest (sort of!) way might be to modify the existing table frame. So that's what I did. I found a piece of thick particle board in my stash that was exactly the right size and with some cutting and a bit of welding I now have a slightly more compact, and moveable, solution. The tricky part was getting the foot lift pedal to the left side, as I find it much more user-friendly having it on the left. First photo is the original setup, rest are the new one.

-
Under the circumstances that is pretty impressive!
-
Advice on selling my Cowboy 3500 please
dikman replied to Tallbalde's topic in Leather Sewing Machines
All the best with the surgery, Don. Hopefully you won't have to sell off just yet. -
Interesting modification but those extended legs have to affect the overall rigidity.
-
I tried it using a 2-ton arbor press but didn't have much success. After watching that video Dwight posted (thanks mate ) I think I see where I went wrong. I'll make an attachment for the press and try casing the leather first.
-
That was my first thought too. It wouldn't have any metal-flake in it either, just a straight classic green.
-
There's something about that nice slow mechanical rhythm..........so soothing..... You're doing well, Maria.
-
I'm amazed that you got it to turn over. Says a lot for the original design and build quality.
-
Ignore them, they're heathens and have no understanding of the finer things in life.