-
Posts
3,265 -
Joined
-
Last visited
Content Type
Profiles
Forums
Events
Blogs
Gallery
Store
Everything posted by RockyAussie
-
Skiving Machine and Stitching Seams
RockyAussie replied to SonderingSusan's topic in How Do I Do That?
Likely you have skived tooo deep. Whether you stitch above the skive or within the skive depends on the job and how you want it to appear. If you want the thread not to show much generally the thicker the better if the leather is soft. -
Forgot to mention that for high production and that type of work a needle positioning system would help a lot while you learn and speeds production a lot while helping to keep the quality high.
-
The Pfaff 335 is an excellent machine for this work. I have one myself. Given where you are though I would think first about the Seiko as in this link.http://www.seiko-sewing.co.jp/en/products/lscseries/ Consider for high production the larger bobbin/hook size. From a quality point it would be also be at the top and service would be very easy I think.Showing support for the country your in can be of advertising benefit as well.
-
First question is what thread size would you like to be able to go up to on top and bottom? 2nd question is are you wanting high production? 3 what is the thickest material/leather you want to stitch?
-
Average time on the 5 holes on both sides is about 40 seconds with practice. It is not so much burning as it is ironing which at the end of the day is mostly what burnishing is without so much rubbing.If you want to try without the dimmer switch try rubbing a bit of furry edge leather high up the shaft nearer to the handle. A quick wipe should smooth in the nap quite well.
-
The fastest and easiest way I have come up with is done with a 60 or 80 watt soldering iron temperature controlled through a light dimmer switch.We do all holes in our belts this way including the crew punch slot for the buckle. Takes a bit of practice but gives excellent results and on belts that sell between $200 and $500 that is what you gotta do I reckon.See pics. The tip get shaped to suit and polished generally every 200 or so belts.
-
Help with identifying material
RockyAussie replied to kellyblues's topic in Leatherwork Conversation
I agree. It looks a lot like the Italian leather we use in quite a few of our tote bags.Sovereign is one that is of a high standard we use often. The agents in Australia have a pretty decent web site.http://www.leatherco.com.au/colours/upholstery-leathers/furniture-interior/sovereign/3/12/89 -
At that weight I would 2.8mm may be alright. In saying that and looking at the leather in your other post and taking into account that getting the strap split any thinner would be a hassle.
-
If it helps I bought a few of the needle dispensing bottles for just this task from HK similar to as in this link.http://www.ebay.com/itm/Two-1-OZ-bottles-with-stainless-needle-tip-dispenser-for-Grandfather-Clock-Oil-/120925943269
-
2.8mm seems pretty thick to me without seeing the camera and weight etc. A picture would help. I would think about 2 to 2.2 mm under the ring would be more about right normally. To get a really refined look I sometimes skive and join the 2 ends to end up at the some as strap thickness then sew it around in a complete circle. Make sure to put the ring in first and move it around as you sew. Once this is done either sew to close or rivet if you prefer.
-
I believe this is a Fortuna model UA which I think handles as wide as 12". It is very similar in design to a Comoga that I have. For small leather goods they are a true asset but a bell skiver if you don't have one already would be first on my list. With a good roller foot you can do good splitting be that it may need several passes for wide pieces.. Beveling the edges and cutting in furrow lines etc are not so easily done with a splitter compared with a bell skiver. I expect to post some details and possibly a video on this application within the next 2 weeks.
-
Singer 31-20 - bobbin comes unthreaded
RockyAussie replied to wsmeador's topic in Leather Sewing Machines
Excellent work Uwe as always. I had only assumed that it would or should have one. The one you have pictured on the left I have never seen the like of before and it is a scary looking little beast. Any chips on the outer edge of the bobbin would I think be a real headache.Thanks for your kind input. -
Singer 31-20 - bobbin comes unthreaded
RockyAussie replied to wsmeador's topic in Leather Sewing Machines
Just check also that the dished spring is still in the bobbin case back as it helps to stop the bobbin running too loose and untangling and so on. Brian -
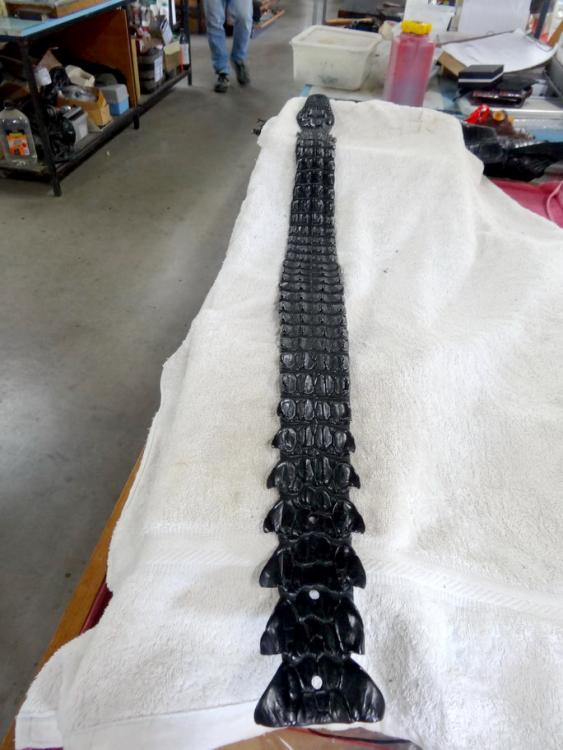
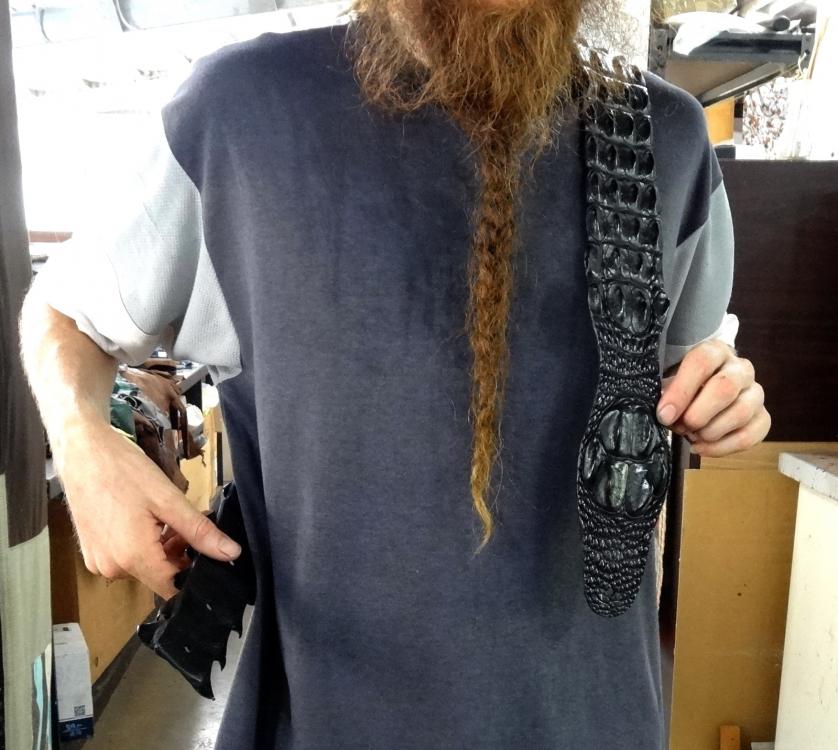
Thanks Chief. I have just finished it off and here are some pics of it without a guitar unfortunately. Trust me applying and cutting the backing and then finish edging is a real challenge. Brian
-
What gauge needle are you using? At that thickness it would need to be I think 200 or more. Just a guess. If you have gone down to a thinner needle your hook may need to be closer to the needle as well. I would carefully check the timing first before that as these machines get knocked out easily and will still work most of the time.
-
The hook should be going above the eye and into the hollowed out section above the eye. This if it is as you say would indicate your timing is out.
-
If it is on the bed mounted like what I currently have it is a pain as it has to be undone at times and the distance has to be reset when putting back into position. The swing down I have put on other machines does not need to be reset.
-
Gator would normally be skived around the edges then fully glued and laid on top and pressed tight into the filler or bottom skived lining. This would normally then be second cut or trimmed before stitching.Hermes have a video on the tube if you check.
-
Having a lot of years running a shoe/bag repair business a common request was to fix where the fabric had let go from the pocket. A problem often overlooked is that most tanning uses oils (fatliquors) as part of the process. The glue may stick very well until the oils eventually migrate and if you think you can stick glue to oil you could become very rich.Most of the time it goes sticky and just slimes off of the leather. Some leathers are better than others but some can be raggy and separate anyway.
-
Nice lookin strap. Is it made to measure or have some hidden adjustments? I am making one for a base guitar at present and as it is backstrap croc I would prefer not to have more than 3 adjustment holes on the back smaller tail end.
-
Are Pfaff 335 and Adler 69 cylinder arm caps interchangeable?
RockyAussie replied to Uwe's topic in Leather Sewing Machines
Very nice work there Uwe, I almost wish I needed a cap to do the same -
Picture doesn't show the stitching and so can't judge the needle type but If it stitches ok on a lighter weight leather and is not out of timing I'd try a 230/26 Lr or tri point. I used a 230 needle with my CB 441 in a heavy belt recently and it looked pretty good.
-
Thanks, I will check them out. Would you have a pdf manual copy?


