RockyAussie
-
Posts
3,265 -
Joined
-
Last visited
Content Type
Profiles
Forums
Events
Blogs
Gallery
Everything posted by RockyAussie
-
Depending on what model the Fortuna is. If it is an early model (normally black in colour) the feed wheel and the bell knife are locked together and if the feed is slow then so is the blade and that is not much good. If it is that way then I would separate the drives from each other. If the blade is a constant speed then you could run a servo but to be honest I can get mine to go quite controllability slow or fast in the standard format. The one motor on mine runs the lot including the extractor suction. You can see on my youtube channel a couple vids where I am using one if you like.
-

VINTAGE LEATHER PERFORATING MACHINES (brogueing machine)
RockyAussie replied to AmericanPatrol's topic in Leather Machinery
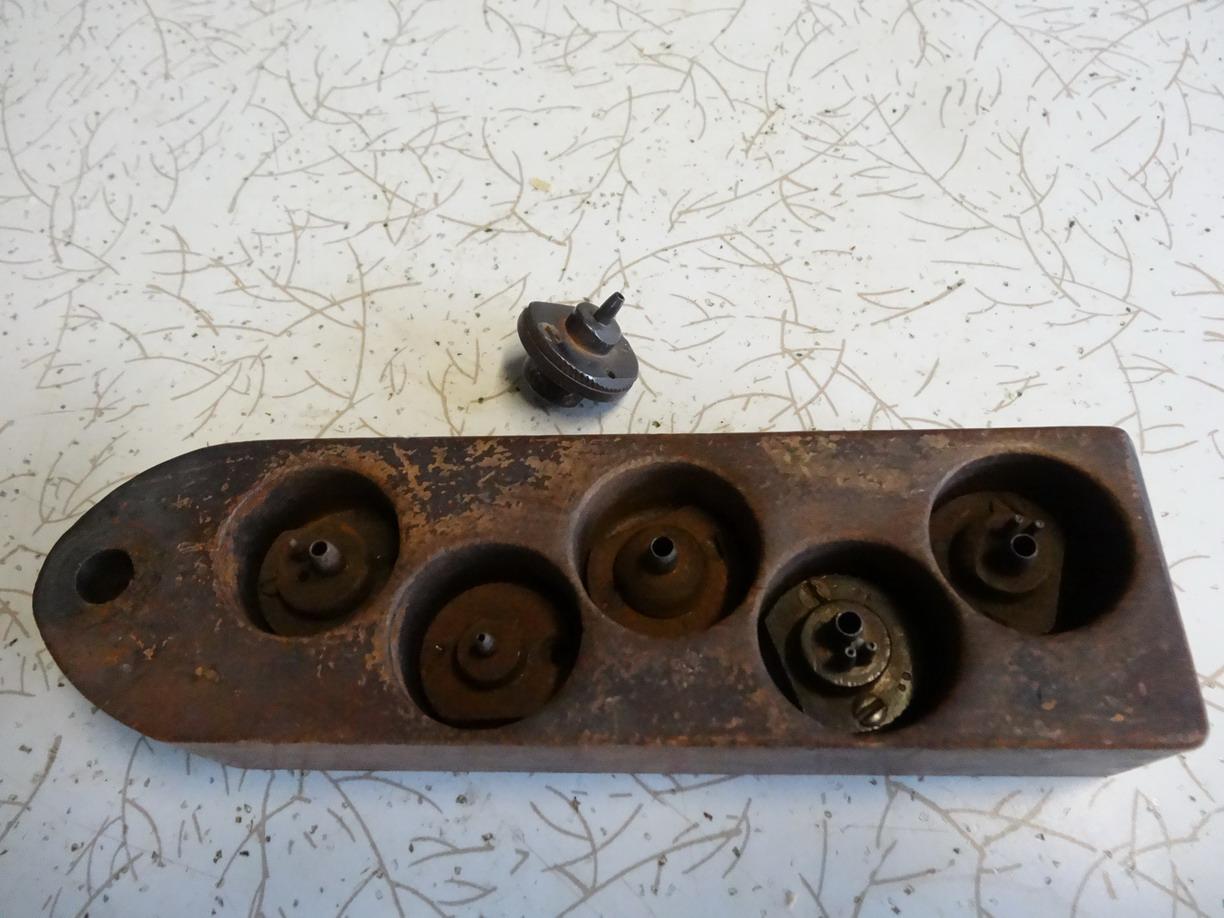
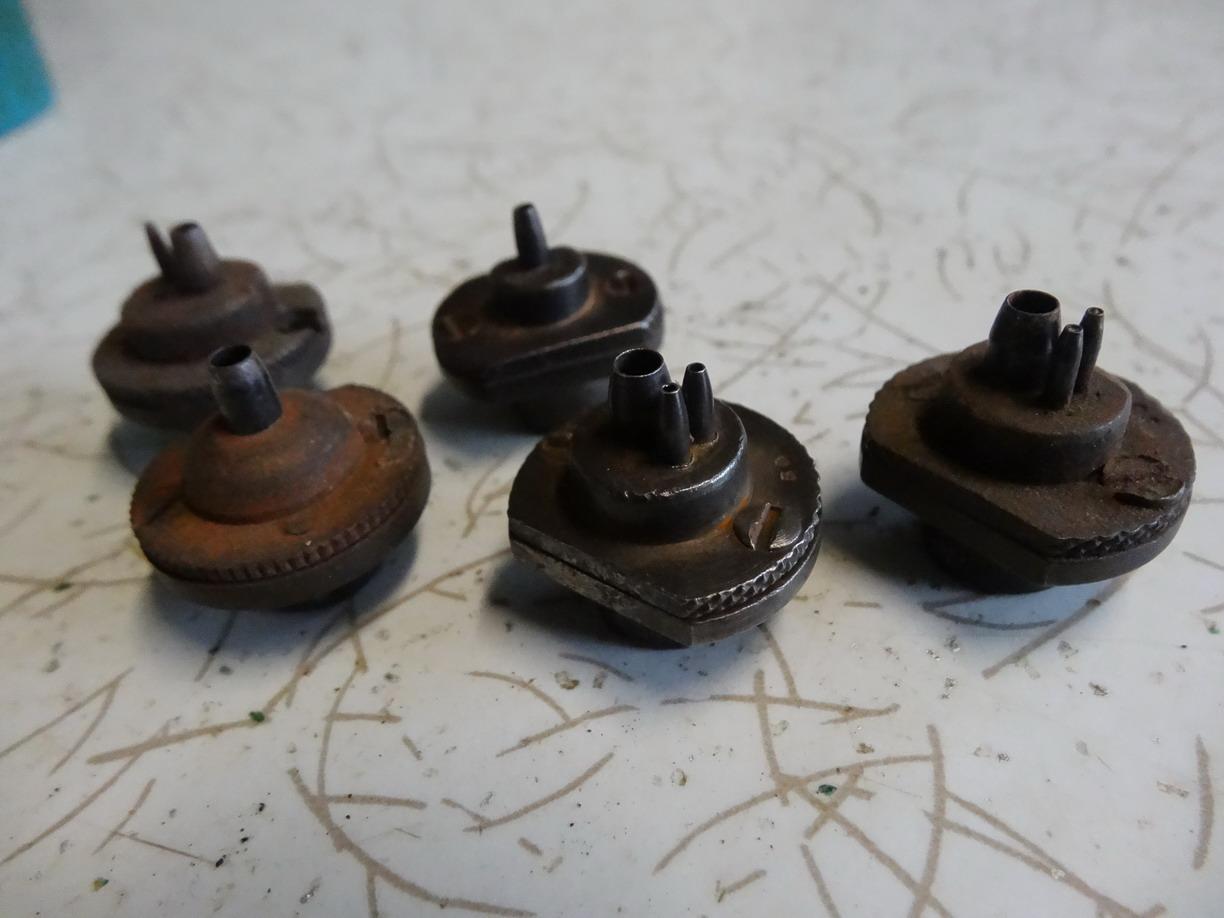
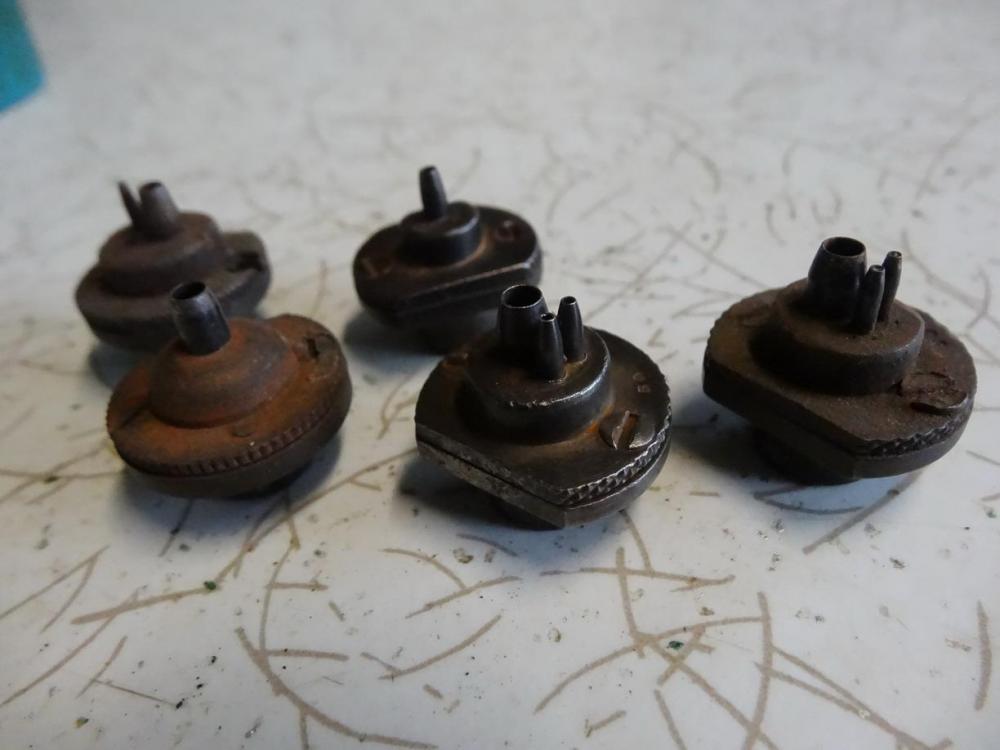
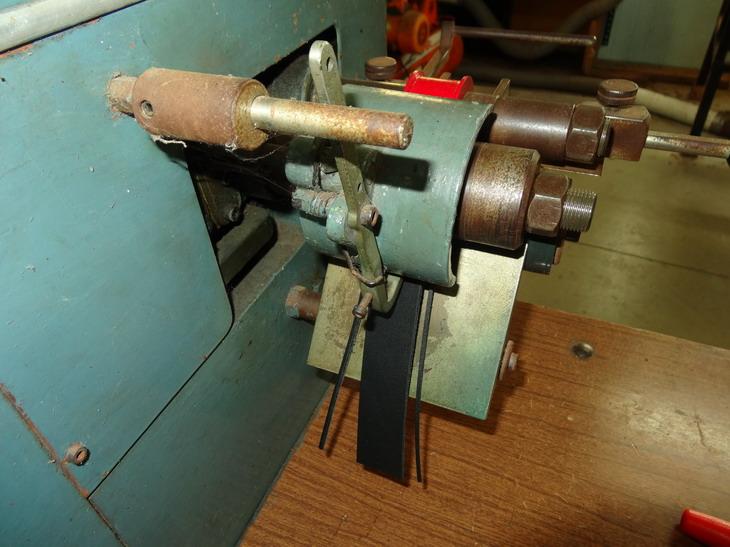
I think I have one of the ones in your first picture there. Unfortunately it is night time here and the machine is down in a shipping container elsewhere on the property. I don't have any manuals but found it pretty easy to work out and use after I got the long cardboard roll strip and mounted it under the table. The dies feed that cardboard along as it sort of stitches along a bit like a sewing machine. Your picture looks to be showing the back side of the machines and if they are like mine there is a brass dial knob on the front that allows you to set the distance spacing. I have here a couple of pictures of the type of punches it uses if that helps for the moment.. If you could post a picture of the other side of the machine could help.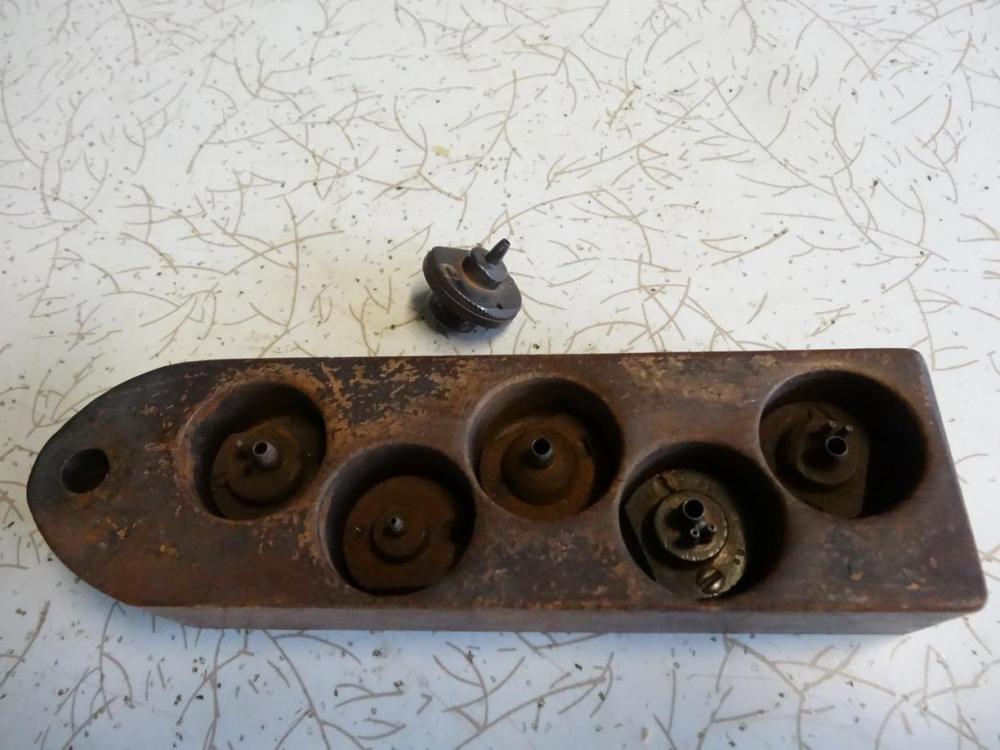
-
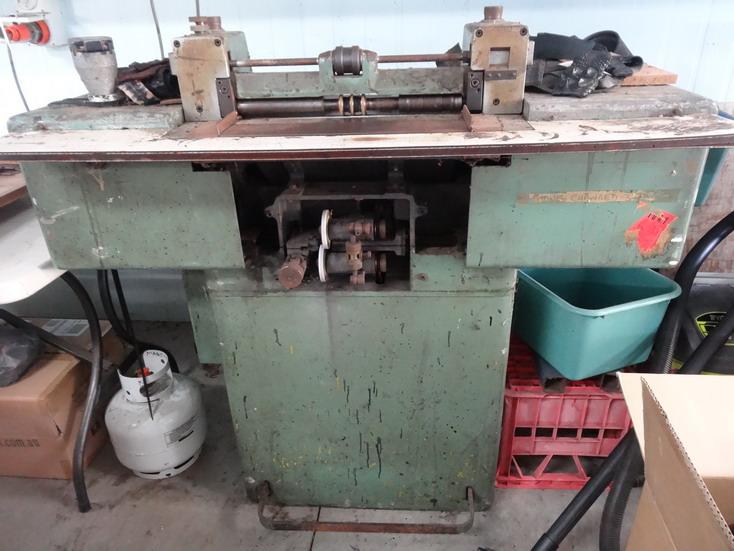
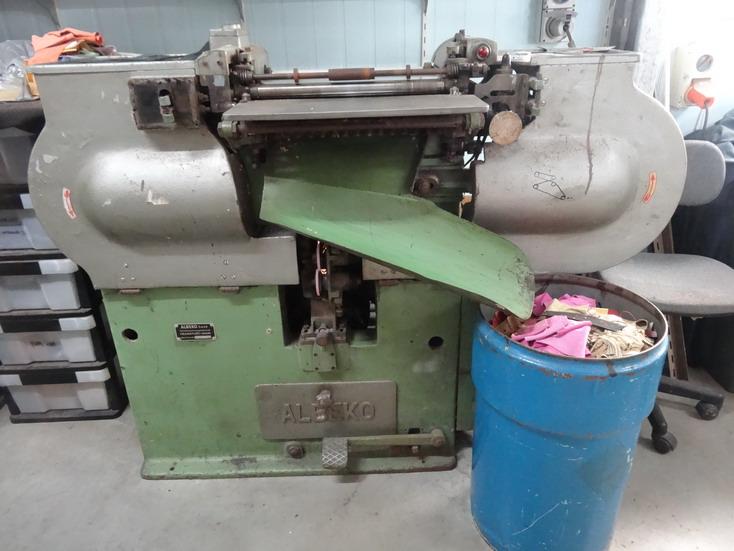
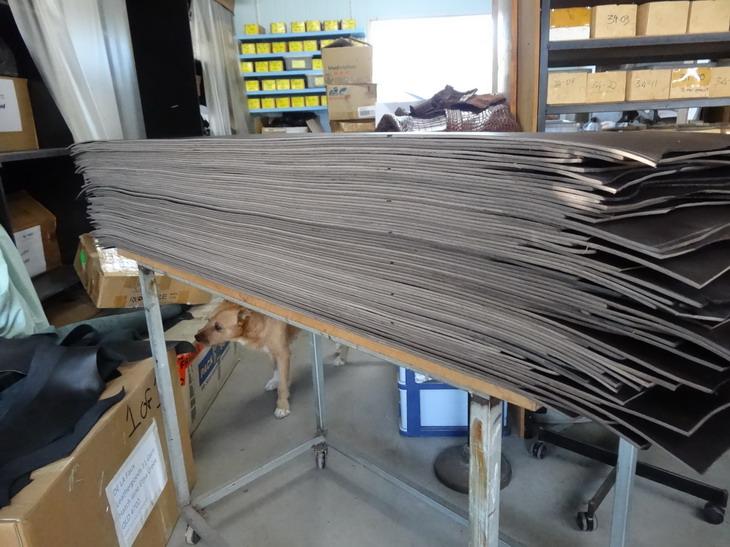
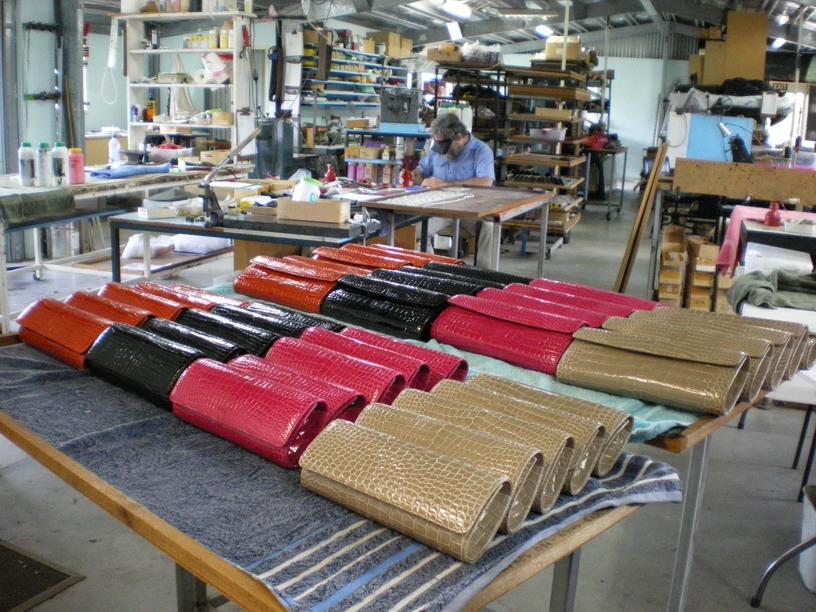
If you cant already see the need for one then you are probably not thinking of making the type off stuff that needs a splitter that much. I found that I needed one very early in my manufacturing and I would say that probably about 90% of the products I make have parts that need to be split. Best I can add to that is check out my web site and see the types of products there and perhaps my profile in the about me section as that will give you a broader view, here and there on the products not on my website. I now own 2 splitters, one a Comoga and the other an Albeko and aside from my own work I normally pick up a thousand or so a month splitting for other manufactures. My web site is https://wildharry.com.au if it is not showing below in a link already. Most of the waste split is just that but I use a fair bit after I have split the belt backings for fillers in the dress belts as below. The last picture below shows a stack that I get to cut into strips and split every couple of months for some friendly belt making competitor. That is a lot of belt filler splits I am left over to be used.
-
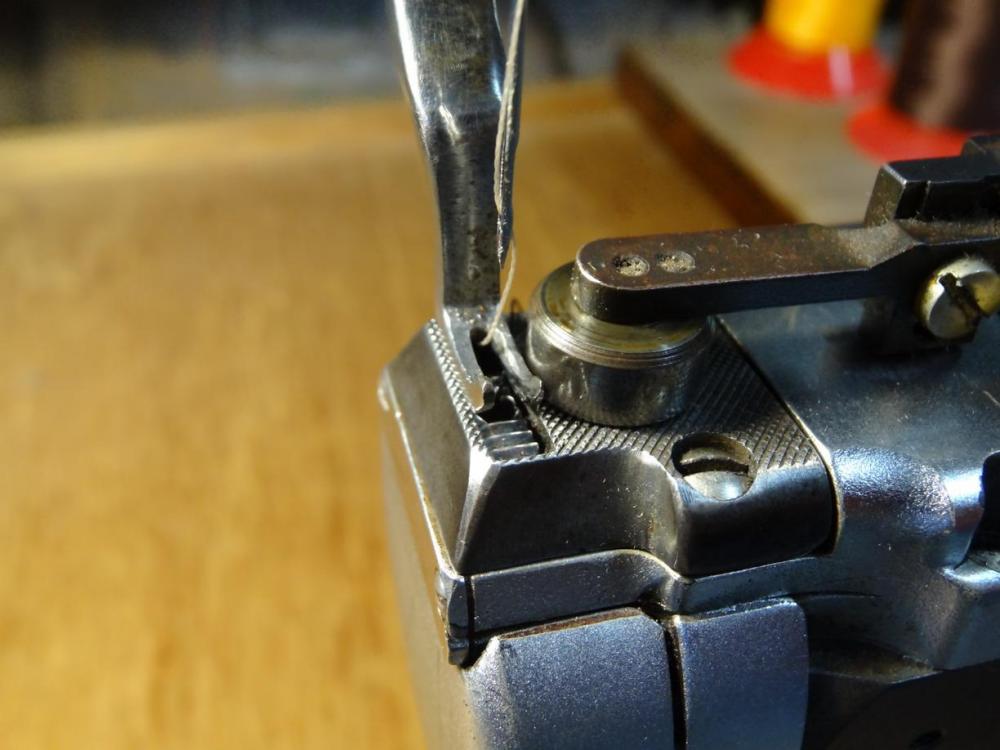
You are getting closer ...The thread is around the tension discs but not pulled down into them properly. The round nut thing in front of them is what you adjust the top tension with. Turn it clockwise and it will tighten down on the thread and anticlockwise and it will get looser. First get the thread to pull down in between them discs and think of them like they are your thumb and finger gripping the thread....the more you squeeze the harder it is to pull the thread. Squeeze to hard and the thread comes to the top and squeeze to soft and the thread goes to the bottom. Hope that helps you some . Brian
-
Good bonus
-
Fortuna Skiving Machine Restoration
RockyAussie replied to lintonleather's topic in Leather Machinery
NOT true. If the attitude sucks ....I will either make it myself or shop elsewhere. The Italian companies are losing business every day to China and elsewhere. If the Chinese up the translation quality on their manuals then many competing (JOKE) companies will be out of the business. The terrible part about this folding machine is 90% of it is metal with fine engineering and all of that will be now waste. It would be alright if they sold me the $100 worth of electronics for a couple of thousand but the continual environmental disregard is wrong for one in my view. They won't because the competition will see to that. The only reason to pay more than double the price to them is if you think that the product will give better performance and be backed by proper SERVICE over the years of owning it. I am off the soap box now -
Fortuna Skiving Machine Restoration
RockyAussie replied to lintonleather's topic in Leather Machinery
It is amazing to think that in the ever decreasing size world and with the internet available to so many now, that the older school places fail to see the need to adapt and compete. I have recently had an electronic folding machine made by OMAC start to fail and although they still sell the same machine with the same model number they can not supply me any of the electronic parts for it as it is now 9 years old. They can supply me with another new one for $12,000 au though!!!! Looks like my old mechanical folder is about to get a revamp with a milled in line marker and some heating system installation. Its already been more reliable anyway and can be seen in use on my youtube channel here Note that there is some video's there that show some on my Fortuna skiver and some adaptations as well. -
Retail Shop Front Vs Workshop/unit
RockyAussie replied to Handstitched's topic in Leatherwork Conversation
Is there some local competitor that they supply to that they think might do a better job retailing? If not I would consider selling to them the idea that you are a mobile type business that can do a better job selling and servicing that way. I know here in Rocky one busy equine seller has closed his brick and mortar and done just that. Often someone that can get to the shows and events and the likes can make a real killing and if that were not true why then would RMW have a huge semi that must have cost many $100,000s. That sorely can't be that hard a sell. Remember its easier to catch flies with honey. -
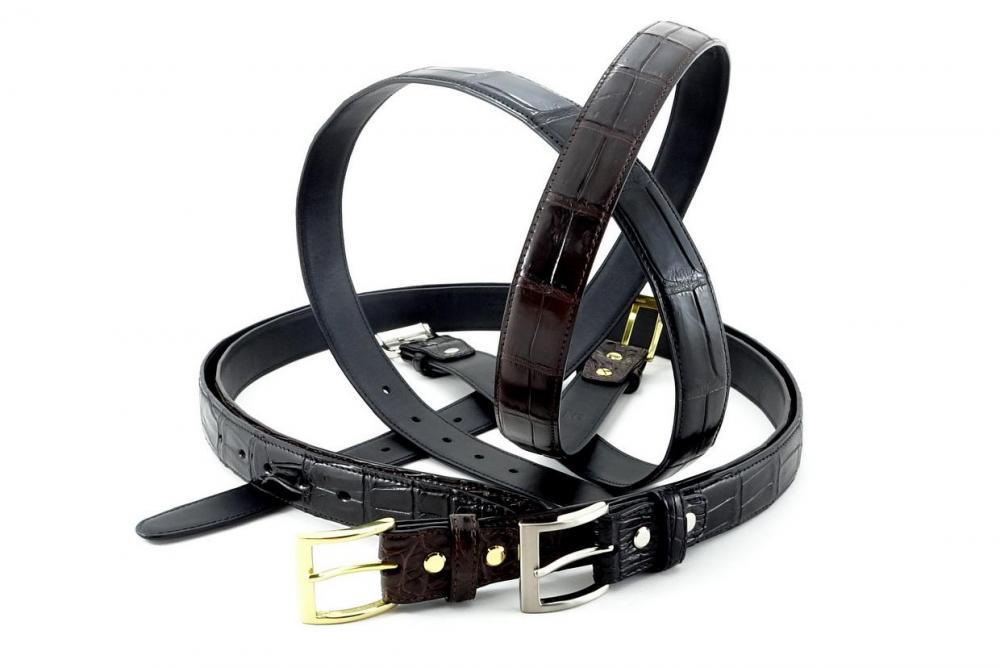
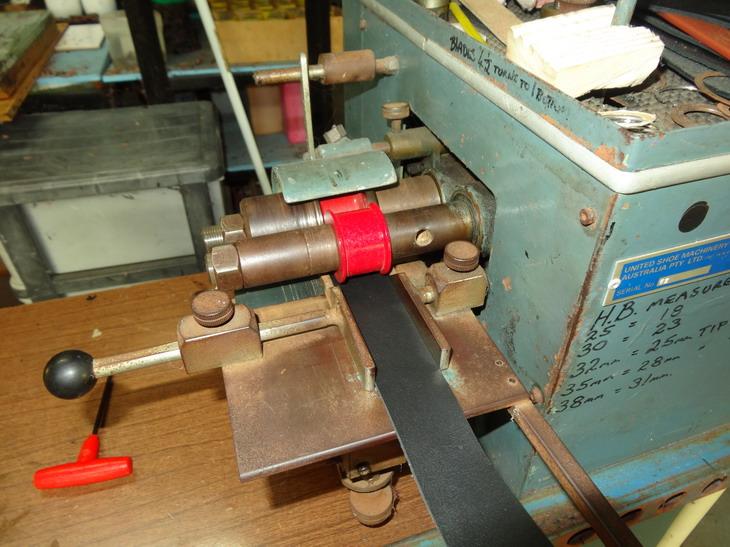
Depends on if the are combination style belts. If it just one leather I cut it to size and they get the above treatment. If they are a combination, the strips get cut oversize then attached together then second cut through a combining machine that cuts about a 1 1/2mm off each side and then it gets the buckle and tongue holes put in as above. Here is a couple of pictures of my combining machine doing what it does - You could do this on a belt strap cutting machine with a few mods as well if you were so inclined. I will be showing some more on this in an upcoming post on belt making in the next couple of weeks. Yep I still go that way on the odd one off.
-
Suggested tools for holster and belt making?
RockyAussie replied to Maverick44's topic in Getting Started
I would think about spending a little more on the edge beveller myself. That is one tool you do want working well. One like in this video perhaps Have a close look through the magnifying glass at them. Other here may have some better recommendations I think. -
Very nice stylish looking design there @paloma
-
WOW that is real nice looking .... Not sure if I'd be doing my hair like that though
-
veg tanned stretching and gluing question
RockyAussie replied to beltbuckles's topic in How Do I Do That?
Thanks, The end design is something I came up with to 1. signify a long road look over the handle bars but 2. the customer is a barrister and that to me represents the scales of justice as well. He loves it -
veg tanned stretching and gluing question
RockyAussie replied to beltbuckles's topic in How Do I Do That?
Ha Ha ...glad you caught that in time then. It is a a very simple lay out pattern that is easy to work out how to make the measurements for and alter longer or shorter or higher etc. Only thing to watch for is if using a cylinder or post machine is to make sure you get the gusset set back enough to get the needle to reach where you want. On mine I can get away with 8mm from the bobbin case to the needle but that means I have to add at least another 3mm to the pattern corner. I generally go with about 12 to 14mm from the edge as a rule. Have fun -
I just found a picture of the other guide I have with a roller attached
-
A roller guide is great for doing stiffer leathers and getting around rounded shape products but a flat edged guide is better if you want to do say belts. If the flat is a smidgeon wider at the start and closer to the needle at the back you can just about let it pull itself through with out even holding it. This pic below shows where I replaced a roller guide with a flat and you can just see the angle a bit. The plastic end cap is just a smaller one I printed up to replace the steel one in the other picture.


-
veg tanned stretching and gluing question
RockyAussie replied to beltbuckles's topic in How Do I Do That?
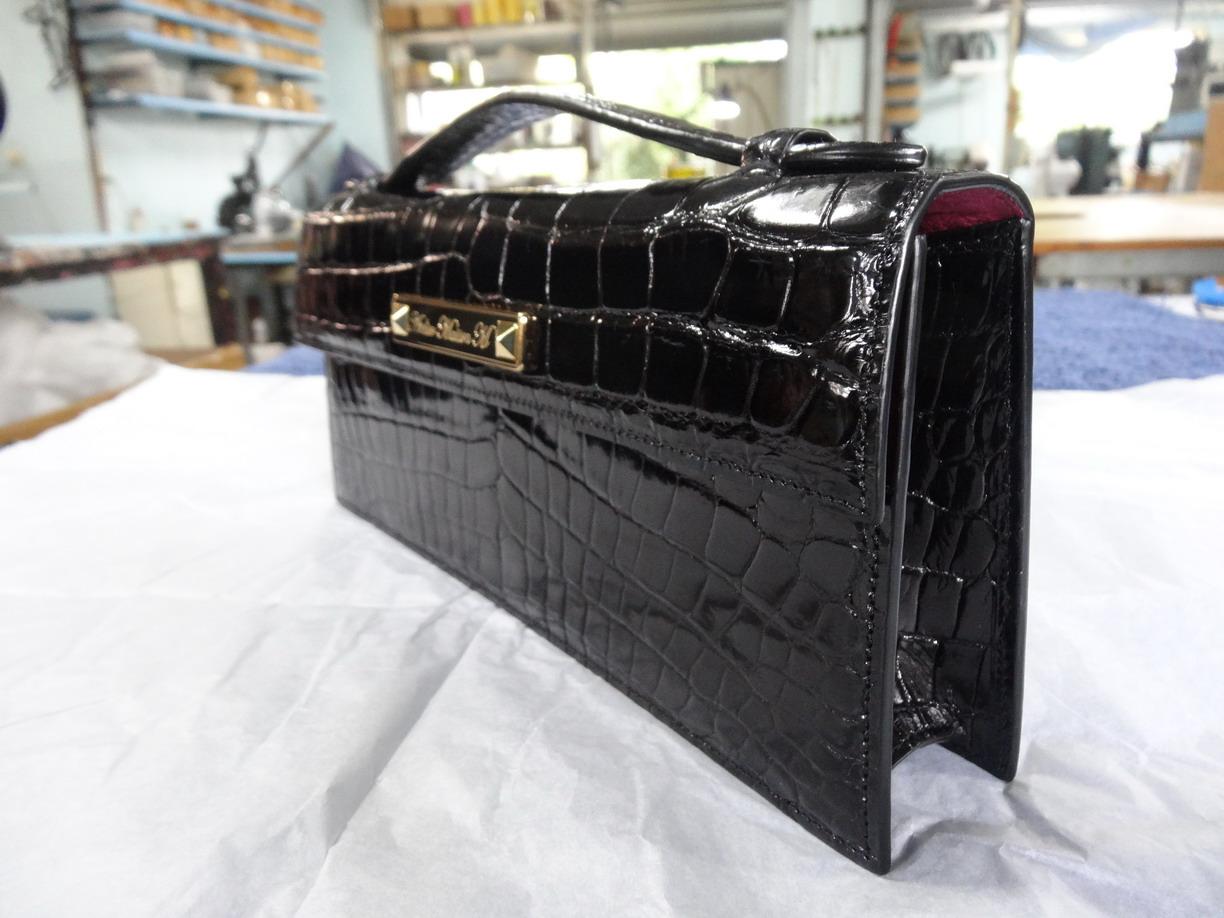
Yes I use it fairly often and I never need to do any wetting which would damage the glazed skins either. Pics below. That is not to say that you cant make a jig to do it with wet moulding/forming techniques but that normally would slow the process down as you really want every thing dry before the gluing and stitching stages. Are you going to have a bottom like this on a briefcase?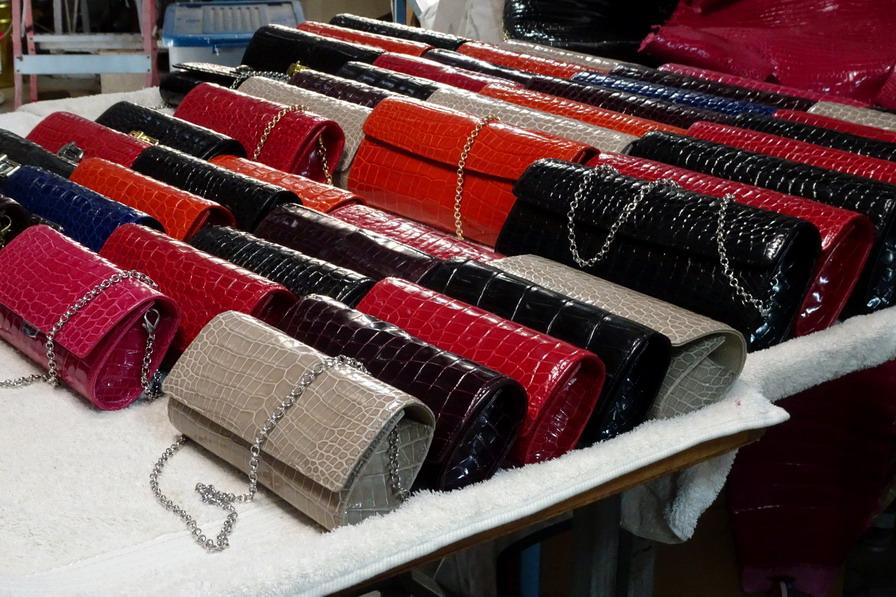

-
how to sew up leather carpenter tool bag
RockyAussie replied to spurdude101's topic in How Do I Do That?
For most things like that that I have turn right side out after being stitched I use a shoe repair last stand with a heavy wooden broom stick handle inserted inserted instead of a last. Basically if you took a car tyre rim and welded a pipe into the centre about 36" or so then fitted a large wooden dowel into the top you would have something similar. You start off by putting the bag over the dowel and pushing into one the corners and working your way around while pulling the bag downward. Let me know if you need any pictures. -
veg tanned stretching and gluing question
RockyAussie replied to beltbuckles's topic in How Do I Do That?
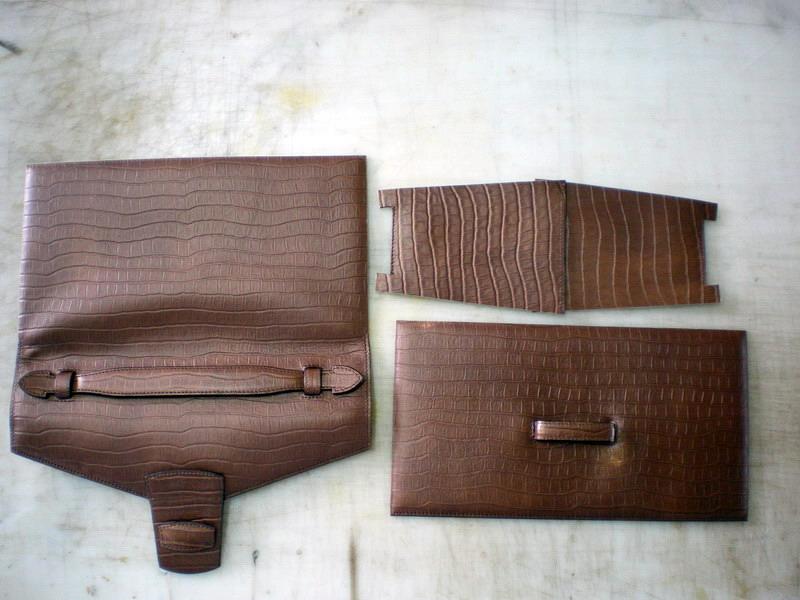
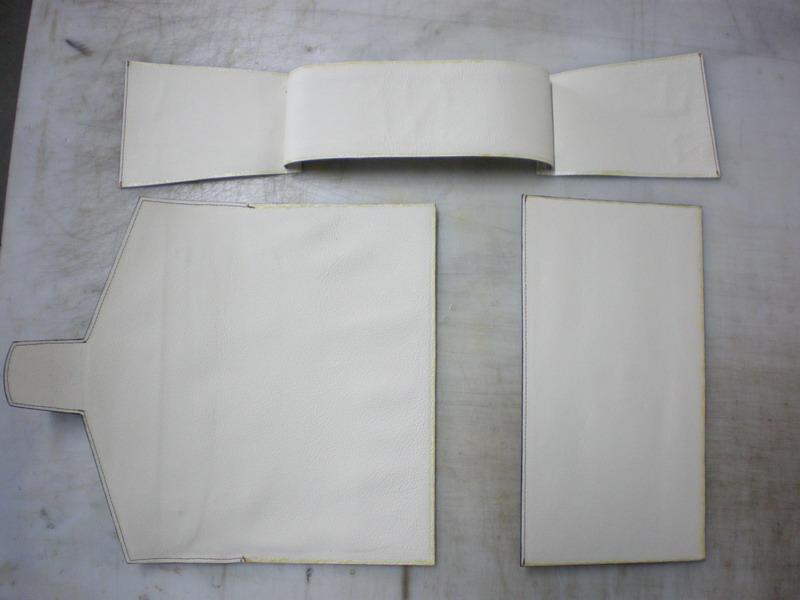
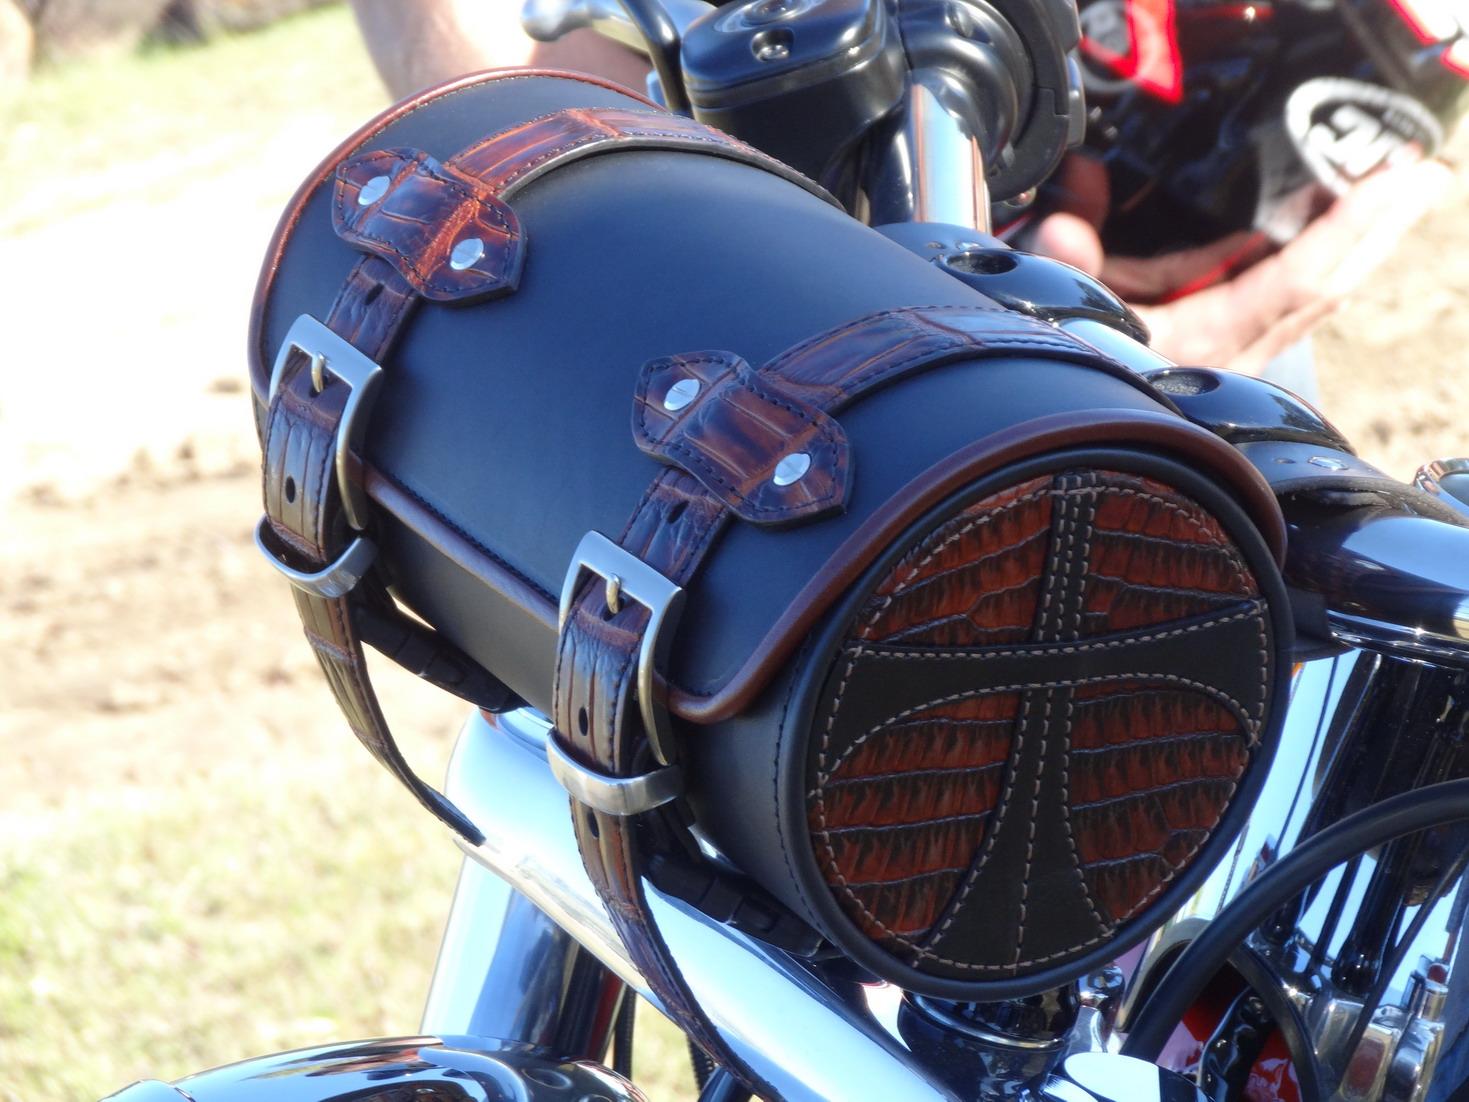
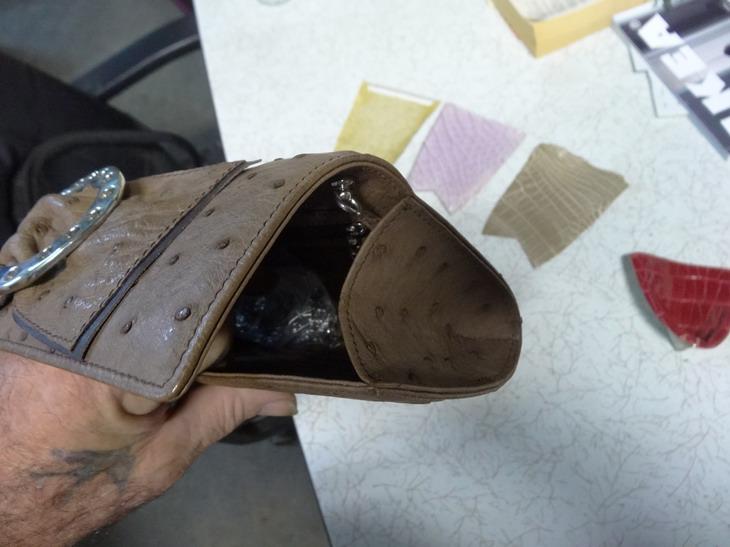
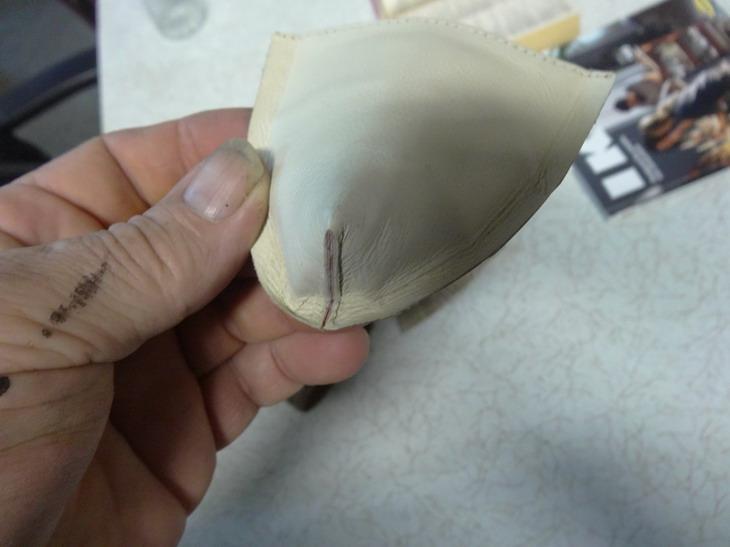
I just realised that I should have shown the motor cycle tool bag before I stuck the end in it. After thinking about it further I think you may be going for something along this sort of gusset below perhaps. Whether it is folded edge or not does not matter. If this is the shape then the gussets I do start off cut out like the pieces above the bag in this picture. The bottom V is then stitched like this and trimmed close then tapped down to set the open shape.
-
Don't join the 2 centre pockets until you have built each side. Build each side by laying your card down over the centre piece and keeping it flat whilst attaching the next pocket and then same with another card before the next pocket. Make it form the shape and not lift the bottom piece as you go. It would be easier to leave your tabs a little long and trim them on the run after you stick down each pocket. Put a couple of cards in the centre before attaching them together.
-
veg tanned stretching and gluing question
RockyAussie replied to beltbuckles's topic in How Do I Do That?
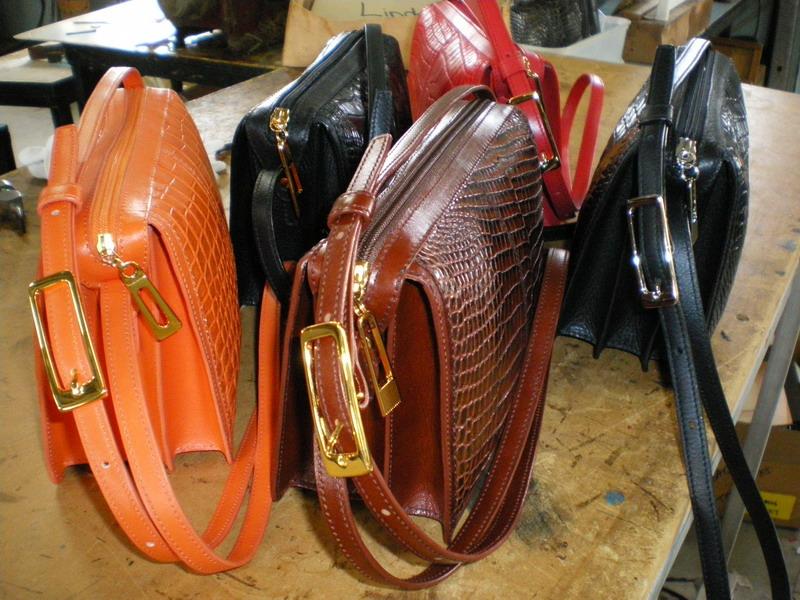
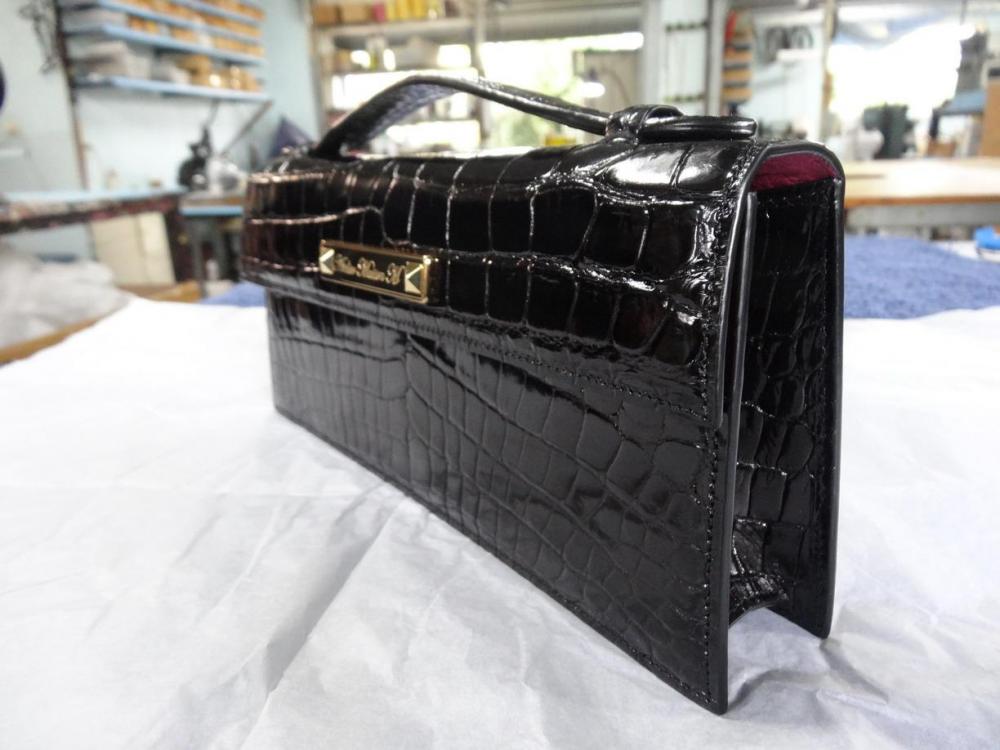
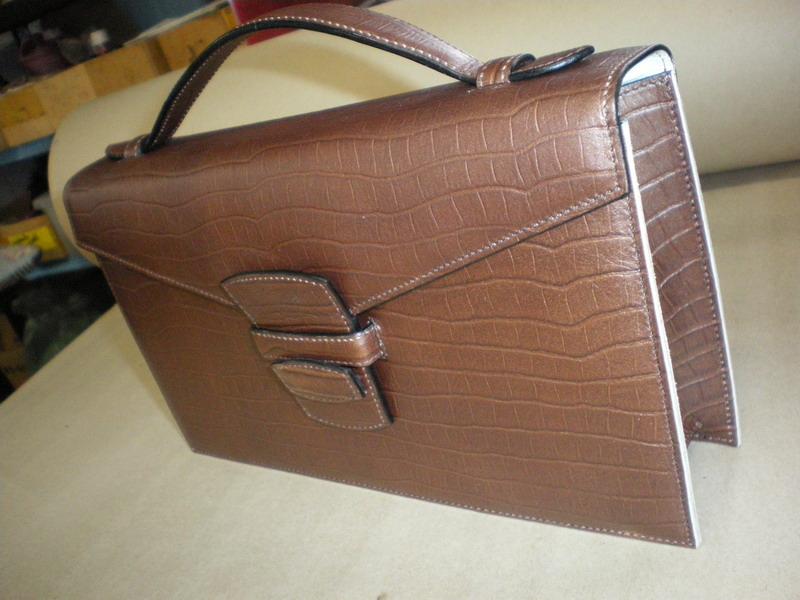
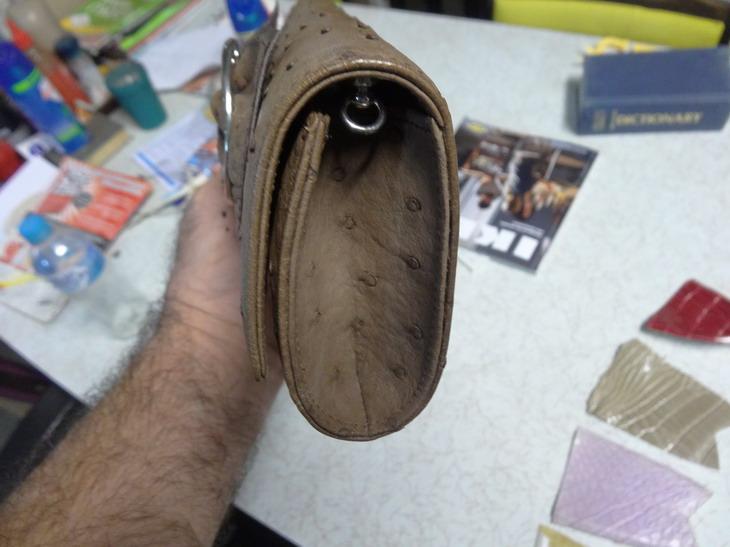
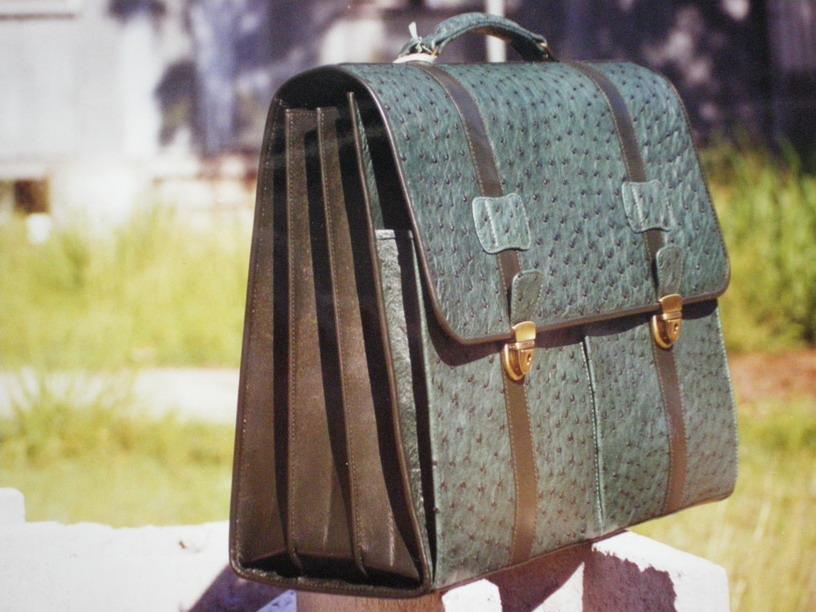
So you are wanting to put a round base on the bottom like in this motorcycle tool bag? Or more like the base of this briefcase? Do you have a skiving machine?
-
I have not found ANY yet except that perhaps the sellers hope to be able to sell other machines that this one has trouble doing in its (present)standard form. I look forward to seeing any improvements you come up with.
-
veg tanned stretching and gluing question
RockyAussie replied to beltbuckles's topic in How Do I Do That?
With this form of construction there is no need for any wetting or stretching. This helps a lot when you want pieces to go where you want consistently. If for some reason you are hell bent on wetting and gluing you can do it somewhat by gluing first then wetting and waiting for it to get nearly dry then warming the glue area up with a heat gun and then attaching together. Only reason I ever did this was when I wanted to stitch soles on shoes and with the hard leather you get in this situation it helps a lot. Are you using a sewing machine to stitch this? It would help a lot if you could show a picture of what it is you are trying to do first. -
Another thing that may be causing the problem is if you are hitting different layers while sewing close to the edge in which case have a read in this post I did awhile ago. They sold in Australia here some time back some Q stitch machines (Colt and Stallion if my memory is correct) and they came with only the slotted needle plate with no actively working dog foot. I recently did put on a servo motor on one of these for a saddler friend and noticed that they still had a dog foot under the slotted plate and that,that served to act as a sort of needle guide. If you had a spare dog foot you could grind it down to suit. I did find that it was quite reliable in the stitching and the only reason I mention this is the slotted needle plate gives a better support under the feet than when using the standard dog foot needle plate as shown in my post above. Other than that if you can track down the same feed dog and needle plate I did, I think you will be more than happy.
-
veg tanned stretching and gluing question
RockyAussie replied to beltbuckles's topic in How Do I Do That?
@beltbuckles I think a picture of the type of construction would help a lot. Are you wanting to take the gusset all the way around in one piece with the edges facing out to be later burnished or edged? Although I have done it this way at times it is a lot easier and without a lot of skiving and twisting if done in the 3 piece method as used in these bags below. These following pictures a just some from a prototype one I was working on which later turned into the black one above instead. They may help to give you a better idea of the assembly and construction. This one shows the edges of the gusset and front and back glued and ready to attach. Shown here before any edge coat was done. Hope that is of some help Brian