chuck123wapati
-
Posts
7,442 -
Joined
-
Last visited
Content Type
Profiles
Forums
Events
Blogs
Gallery
Store
Everything posted by chuck123wapati
-
here is some good info. you may be able to find these free in an e book somewhere. I downloaded them off Tandy a while back when they were free. in the "how to lace" book there is a Mexican basket weave that may suit your project. https://tandyleather.com/products/lacing-stitching-for-leathercraft-book?_pos=2&_sid=041795035&_ss=r or https://tandyleather.com/products/how-to-lace-book?_pos=1&_sid=b3cce9f3b&_ss=r
-

Dyeing a bow
chuck123wapati replied to DanDSilva's topic in Dyes, Antiques, Stains, Glues, Waxes, Finishes and Conditioners.
very cool bow!!! My first choice would be to make a new one second choice i would attempt to paint it instead of dying it. . Reason you dont have any idea what type of leather and or what was used as a finish or oils already applied. -
My first carved holster.
chuck123wapati replied to dikman's topic in Gun Holsters, Rifle Slings and Knife Sheathes
That looks great !!! I would be proud of that.. -
Long Hand-stitched runs - Thread Management?
chuck123wapati replied to MtlBiker's topic in Sewing Leather
Very interesting I have to agree and add a lot of the damaged stitching i have repaired has been mainly due to rot or fatigue from stretching bending etc. Neither stitch method would matter those cases either. i have never seen a test but I'm sure some have been done on the actual strength of the stitch method itself. Safety companies here have tested stitching on load bearing equipment but i don't know what kind of stitch was ever tested. -
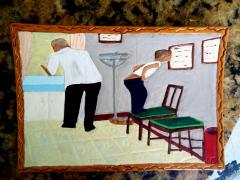 that's old doc Halsey an me isn't it? lol A good shot in the butt.
 -
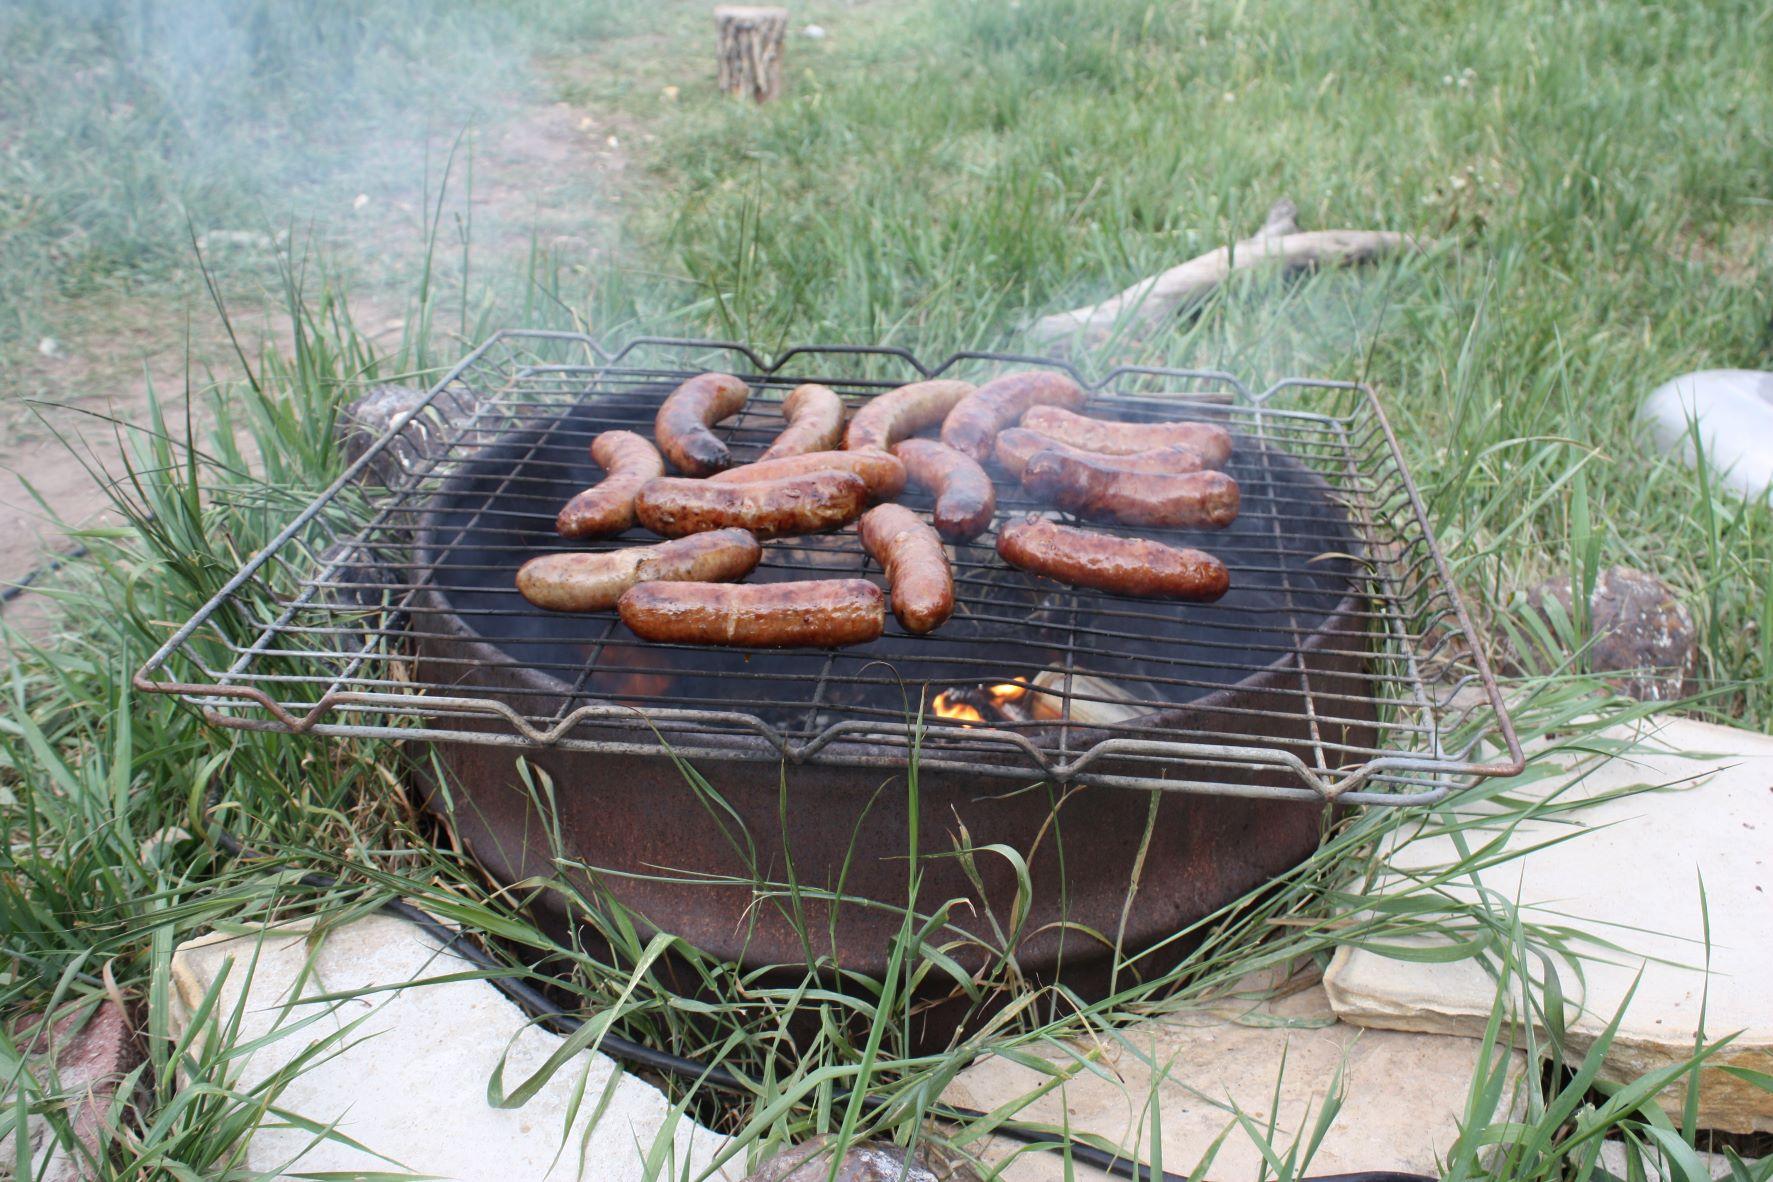
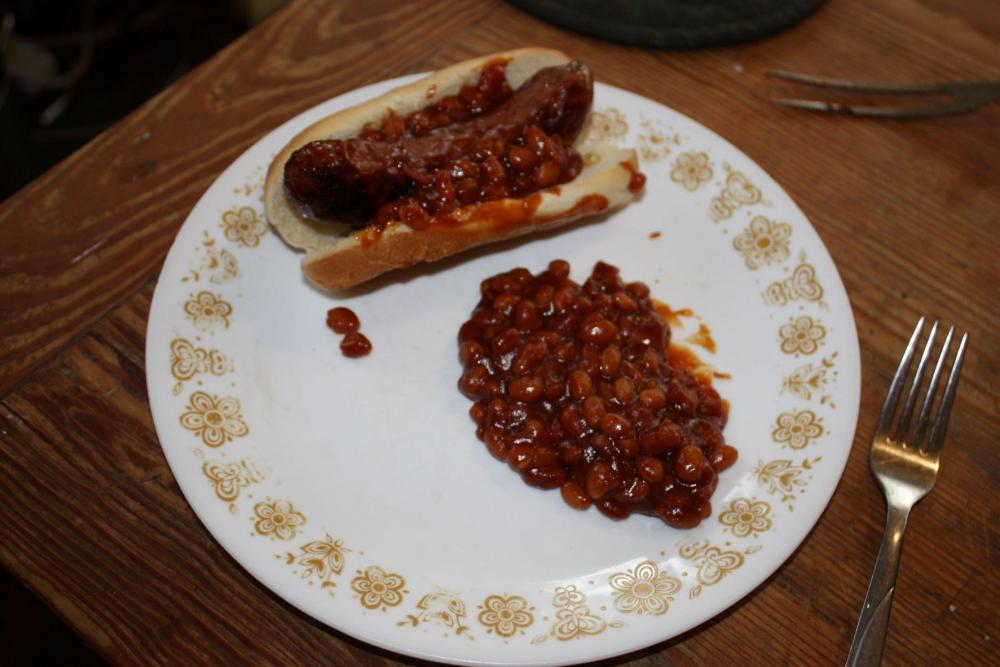
spring flowers and good food
chuck123wapati replied to chuck123wapati's topic in All About Us and Off Topic
heres my recipe Brauts Fire Take brauts put them on the fire cook till you wanta eat em .lol Oh and my daughter ramped up some pork an beans with her own special barbe que sauce. Simply delicious!!! And a cold PBR
-
Long Hand-stitched runs - Thread Management?
chuck123wapati replied to MtlBiker's topic in Sewing Leather
ditto -
On leather sewn to canvas i know they use them to enlarge the sewing area and they also add a gusset on the back side to help with strength on leather to leather just aesthetics mainly i guess there may be a logical reason or even the same reason as circumstance dictates. i use square ones quite often, actually more often than not lol sometimes even slanted ones. I figure the leather doesn't know the dif and here's why. You use an awl to make slits in your leather instead of punching holes. Punching holes actually removes leather which weakens the seam and makes it like a postage stamp as everyone says. An awl removes no leather so no actual or minimal strength is lost and that is why awls are used to sew leather. So basically IMO you can just about sew the end of a strap or loop in any direction or configuration if you use an awl and it wont effect the strength in any noticeable way. If you punch an 1/8th inch hole in a 1/2" strap to insert a rivet you have in essence made the breaking strength of your strap that of a 3/8" inch strap.
-
beautiful work on both, they compliment each other very well.
-
a couple stitches down the side then across the bottom, Most folks as previously said cut the loop with a rounded or belt shaped end and sew along the edge.
-
Maybe you should tell those who buy your stuff that very thing I'm sure they would appreciate the fact that you don't give crap about the quality of your work. If you want to be an ass in your comments who really cares why you make them sorry i put you out."I just thought it would help those we are trying to help."
-
start a new thread someone will help you out i'm sure.
-
"Extremely unrealistic" is pretty absolute don't you think? In real life people who steal purses and their victims test them often, daily in fact here in the states, as well so do people who people who catch them on door knobs getting out of vehicles etc. But i can tell you from experience the stitches do hold better no need for you to show anyone if you don't want to I just thought it would help those we are trying to help.
-
so now would you finish your demonstration and sew the two straps together and see how easy it is to tear them out. i think most all of us would love to know.
-
Exactly why they failed!!!! yup or use the slot method that Fred suggested, it works because it shifts the load on the rivets to the stem.
-
simple answer = often they don't use them in places where rivets should be used. the strength and your perfect example shows this, rivets are best used for shear loads, loads perpendicular to the axis of the shaft, like you showed pulling on the shaft of the rivet. when folks use them in an area where the pressure of the load is on the head then the head pulls off or the leather stretches around the head and gives way. To me most folks are just ignorant about the technical aspect of fastening systems and don't realize they play out even in the smallest places like the leather world
-
spring flowers and good food
chuck123wapati replied to chuck123wapati's topic in All About Us and Off Topic
an just a few diced jalapenos lol. gotta have my spice. oh yea the secret to good beans is day after!!! -
i use artist grade acrylics for painting. Decent brushes or air brush depending on the project. headshot i would leave the body and face natural, background a light tan slightly darker than the body then the hair dark brown. resist real well anything you don't want stained with the antique. Magnifying glasses and a steady hand!! Acrylics over stain but you need to realize some acrylic colors are translucent while others are opaque. If you use a translucent color then you will need a white underlayment over the stain.
-
Markets Stalls and Mother Nature
chuck123wapati replied to Handstitched's topic in Marketing and Advertising
great info!! -
for the brookies sometime in July when the snow is gone in the mountains lol. Those steaks, October for the freshest lol.
-
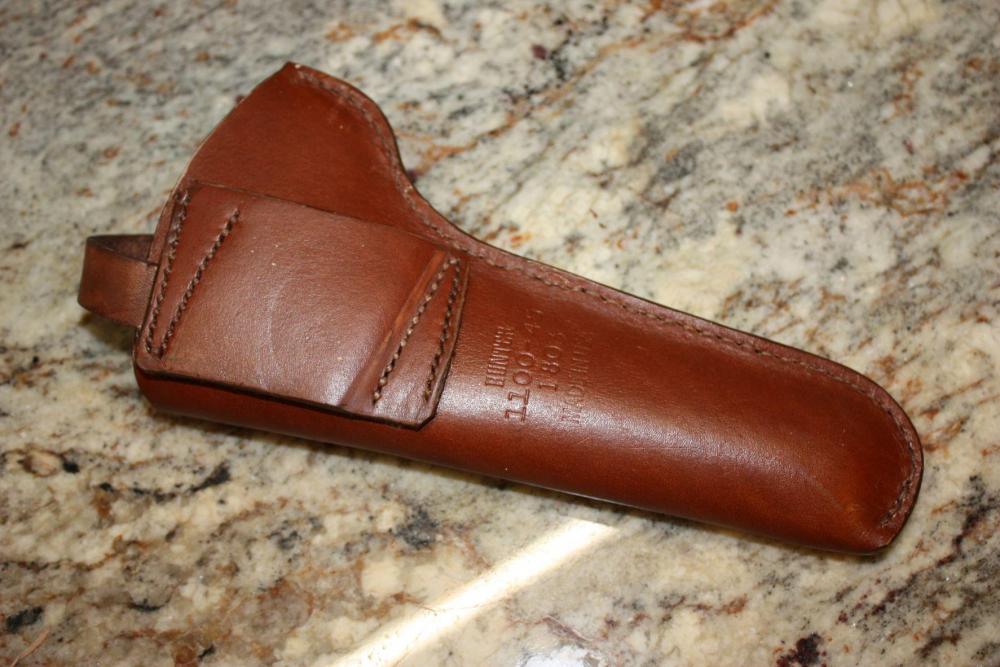
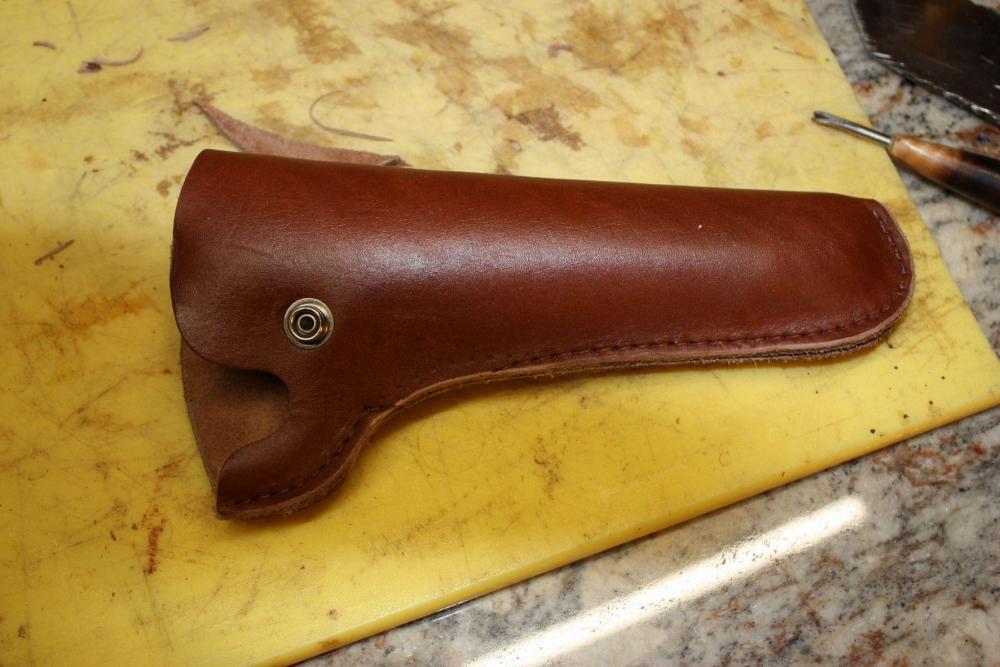
holster modification
chuck123wapati replied to chuck123wapati's topic in Gun Holsters, Rifle Slings and Knife Sheathes
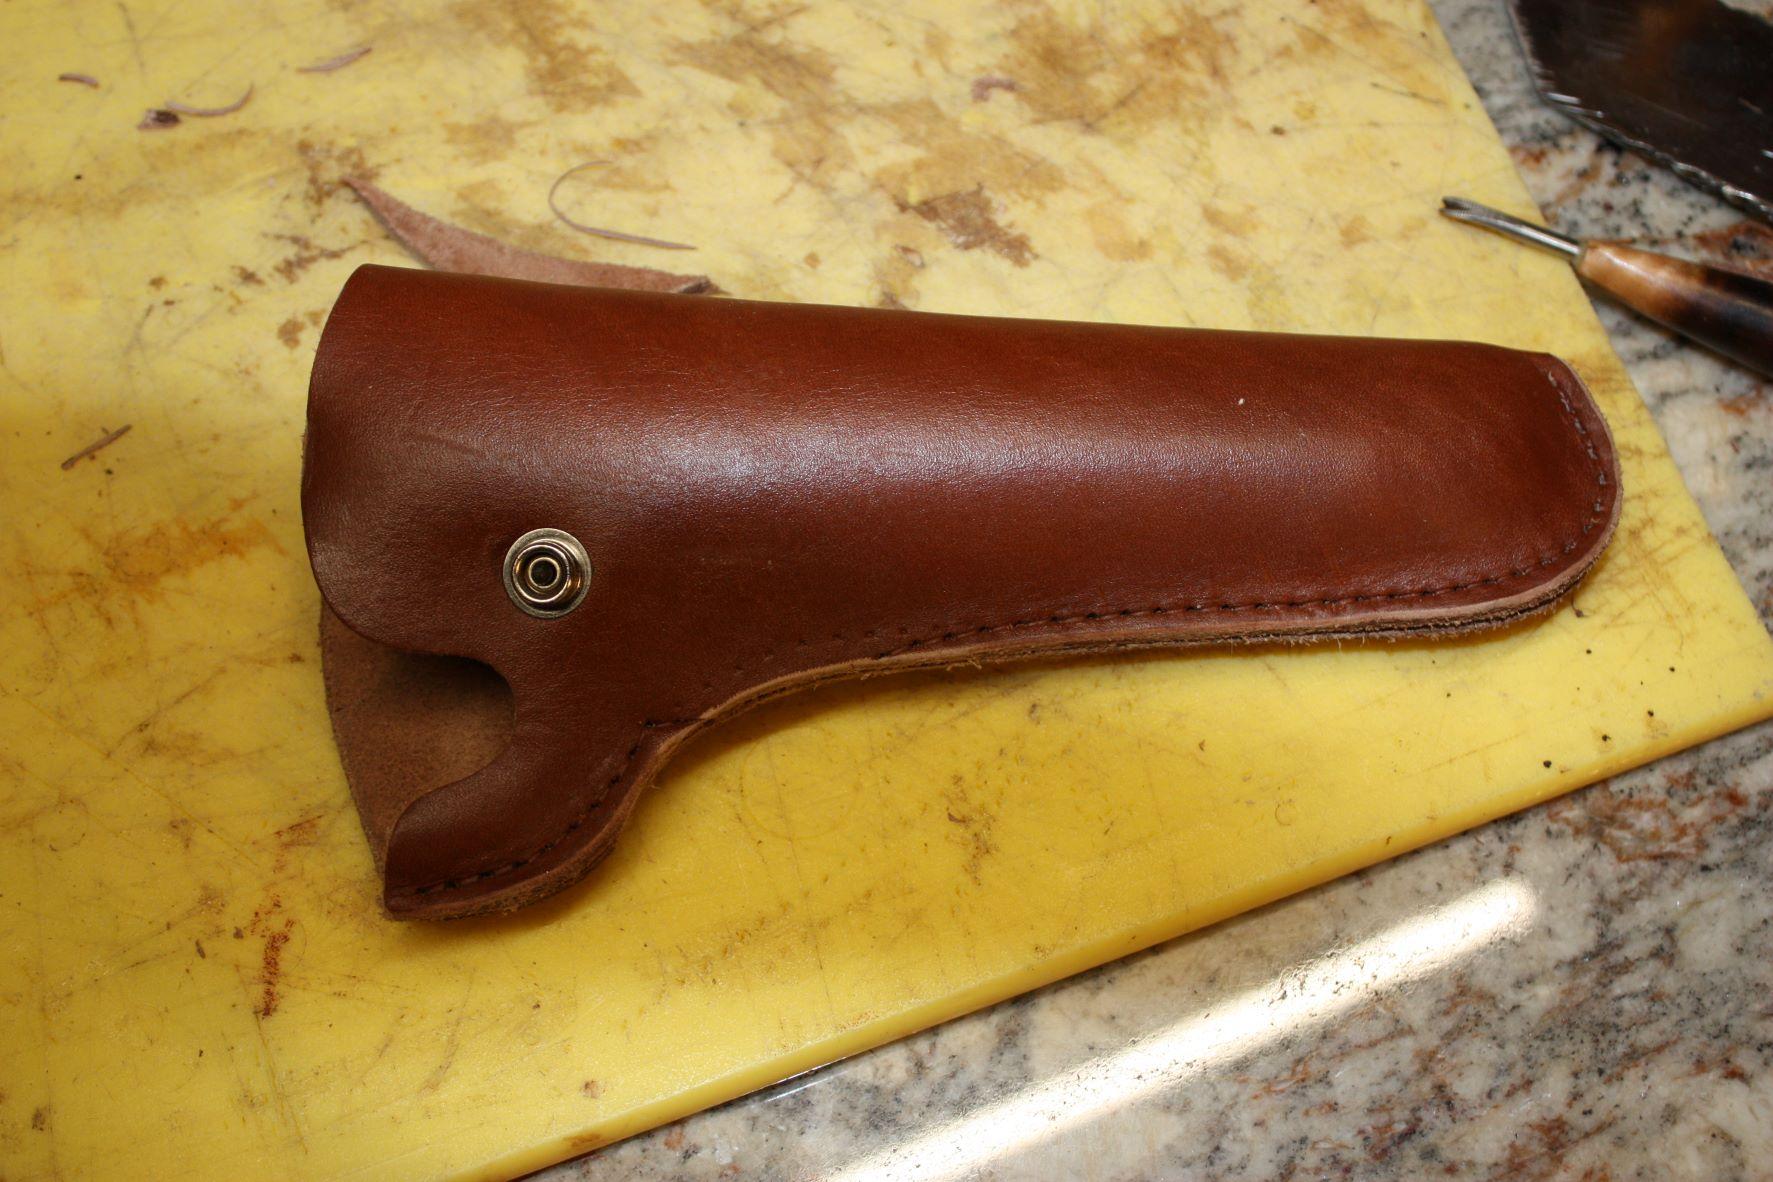
yes it takes some studying sometimes, i think it does too, early 1900s look.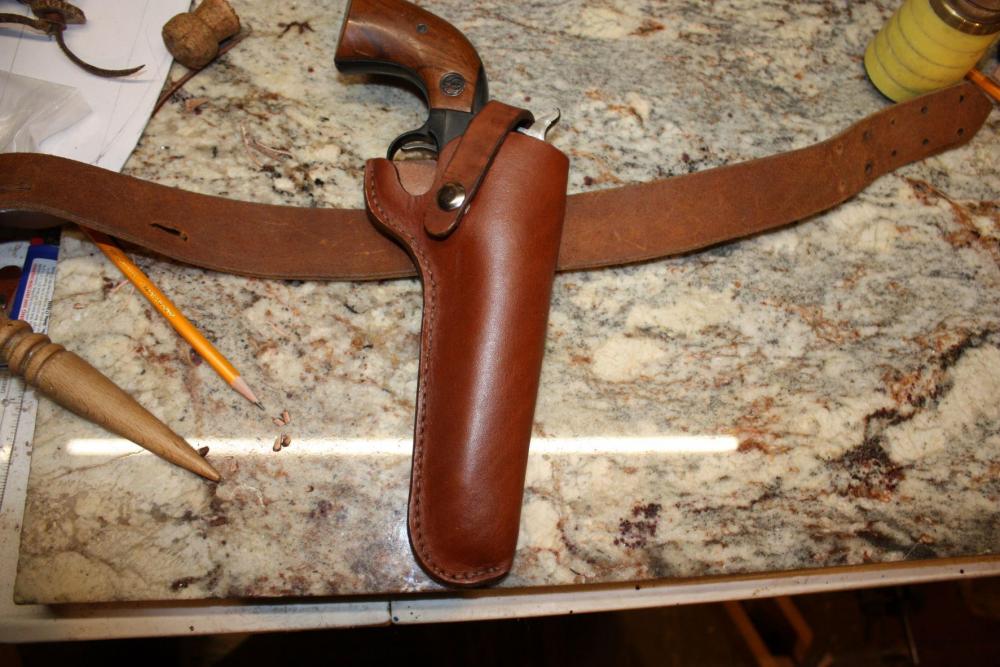
-
check out this hoodicky
chuck123wapati replied to chuck123wapati's topic in Gun Holsters, Rifle Slings and Knife Sheathes
thank you for the info. How long have you used them? Do they hold up? -
holster modification
chuck123wapati replied to chuck123wapati's topic in Gun Holsters, Rifle Slings and Knife Sheathes
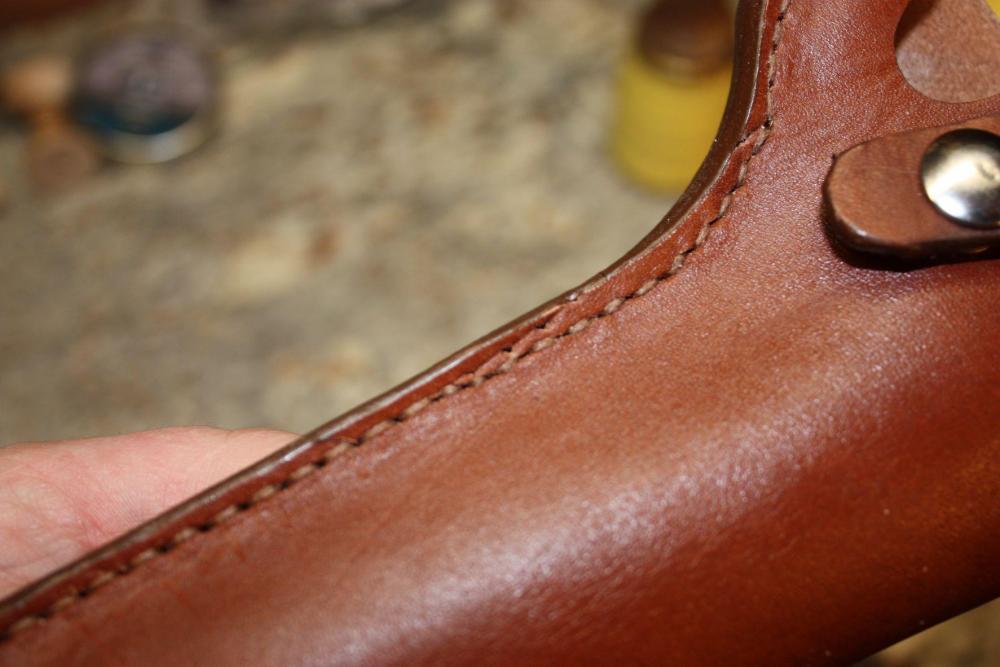
Thanks that is where i cut the holster down,, i had to add some holes where i cut off part of the old stitch holes -
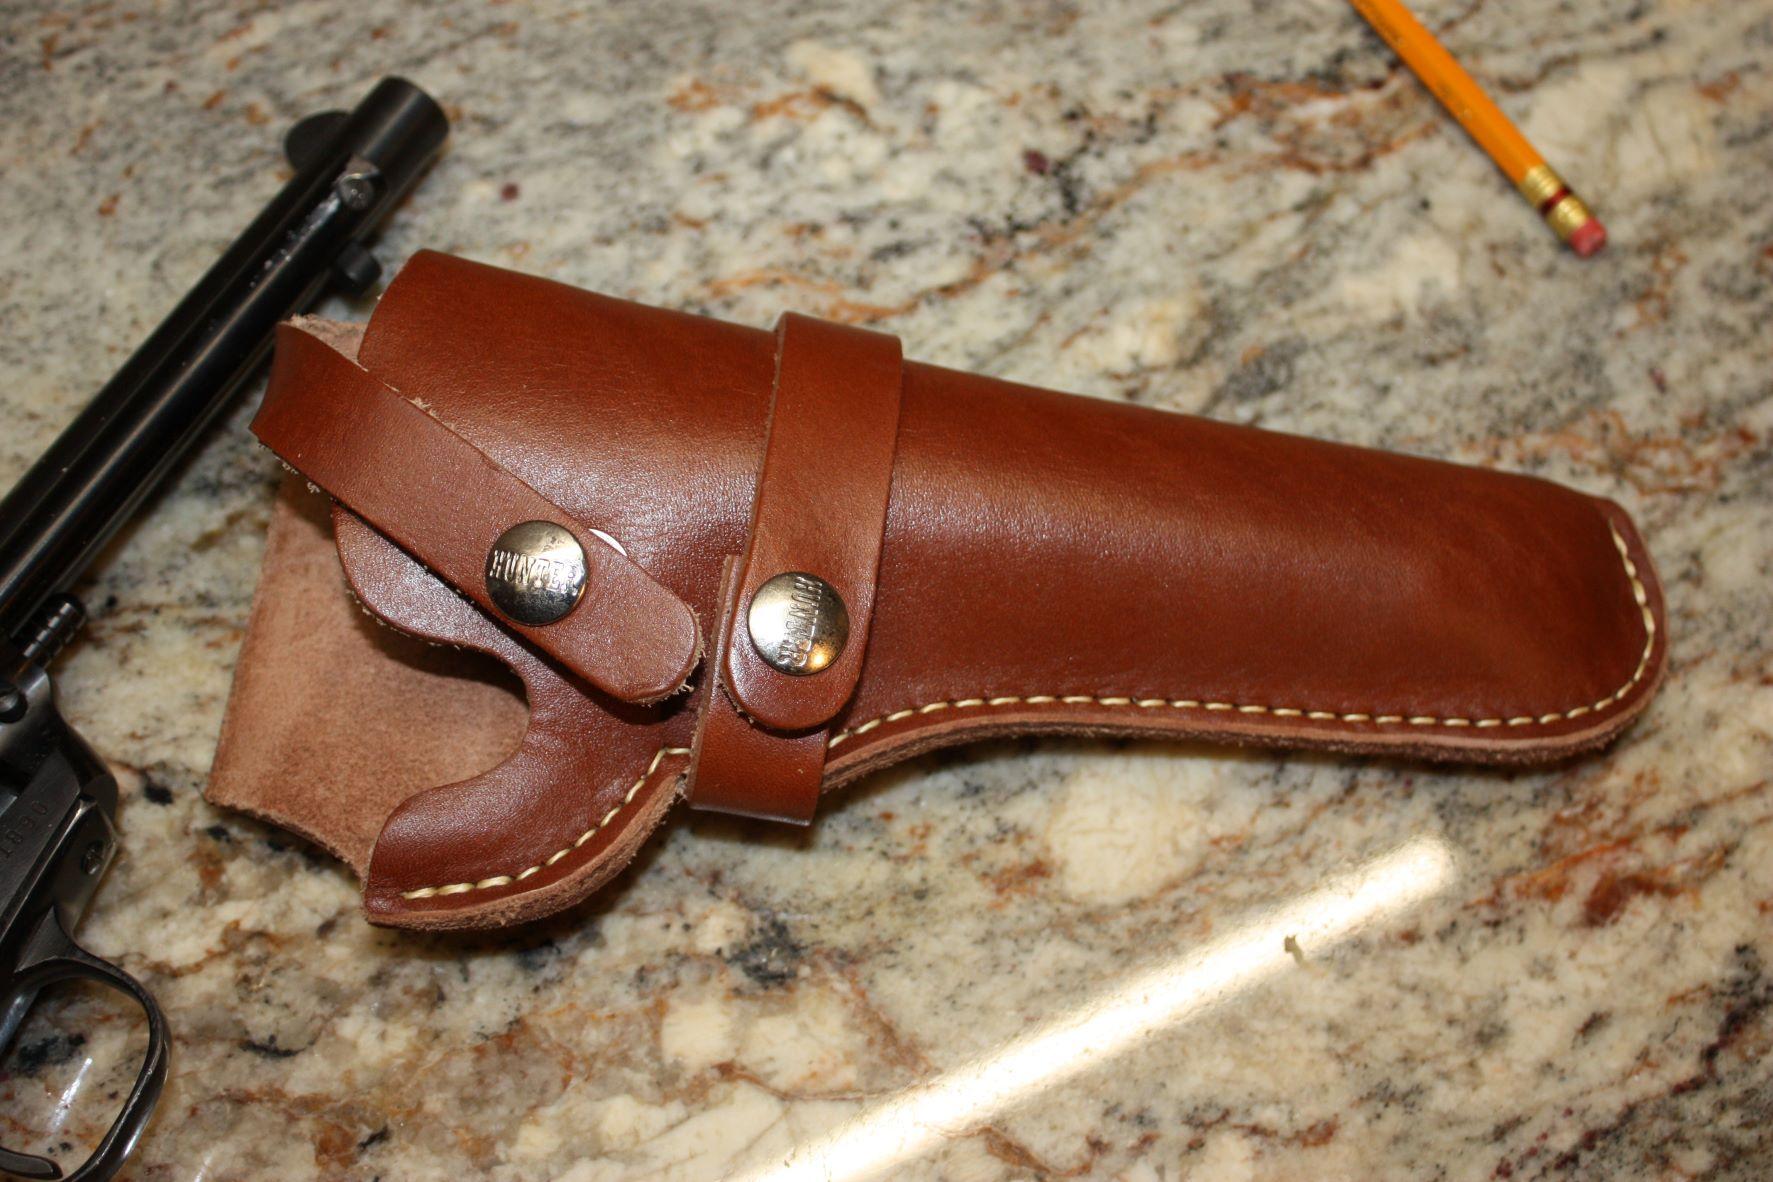
i had a customer that wanted a holster modified a while back, he liked it so here's number two . changing the loop makes the holster ride higher, tighter to the body and has a cant


-
Carving question
chuck123wapati replied to dikman's topic in Gun Holsters, Rifle Slings and Knife Sheathes
it still looks pretty darn good for a first try and it will look much better finished.... That's why i shade in my background with a pencil on the designs, it gives me the idea of how much negative space there is to tool. it also loses the thickness of the lines so you can see how thick or thin your carving will actually look to the eye. if you get tired shading it in then you have to much background to tool IMO and LOL.