.jpg.e13e7809a690335a89b8a4ed2e876db1.jpg)
Northmount
-
Posts
6,539 -
Joined
-
Last visited
Content Type
Profiles
Forums
Events
Blogs
Gallery
Store
Everything posted by Northmount
-
.thumb.jpg.6e903dd66163ad5672f00f144058c571.jpg)
Removing account from this forum
Northmount replied to texasfireleather's topic in How Do I Do That?
Strange about receiving emails even though you have configured your profile to not send email. I have the opposite, configured to send me emails for certain cases, never receive any. Login to your profile and give it a fake email address. That should stop them, and you shouldn't be bothered with any more. Worth a try. Tom -
Fantastic work! Very well done. Tom
-
Wood can be quite adequate. A fireplace wood carrier uses 3/4" wood dowel. Carries a very heavy load. 3/8" might do well for a hand bag. Have also seen brass rod used. Tom
-
Ashley book of knots pdf and other formats at https://archive.org/details/TheAshleyBookOfKnots Tom
-
Several at: https://www.abebooks.com/book-search/title/encyclopedia-of-knots-and-fancy-rope-work/ Tom
-
@Wizcrafts, in case you missed this. Debbie, Are your tension disks clean? Tom
-
Any information on the operation of a singer 42-4
Northmount replied to Skeggsy's topic in Leather Sewing Machines
Moved to sewing machines forum. You'll get more information there than under help wanted. Help wanted is like the classifieds help wanted in a newspaper. Tom -
Need advise on sewing with my Pfaff 335 17-B H2L
Northmount replied to jimmy eng's topic in Leather Sewing Machines
Here is another thread / needle chart with some additional information. Includes thread diameter and strength. http://www.tolindsewmach.com/thread-chart.html Tom -
Thanks, moved. Tom
-
How to make a coaster with a design on it
Northmount replied to ivan7342's topic in How Do I Do That?
This design is rather large for a coaster. Shrinking it would make some of the detail very fine, which of course would increase the level of difficulty substantially. I would suggest a less complicated design for a coaster. You might look on the web for line drawings, coloring books, and such. Tom -
Provided by @Constabulary and @qvt Large file 18 MB Manual Singer 132K6 Seiko SK-7 SK-8 SK-26.pdf Optimized to 400 dpi and text searchable 3 MB Manual Singer 132K6 Seiko SK-7 SK-8 SK-26 os.pdf Thanks Constabulary for forwarding the file to be uploaded here. Tom
-
It's a good idea to put your location in your profile. Then people know where you are and can respond with better information tailored to your location. You might even find some leatherworkers nearby. Tom
-
Fixed, moved picture to section 9. Tom
-
Help with Tippmann Boss cam drive spring
Northmount replied to LoriF's topic in Leather Sewing Machines
Great! Now complete this thread by sharing your learnings so others here could use it. Would be much appreciated. Tom -
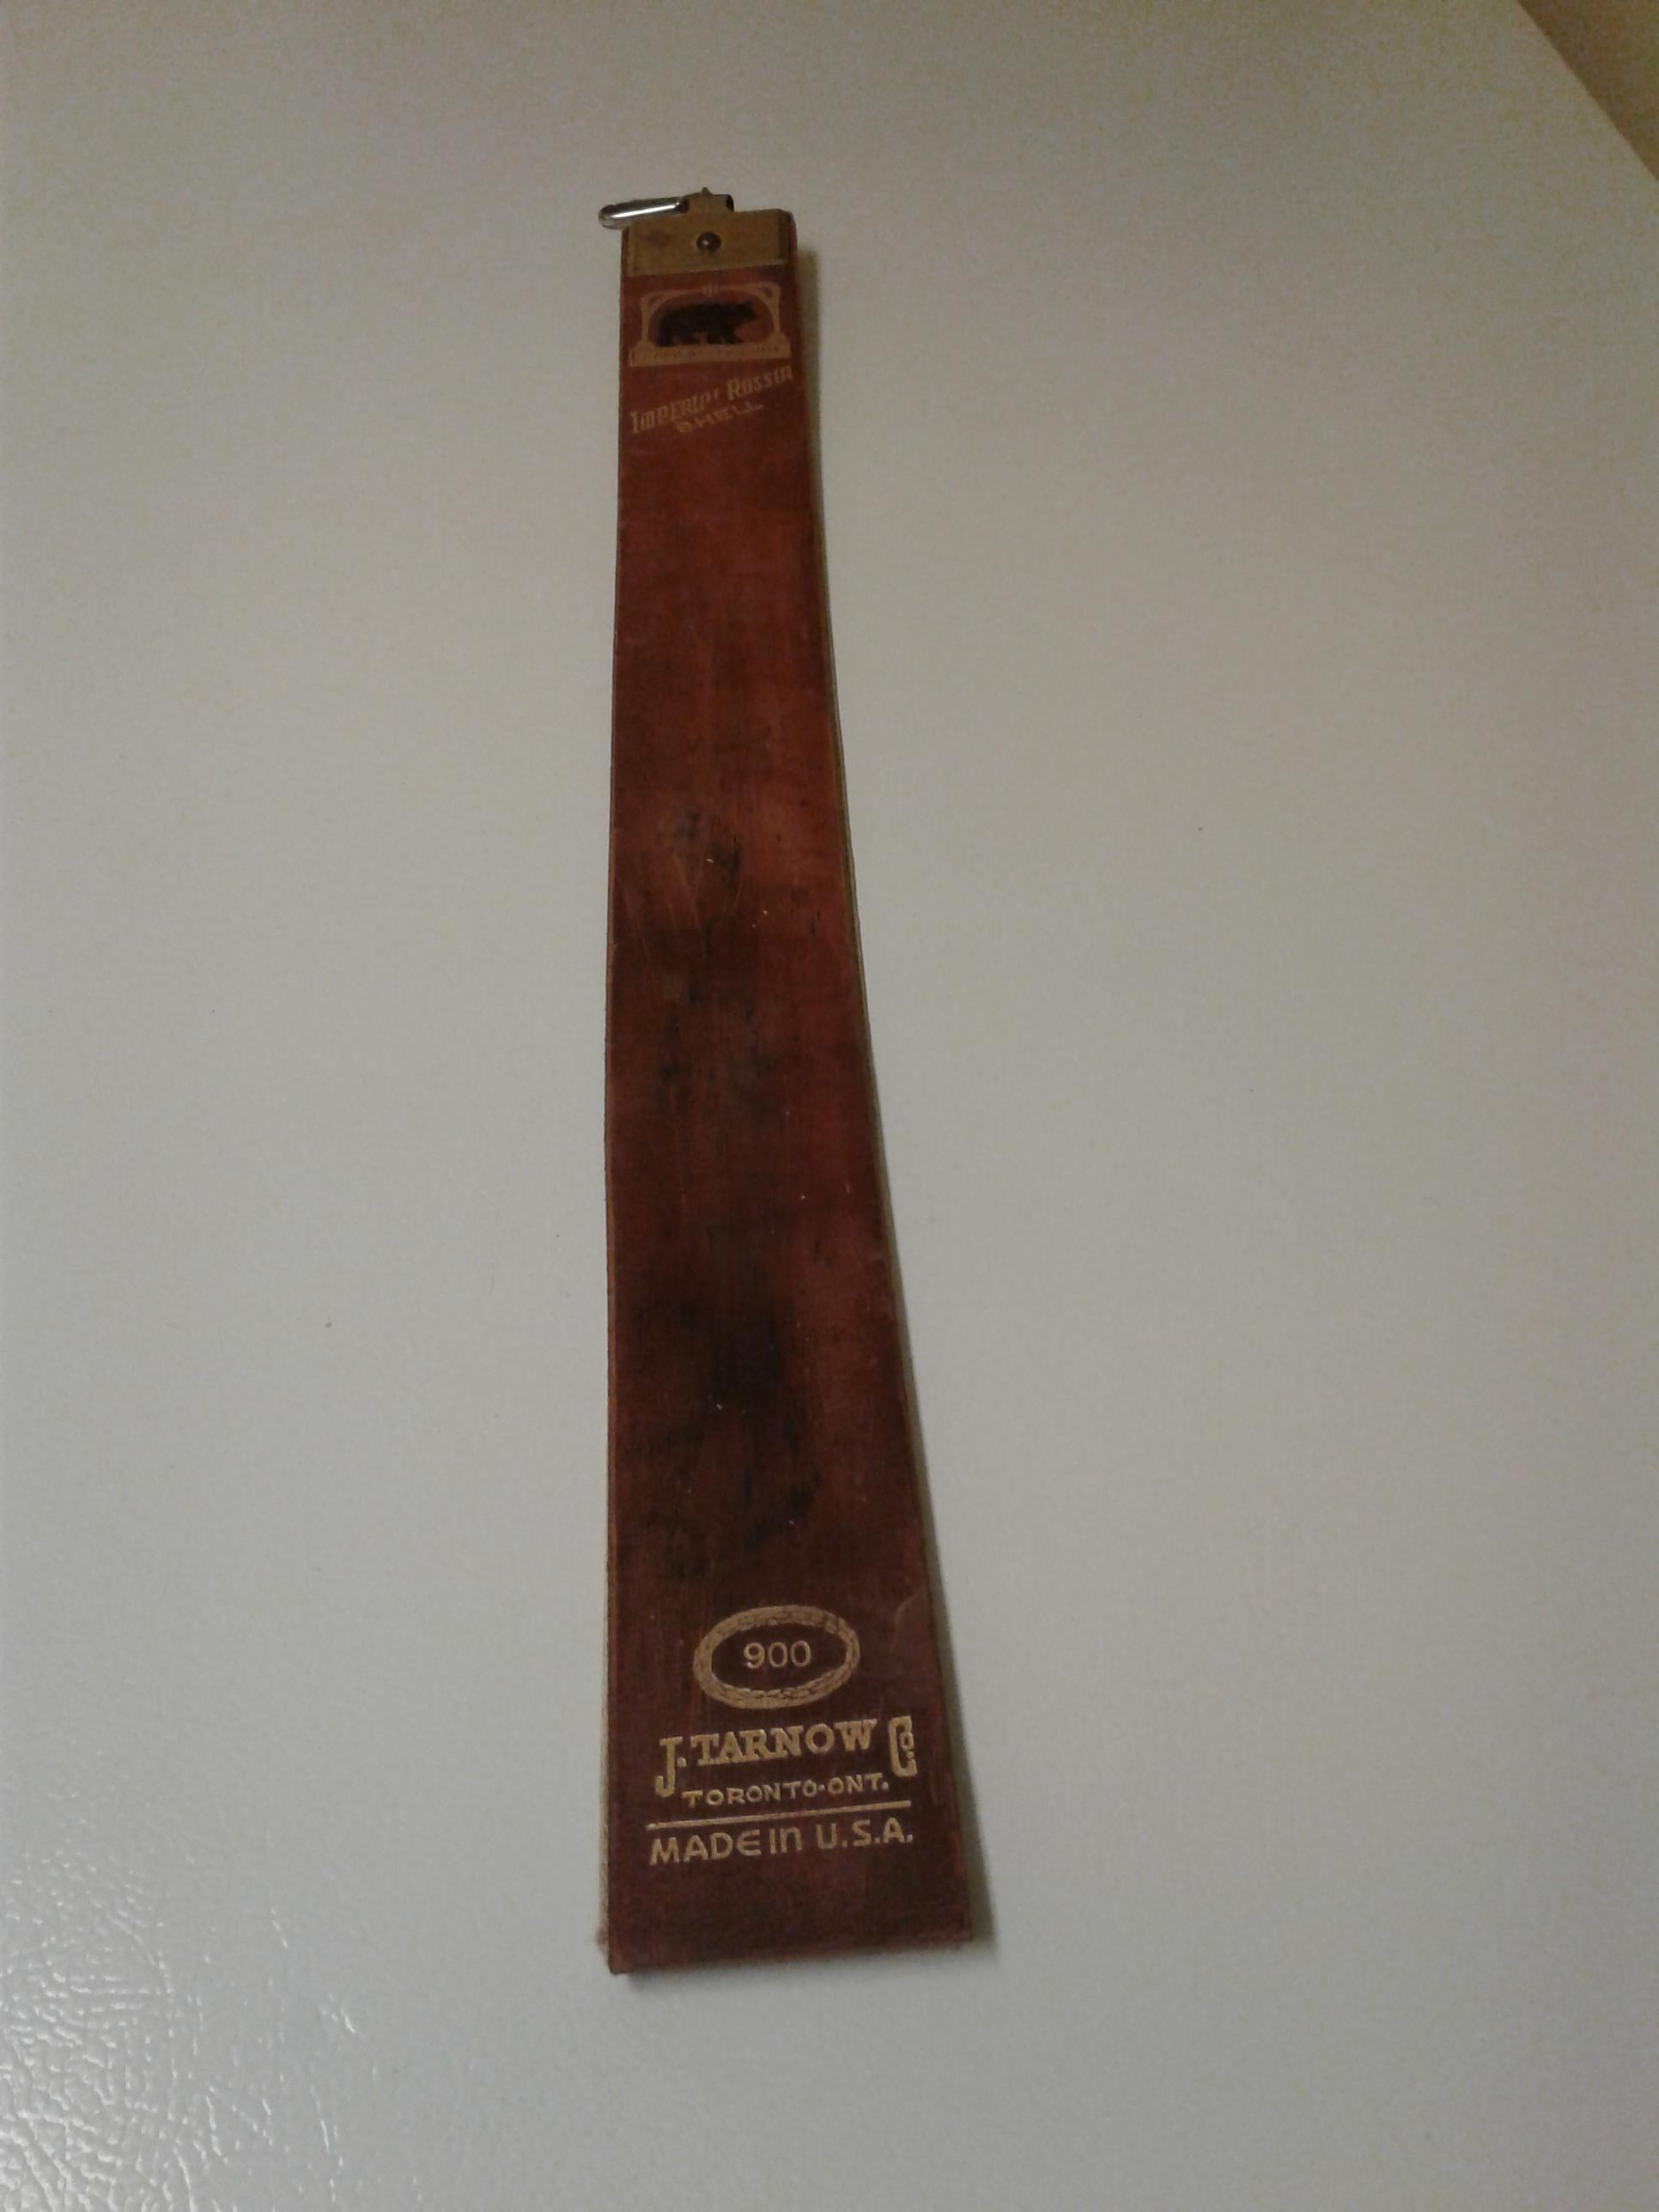
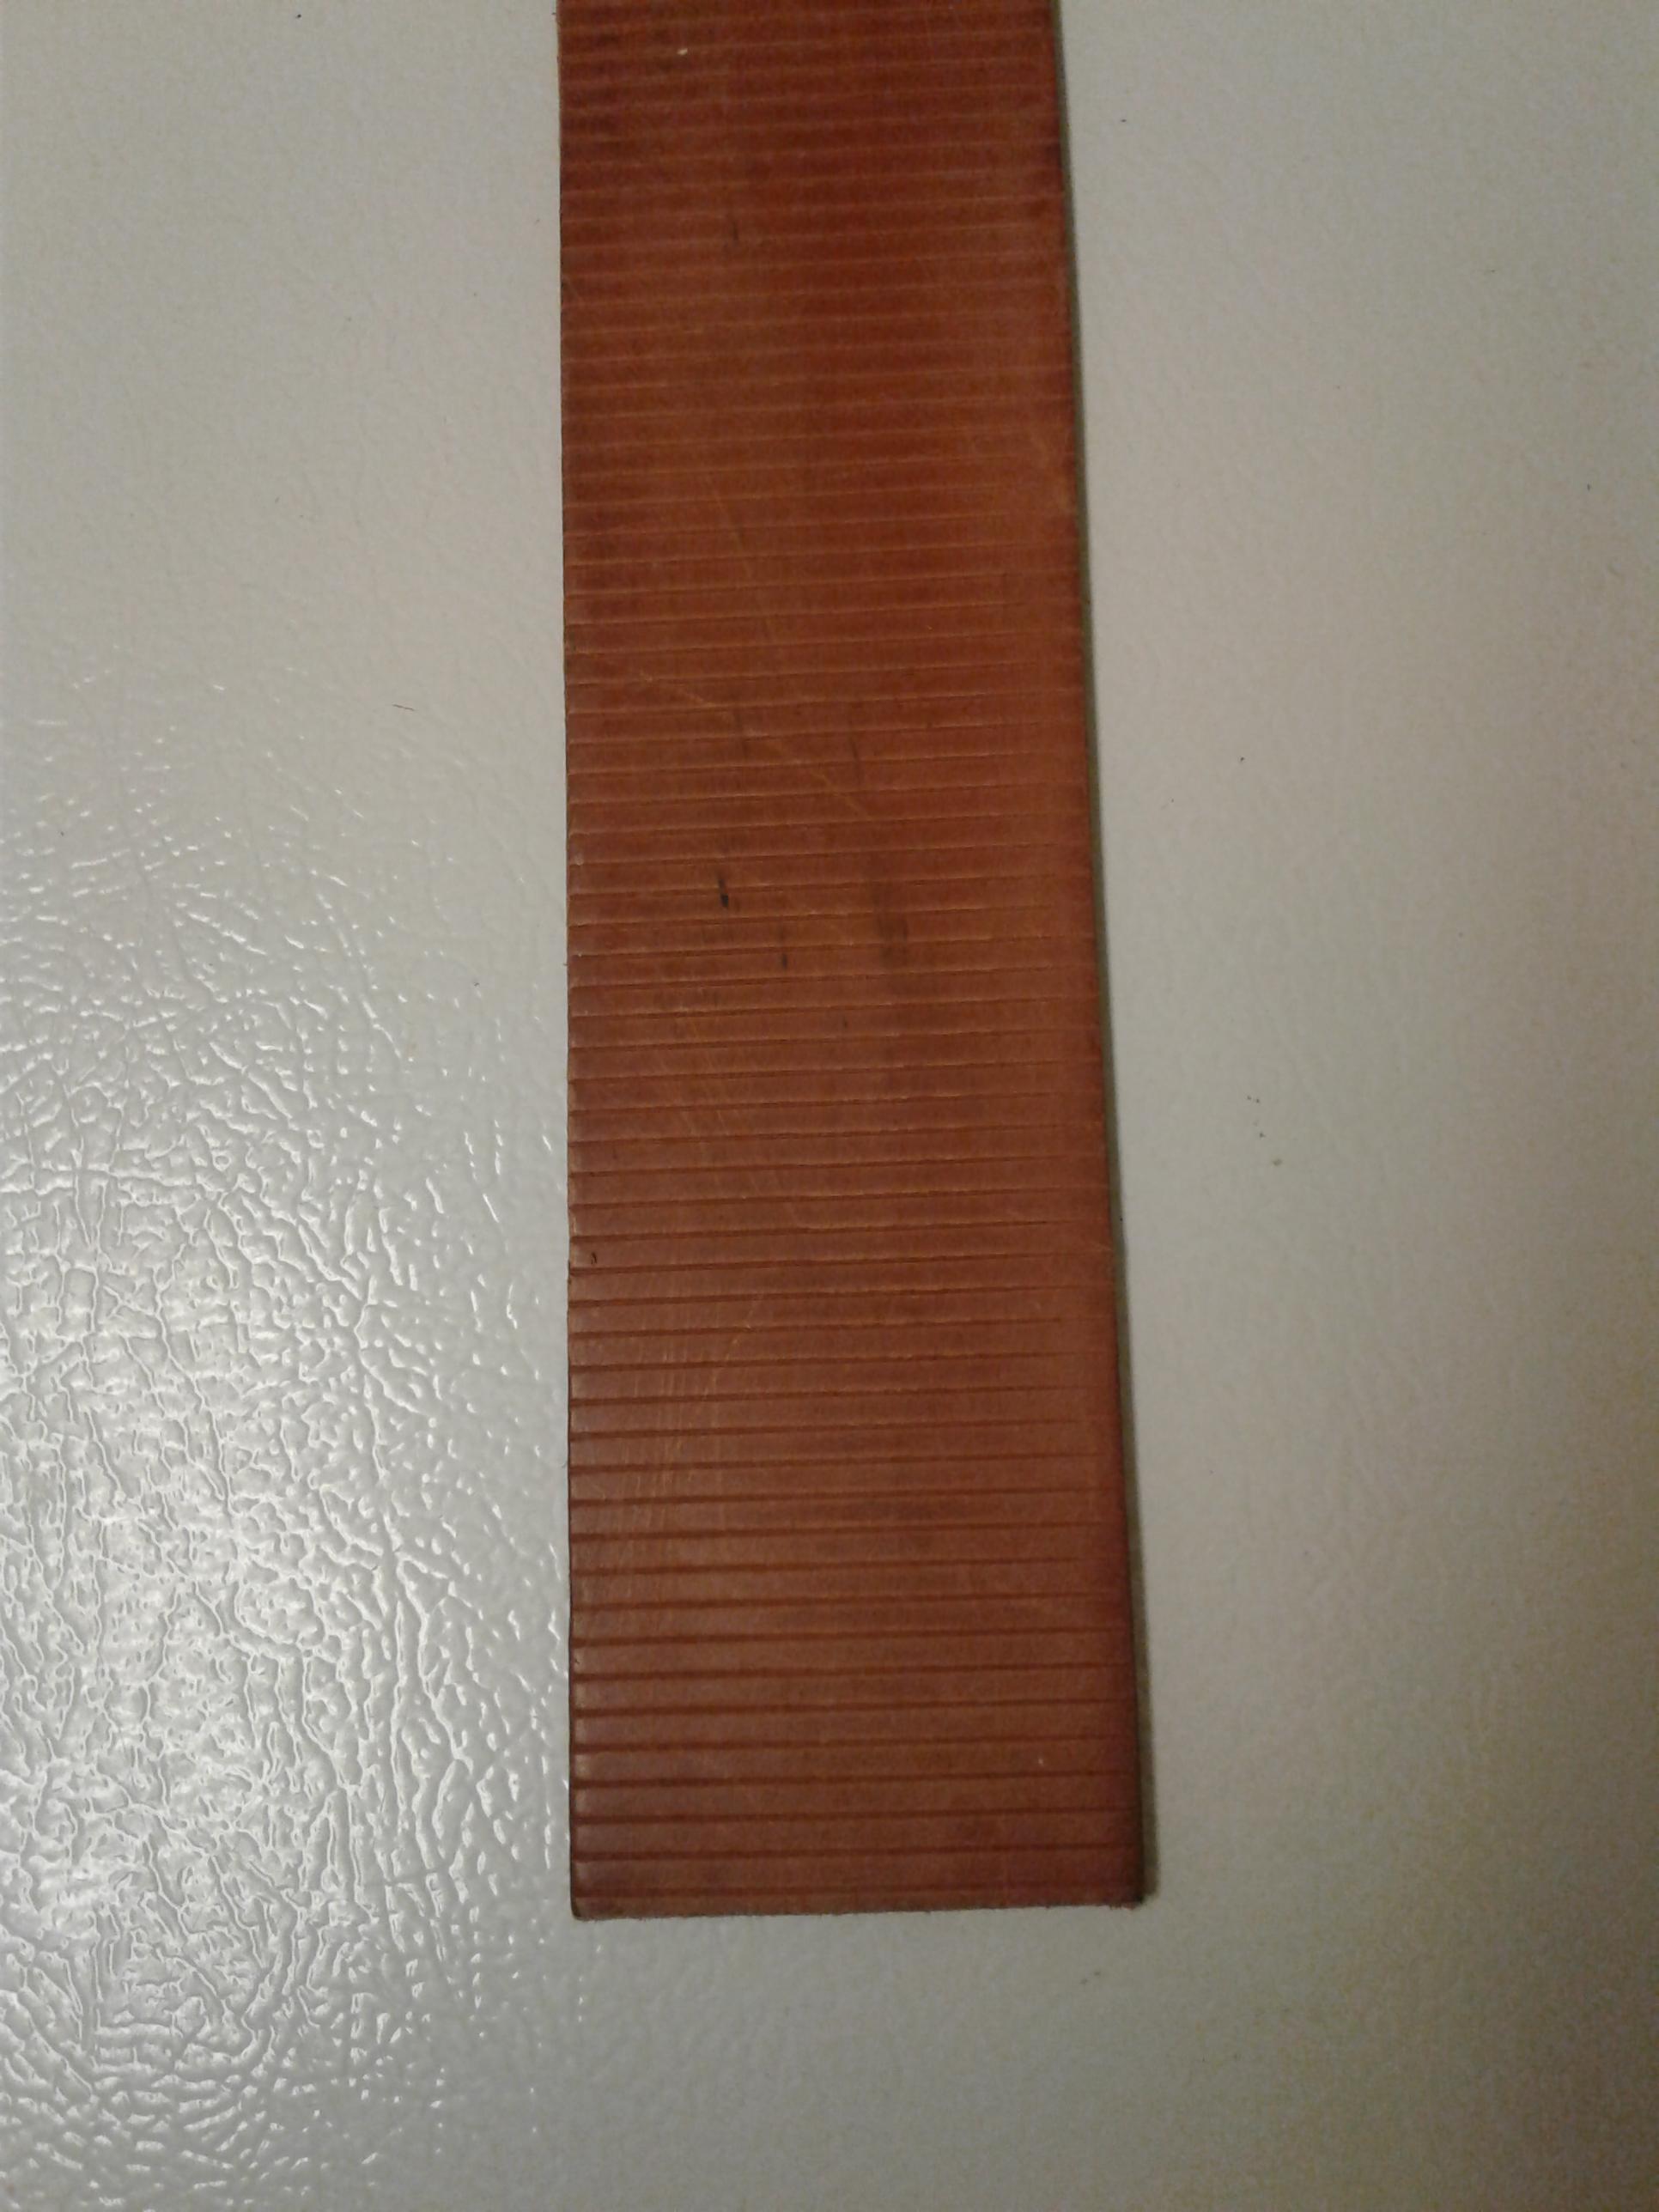
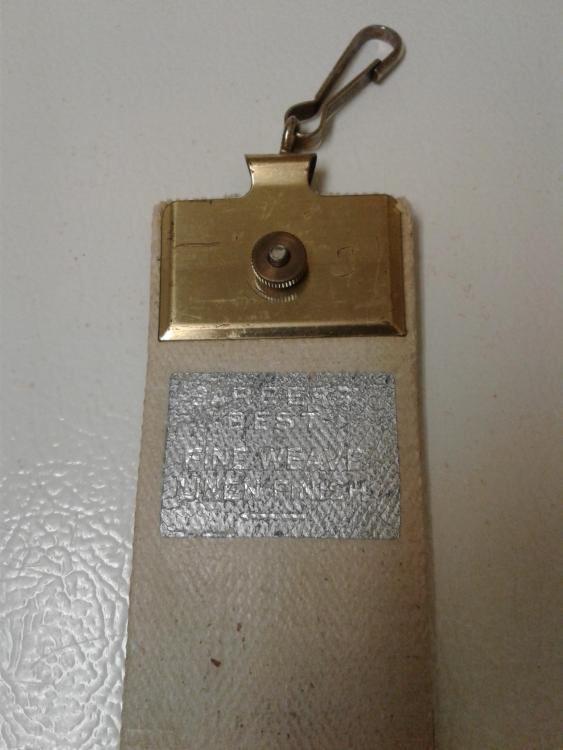
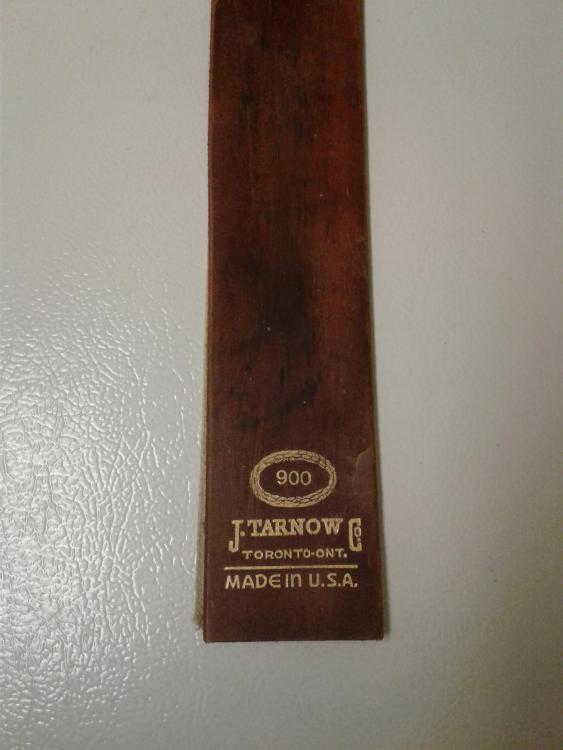
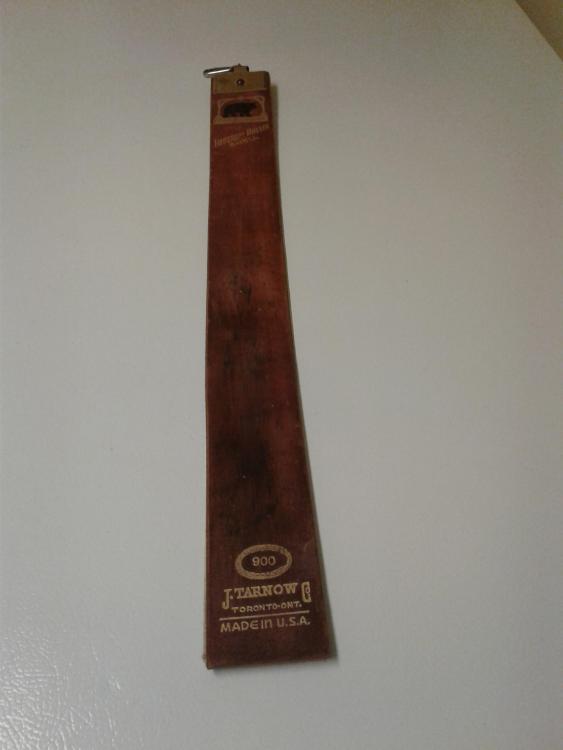
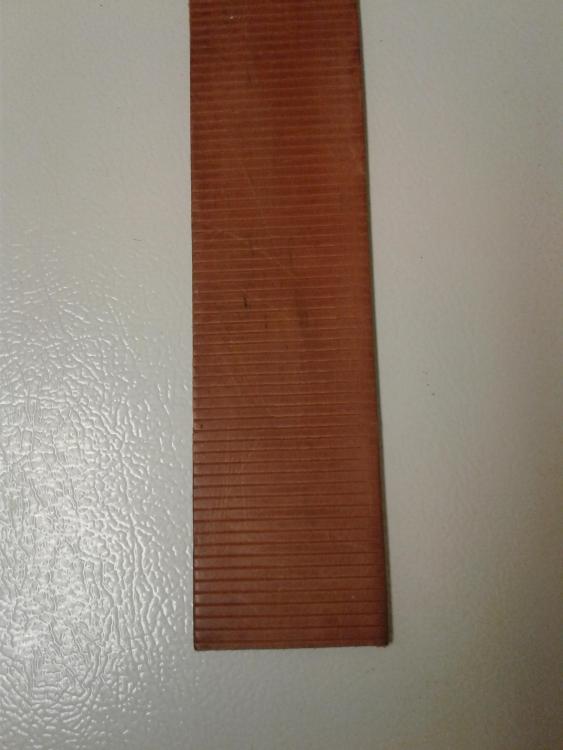
Here are pictures of one I have. 24" x 2.5". Just over 1/8" thick so 8 plus oz (4mm). Note the back of the leather strop is grooved across its width. Reason unknown to me, other than it would be a little more flexible. Leather is relatively hard. The second strap is linen weave. Very slippery like it was Teflon coated. Bought in a 2nd hand/antique store a few years ago for about $25. Had never been used. The linen weave part reminds me of the flat belting used on line shaft driven equipment, except they weren't slippery. Tom


-
Cut and assemble a little oversize, then trim to final size. Will help avoid problems where cement ran over the edges. Tom
-
Check out the sewing machine vendor's ads in the top banner. Pick a vendor close to you so you can go see and test the machines on the leather you will be using. They have new and some reconditioned machines. Techsew 2700, Cowboy 227R, etc. You need at least 3/8" capacity, and 138 or heavier thread. Should be a walking foot machine. Domestic machines will not work long for you or do a very good job. Read the pinned posts about picking the right machine. Tom
-
Here is a video with instructions https://www.youtube.com/watch?v=cxf-ZboFCx0 Tom
-
There are other posts here about using liquor for diluting dyes. Denatured alcohol adds chemicals to to make it (ethanol, or similar) taste awful so people won't drink it. Thus the governments maintain control of liquors and the taxes. There are a number of posts explaining the difference between alcohols somewhere here too if you want to search them out. Tom
-
Very similar to http://www.talasonline.com/Scharf-Fix-Paring-Machine which is a well made machine priced at $375US Tom


-
Thanks for updating this thread. I have copied these photos into your first post. This was a prime example of what happens when using 3rd party photo hosting sites instead of uploading photos to this site. Anytime a photo on a 3rd party site is changed, moved, deleted, permissions changed, etc. the photo disappears here and is replaced with a broken link symbol. I recommend that all photos be uploaded to this site so they don't get lost out there in cyberspace. If you resize photos to 800 x 600, (which is usually adequate for most viewing purposes), you can upload many photos in a single post. It is also an assist to those people living on the fringes of the internet as they don't have to wait hours for a post loaded with large images to be downloaded before they can view them. Tom
-
You can also drill and tap the correct thread size in the wood, and avoid having to epoxy it. Good wood threads very nicely. Makes it removable if you want. Tom
-
http://isthiswebsiteworking.com/campbell-randall.com indicates the site is currently down. Registration is still valid into 2018. Web address is http://www.campbell-randall.com/ Tom
-
Tandy's leathercraft library has some patterns with holly, etc. Some free designed for corners that you could modify easily. Tom
-
And when the image is moved, deleted, or permissions change, then all you have left in the post is the text and a bunch of error messages. There are quite a number of "broken" photos on this site for these reasons. I recommend that users resize photos to fit the size constraints of the forum. 800x600 pixel resolution is adequate and allows you to load many photos. It also helps those that are on limited bandwidth internet connections, out in the fringes, to view the photos without waiting 2 hours! And yes, we are interested in following your journey. Thanks for posting. Tom