TonySFLDLTHR
-
Posts
196 -
Joined
-
Last visited
Content Type
Profiles
Forums
Events
Blogs
Gallery
Store
Everything posted by TonySFLDLTHR
-

SLC.. why have thou opened this can of worms
TonySFLDLTHR replied to JerseyFirefighter's topic in Leather Tools
It is a razor blade, so changing it out is very simple. Once we figure out if we can get them produced accurately and affordably, then I will have more information to share. However, I can't help but think we will sell it as full set up, just cutter, and just frame. -
We are currently in research to make these available. No ETA on this project, but just want to let you know this is in the works.
-
Acrylic aquarella paint used on leather edges!
TonySFLDLTHR replied to RusticLeatherShop's topic in How Do I Do That?
I just put the gauge on it and it is reading right around 2 oz. I would think that it is mostly used as inlays and the likes. -
Acrylic aquarella paint used on leather edges!
TonySFLDLTHR replied to RusticLeatherShop's topic in How Do I Do That?
Here is some Fish Leather we carry. https://www.springfieldleather.com/Fish-Whiskey A good edge paint is Fenice edge paint. Which if you search the forums your will find some posts about it. Like other have said I want to say as well. Make sure your edge is done before you even paint it. If someone wouldn't say wow look at the edge without paint...then the edge isn't ready to paint. The Youtube video posted here of edge painting and sanding shows how clean his edge is before paint. My personal projects...I have sanded then even used Gum Trag to slick the fine "hairs" down....then painted after the Gum Trag dried. If the processes isn't followed how some say it...then you can't expect the results that they might get it. -
This turned out fantastic!!
-
Sorry, I missed this post, but if you haven't located a supplier to meet your needs. Here you go! https://www.springfieldleather.com/Machinery/Bonded-Nylon-Thread
-
Come on in! We will let you sit and try some out here and show you what all the differences are. Also, from time to time we will have a used machine in here. In fact we have have a used one out there at the moment.
-
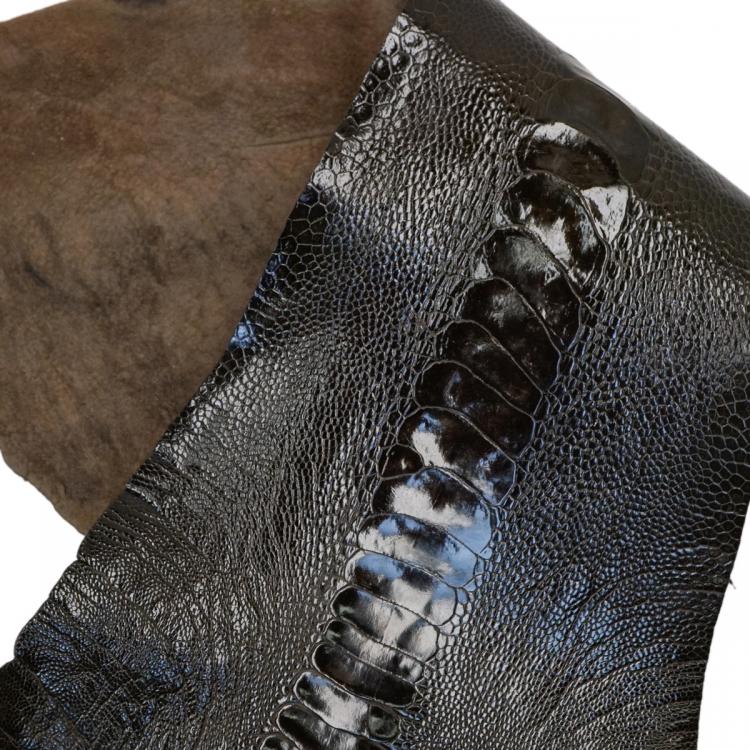
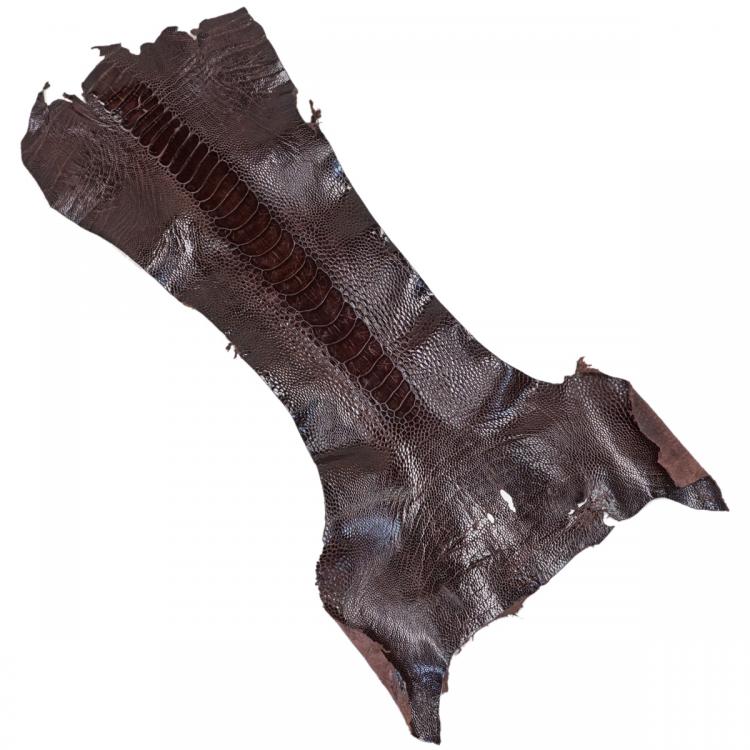
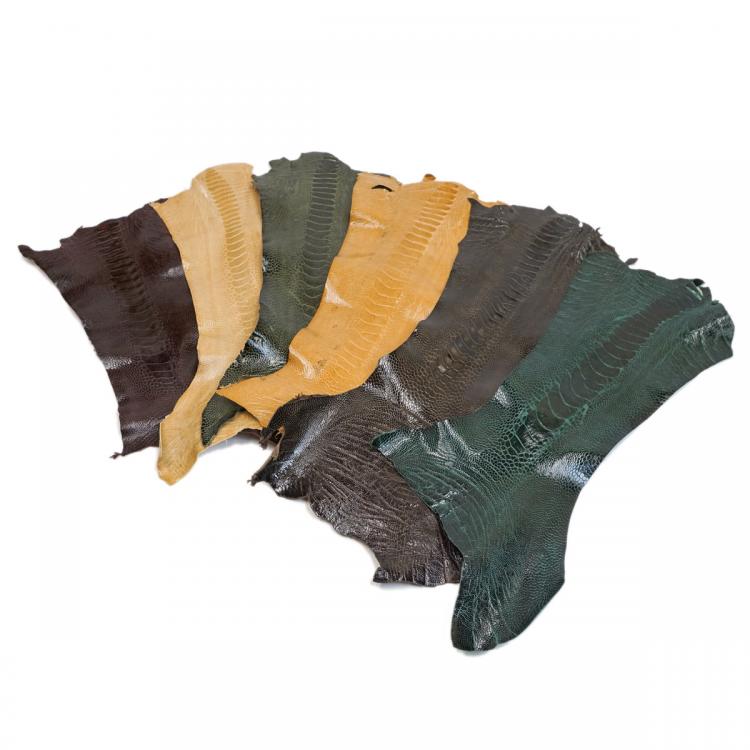
I know most of you get the news letter, but I assume not everyone here does. So, I am got to share one of the items of the news letter and that is Ostrich Legs. http://springfieldleather.com/Leather/Exotic/Ostrich
-
Acrylic aquarella paint used on leather edges!
TonySFLDLTHR replied to RusticLeatherShop's topic in How Do I Do That?
When you sand the paint Rustic what grit sand paper are you using? Or are you using the stone? If the grit is under 100 then you are using too coarse of sand paper. -
Acrylic aquarella paint used on leather edges!
TonySFLDLTHR replied to RusticLeatherShop's topic in How Do I Do That?
Sand the edge then paint, let dry, wet sand the edge, paint, dry, wet sand, paint, dry so on and so on until you the the smoothness you want out of a painted edge. -
My First Real Project
TonySFLDLTHR replied to Chain's topic in Purses, Wallets, Belts and Miscellaneous Pocket Items
I'm also a fan of the thick thread, but we all have our own styles. I can see where a thinner thread would look good as well if it were a evening type of bag. -
As far as I am aware they are basically the same. Except the starting color. They will both dry clear.
-
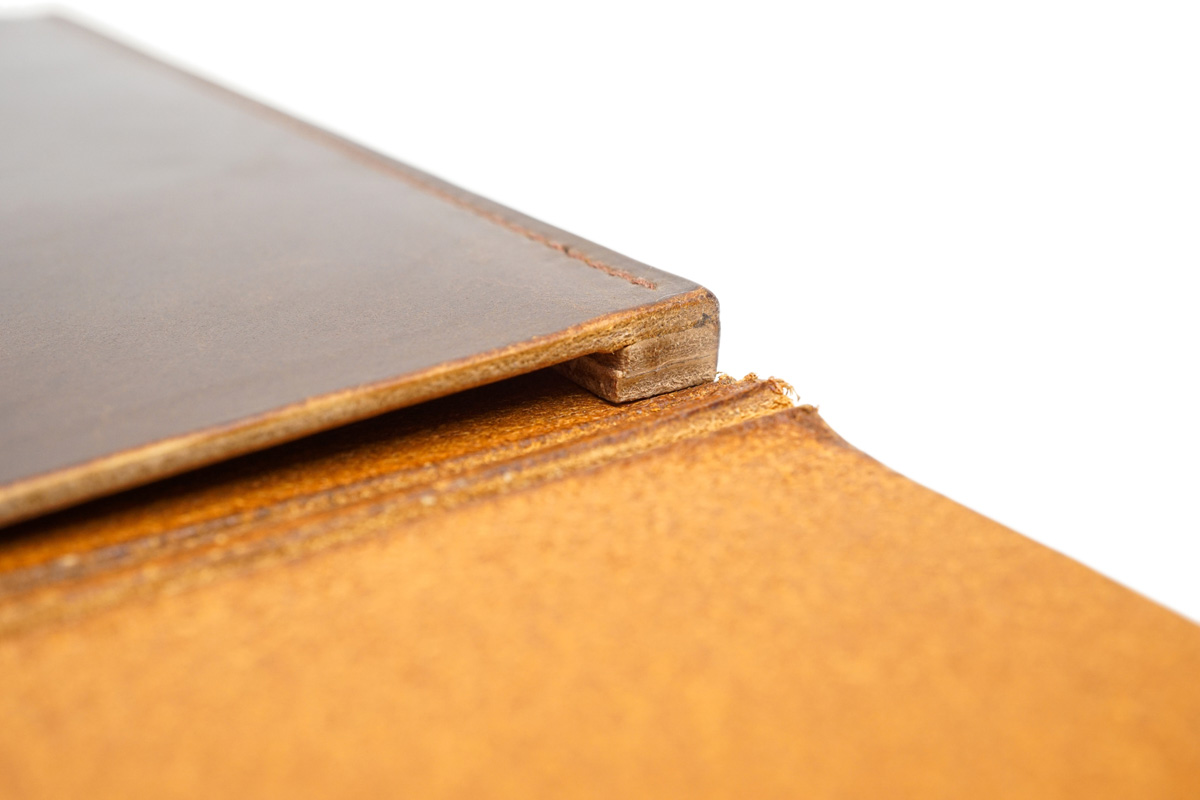
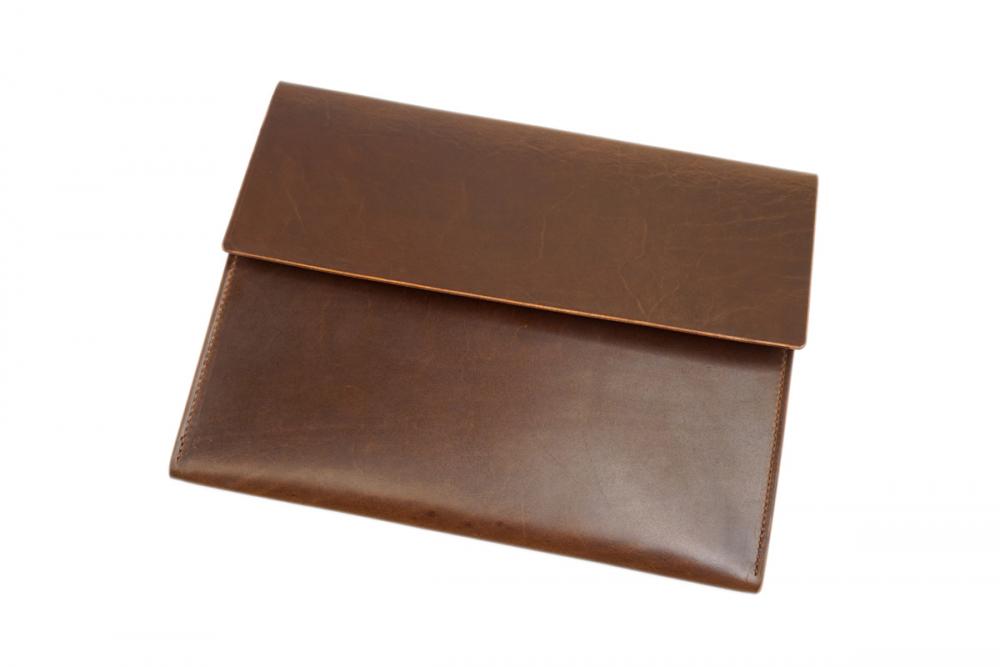
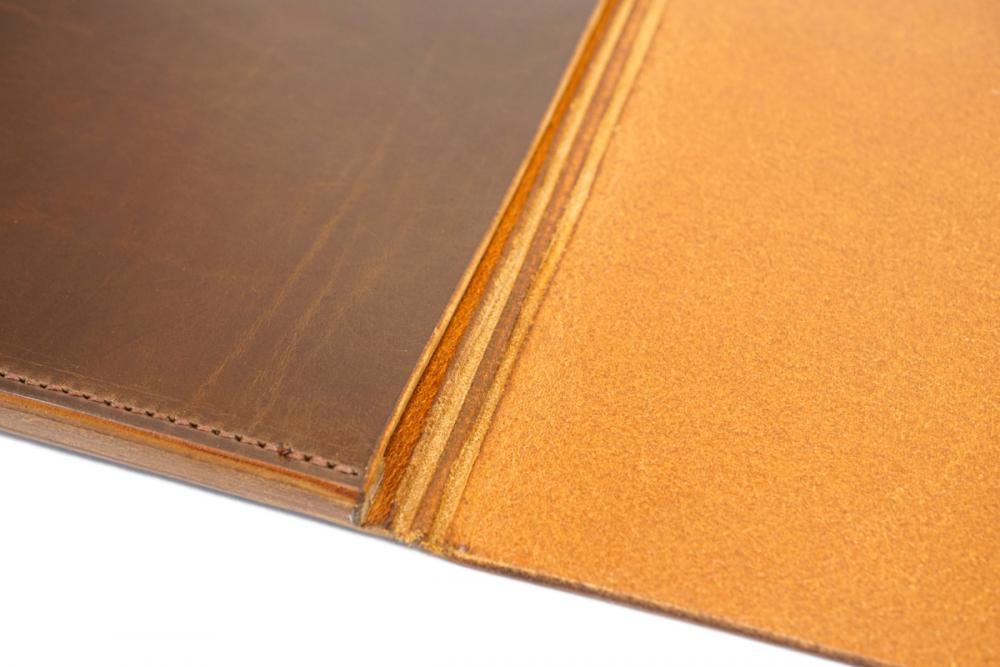
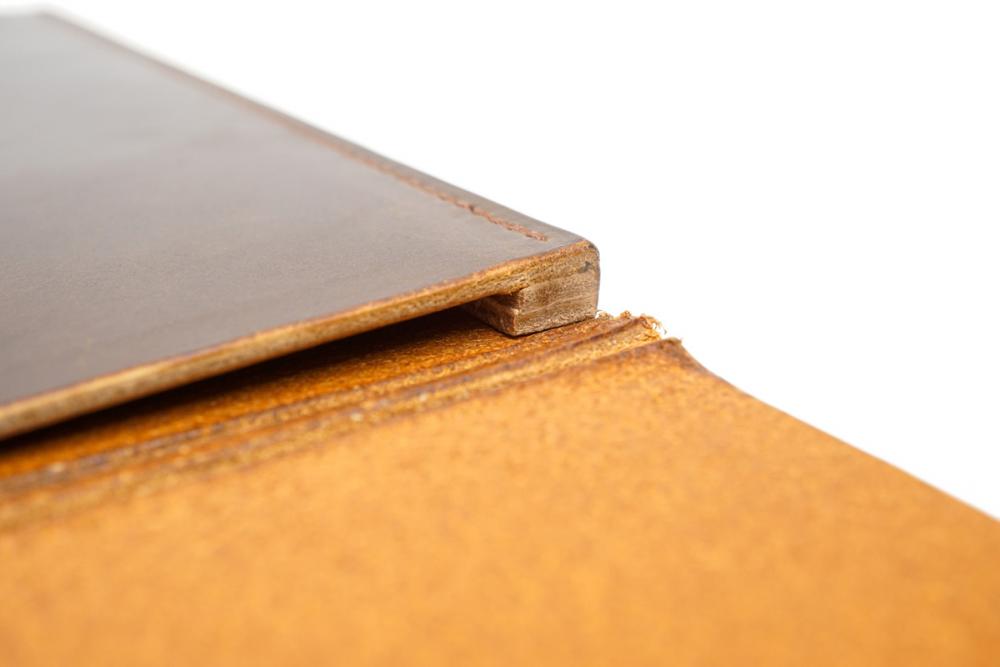
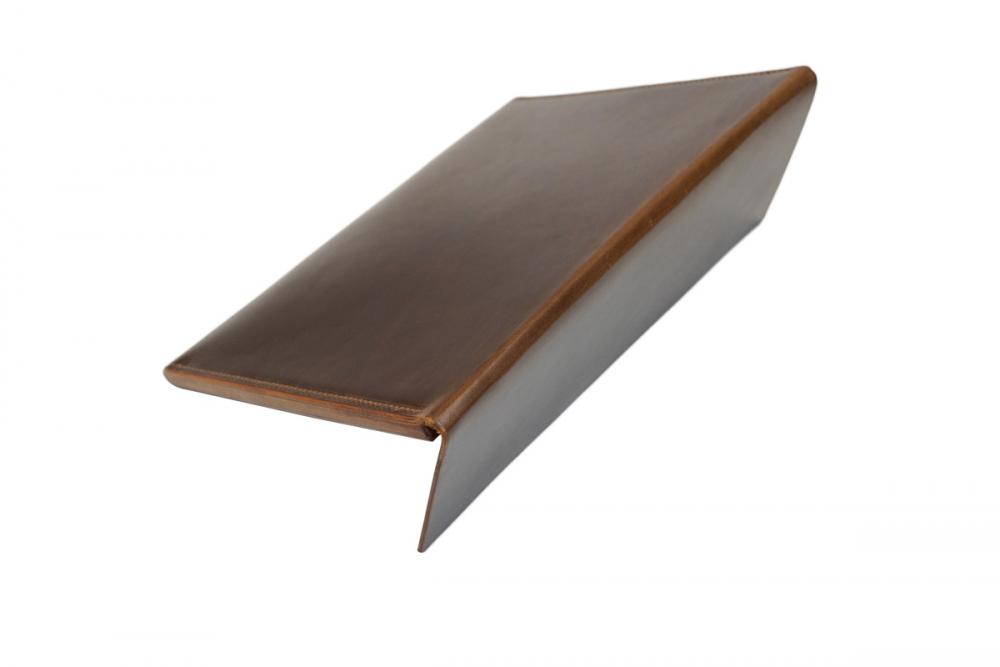
Here at SLC Rusty made a sleeve for a tablet and legal pad. It looks really good with this Glazed Leather we have. Its only $5.99 per sqft http://springfieldleather.com/search?keywords=diego

-
Here is some write up that we have on Hermann Oak that JLS mentioned. http://springfieldleather.com/hermann-oak We also sell it 4 different ways. So you can get as much or as little as you might like.
-
Most likelly my last one
TonySFLDLTHR replied to katsass's topic in Gun Holsters, Rifle Slings and Knife Sheathes
Your abilities are a beautiful art for sure. You still have it in there and it is easily seen. Your knowledge of the leather world is something we hope we don't lose here! Keep up your fight! -
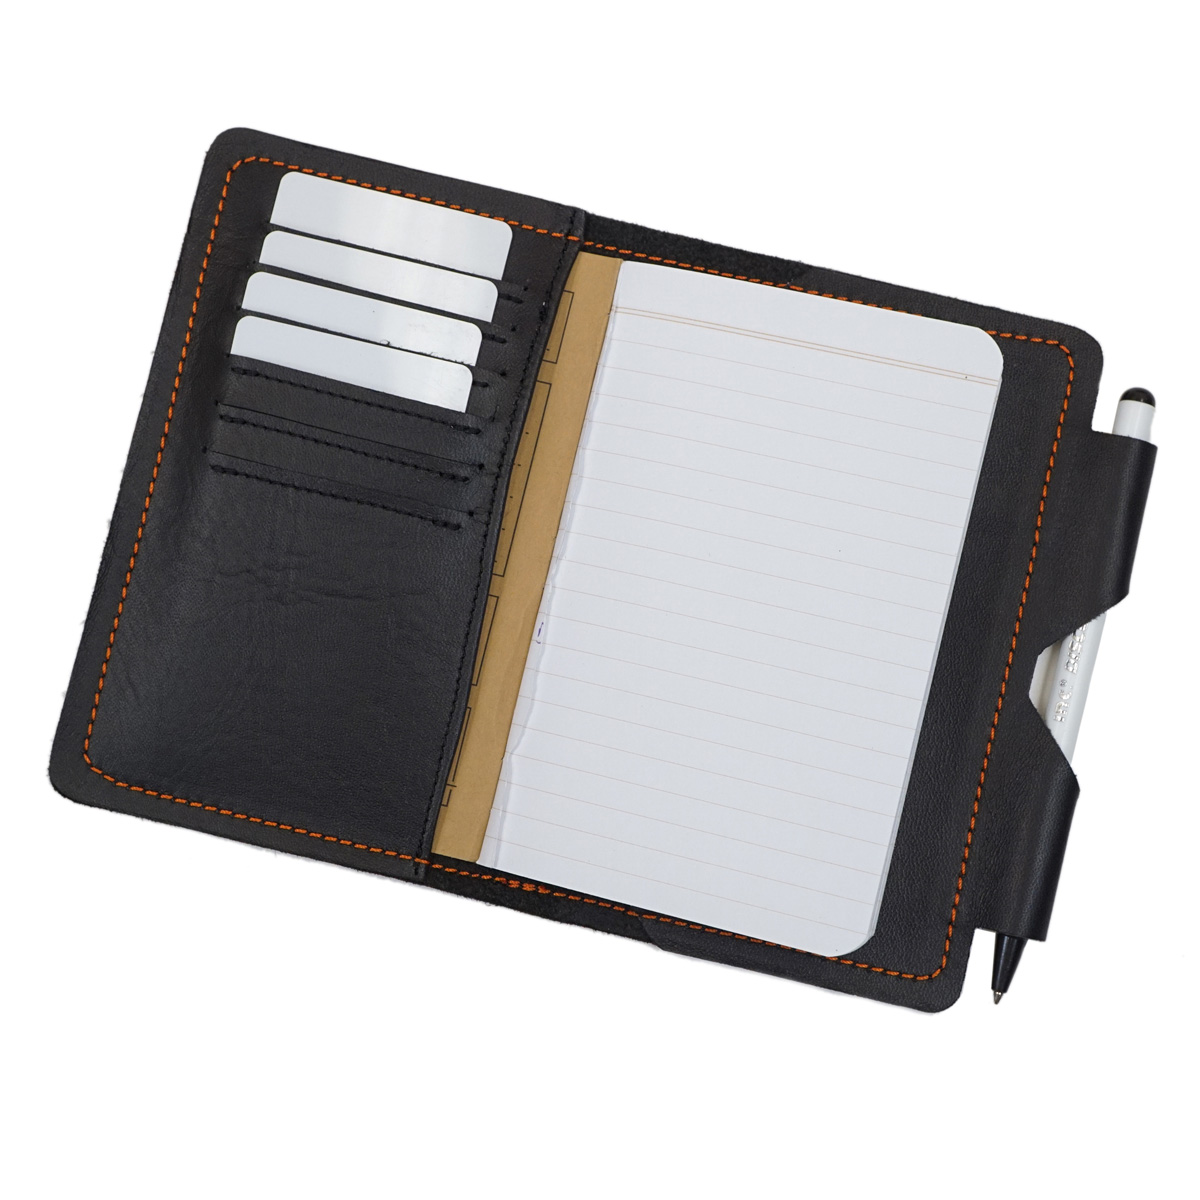
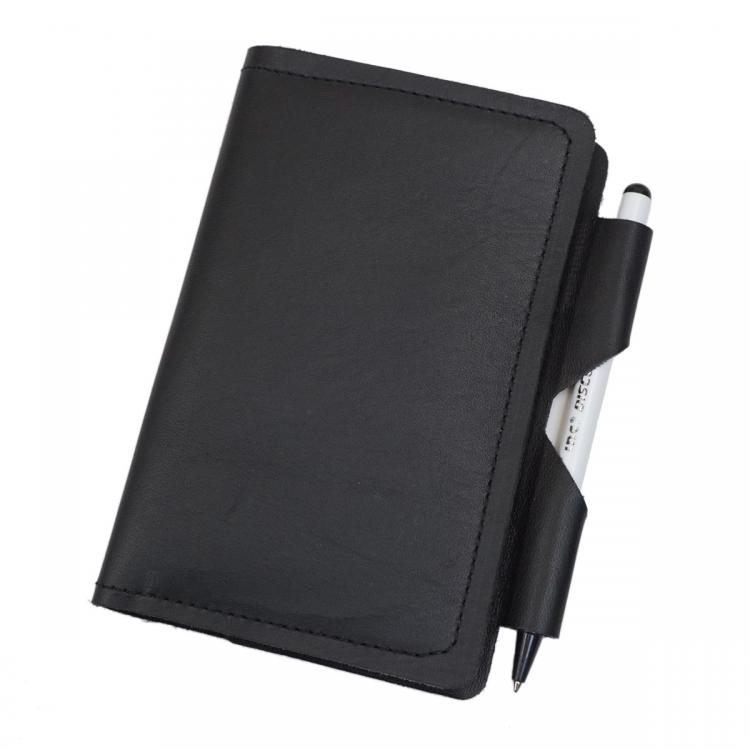
I actually went and made a Field Note yesterday. I used a different pen holder and card slots a bit different.

-
Attention! Congratulations Caitlin
TonySFLDLTHR replied to RKCrowe's topic in Leatherwork Conversation
Thanks for sharing, this is a really awesome story! CONGRATS!! -
The suggestion I would have is to make your grooves and stitch marks, then dye the piece. But before that you want to tool or stamp. When you tool or stamp the piece you might even put clear packing tape on the back of it so your piece doesn't stretch and warp too much. After stamp then dye then glue.
-
This is a really great point. Crafting helpers will only get you so far. Getting the style down is the key to making your own designs. It is possible to take the elements within the helpers and make your own design and then once you feel more skilled you can take it from there. One way to look at it is: Learn Leather will help teach you and build your confidence to get you to making your own designs, while the helpers will get you comfortable with the style and shapes.
-
dyeing suede
TonySFLDLTHR replied to bagga's topic in Dyes, Antiques, Stains, Glues, Waxes, Finishes and Conditioners.
Personally I haven't used the suede dye. What I can say is that using the leather dye on suede. It does work, but it does take more of it because the suede will eat it up. Also, it will turn it a bit darker than what you are thinking. Maybe someone else here will have some help. As soon as I find Rusty or Kevin I will ask their experience with it. -
All the Kidskin I have felt has that extra little stretch to it. I think you made a great choice! I really liked that skin when I was taking the pictures of it. I made a minimalist wallet out of some kidskin, just because there was some scrap on my desk, I really think it is going to hold up very good! I just checked the review button and it works. There may be something on the back end of our site, that we have to "approve" them. :et me go see if I can get your review posted!! Love seeing those up there....good or bad...we are always trying to find was to better serve.
-
dyeing suede
TonySFLDLTHR replied to bagga's topic in Dyes, Antiques, Stains, Glues, Waxes, Finishes and Conditioners.
This just might do the trick. http://springfieldleather.com/Suede-Dye-Fiebings-Dark-Brown-4oz -
We also have carving aids. We are in the process of developing more. http://springfieldleather.com/search?keywords=carverite
-
Holographic Saffiano / Printed Foiled Calf Skin
TonySFLDLTHR replied to katiebeee's topic in Suppliers
I didn't find any here. We have some Saffiano style, but nothing that is that color. -
Holographic Saffiano / Printed Foiled Calf Skin
TonySFLDLTHR replied to katiebeee's topic in Suppliers
I'm looking into here. I will show you some of what we have, however it is not the same hand as what you are using. http://springfieldleather.com/Leather/Metallics http://springfieldleather.com/Suede-Cosmic-Silver-Prism