TomE
-
Posts
1,300 -
Joined
-
Last visited
Content Type
Profiles
Forums
Events
Blogs
Gallery
Store
Everything posted by TomE
-
Very pretty! What kind of cow is Molly?
-
Pretty art work. Made me smile. Is that a marmot?
-

Removing front of panels from Lane Fox saddle
TomE replied to tielz's topic in Saddle Identification, Restoration & Repair
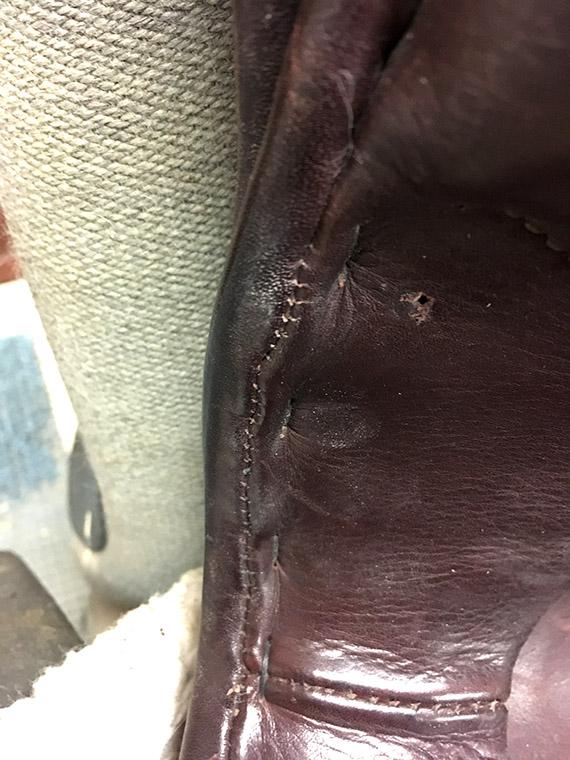
I have a Barnsby Hammond saddle but have not dropped the panel on it (yet). Can you show a picture of the tack you're asking about? I would start by cutting the pop stitching on the bottom front edge of the pommel, shown in the picture below. Best way to do this is to begin bending the panel downward on one side of the gullet to expose the stitches between the layers, and cutting them with a scalpel. Cut the stitches, working your way from one side of the gullet across to the other side. Pay attention to the pattern of the stitching, such as any overstitching to reinforce a seam, because you'll have to replace this stitching. Ideally you'll be able to use the same holes to sew the panel back in place. If you can't insert a harness needle through a hole try using a second needle inserted from the backside to gauge how the layers need to move in order to line up the holes. It's anybody's guess how much the saddler angled the awl for each stitch. Need to search for the entry/exit point for each hole and try to follow it with your needle. If you're really stuck you can work your way through with an awl. As the front of the panel is freed up by cutting the stitches you can determine if the tacks you mentioned also need to be removed in order to drop the panel. I haven't seen tacks holding a panel in place although there are 2 small holes in my panel ( one shown in the picture) that might have been caused by a tack pulling through the leather. I did replace billets on a Custom Saddlery dressage saddle with 2 screws embedded in felt pads that secured the panel, instead of the pop stitching. Most of them I've done use the pop stitching.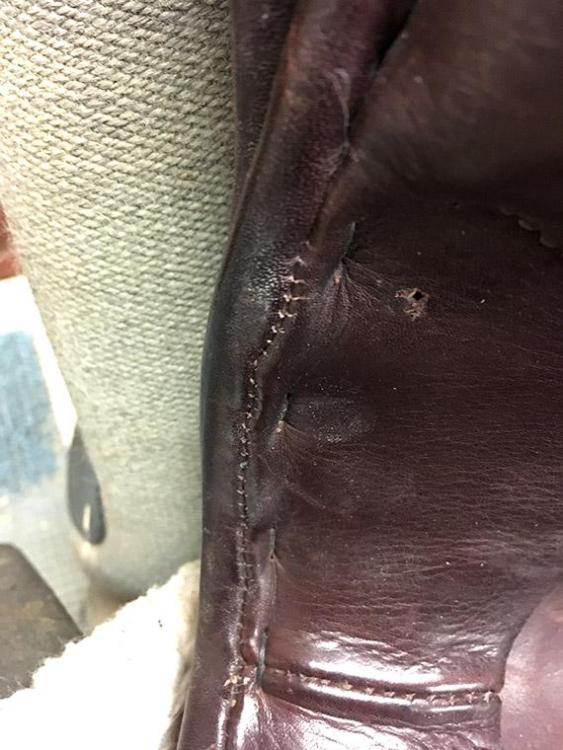
-
Thanks, Jonas! Hope to incorporate machine sewing more often when making bridles.
-
Thanks so much! Ha! I will leave that to the professionals. It is better for me and the horses if I stay on the ground. Thanks again for your kind comments, Ron.
-
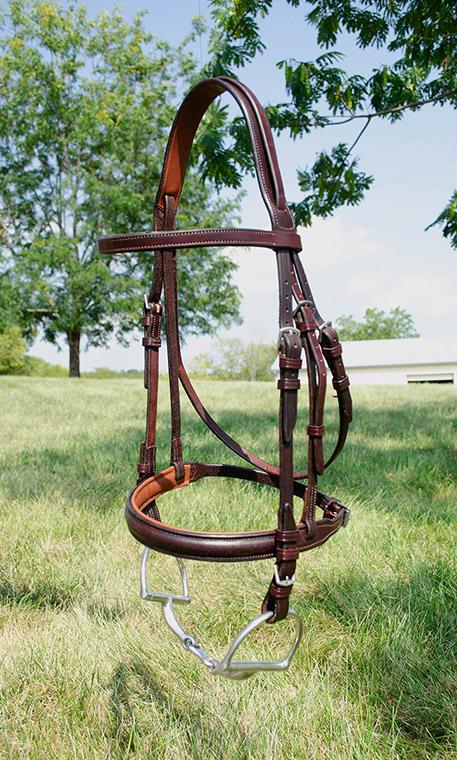
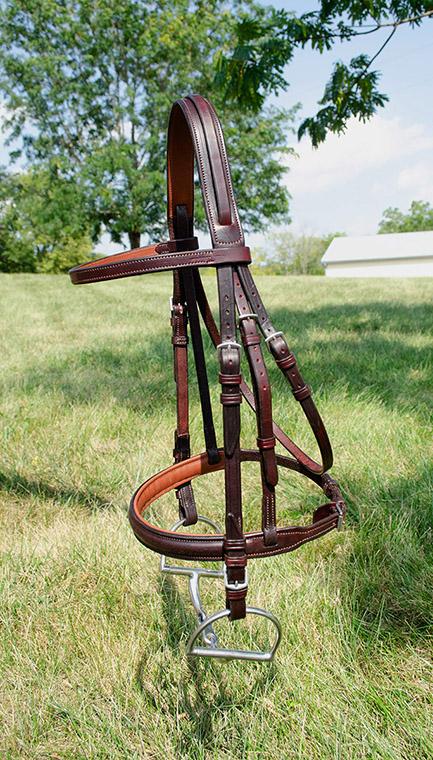
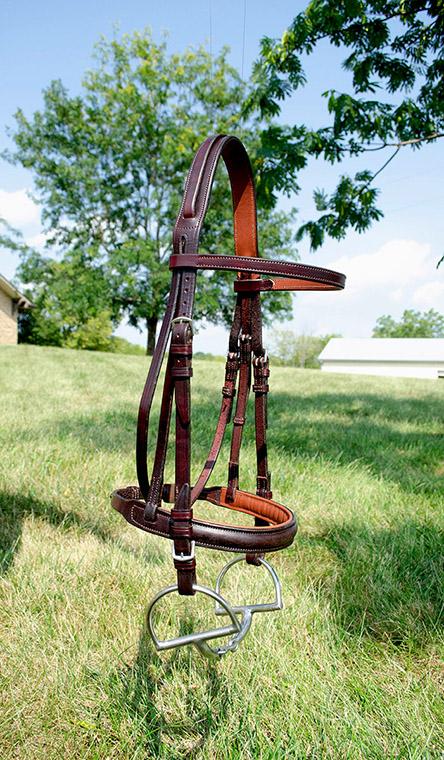
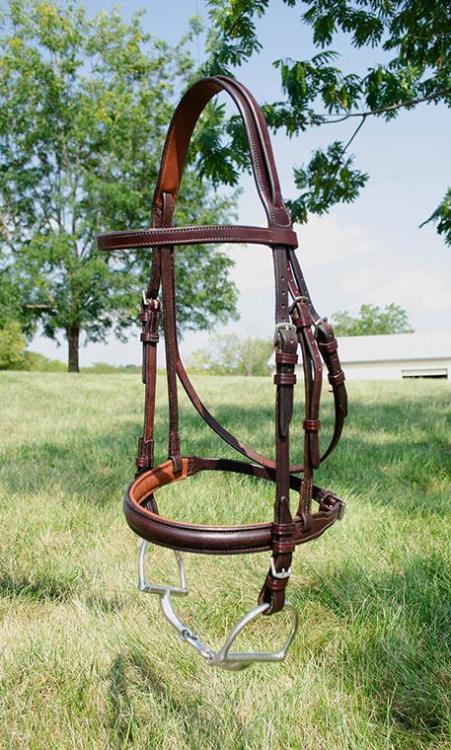
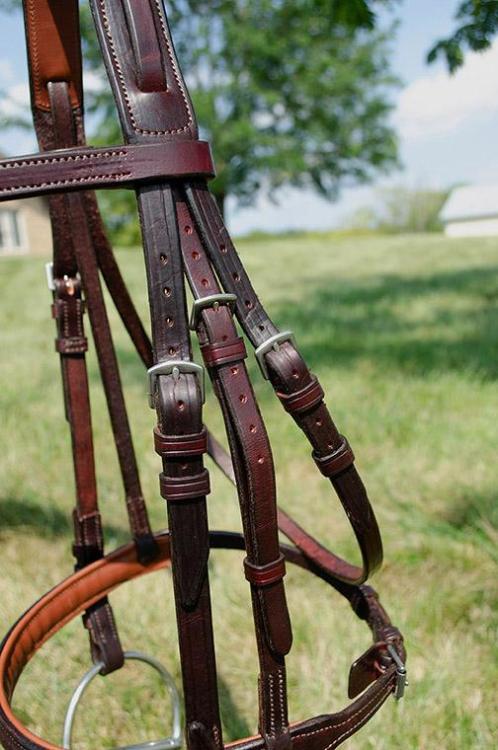
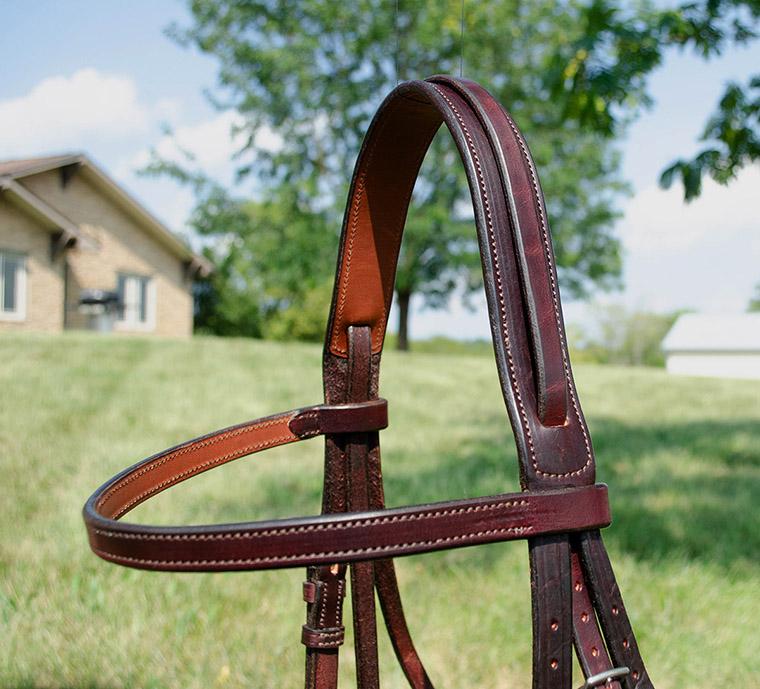
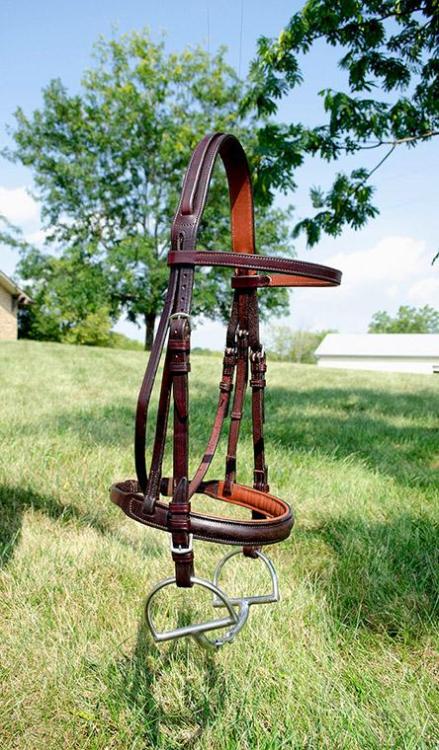
I simplified the crown, browband, and noseband so they could be sewn on a machine. I enjoy hand sewing and had plenty of buckles and loops to sew. This bridle is made from Hermann Oak latigo and lined with SF Foot oil tanned leather.


-
Love your folk art, @Stewart and the colors are great.
-
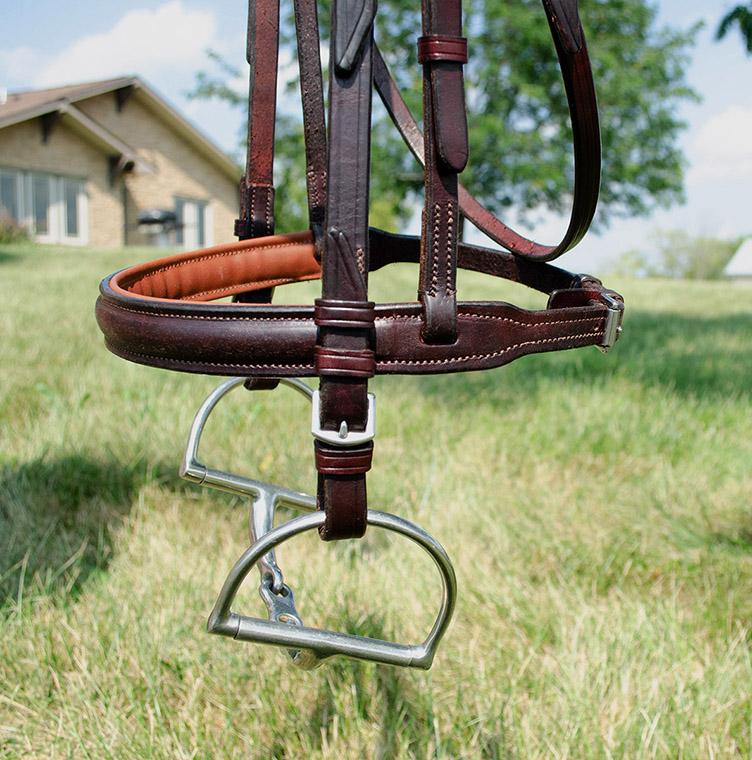
Thank you, Bruce. Check out those rounded edges.
-
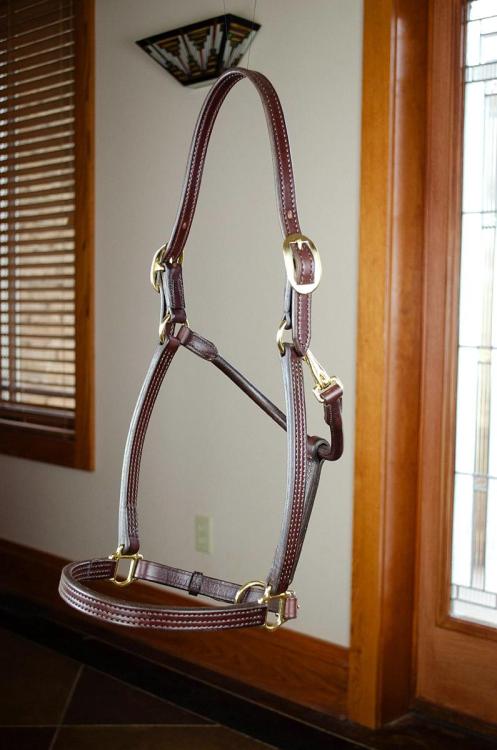
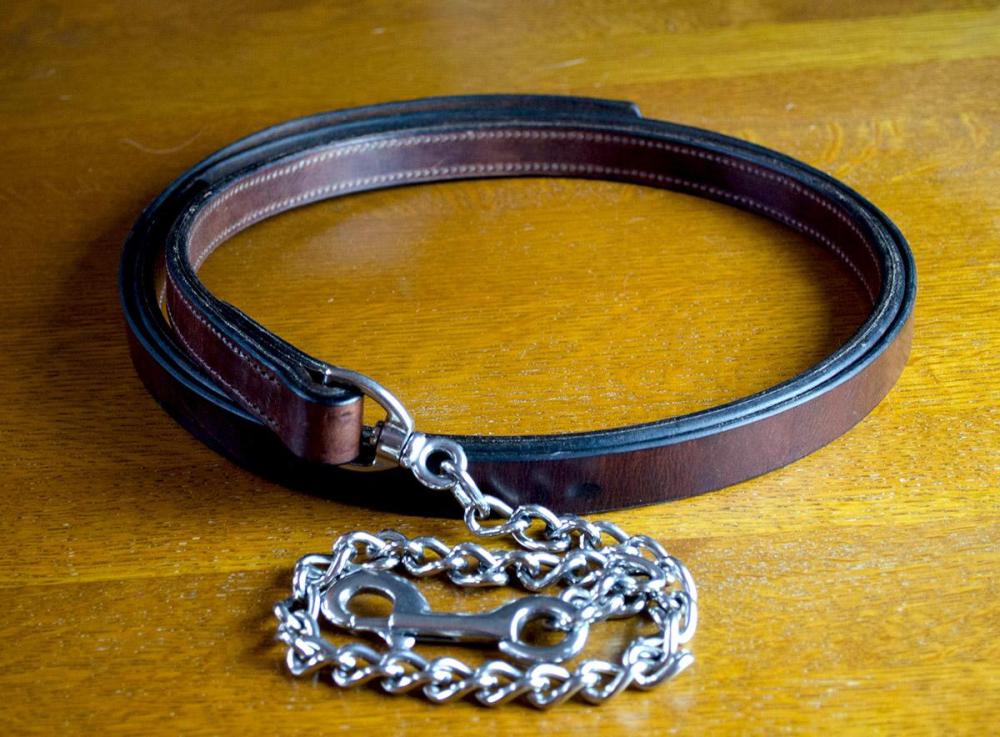
Thank you, Ron. The lead is 2 layers thick on the horse end. No additional weight added but it is much more substantial than what we use in the English halter classes. Ha! My magic trick is revealed. Thanks for your kind comments.
-
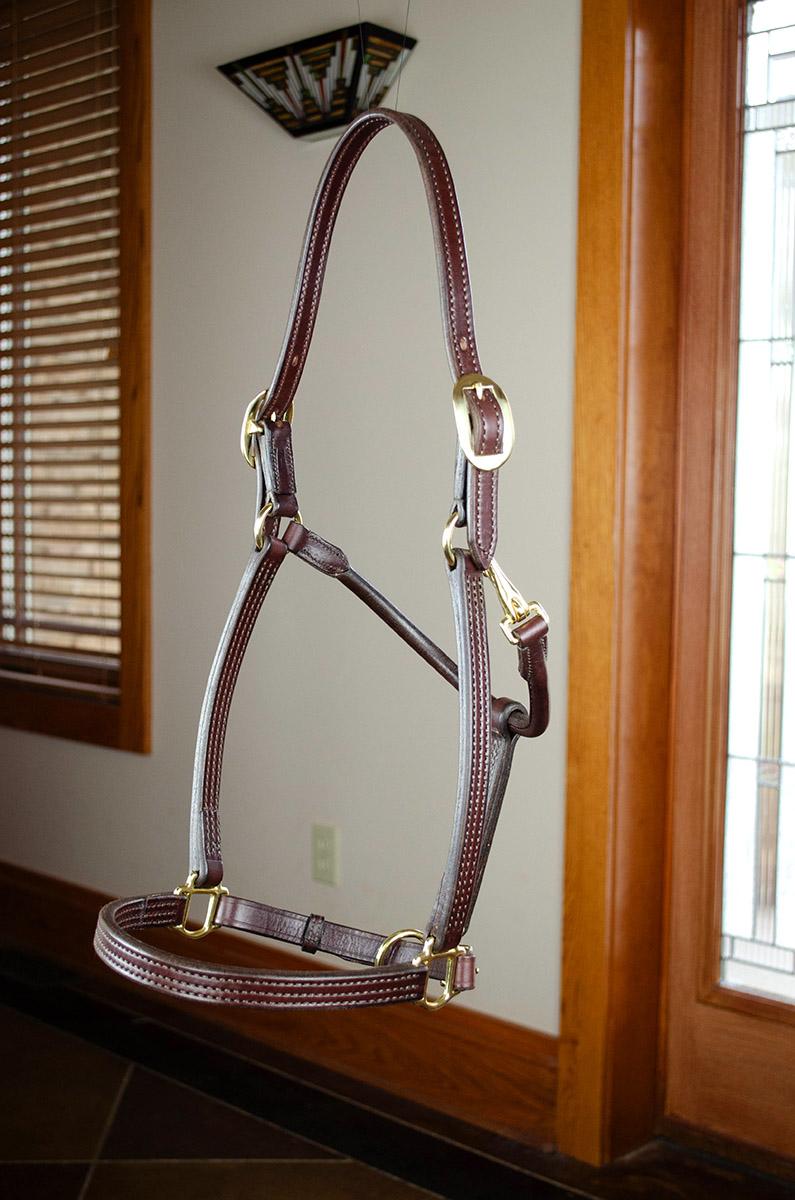
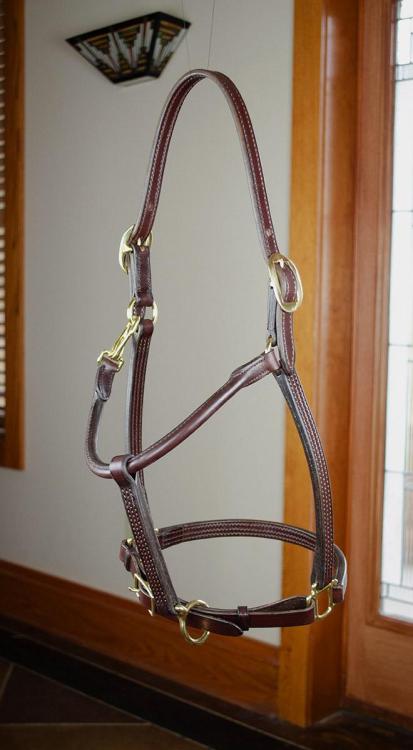
Halter and lead for Western halter class. The triple stitching barely fit in the 3/4" wide straps, but that's what the client wanted for a horse with a refined head. The 8 ft lead is weighted (double thickness) on proximal half, and made from 10-11 oz Hermann Oak chocolate harness leather. The client wanted brass hardware on the halter and a stainless lead chain so that's how we roll.
-
Looks like a winner! Nice fit.
-
Tandy sells the kit online and the instructions can be downloaded from their website.
-
Hockenberry Custom Boot Book
TomE replied to rmdorman's topic in Shoes, Boots, Sandals and Moccassins
Sounds like a great goal. I think there is much to learn from the old books, even in the age of Youtube. -
Hockenberry Custom Boot Book
TomE replied to rmdorman's topic in Shoes, Boots, Sandals and Moccassins
I had a similar problem with a harness making book that was out of print. Searched for a used copy for several years. The new owners of the deceased author's business didn't know if they had rights to the book, didn't seem interested in reprinting it, and inquiries to the family went nowhere. I found the book by interlibrary loan and photographed it (800 pp). A year later, a used copy became available from one of the book sellers I had contacted so I bought it. Might ask Lisa Sorrell https://customboots.net/ if she knows of a copy. Good luck. Update: I see that Lisa Sorrell sells her own book/video course on bootmaking at the website above. -
I've bought most of my thread from Leather Machine Co. Runs through machines well, and I do most of my hand sewing with their #207 nylon that I wax.
-
From the description at Aliexpress I couldn't figure out what this machine is capable of. It costs as much as a Class 14 splitter from Leather Machine Co. The class 14 is a workhorse that is backed by LMC's customer service, and blade sharpening service. This desktop machine doesn't look as sturdy as a Class 14, so I wonder about the thickness and width of leather pieces that it can handle.
-
These folks make quality name plates and tags. https://www.haltertags.com/
-
I guess I should give it another try, being more careful in the application. I mostly use bridle leather that has a pretty nice sheen already, so I haven't revisited Resolene. The thread discoloration resulted from straight Resolene acting like a solvent to solubilize the dye pigment, which was deposited on the thread.
-
@CdK, I can send you more Resolene when you run low. My short experience with it was watching it lift the dye and discolor the thread on a project that I was previously proud of. I swore off acrylic finishes, for better or worse, but still suffer from flashbacks when using light colored thread.
-
Thank you, Jonas. I learned something about sewing shearling - it takes longer. I offered to make a leather covered foam pad for the surcingle, similar to a padded girth, but the client wanted the original look.
-
I think the machine stitching reflects the type of needle. See the LR point needle at this site https://www.schmetz.com/en/industrial-needles/needle-compass/cutting-points/. I would sew by hand as @BlackDragon suggested, using a bonded thread as for a machine and waxing the thread. I can do a neater job repairing horse tack by hand than trying to run over the stitches with a machine.
-
A damp piece of canvas removed the gummy residue from my burnisher.
-
I use this adhesive sealer on some projects to recreate the moss-back (pasted back) on bridle leather after splitting the thickness. Work it into the leather with a glass slicker to paste the fibers together. Seems to wear fairly well on horse tack. https://campbell-randall.com/product/sup-bt639-g-leather-finish-for-sealing-flesh-side-moss-back-suede-1-gal Since you've already applied burnishing gum maybe a surface finish would be better for correcting this project. Lincoln Stain Wax in neutral (no stain) will provide some shine and might serve as a barrier to contain the black Tokonole. It's a high end shoe polish and it smells nice!
-
Covering my bench with HDPE was a big help for cutting out projects. Menards has 4x8 x 1/4" sheets in a white color that brightens up my shop. @Northmount taught me that a Google search of this site using the syntax below is more efficient than using the internal search engine. Type in the Google search bar: site leatherworker.net <your search terms here>
-
McMaster-Carr has sanding drums and sleeves. https://www.mcmaster.com/products/sanding-drums/ One thing I like about the Cobra burnisher is the ability to adjust the speed. Need to control friction-heat to get a good result. The right amount of water and saddle soap on the edge is important, and I run the burnisher at about half speed. I usually finish the edge by hand with canvas and a burnishing gum or solution. Also, the wooden burnisher on the MP has that wide flat section that I use often for multiple layers of leather straps.