-
Posts
1,297 -
Joined
-
Last visited
Content Type
Profiles
Forums
Events
Blogs
Gallery
Store
Everything posted by TomE
-

Best places to get the finest Veg Tan shoulder (UK)
TomE replied to cordwainerbec's topic in Leatherwork Conversation
If you fancy black or shades of brown, bridle leather has a nice finish and a smooth pasted back (moss-back). It is veg tanned leather stuffed with fats and waxes. Sedgwick bridle leather seems to be a favorite in the UK. Available from Abbey England and other shops. -
This little round knife has been a handy addition for cutting and skiving in tight places. It seems to hold an edge. https://www.abbeyengland.com/abbey-round-knife-68mm-fs0480
-
I’ve seen this wear pattern on stirrup leathers with rotted linen thread. The thread on the surface is lost but the holes contain plugs of thread. Haven’t seen it turn black but I haven’t worked on pieces that were recolored.
-
Thank you! Still giving them away to people who give feedback on fit and function. Perhaps I will complete my apprenticeship in 2023 and make a business out of this hobby.
-
Thank you for your kind remarks. It is hand stitching. I too am curious what type of machine is used for commercially available bridles and reins. Can't compete with them on price.
-
I used an Arkansas oil stone to shape and sharpen a 3/4" English point punch last night. Mainly pushing strokes on a medium and fine stone, then stropped using green compound. Took over an hour but I wanted to go slow and keep the cutting edge flat. The luxury of being a hobbyist. I am using the punch to cut a taper on a strap and its much improved. The dull punch was drifting towards the edge of the strap instead of punching straight down.
-

First Leather Project
TomE replied to ChipperBags's topic in Purses, Wallets, Belts and Miscellaneous Pocket Items
Good job! Not something I am able to make. I bet she likes it. -

Finished the suspenders finally!
TomE replied to YinTx's topic in Clothing, Jackets, Vests and Chaps
Handsome suspenders with lots of stitching! The trigger snaps are tack and harness hardware. Batz Corp sells them in brass (5103B, 5105B) and stainless steel (5103SS, 5105SS) in addition to zinc diecast. -
Nicely done! Craftsmanship and kindness are a winning combination.
-
Stohlman used thin plywood plates tacked on with leather strips. Gives flexibility for holding odd-shaped projects. I keep collection of leather blocks of different thicknesses to shim the project on either end of the clamp when needed.
-
This is a Weaver stitching horse with modified jaws. The notched aluminum plates resemble a Stohlman design for sewing rounds ("The Art of Hand Sewing Leather"). I sew a lot of straps and can use the center section like regular jaws, or clamp the strap with the raised sections on the ends. That is especially handy for sewing a fixed loop on the buckle turn of a narrow strap. I can clamp the buckle at one end and the strap at the other, then sew the fixed loop in the gap between the ends. Same idea for sewing rounds, although I do most of them on a machine then shape them in a rein rounder.
-
These are 30 in. grips on reins that are 55-60 in. long, for Warmblood jumpers. I haven't replaced grips, only made new reins.
-

English Saddle - Attaching Front of Panel
TomE replied to ShellCordovanFan's topic in Saddle Construction
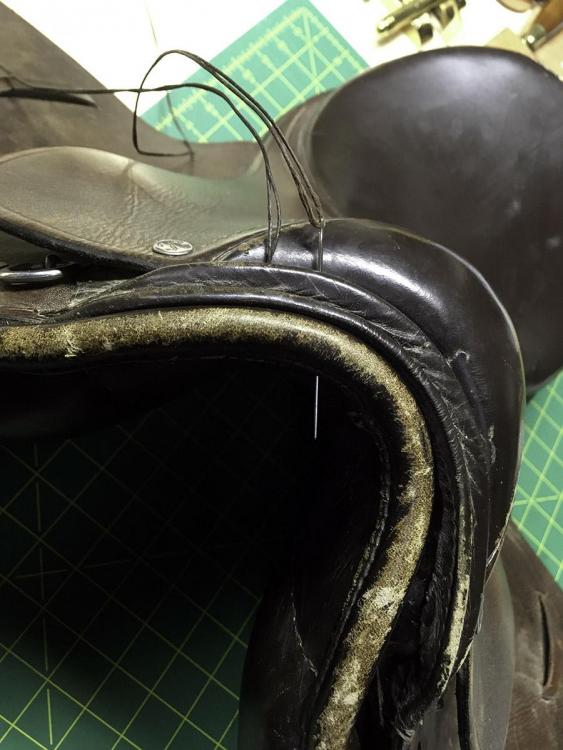
Sorry to be late to the party. The panel is secured with a single needle running stitch known as a pop stitch. The awl and needle are angled to create ~1/4 inch stitches spaced about 1 inch apart. For the repair, it is best to reuse the old holes without using an awl. I use 0.040" waxed polyester thread from Maine Thread Company, doubled up, for this job. I find it helpful to use a second needle to probe each hole from the opposite direction that I'm pushing the needle and thread. The probe pushes through one of the layers and helps me to get the 2 layers lined up as I push through with the needle and thread. The link you mentioned says to begin by knotting the end of the thread and doing a backstitch to secure the end of the thread before continuing with the pop stitch. That should be sufficient to hold everything together if you have the tree and panel properly positioned for the reassembly. Steinke has more information in "Repair Your Own Saddlery and Harness." -
If it takes up water normally then it's probably fine. Can dye a test piece to be sure. A safe bet is to clean the surface with Fiebings Deglazer. I have used Deglazer to prep bridle leather that I dyed with Fiebings Pro black dye. It removed the waxy surface and a bit of brown dye from the bridle leather. The black dyed piece looks and wears like black bridle leather from the tannery.
-
Thanks. I think I spent about 30 min pop stitching each rein. I see it would be better to include a stitch over each end of the cuff to secure the edge. Learn something with each one I make.
-
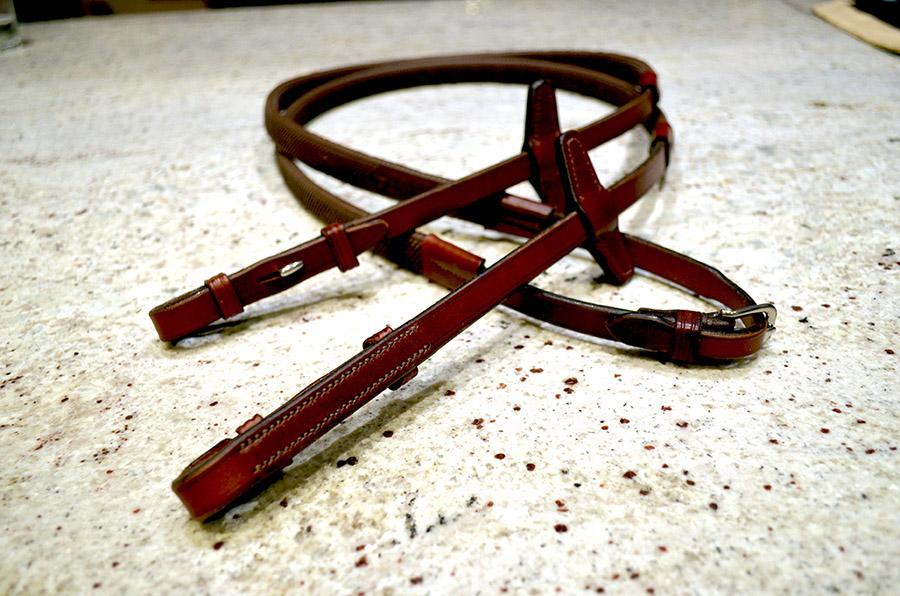
Finished the 5/8" reins and used a pop stitch to secure the rubber grips, per @jcuk's advice. This running stitch is done by angling the awl to separate the stitches and minimize the number of holes in the leather reins. For reins I made previously, I sewed along the length of the grips using a machine. These reins were made for the winning bidder of a silent auction to support educational programs of the American Hanoverian Society breed registry.
-
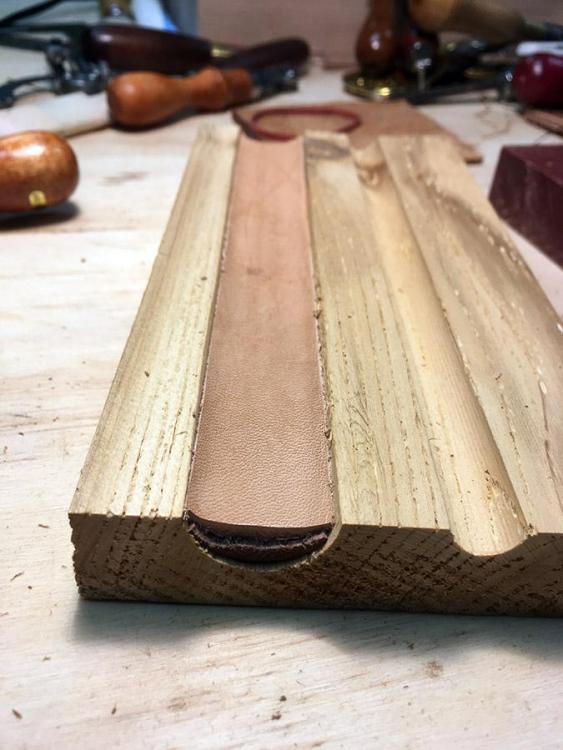
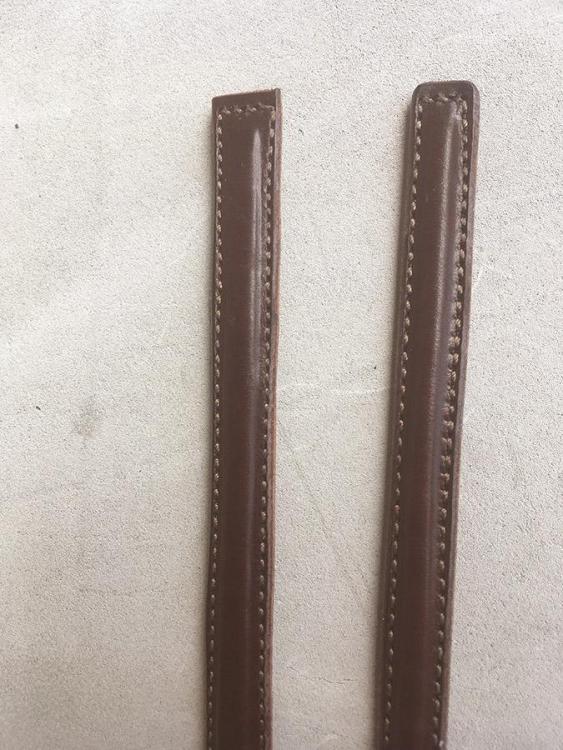
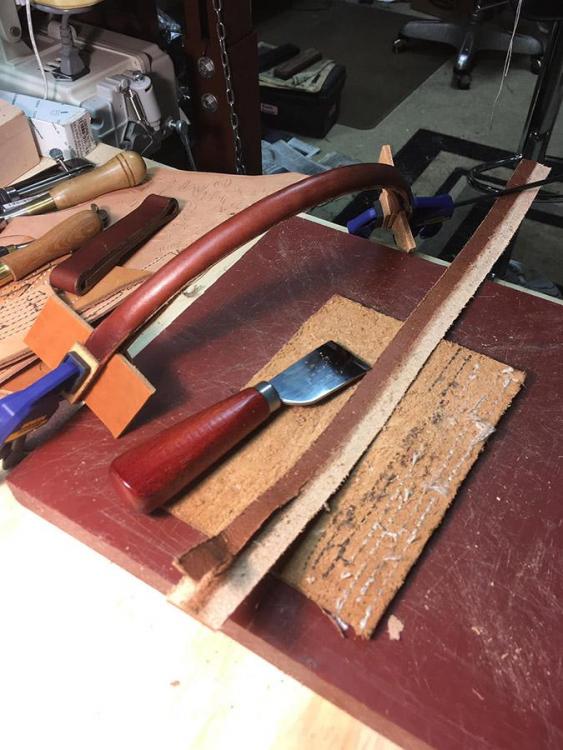
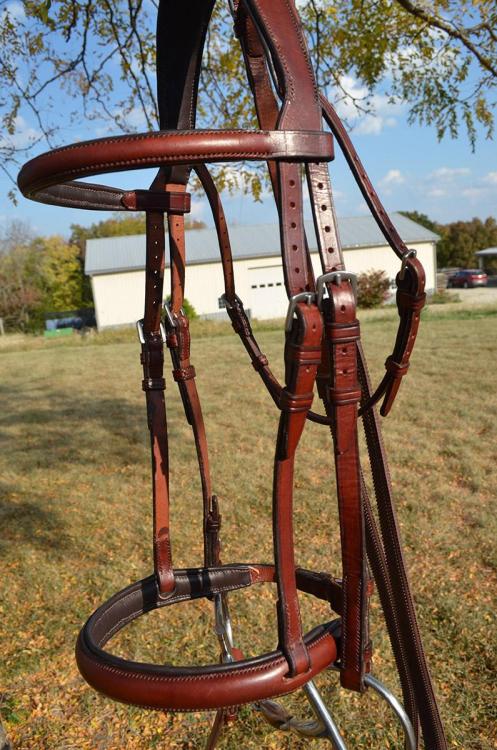
I will look into the sole stitcher option. I can sew raised leather pieces with a small border but not the swells that have no border. Here are some practice raised pieces. I would use a smaller needle and thread for the real item. The swells are two layers of skived leather with a padded liner added for a halter. The pictures below show a swell being shaped in the rounding block, and a skived strap along with a shaped swell ready for sewing. The bridle picture shows the hand sewn item.
-
The paddle foot might be worth a try. For raised leather pieces, I have used an inline presser foot. It requires a bit more border than I want on the finished piece but I can trim after sewing. For swells that taper continuously and have no border along the edge I am uncertain how to sew them on a machine. The process of forming the swell by skiving and shaping 2 layers in a rounding block is not conducive to leaving a border that can be trimmed after sewing. Additionally, the padded liner sewn on the bridle pieces would interfere with trimming the edges after sewing. I guess this bridle is designed to be hand sewn. I agree that for machine sewing at 8+ SPI I would need to use a smaller thread and needle.
-
Look forward to hearing about this custom feed dog/plate. I am on the lookout for methods to machine sew bridles that I now sew by hand. I have a Cobra 4 and don't see myself buying a second machine at present for my tack making hobby. 9-10 oz leather with #207 thread @ 9-10 SPI. Particularly interested in how to navigate along the edge of a swelled noseband.
-
Here are links to the information that @kgg mentioned above. I use the narrow feed dog and plate for everything on my Cobra Class 4 and find it easier to switch between heavy and lightweight leathers. https://www.rw-leatherworks.com/blog/2019/02/dumbing-down-a-cowboy-cb4500-cobra-class-4-or-similar-harness-stitcher.html
-
Thanks once again, @jcuk! I will use a machine on these reins and practice pop stitching on some scrap. Finding my groove as I make more pairs of reins. I appreciate your help.
-
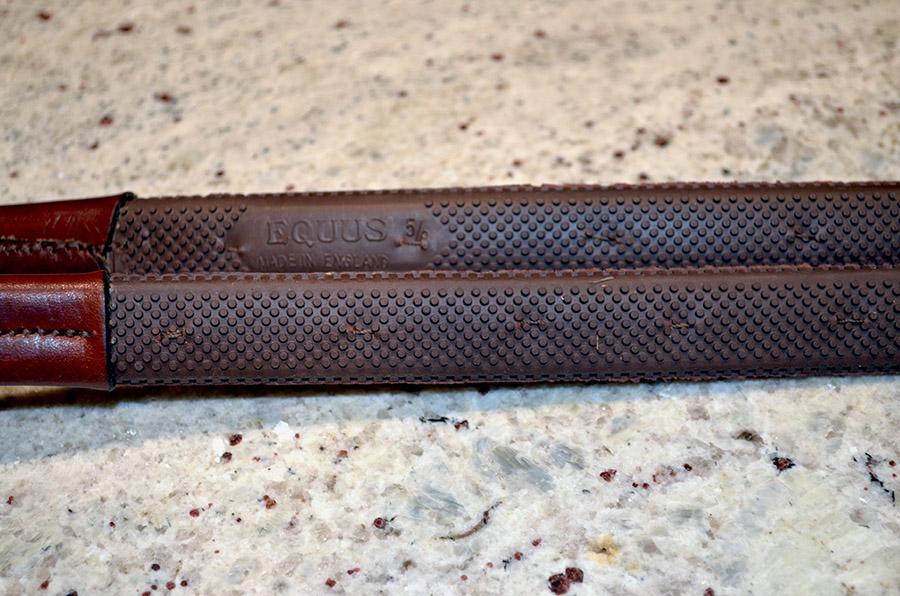
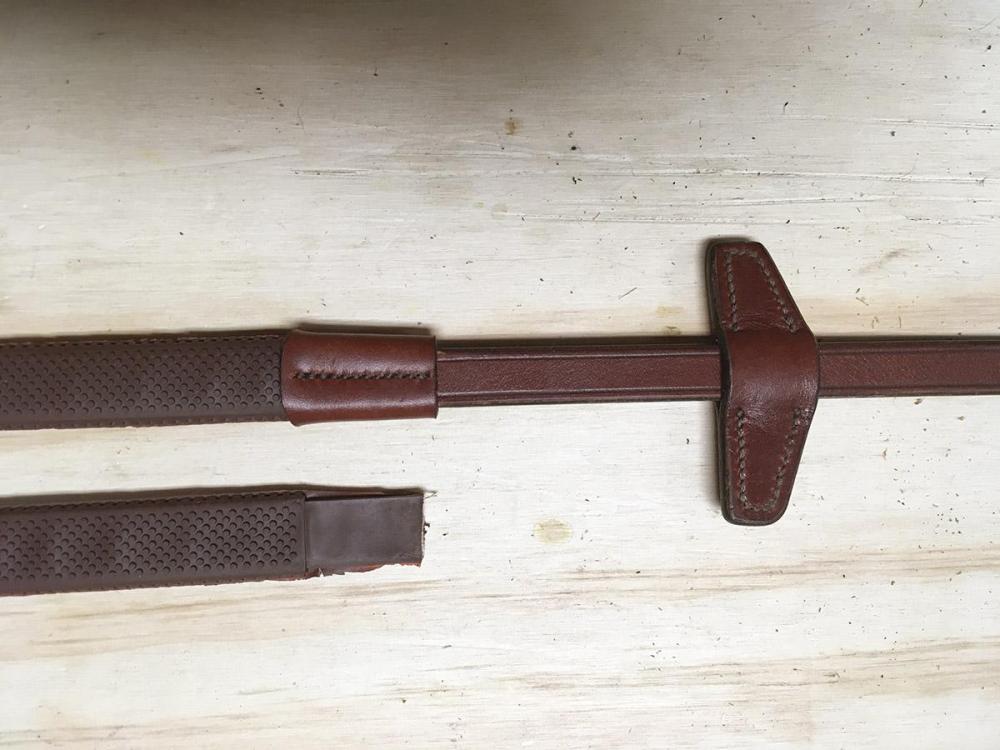
Thanks for the additional info. I really appreciate learning from your experience. Here's a picture of the 5/8" grips without the thick rubber cuff seen on the 3/4" reins above. I did split some bridle leather to make cuffs for these grips. Is it necessary to sew along the length of the grip to secure it? These grips fit snugly on the strap but I suppose they might stretch if someone cranks on the reins. Steinke recommends using a single needle pop stitch. I previously used a machine because that's how the Antares reins are constructed. What do you do?
-
There are 2 aspects to consider. The spacing and the size of the holes. A pricking iron is designed to mark locations of holes that will be created with a sewing awl. Awls are shaped and sharpened to create different sizes that are matched to thread size. The goal is to use the smallest awl that will accommodate the thread size and needles, so that the holes will close around the thread. Fine bridlework features stitching at 12-14 SPI, which you can't achieve with larger holes created with a punch or chisel. So the optimal stitch length is a matter of aesthetic, but limited by the size of the holes you create. With small holes you can do fine stitching that is very strong.
-
Well, you probably can't see it in the pictures but all the buckles are sewn with the fixed loop tight to the buckle and with side stitches to gather the buckle turn, as you recommended. My process for the rubber reins is to bevel the edges of the strap, punch a hole near the best end (to become the billet end), loop parachute cord through the hole, fish the cords through the grip, tie the cords to my workbench, and milk the grip onto the strap. I trim and finish the ends, crease the strap, etc. after the grips are in place. The 3/4" grips with rubber cuffs were a struggle to get on. I just received 5/8" Equus grips without rubber cuffs and they went on snugly without any problem. I need to make cuffs for the 5/8" reins on my bench now, so I'll try splitting some bridle leather for the cuffs. How many times can you recover reins? Wondering how the small pips will hold up in comparison to large pips. Thanks, @Backwoodsman.
-
Thanks, @chuck123wapati!


