


TomE
-
Posts
1,292 -
Joined
-
Last visited
Content Type
Profiles
Forums
Events
Blogs
Gallery
Store
Everything posted by TomE
-
 I was surprised to learn that the freezing point of pure acetic acid is 16 deg. Centigrade. https://www.sciencedirect.com/science/article/abs/pii/S016776750080041X#:~:text=properties of acetic acid.,point is %2B16.6 °C. Since vinegar is typically 4-8% acetic acid in water, the water actually lowers the freezing point.
 -
Handbag from scraps
TomE replied to Garyak's topic in Purses, Wallets, Belts and Miscellaneous Pocket Items
Pretty cool bag! My scraps aren't that colorful - brown and brown. -
Made a thing: Sporran inspired hip bag
TomE replied to YinTx's topic in Purses, Wallets, Belts and Miscellaneous Pocket Items
Thanks. I am interested in different methods for this. I buy mostly bridle leather with a moss-back but if I split it then I will seal the backside. -
Made a thing: Sporran inspired hip bag
TomE replied to YinTx's topic in Purses, Wallets, Belts and Miscellaneous Pocket Items
Very handsome! How did you seal/burnish the flesh side of the flap? -
@TonySFLDLTHR, planning to call SLC tomorrow to check stock on HO bridle sides. 9-10 oz sides in black, London brown, and havana. Wanted to select 3 sides in person and I'm 3 hrs away from the store. Do you know about current stock?
-
Can sew between layers of leather using a holster plate if needed. See 58:30 min in this video from Chris Andre.
-
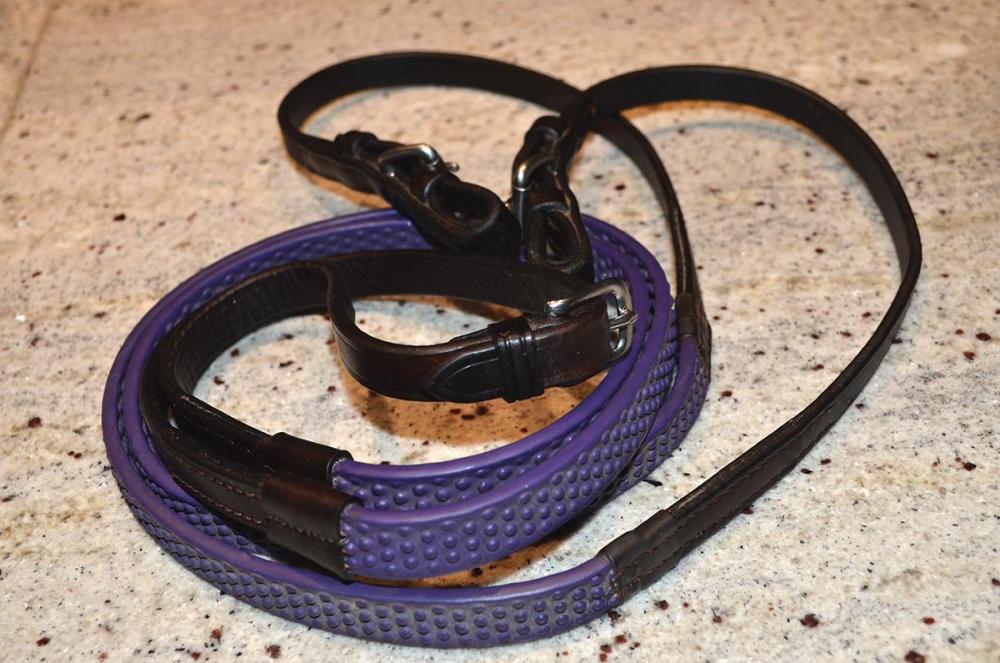
Yes, I like the weight of leather reins covered with the Equus grips. The rubber coated nylon web grips on these reins are lightweight and flexible (floppy), but they are a favorite of the owner. The cuff with a double row of stitches is the original. The cuffs I removed during the repair were falling apart so I replaced them with a thicker cuff. I could have incorporated the cuffs into the 2 stitch lines holding the leather straps on the grip webbing, but I decided to makes certain the straps were firmly attached to the grips before covering the ends with the cuffs.
-
Pergamena tannery specializes in lighter weight veg tan leathers. https://www.pergamena.net/ They've been around a long time. See p. 10 of this newsletter. https://livestockconservancy.org/wp-content/uploads/2022/06/Summer-2022-Newsletter.pdf
-
Thanks, @jcuk. Foal slips seem likely since we’re in the business of producing foals. Still adding the side stitch to buckle turns and placing the fixed loop tight against the turn. I am trainable.
-
Batz Corp. Download their catalog for easy searching then search on part number for price.
-
"I only want to see you riding in the purple reins." Couldn't resist. Yesterday's project was replacing the buckle ends of a friend's reins. Torn in two. Got a pretty good color match with existing - that's dark brown Fenice Colorfast dye. These rubber grips are nylon webbing coated with rubber. A piece of web inserts into a split in the leather strap and is sewn in place. I prefer grips that slide over a continuous leather strap. The cuffs covering the junction of leather strap and rubber grips are a little different than existing but I think they'll pass inspection.
-
Thanks! I appreciate it. Thank you. Staying focused on halters, bridles, and reins until I master these items. Thinking about future projects to use leftover shoulders and bellies of 9-11 oz bridle leather sides.
-
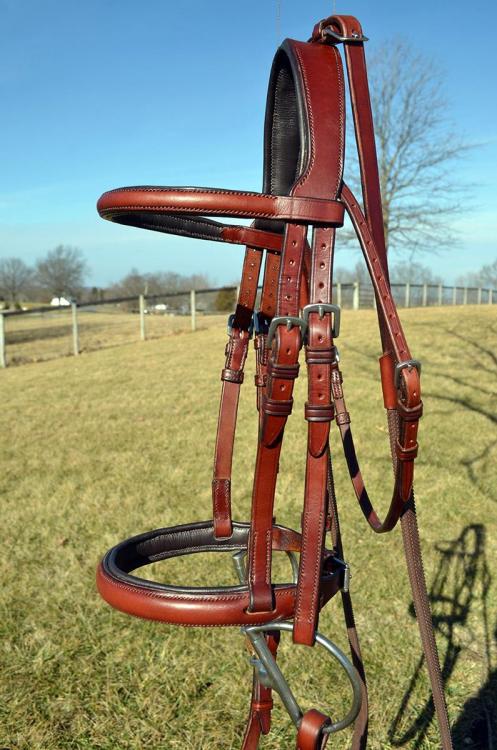
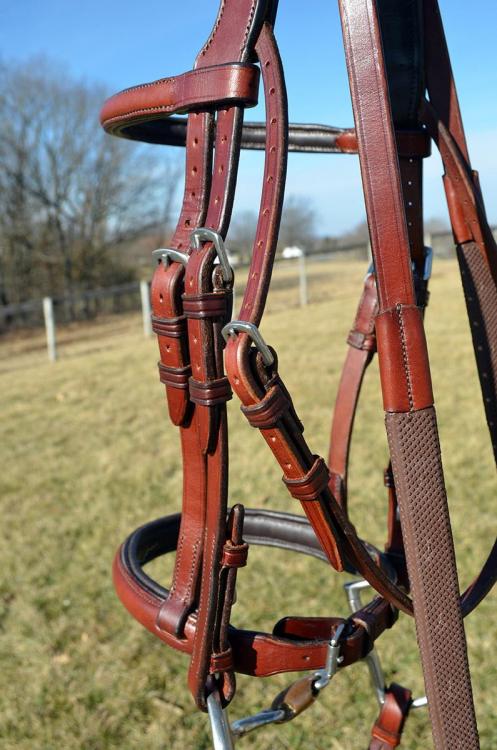
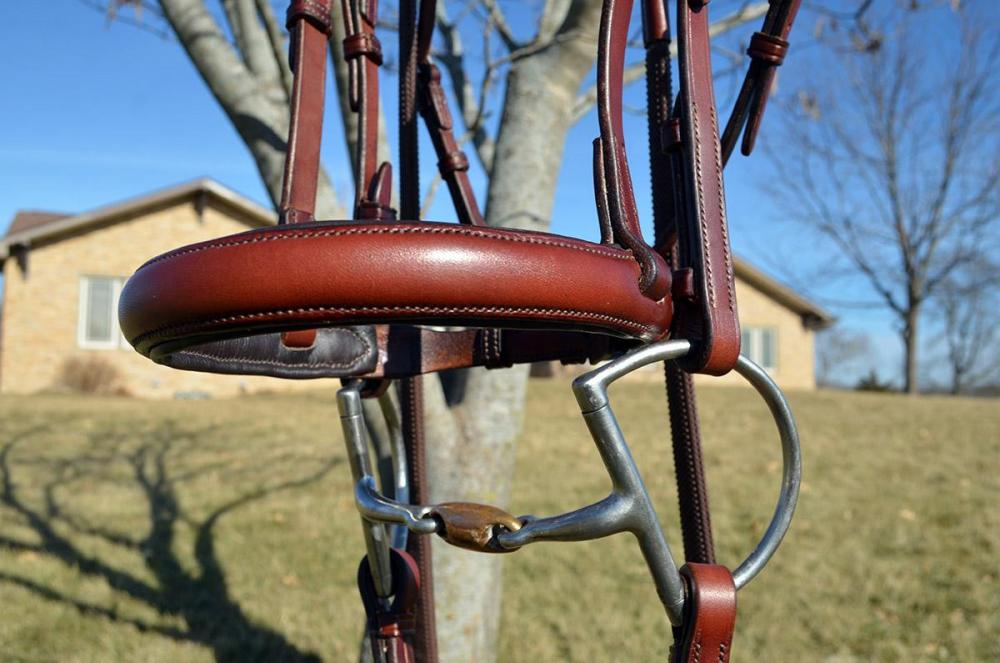
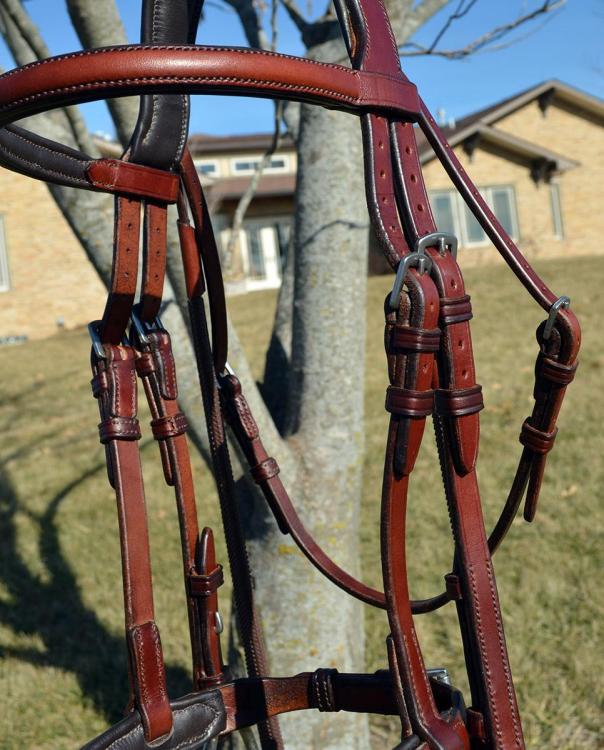
A little bit of Hermann Oak bridle leather, and a lot of thread.
-
Interesting article and business. Best of luck to you. I think @Mulesaw would relate to doing leathercraft at sea.
-
Beautiful work on the knives and sheaths. Thanks for sharing.
-
I burnish thin leather (~3 oz) by laying it flat on a slick surface like a cutting mat and rubbing with a folded piece of canvas. Turn the leather over and work the top and bottom of the edge until it looks right. I also use a power burnisher covered with a canvas sleeve. Use light pressure and support the thin leather with your finger tips. I rub the edge on a piece of canvas wetted with water/saddle soap to moisten the edge then power burnish. I typically don't use gum trag because I burnish before dyeing the edge then do another round of burnishing after dyeing.
-
Pergamena Tannery specializes in veg tanned, lightweight leathers including goat. https://www.pergamena.net/
-
I'm thinking I can make a leash and collar out of cow hide that won't break with the amount of force a person can exert on the end of a leash. If you're tying the animal then I would want it to break at some point or risk injury to the animal's back or neck. At least that's how we think about leather horse tack.
-
The Cobra Class 4 (or Cowboy CB4500) really shines when sewing 12-30 oz of material, but it's not practical for 6 oz or less. I have a Class 4 and hand sew about half of my projects. Sometimes it's easier to sew by hand than to configure a project for machine sewing. I have the Cobra burnisher and use the sanding drum more than the wooden slicker. The sander is handy for leveling up edges made from multiple layers. I covered the burnisher with a canvas sleeve and it's handy for the initial burnishing of long straps like reins, but I still finish the edges by hand to get a smoother finish. My advice, as someone who recently returned to leathercraft after a ~50 yr hiatus, is at first to focus on a few types of projects using hand tools. Learn how to use and maintain the tools while figuring out how a machine would enhance your productivity or enjoyment. As we saw in the Terminator movies, machines have their limits and don't always carry the day.
-
Better yet, could train an AI algorithm to value leather goods based on pictures/prices of items posted online. We could use the app could to set the price of our goods. I'll match any advertised price, etc. ...Am I on the right track?
-
Better days ahead in MO. Stayed above 0 deg F last night and the wind has moderated. Power stayed on. Horses are doing fine in the cold, eating lots of hay and some are blanketed. Predicting 60 deg. F and rain later next week. Merry Christmas and happy holidays everyone!
-
Couple of belts
TomE replied to Nooj's topic in Purses, Wallets, Belts and Miscellaneous Pocket Items
Those belts look great to me! What types of leather and finish did you use? I know what you mean about the time involved. It takes me 20 hrs to make a bridle and I don't feel comfortable charging what I think my time is worth. I could cut corners (e.g., simplify the design and machine sew) but I'd rather do the job in a way that builds my skills and satisfies my standards. I have the luxury of treating this as a hobby while gaining more experience and building a reputation. -
Highly skilled work right there. I'm interested in the modified awl. Heated and bent in a curve? How long? How do you sharpen it?
-
Nice work! I'm sure they will be pleased.
-
Thank you, @Basically Bob. I'm getting faster but I am basically a 2-trick pony -- bridles and halters.


