TomE
-
Posts
1,295 -
Joined
-
Last visited
Content Type
Profiles
Forums
Events
Blogs
Gallery
Store
Everything posted by TomE
-

Skidmore's leather cream
TomE replied to dikman's topic in Dyes, Antiques, Stains, Glues, Waxes, Finishes and Conditioners.
I view “natural ingredients” as a marketing ploy. Nature is full of toxins, and most tanned leather has been exposed to unnatural chemical extremes to break down collagen and strip out other stuff. So I’m looking for quality ingredients, whether synthetic or natural. Fiebings Aussie conditioner seems waxy to me but doesn’t darken leather, similar to Bick 4, whereas Blackrock Leather N’ Rich is waxy and consistently darkens leather. I assumed it was an oil that darkened the leather. I wonder if the petroleum distillate you mentioned is the same one in neatsfoot compound. In the Encyclopedia of Saddle Making the Stohlmans note they used a lot of neatsfoot compound to good effect but recognize that pure neatsfoot oil is a superior product. -
Lovely combination of stitches and stamps. What is the hardware for attaching to the guitar?
-
Springfield leather might be able to cut them from the larger hides they have in stock. They have a shop for custom work - clicker dies, cutting by hand, splitting, etc.
-
Another home run!
-
I replied to your previous post about this. Abbey England sells blades for the common wooden strap cutter. I sharpen and strop these blades, so I rarely replace them.
-
https://www.abbeyengland.com/strap-cutter-blade-fe0097
-
Stitch Length Settings on Cobra Class 26
TomE replied to PlanoMike's topic in Leather Sewing Machines
The needle size won't affect the stitch length selector. It's just a matter of choice; how big and closely spaced you make the holes for a given weight of leather and project use. -
Red Wing Black Bird Buckle
TomE replied to Stewart's topic in Purses, Wallets, Belts and Miscellaneous Pocket Items
Folk art for the ages. What a fun piece! -
Stitch Length Settings on Cobra Class 26
TomE replied to PlanoMike's topic in Leather Sewing Machines
My Class 26 easily sews 9 SPI with a #22 needle and 138 thread. It's rated at 3-10 SPI but I haven't tried smaller needle and thread. I bought the machine (barely) used and it was making large stitches similar to what @PlanoMike is seeing. I removed the stitch length dial and reset it so the middle range was about 6-7 SPI. -
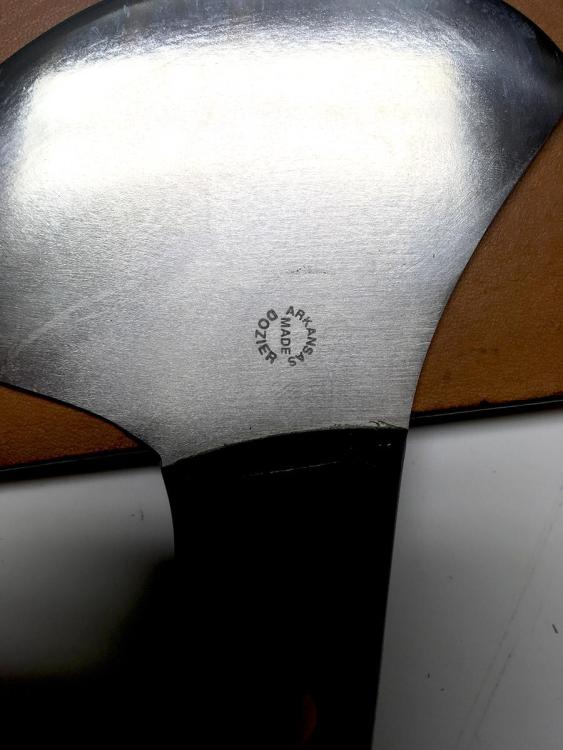
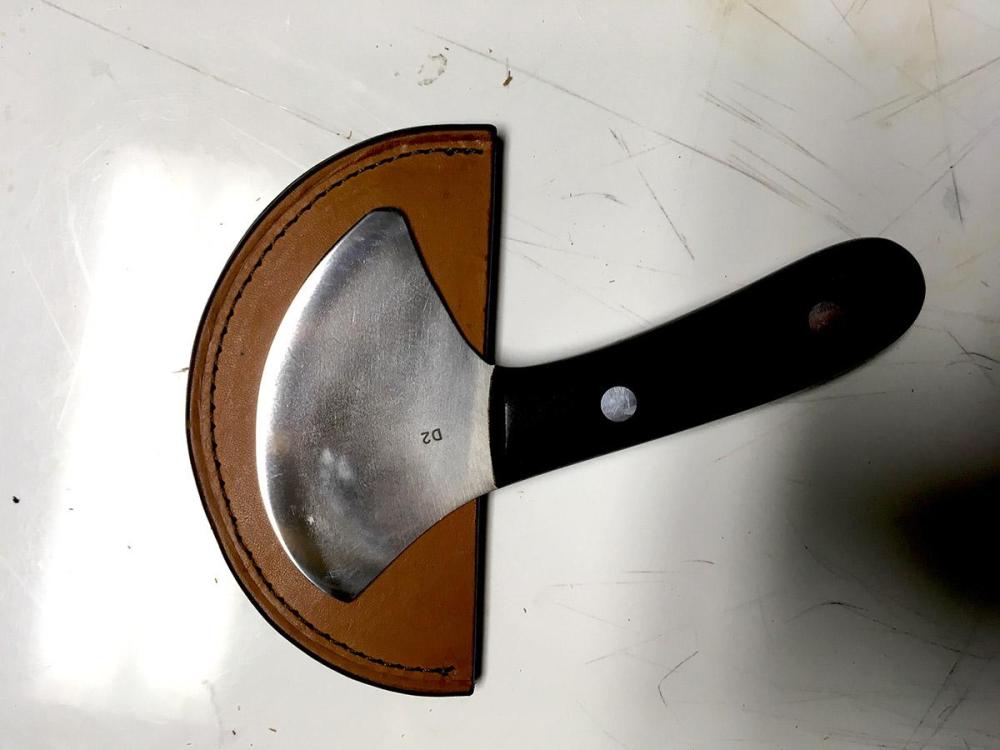
Several Dozier knives still available at https://www.westernstarleather.com/Leather-Tools-_c_235-4.html.
-
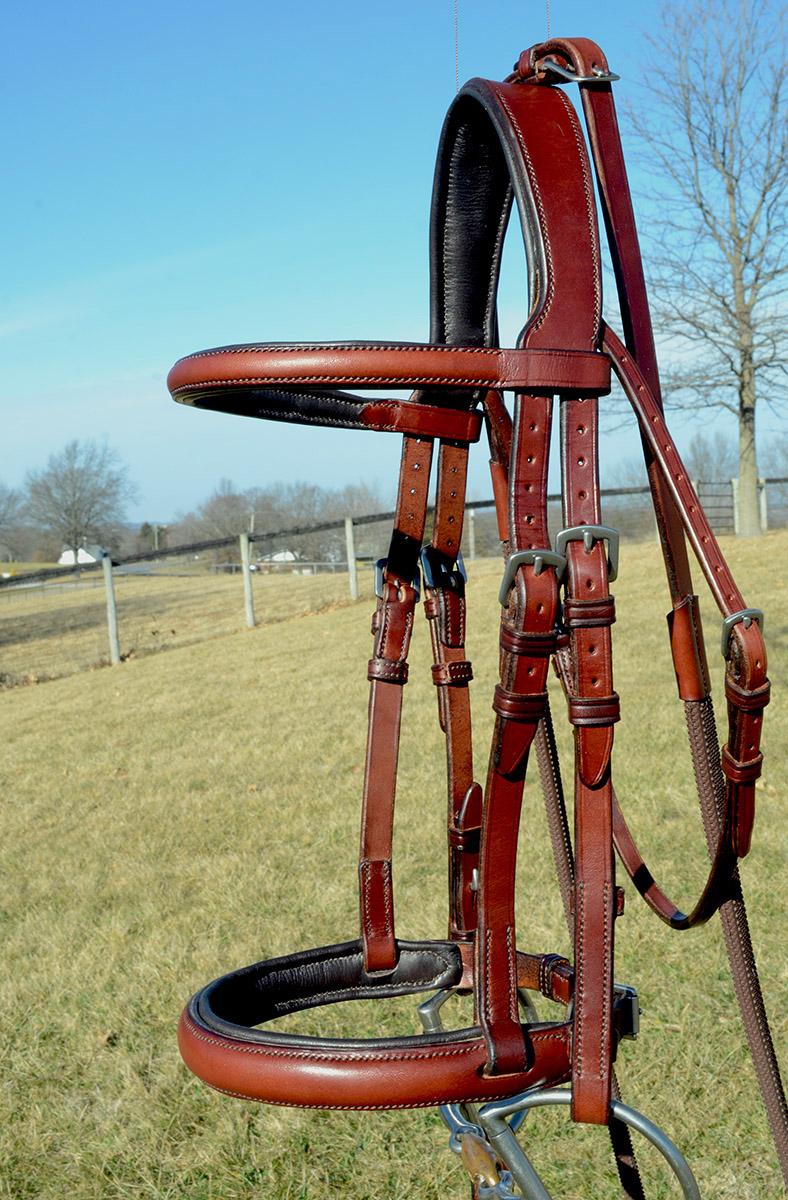
Older tools are in many cases the best quality available. Have a look at @bruce johnson's website and other online sellers of used leathercraft tools. I recently bought this knife from a saddler who is closing his shop. I've been looking for several years for one of these, and it was worth the wait.
-
Thanks for the info, @Wizcrafts. Appreciate knowing the whys and hows of machine sewing.
-
Interesting stuff. Look forward to seeing the completed jacket.
-
Yes, and true for black bonded nylon as well.
-
Well done! Hope your Easter is memorable, @Gezzer.
-
Sharp looking artwork and original design. I'd wager a real craftsman is at work. Looks like a great business asset.
-
Adding a bit of leather dye to conditioner is another way to even out color. The video below mentions this method. I've seen some purse/garment makers use Lincoln neutral shoe polish on their products. I prefer a waxy conditioner like Blackrock Leather N' Rich or Fiebings Aussie conditioner.
-
https://products.batzusa.com/category/roller-stainless-steel
-
I would use 1/8" unfaced neoprene wrapped in 2-3 oz chrome tanned leather. JH Leather has YouTube videos on making padded dog collars that show the method. I do this for padded bridles and halters.

-
Another option is to send your die to Springfield Leather and they will click out pieces from the leather of your choice as you need them. They have quite a collection of customers' dies on hand. Weaver may offer a similar service.
-
That's a very thick dog harness, which will be stiff and perhaps uncomfortable during the break in period. Also it will be thicker where the leather wraps around hardware, and might be difficult to sew on a Class 26. I make horse halters out of 2-3 layers of 9 oz leather. Leather halters are designed to break if a horse pulls back hard. This is a safety feature of leather vs. biothane or nylon. I doubt a dog could break it and I'm sure I couldn't hold on if an animal pulled that hard. I think a well constructed harness made of 9-10 oz leather +/- a liner would be adequate for a large dog. One option would be to use 10 oz bridle leather with a pasted back, skip the liner, and focus the sewing on the ends of the straps. Main thing is to use high quality leather cut from the back of the hide for straps that need to be strong. Sewing against hardware with a machine takes practice and I hand sew some pieces of halters. Bottom line: the Class 26 would be great for patches and harness that is a bit lighter than you describe.
-
Like the rooster! ...and everything else. Beautiful work. Thanks for showing us.
-
Denatured alcohol in CA.
TomE replied to DV8DUG's topic in Dyes, Antiques, Stains, Glues, Waxes, Finishes and Conditioners.
I would give it a try. As you probably know, isopropyl alcohol has an extra methyl group in comparison to ethanol. The chemical properties of these 2 alcohols are more similar than different in my experience as a biochemist. You might see different behaviors when dissolving a solid in these alcohols, but I doubt you'd see a difference when diluting alcohol based dye by 50% in either of these solvents. I dilute Fiebings Pro Dye with an equal volume of Tan Kote or Martin's Edge Solution for dyeing and burnishing edges in one step and this works great! I am careful to mix the solution before each use. The MSDS for Fiebings Dye Reducer does not list the ingredients but this post suggests ingredients for dye reducer. -
Nice result! What is the leather and can you show the gusset and bag interior?
-
Denatured alcohol in CA.
TomE replied to DV8DUG's topic in Dyes, Antiques, Stains, Glues, Waxes, Finishes and Conditioners.
Can't help with CA but I've purchased Klean-Strip Fuel denatured alcohol at several Walmarts in our area. I think it was in the camping/sporting goods section.