TomE
-
Posts
1,300 -
Joined
-
Last visited
Content Type
Profiles
Forums
Events
Blogs
Gallery
Store
Everything posted by TomE
-

Still Buffing
TomE replied to Gosut's topic in Dyes, Antiques, Stains, Glues, Waxes, Finishes and Conditioners.
After lots of buffing, I would apply a light coat of neatsfoot oil, let it soak in for several hours to overnight, and buff some more. What weight leather are you working with and how did you apply the dye? -
Beautiful craftsmanship and LOTS of stitching. How are the bells attached to the strap?
-
Thanks for your reply. Would welcome a digital or printed copy.
-
Yes, I haven't found it. I read that Weaver Leather had sold this book previously, but they weren't able to locate a copy.
-
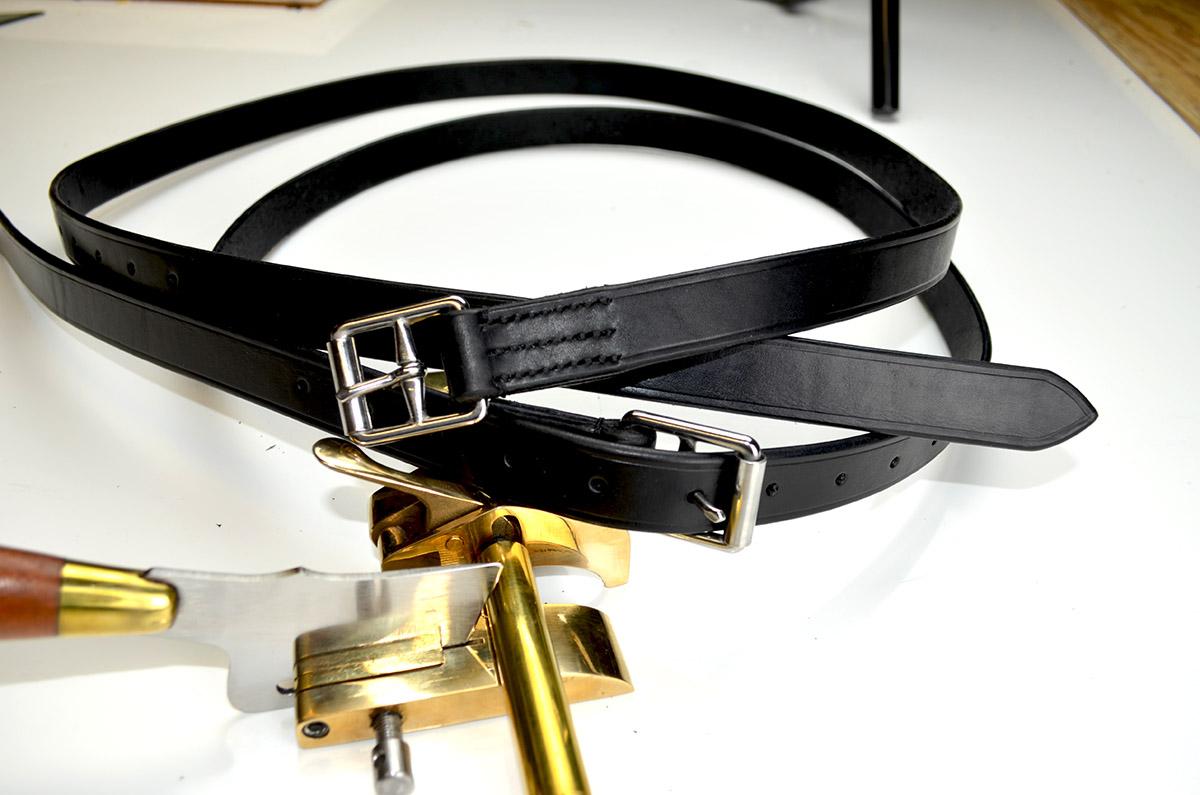
Made a few things while working on a matching bridle. Pushing the envelope with black tack (dressage) instead of my usual brown (jumpers and hunters). HO bridle butt with hardware from Weaver (stud hooks, rein buckle) and Abbey England (stirrup buckles, rein grips). Oh, and I am finally on speaking terms with my plough gauge so I thought I'd show it.


-
Don't know what machine you're using, but I saw a suggestion for #92 thread in a 441-type machine: reverse the bobbin in the shuttle so the thread draws out the "wrong" way to increase friction and tension.
-
Since the pandemic/supply chain shutdown, I find it's best to call Batz Corp to check price and place orders. Most of their items are listed as "quote" which means they've been on back order. They are well stocked at present.
-
Great looking work with lots of character from the start. Would be fun to leaf through these at their 50 year anniversary, but that will be for someone else to do.
-
https://campbell-randall.com/product/fcf-317-fenice-colorfast-leather-dye-317-metallic-pearl-1-liter-1
-
sewing machine help Sewing machine for horse tack
TomE replied to mickeyw's topic in Leather Sewing Machines
Welcome. Hand sewing and using a machine are complementary skills and both are useful for making tack. I hand sew bridles and reins, and (mostly) machine sew halters. I do most repairs by hand sewing to reuse the original holes. You can gain a lot of experience with cutting, shaping, and finishing leather projects that you hand sew. A machine will greatly increase your productivity for some items. A lot of tack and holster makers use a TSC-441 type machine like the Cowboy 3200/4500 or Cobra Class 3/4. You can read in this forum about some recently available accessories for these machines that enable sewing of lighter weight projects as well. I suggest reading the Al Stohlman books on hand sewing leather, leather tools use/maintenance, and case making as an introduction to construction methods. Videos from JH Leather show traditional methods of strapwork, including making bridles and headstalls. Lots of expertise and great information on this site. -
Applying Vaseline/Lanolin to the flesh side of leather
TomE replied to simo289's topic in How Do I Do That?
I would agree about avoiding petroleum products for my work. As a point of information Al and Ann Stohlman mention in their Encyclopedia of Saddle Making that they used a lot of neatsfoot compound (mix of neatsfoot oil and petroleum based oils) without any bad effects, recognizing that pure neatsfoot oil is best but expensive. Leather is exposed to a whole lot of unnatural chemicals during the tanning and currying processes, so for me it's more about chemistry than nature. Here's an old monograph on the chemistry of leather. I don't think the process has changed much in 70 yrs. Phillips-1954-THE CHEMISTRY OF LEATHER.pdf -
African bullfrog sheath
TomE replied to Garyak's topic in Gun Holsters, Rifle Slings and Knife Sheathes
Those are works of art! What is your process for coloring/finishing the skins? I am interested in your thoughts about using rivets in a sheath. Are they copper or brass? I apologize if you've already had that discussion on this forum - I can use the search function. Thanks for posting. -
From everything I’ve read the Cowboy 4500 is the same machine as the Class 4 I use. I picked mine up from Springfield Leather and saved the shipping.cost. Members of this forum have taught me how to use and maintain my machine. The cost of the leather I’ve run through my machine in 2.5 years is approaching the cost of the sewing machine and I expect it to last for many more years. I don’t think you can go wrong with either machine.
-
Ed LaBarre has 3 books on tooling leaves at this site https://leathercraftersjournal.com/product/natures-majestic-oaks-and-other-leaves-book-ed-labarre/
-
This is Bob Kovar's member profile https://leatherworker.net/forum/profile/7185-cowboybob/. You can also call him at Toledo Industrial Sewing Machine.
-
Still trying to learn carving.
TomE replied to gregintenn's topic in Gun Holsters, Rifle Slings and Knife Sheathes
I'm starting to tool leather again after a 45 yr hiatus so I understand about the knife feeling awkward. I would make sure your knife is sharp and polished, and check out the pinned post by @hidepounder about casing leather. -
Cobra Class 4 - Which Presser Foot / Needle Plate?
TomE replied to PastorBob's topic in Leather Sewing Machines
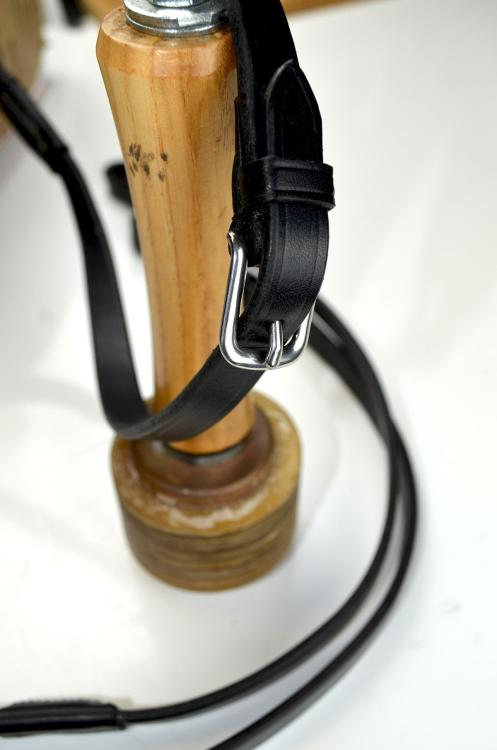
I learned today that the narrow presser feet from @Patrick1 also do a nice job of sewing tight against hardware where the material thickness increases. I have used the Cobra needle foot and double presser foot for this job and it requires some finesse to feed the material without slipping on the slope leading up to the hardware. The narrow feet hold the material firmly and walk right up the slope with less hands on guiding. This noseband is 2-3 layers of 10-11 oz bridle leather. I am using a #25 needle and 277/207 thread with @RockyAussie's narrow plate/dog.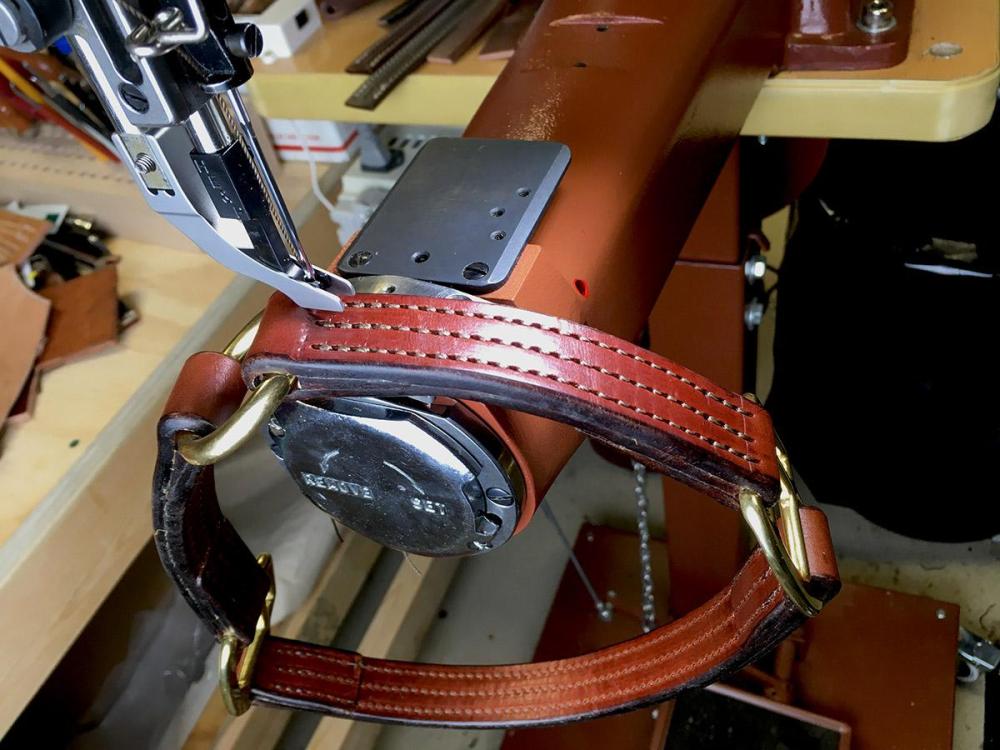
-
Thanks, @RockyAussie. That post is fascinating. I'll check out modifying a soldering iron for hot wax. I'd only seen the small/expensive versions for leveling edge coat on watch straps, etc. Will be another fun experiment. I'll be sewing that halter today using your narrow plate/dog. Really appreciate you passing along your expertise.
-
Good stuff about the leather trades across the pond! I’m a big fan of the old books on harness and saddlery in the UK, and the equestrian related books published by J.A. Allen. The Martins Mix looks/smells like floor wax but it works well. The edge will accept dye after burnishing with the mix, and the hot wax soaks in nicely. It seems to eliminate most of the surface imperfections I get burnishing with water and saddle soap - and no sanding needed. The edge is firm and smooth without beeswax but I think the wax is a nice touch for tack.
-
After several years, I think I am settling on a method to finish the edges of tack made with bridle leather. My first project turned a gray horse brown when she was hosed off wearing a halter I made. Since then I've learned a few things about finishing leather from members of this forum and others, and I thought I would share them with the hope that I will learn some more. Thanks for looking. I appreciate your comments and suggestions.
-
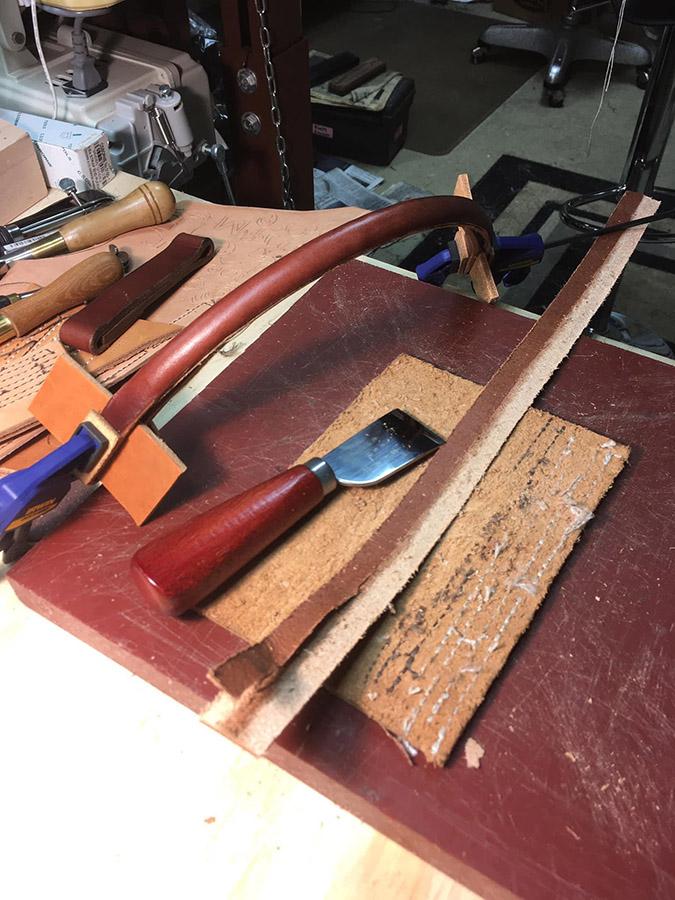
Bevel up or down, depending on your style and the project. For these swells I skive with the bevel up, and thin both edges of the strap to the thickness of the grain. This cheap knockoff (Dujiso) of a Japanese knife holds an edge reasonably well and cost ~$10. Someday I'll buy a real knife.

-
Table vinegar covers a range of acetic acid concentrations. Might need stronger acid and more time. In the laboratory we used glacial (pure) acetic acid that was diluted with water.
-
Will look forward to seeing those saddles. I’ve read a fair amount about English saddlery and dream of making a jumping saddle with an experienced saddler. For now, I am focusing on tack. Florida to Montana sounds like an adventure.
-
Sling for the Ranch Rifle
TomE replied to Brokenolmarine's topic in Gun Holsters, Rifle Slings and Knife Sheathes
You're welcome. Loop making has become a bad habit - I make bridles. The loops are "blocked" on a hardwood loop stick or loop iron. Abbey England sells sets of both sticks and irons. Bruce Johnson has a set of acetal loop sticks that are thicker and work well for running loops that fit around 2 strap thicknesses. https://brucejohnsonleather.com/leather-tools-sale/loop-sticks-and-loop-irons-sale/ -
New book by Harry Rogers “Making Handmade Shoes”
TomE replied to tozafoot's topic in Shoes, Boots, Sandals and Moccassins
Thanks for the tip. I ordered a copy and look forward to learning about it.