TomE
-
Posts
1,295 -
Joined
-
Last visited
Content Type
Profiles
Forums
Events
Blogs
Gallery
Store
Everything posted by TomE
-
That's a handy looking (and handsome) knife! Red Green would approve. I can see how it would easily become a favorite.
-
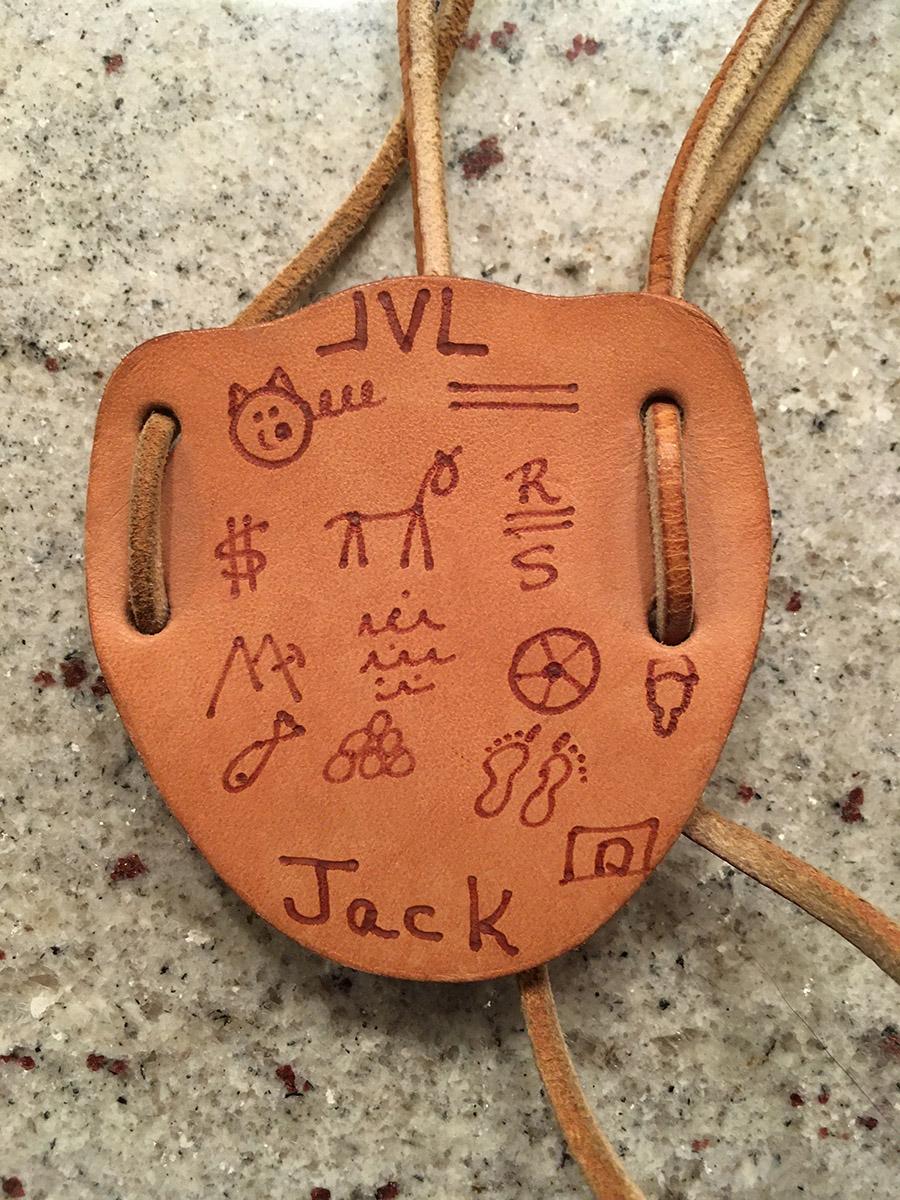
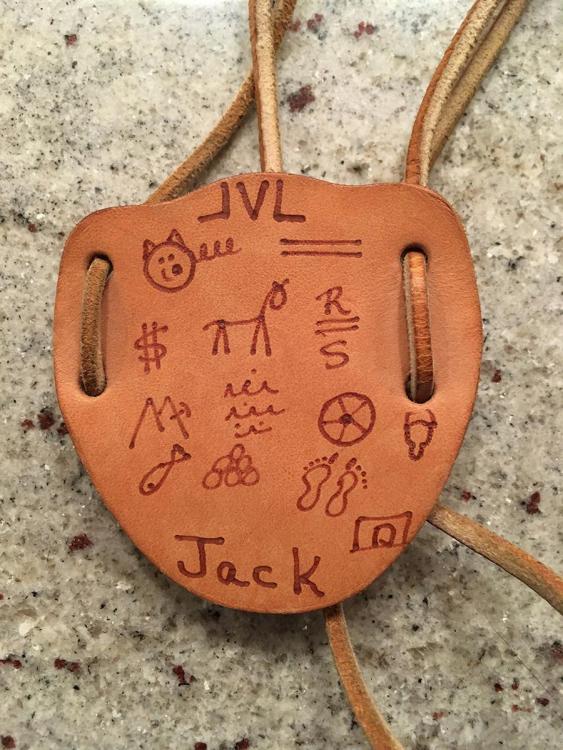
A braided leather project, like a lanyard, would be easy to complete with few tools. This can be simple or rather fancy with multiple colors of lace, more strands, etc. You could also make a simple leather pendant for the lanyard decorated by carving or branding/burning a design in the leather. This name tag was my Dad's from a dude ranch vacation in the 1960s. The symbols correspond to activities that he participated in at the ranch. I think the "$" was the important one. I recall they used a soldering iron to make the designs, but a branding iron or other heated tool could be used to decorate leather. The leather pendants could be a precut shape purchased from a vendor.
-
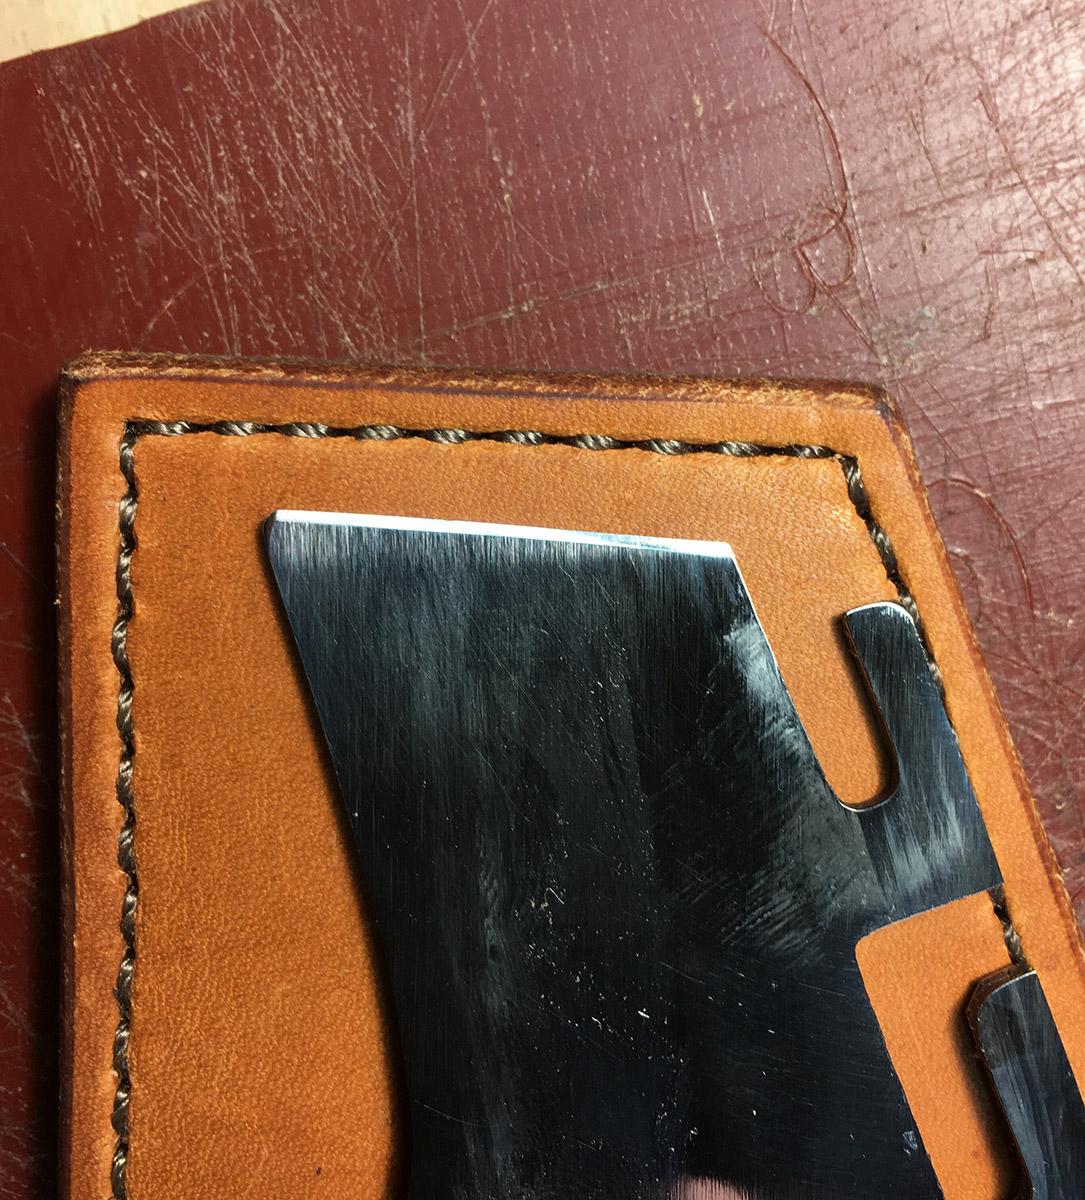
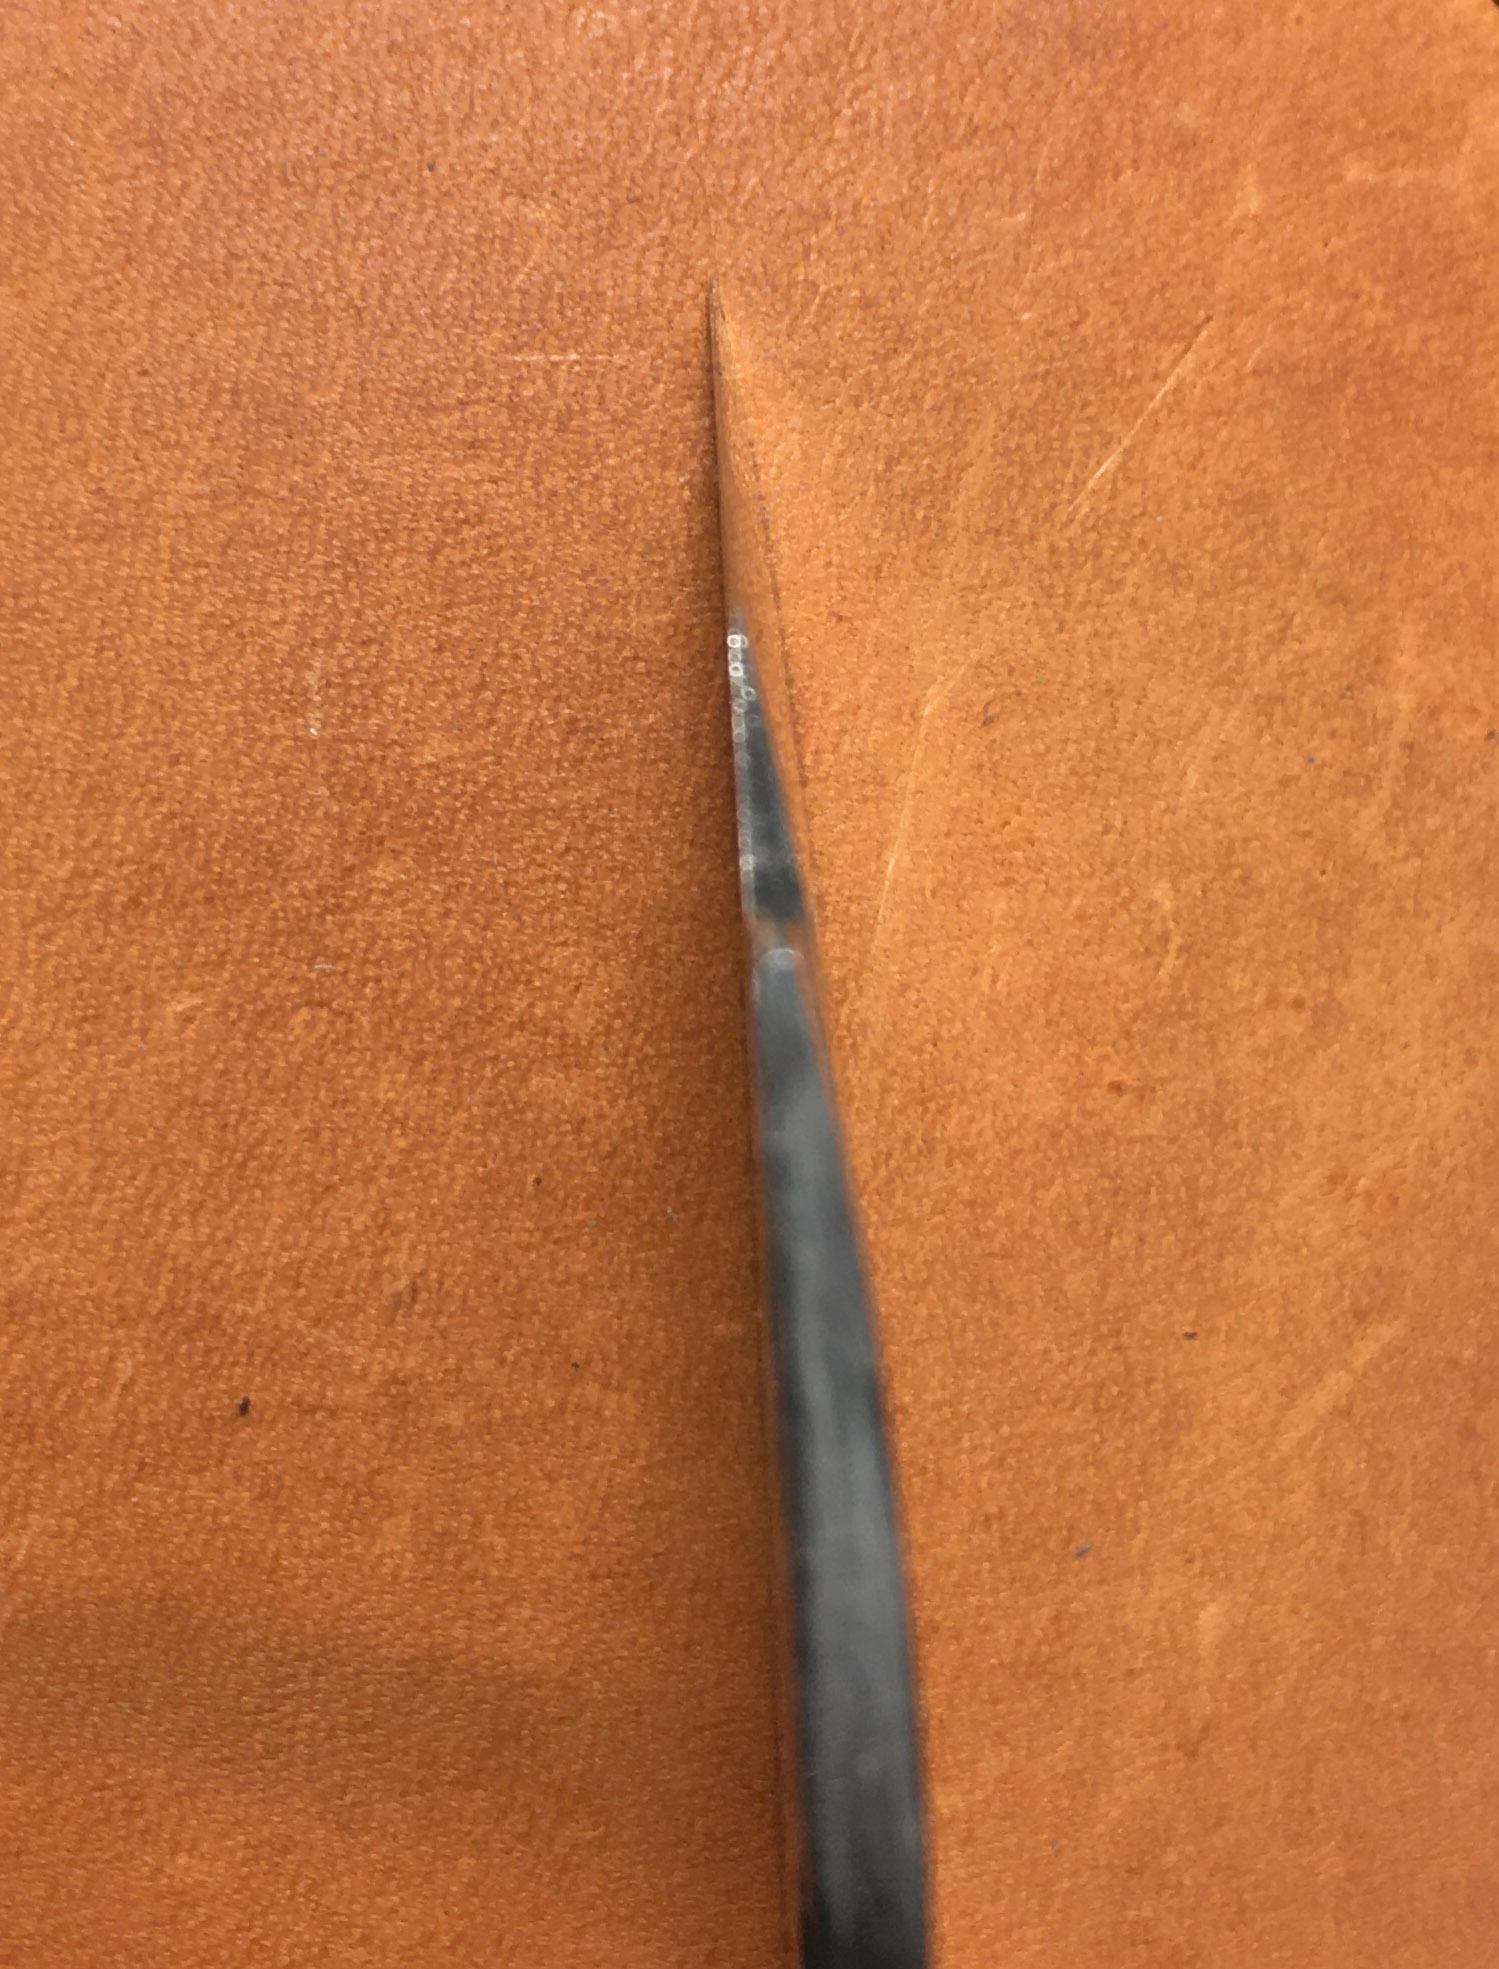
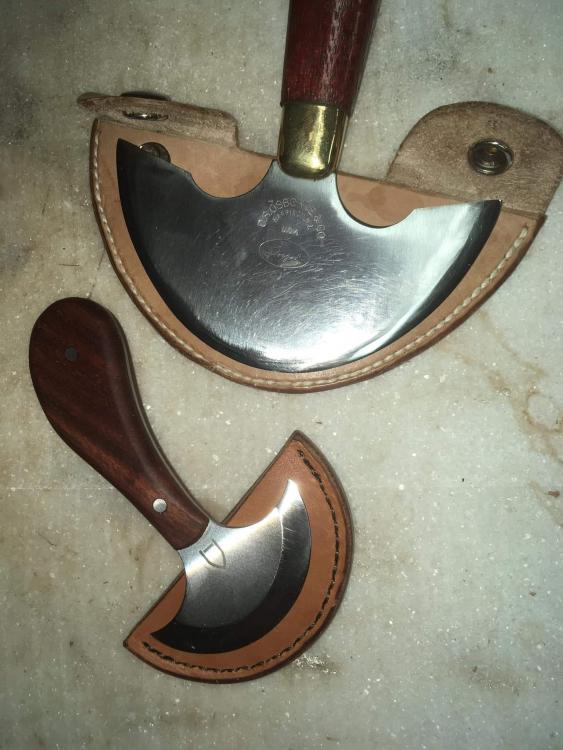
Just got this Abbey round knife today and already showing it off. It is very sharp so I only stropped it. Fits my hand and I think will be handy for cutting tapers/waists on straps and other small curves, as well as skiving small parts that are hard to hold onto. I don't yet know how well the blade holds an edge but so far so good.
-
 I'm gonna take a WAG that it's the tannins or saponins in Salicornia that are useful for a leather dye, as a vehicle to improve solubility and penetration of pigments. Short answer: I dunno. "Salicornia plants have been screened for phytochemical profile and presence of a range of carbohydrates, proteins, oils, phenolic compounds, flavonoids, sterols, saponins, alkaloids, and tannins have been reported. Water and alcohol extraction followed by component profiling has indexed many potentially bioactive compounds. Studies have reported the presence of dietary fibers, bioactive polysaccharides, proteins, lipids, sterols, flavonoids, and minerals (Mg, Ca, Fe, K) in S. herbacea (Essaidi et al. 2013)." https://www.ncbi.nlm.nih.gov/pmc/articles/PMC4835422/
 -
I enjoy using all types of knives for different tasks. My latest addition is this baby round knife (68 mm) that is handy for cutting and skiving in tight spots.
-
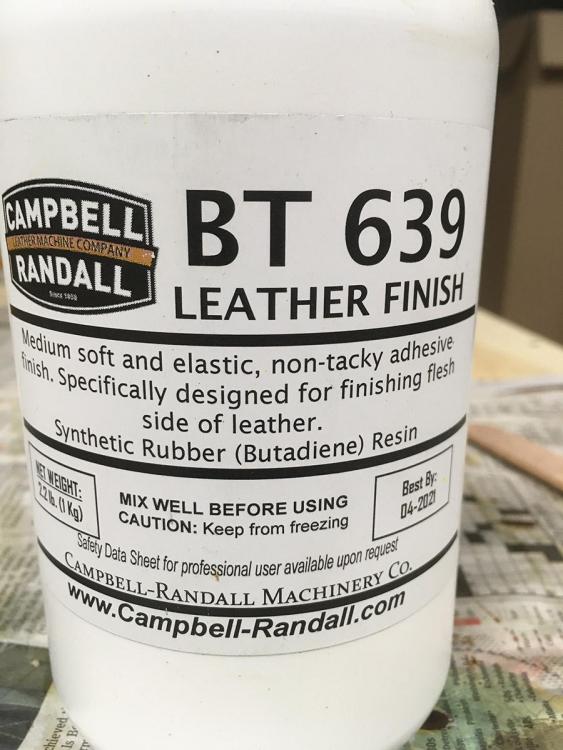
The BT639 is an adhesive that penetrates the flesh side and glues the fibers together. Burnishing with tokonole or gum trag is a surface treatment. I have also used PVA glue (Elmers white glue) mixed with stain to seal the flesh side (worked in with a glass slicker), but this stiffens the leather and I suspect it will break down with flexing the strap. You can find threads here about using stain/glue mixtures for sealing edges.
-
That's a beautiful case with sharp looking handles. Well done. Is that Sedgwick bridle leather? Totally agree with Chuck that air rifles rock, and yours is way better than mine. Nonetheless, they are my weapons of choice for hunting pigeons around the horse barns.
-
That's a tidy piece of work with lots of detail. Very nice.
-
This product is a synthetic rubber (butadiene) for sealing the flesh side of leather. I use it mixed 50:50 with water and work the first coat into the leather with a glass slicker then apply a thin second coat. However, it dries as a smooth nontacky finish (like the label says). It seals out moisture and seems to be durable. I use it on bridle pieces that are split thickness as a replacement for the mossback finish of full thickness bridle leather. The BT639 might not suit your purposes. What about sewing on a liner of rough out chaps leather? https://www.hidehouse.com/Leather/Pearl-Split-Cow-Split-Grain-Suede-Finish-PE10-P.asp
-
I'm no expert, but I know what I like. Beautiful workmanship. Thank you for posting.
-
Hatchet sheath—any helpful advice
TomE replied to Jaxx1024's topic in Gun Holsters, Rifle Slings and Knife Sheathes
This video includes adding a welt to an axe cover that might be helpful. I would encourage you to sew instead of using rivets. -
If you're interested in other water-based dyes, Fenice makes a Colorfast Dye that produces a glossy finish with minimal rub off. It's sold by Campbell Randall. I use the dark brown Colorfast dye to match existing when repairing tack. Springfield Leather has another Fenice water-based dye named Diamond Waterstain that looks similar based on this video.
-
Making an edge dye/burnishing mix from aniline dye powder, water, and glue is a thing. The glue sets the color and helps stick the fibers down. Most common is PVA glue (Elmers white glue) or pearl glue in the mix. I haven't seen the use of an aniline dye fixative like Retayne on leather. The Retyne MSDS doesn't list the chemical composition. I use Fiebings Pro Dye and have good luck just buffing the dyed leather to eliminate dye rub off.
-
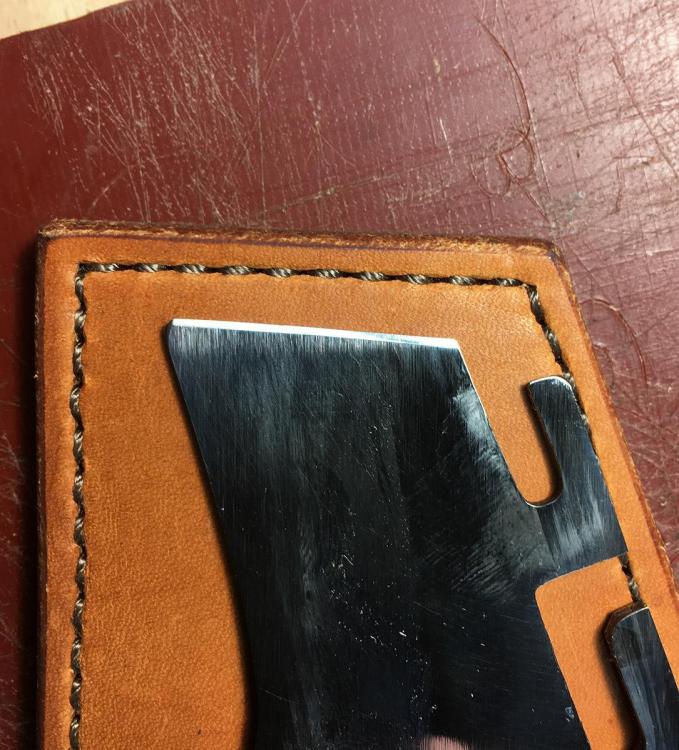
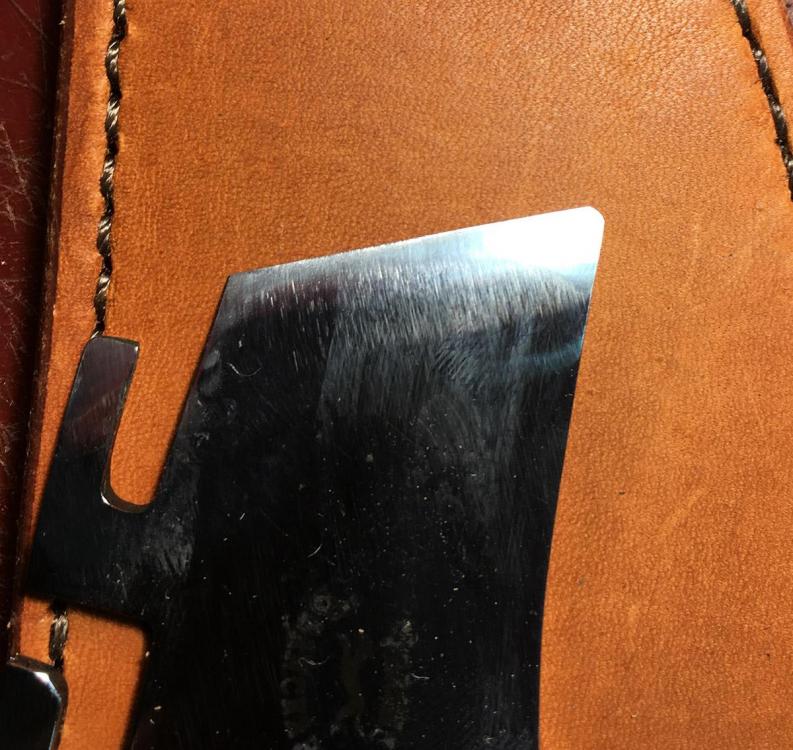
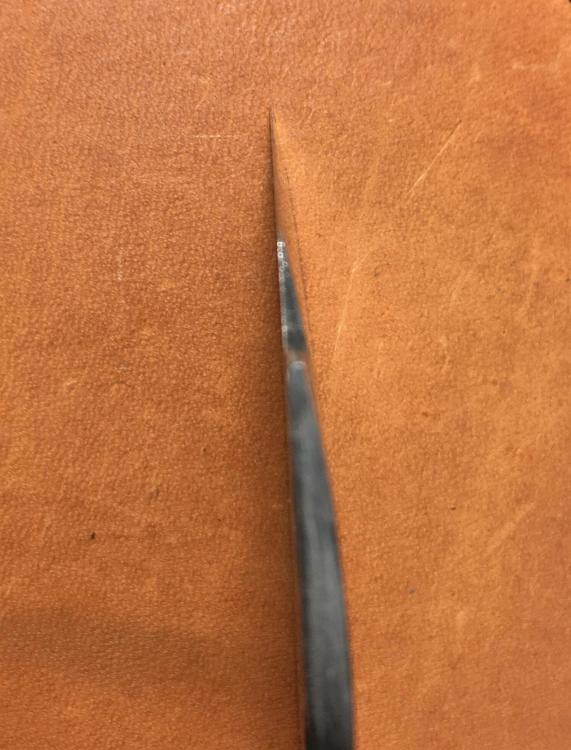
I put a 2-sided bevel on one of my Vergez-Blanchard plough gauge knives. The front of this new knife had a curved surface that I flattened to a 15-20 deg. bevel. I put a steeper (~25-30 deg.)/shorter bevel on the backside. It cuts 10 oz bridle leather really well with the knife fully inserted in the frame. I'll be stropping it more and trying it on other weights and types of leather once I get a project off my bench. As of today I am a fan of the 2-sided bevel on a plough knife.
-
Might contact Campbell Randall since they are the (only?) supplier of Barbour linen thread in the USA. They carry Bulldog brand nylon and polyester threads in a variety of weights and can probably explain how the Bulldog thread compares to Barbour. They've provided good service and advice to me.
-
Does the 2-sided bevel work well for you? There's a newer thread from @krummark in Leather Tools about a plough gauge with a 2-sided bevel. He talked with @bruce johnson and learned that Bruce sees many plough gauge knives with the 2-sided bevel. I am thinking about putting a 2-sided bevel on one of my Vergez-Blanchard less-than-stellar-quality knives.
-
Nice job on the seat and accoutrements. The only thing I might suggest would be to use a veg tan for the pouch and watch case so that you can slick the edges. Bridle or harness leather would weather well. Perhaps use black leather for these pieces to build on the black and brown theme. A bucking strap?
-
@krummark if you buy the plough gauge, please let us know how the knife with a 2-sided bevel works for you.
-
Thanks once again, @jcuk. Very helpful to have expert advice as I learn the craft.
-
Thanks, @jcuk. These grips are 3/4" x 30" but I learned they are a bit too wide for our petite trainer. I'll be ordering some 5/8" x 30" grips, and trying the large pips as well as the small. She really liked the small pips, which are very grippy, but I'm uncertain about how they will wear. I didn't use a leather cuff at the ends of the grips because these have a molded rubber cuff that makes it hard to fit the leather cuff snugly around the ends. I suppose I could cut off the rubber cuff and cover with leather. What do you think about it?
-
Thanks, @Mulesaw. I'm still experimenting with the creasing. I use heat to crease after beveling the edge and again after staining/drying and before sewing. The bridle leather doesn't hold a crease quite as well as regular veg tan. Stohlman recommends creasing cased leather (no heat) but I find the outside blade of my screw crease indents the beveled edge if the leather is cased. Thanks, @tsunkasapa. The reiny days only happen in my workshop. Today is a rainy day and I'm hoping the horse flies are about done for this year.
-
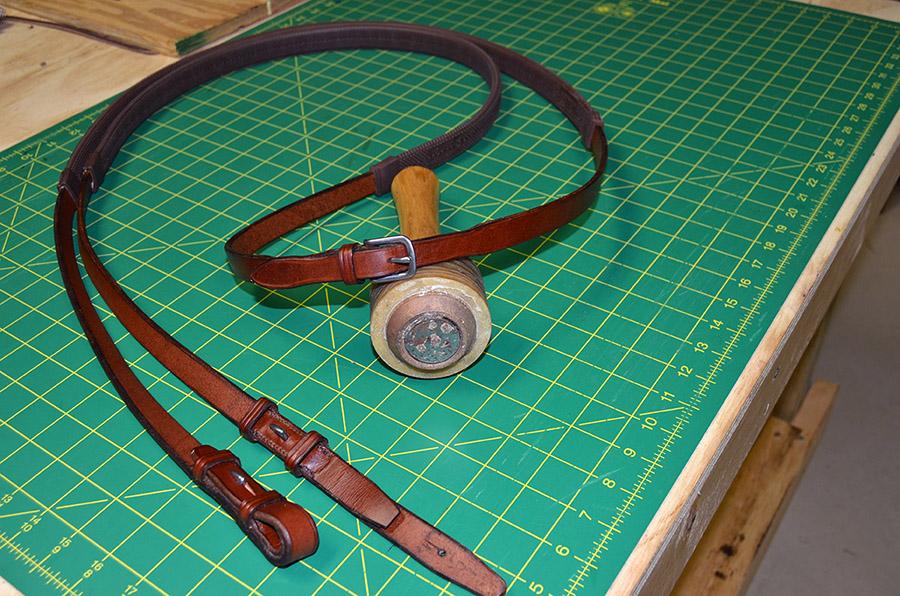
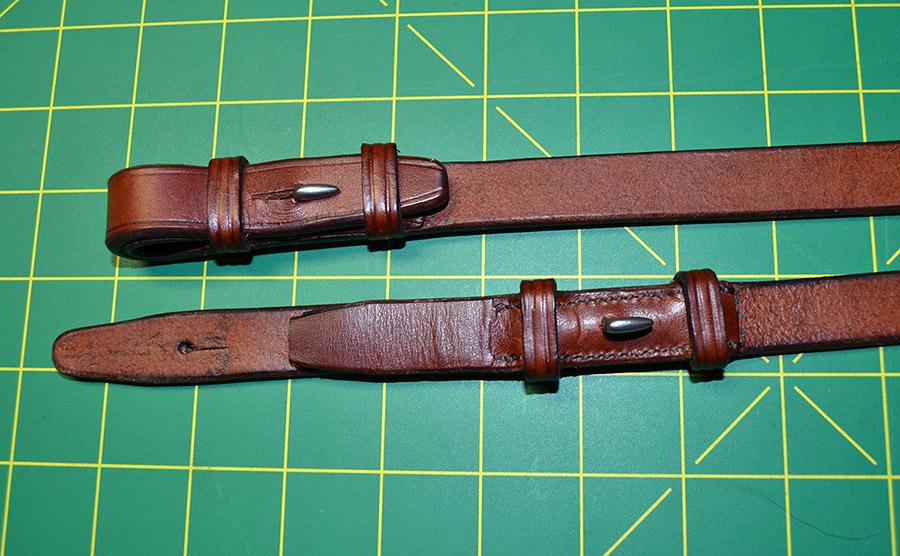
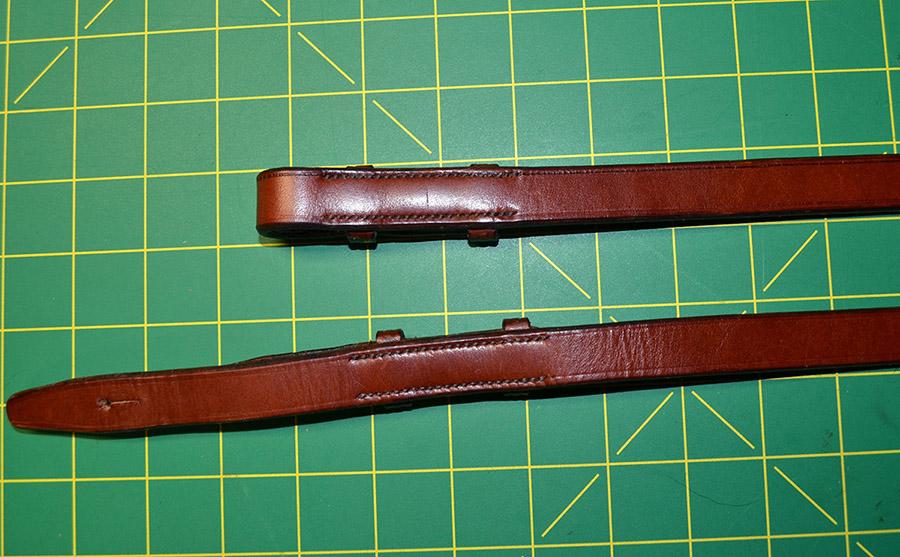
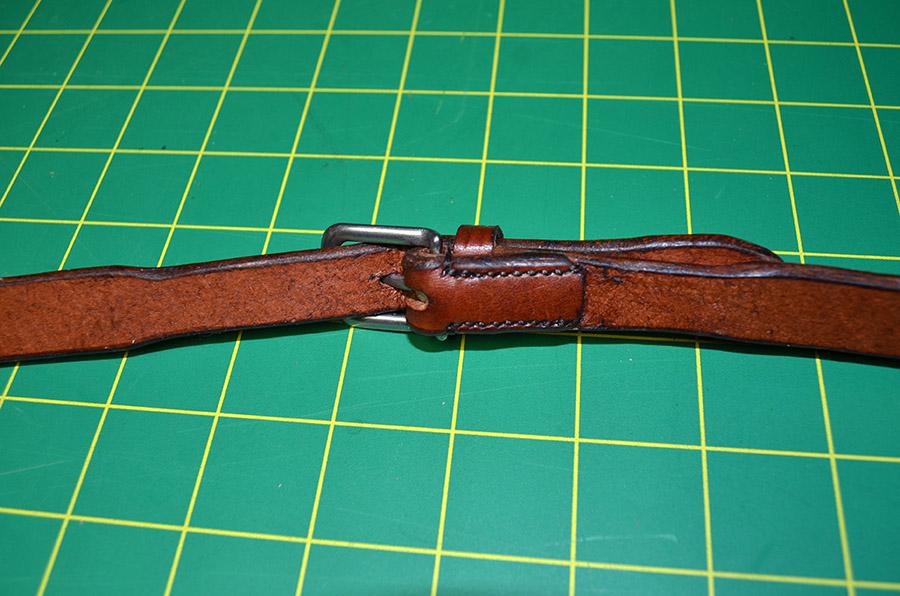
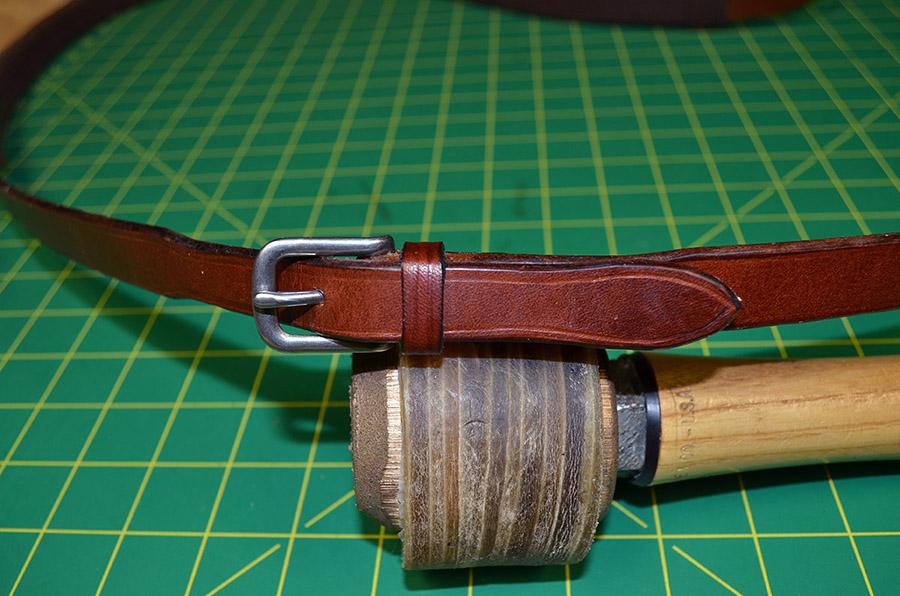
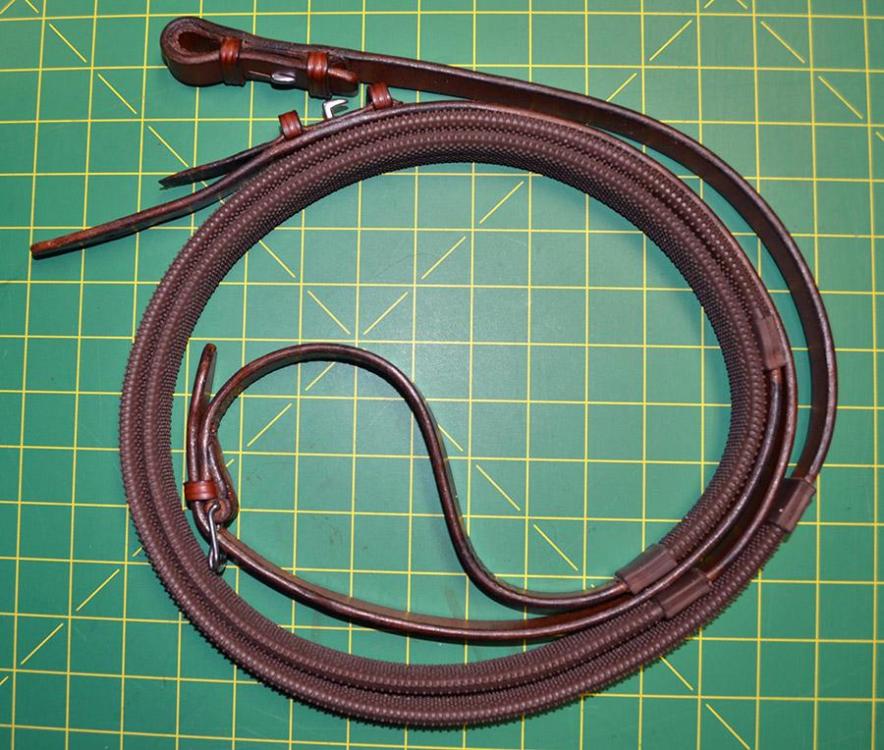
Made some rubber reins using Equus grips from Abbey England and HO bridle leather. These grippy reins are used for jumping and cross country courses. Had fun sealing the edges with beeswax using an old Dixon edge iron from @PeterMain. Shout out to @jcuk for the tip about locating the fixed loop closer to the bar of the buckle.
-
That's really interesting. I struggled with a new Vergez-Blanchard plough gauge that pinches the strap against the guide. There's a post about it in the Sharpening forum. I tried adding a very small bevel to the backside with no change in performance. I was advised to get a new knife (which I am on a waiting list for) and to get better at sharpening (which I have done.). The plough gauge works reasonably well now, but it still has a tendency to hang up because of the pinching especially for straps less than 1 inch wide. Maybe I should try adding a bevel to the back of the blade.
-
Lots of good advice in the comments. I'll add that as you use and sharpen your awls they will become narrower and suitable for fine work. I start using an awl for heavier projects and as it wears down with sharpening I put it on a smaller haft for the lighter projects with 9-10 stitches per inch. In addition to only sharpening the point, I like to shape the point of Osborne awls to a longer/more gradual taper. They are stubby when new. Your #17 harness needles are hefty. I am typically using #18-19 for sewing with #277 bonded nylon, and #19-20 needles for #207 thread. The Osborne harness needles have a smaller eye than the John James needles which suits me. I aim for the smallest needle that I can thread. If you wax the thread with beeswax and smooth it between your fingers before sewing then your grip on the needles will improve. I guess another way to avoid piercing the thread is to withdraw the thread from the backside as the needle is pushed through from the front.
-
You're correct that the knife blade should have a single bevel facing the guide and a flat backside. This setup pushes the leather strap against the guide. The knife might be repaired by taking the edge back to where the backside of the knife is flat and the front has a gradual taper of less than 20 deg. It depends on how much bevel has to be removed and how much blade is left. The tip of the blade should be positioned at or near the trailing side of the ruled bar that the strap slides across. If the plough gauge is an old Blanchard or Dixon in working condition, I think the frame alone is worth $200. They are hard to find and you could have a knife made for the frame.