-
Posts
1,299 -
Joined
-
Last visited
Content Type
Profiles
Forums
Events
Blogs
Gallery
Store
Everything posted by TomE
-
Well done! The style and design are first rate. You will be a standout.
-
Neat to learn about the military issue draw gauge. This tutorial from Bruce Johnson helped me to up my game with a draw gauge. https://brucejohnsonleather.com/index.php/download_file/6881/202/
-

The Power of ' word of mouth' advertising
TomE replied to Handstitched's topic in Marketing and Advertising
We use it for our horse breeding farm and I'm confident it acts as a feeder to our website and a commercial sales site where we post the particulars of each horse for sale. Google reports the number of clicks per week on our website URL so I see how much traffic comes from Google. When we ask customers how they found us, they usually mention our website or the commercial sales site. Our clients are mainly from other states, so we depend on the internet to connect with them. Leatherwork is a hobby, and most of my work has been given to horse clients and friends. -

The Power of ' word of mouth' advertising
TomE replied to Handstitched's topic in Marketing and Advertising
A Google business page is free and shows up in the side bar on relevant Google searches. Displays your address, hours of operation, contact info, summary of your business goods and services, etc. It is also a way to accurately pinpoint your location for customers using the Google search engine or Google Maps app. If you really want to play the game, Google offers Webmaster tools to help increase traffic to your website and improve your search ranking. It's free, doesn't require a lot of effort, and connects you to folks that shop by Google and are perhaps outside your local sphere of influence. -
I'm enjoying the art. To me the imperfections make it authentic and add to the charm. Thanks for sharing.
-
If you search for threads containing "punch tube" you'll find advice for sharpening and lubricating punches, and different styles of tubes for heavy leather. I like the Osborne #153-10 frame with longer punch tubes that have a shallow taper in comparison to most rotary punches.
-
Wow! That's an amazing result. Congratulations to him. Hope you can see video of the rounds. What is the horse's name?
-
Thank you! Thanks, @Mulesaw. I do sew the round on a machine. I posted a summary on another forum here https://www.leathercraftmasterclass.com/forum-1/leathercraft-techniques/rolled-leather-strap. I think I have too much time on my hands.
-
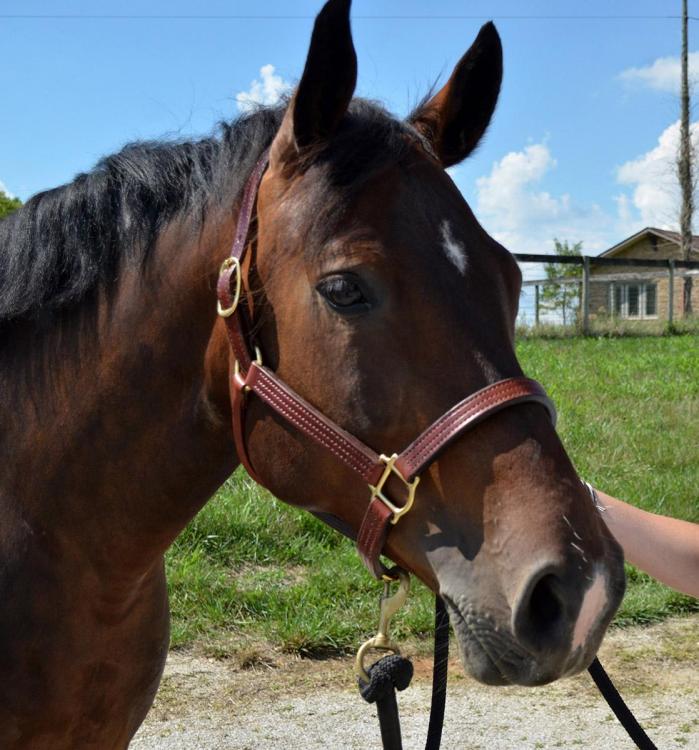
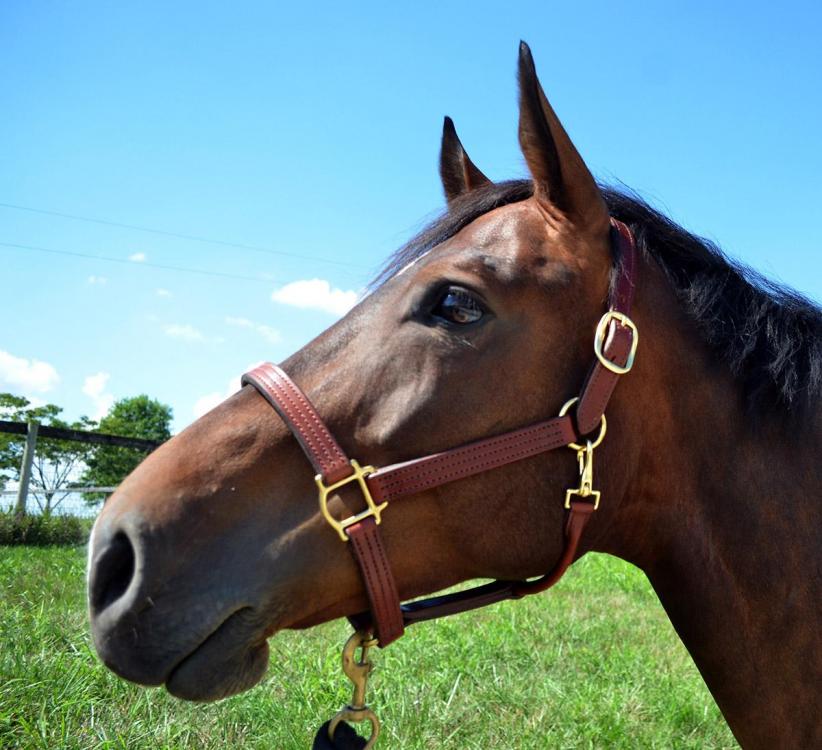
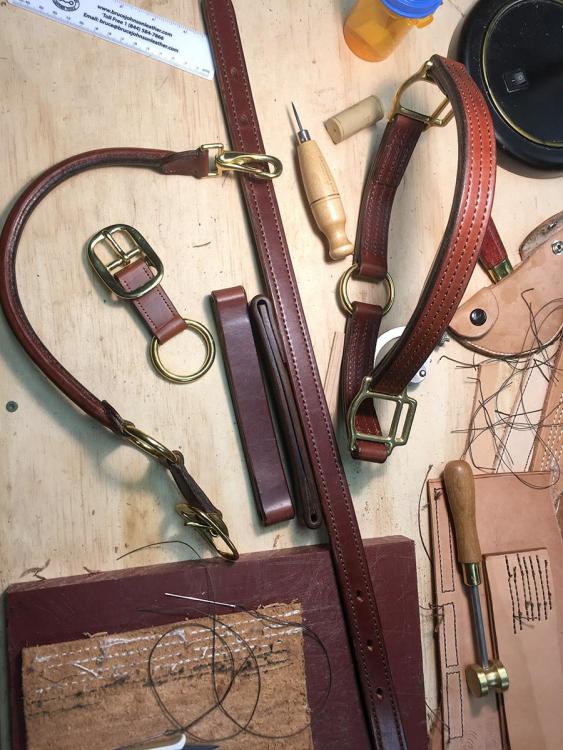
I've added a wedge-shaped welt to the turns next to rings, in order to ease the transition in thickness so I can machine sew tight to the hardware. I used to finish these stitch lines by hand sewing because my machine couldn't navigate the sudden change in thickness. Big time saver on a triple stitched halter.
-
Maybe I'm the only one but I found these old manuscripts on oils and waxes used for currying leather to be very interesting. I mostly use bridle leather and didn't know the processes used to change the flexibility, water resistance, and strength of leather during the currying process. Lots of details, and some of the chemistry in these articles. The PDF files are too big to upload to this site so I put them on Dropbox. I'd welcome your suggestions of additional articles or books on tanning and currying leather. https://www.dropbox.com/s/01d6xwcd7ckabo8/Blockey - The Application of Oils and Greases to Leather.pdf?dl=0 https://www.dropbox.com/s/bzkyasugrgvg6dx/Newbury - 1940 - Oils%2C fats and waxes in the leather industry.pdf?dl=0
-
I would buy a relatively inexpensive wooden strap cutter for occasional use. I have an old Tandy version that looks the same as one I bought from Abbey England, and the blades from Springfield Leather fit them both. The wooden cutter is my preferred tool for very narrow straps < 1/2 inch wide. It will work even better if you can sharpen and strop the blade. If you're going to be cutting a lot of straps from hides you might consider a draw gauge, particularly for heavier straps. The Weaver Professional draw gauge is a nice tool IMO and you can buy blades from Weaver or Osborne. I'll paste a video below about how to grip the draw gauge. For wide straps, a plough gauge is ideal but that's a big investment in the purchase and time spent learning to use and sharpen it. https://fb.watch/eUXBx8U3G5/
-
Following on @Northmount's suggestion, how about a removable padded pocket or zippered case, held in place with velcro. Neoprene fabric is slick and padded (like a wet suit) and could be used to cover thicker neoprene sheet as a filler. If you prefer leather, I wrap neoprene with 3 oz cow hide for padded liners on halters and bridles. Assemble with Barge cement and sew it to a heavier leather backing.
-

Birthday Belt and gifts
TomE replied to Dwight's topic in Purses, Wallets, Belts and Miscellaneous Pocket Items
Thanks, @Dwight. That’s a true black. Stohlman advised using a base coat of green or brown before staining black. You’re getting great results with black Pro Dye. -

Birthday Belt and gifts
TomE replied to Dwight's topic in Purses, Wallets, Belts and Miscellaneous Pocket Items
That's a nice looking belt! What is your process for black dye? I've been starting with dark brown followed by 2 coats of black. I think I'm seeing a brown tint in the finished item viewed in sunlight. -
@Doc Reaper nice work! The lettering is sharp looking. Bet the kid will be proud of it.
-

What size punch or what tool would you use for this?
TomE replied to jcwoman's topic in How Do I Do That?
Like Chuck said, match the hole size to the buckle tongue. The tongue varies with buckle style even among 1/2 inch buckles. For tack, it’s recommended to keep the holes as small as possible to maintain strength of the strap. One trick is to punch the holes from the backside - the side that the tongue inserts into - because the hole will be larger on the side you’re working from. For punching holes I like the Osborne spring punch #153 because the tubes have a gradual taper in comparison to rotary punches with shorter tubes. There is a wide range of tube sizes for the spring punch. -
I use an Osborne 3 lb rawhide mallet (#393-3) for all my drive punches. Well balanced and should last a lifetime, at least the time I have remaining. Second the idea of punching on a stone surface covered with a layer that won't damage the punch. I use a poly clicker board on a piece of granite.
-
I hadn't heard of or seen hay chaps in our area, where most of the small bales are still loaded and stacked by hand. The hay chaps I see online are similar to a farrier's apron without the added layer on the thigh. Would enjoy seeing the chaps you make. Thinking about making a new farrier's apron for myself. I've rasped through the stitching a few too many times and edges are ragged.
-
I'd make a test piece matching the project then try a solvent like Fiebings Deglazer or acetone to see if it dissolves enough wax to allow the pigment to be taken up into the leather. I don't know what your wax or process was. Can you add dye pigment to the wax mixture or re-wax the project after stripping and dyeing? The Fenice Colorfast dye (Campbell Randall) that I use for some tack repairs is a water soluble dye with waxes added.
-
@chuck123wapati is that frame for gathering hay out of the field or loading it on the hay mow? My farm girl-wife will enjoy seeing the pictures tonight.
-
@chuck123wapati is there much hay produced in your area? A long distance trucker in our area brings large square bales of WY and KS hay back here for sale. I buy small bales from local producers bc I can see it growing in the fields and it's easier to handle the small bales. The hilly ground around here is good for pasture and hay fields. Row crops are grown in the MO River bottom. We had a barn with a loft that was built in 1939 and was falling down in the wet Missouri weather. Habitat for Humanity salvaged the tin and the lumber, which they already had buyers for.
-
In defense of Deglazer, it works well to remove excess Barge cement without leaving an oily residue. @firearian, when you say "dyeing my cuts" do you mean the edges of the leather? I usually burnish edges with water before applying dye. I am typically dyeing the edge of bridle leather a darker color and the smooth burnished edge takes the dye in a neater manner than a rough edge.


