Search the Community
Showing results for tags 'tote'.
-
I'm in the process of making my first tote bag and seeking advice on the best approach. I'm planning to use 2-3oz semi-aniline chrome-tanned leather with a soft temper for the exterior. For the interior lining, I'll be using 1-2oz semi-aniline chrome-tanned calf skin with a soft temper. The dimensions of the bag are 16.5"W x 10.6"H x 4.3"D. 1. Should I consider using any stabilizer to maintain the bag's upright structure? 2. Additionally, I'm wondering what material would be suitable for the bag's bottom? 3. Should I glue lining with exterior or only glue the edges?
-
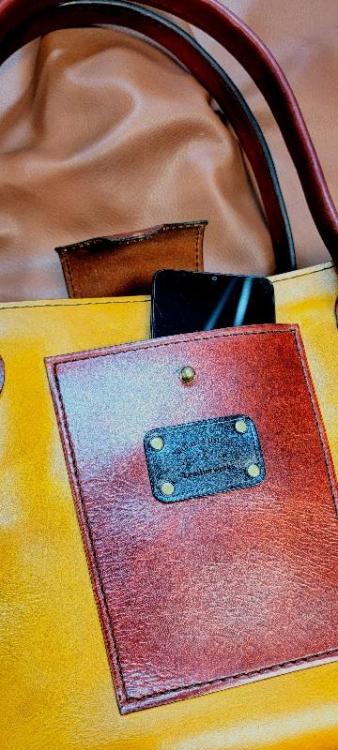
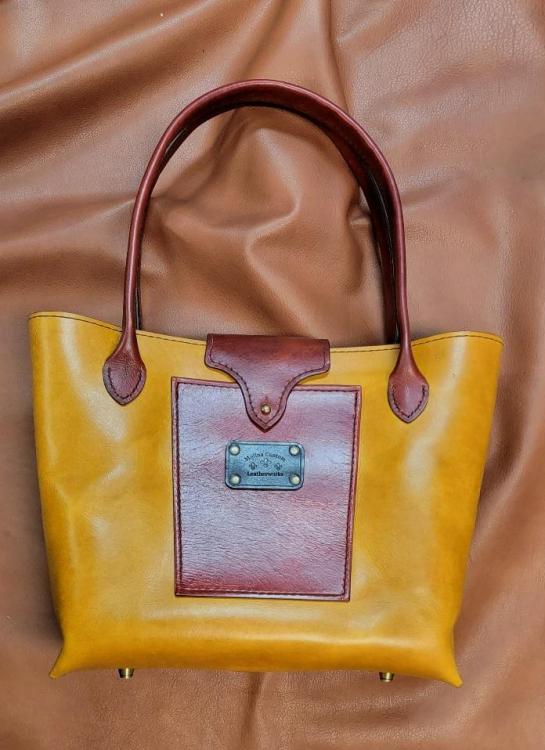
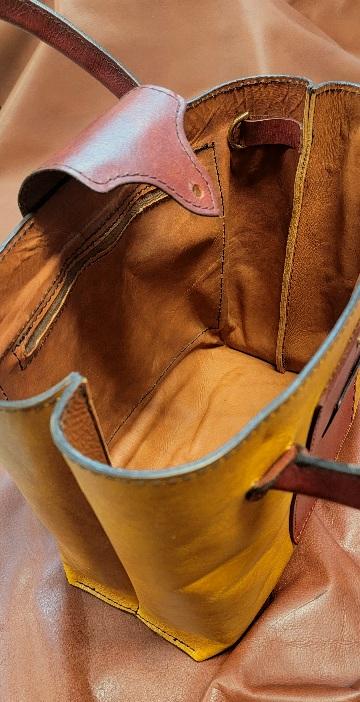
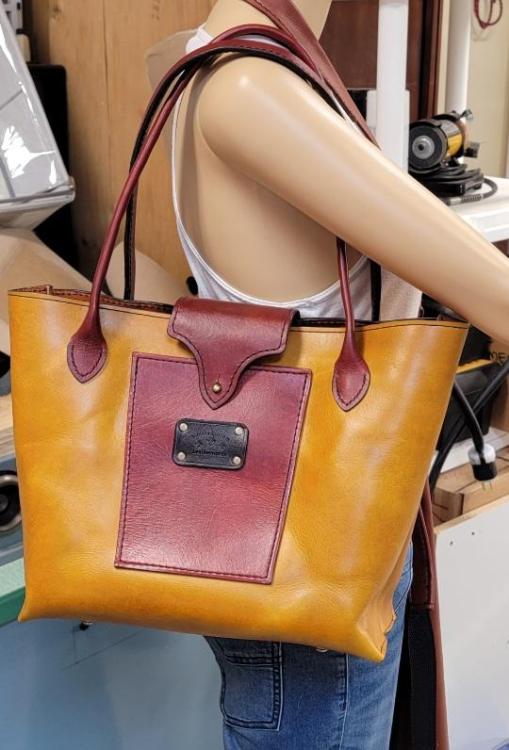
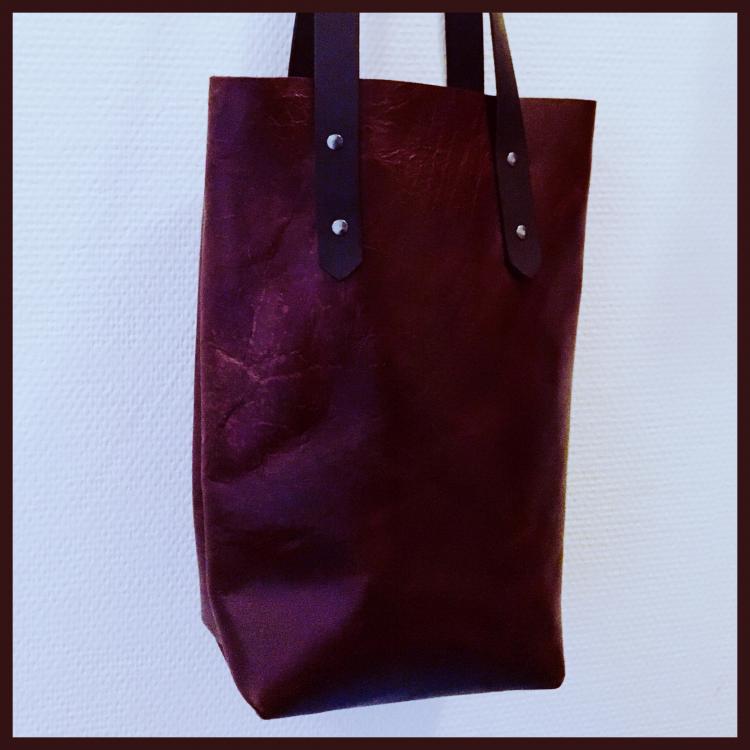
You may remember my prototype mini-tote here. A family friend liked it a lot and asked for a large version so I made it for him to give to someone. I changed the stitching so I could do it on a machine instead of handsewing. Instead of Chicago screws on the flap I stitched it on and used rivets for accents. The front pocket and the bags interior are lined. The inside of the bag has a good sized pocket. And since it's a large bag I added feet on the bottom. I used 4/5oz veg tan for the exterior, 2oz veg tan lining, the trim is Fiebings Russet and the body is Fiebings yellow with a litte brown mixed in. As always critiques are welcome.
-
Hey guys, Just wanted to share my first feature with Sailrite.com Feel free to check it out. My Instagram- Campleathergoods https://blog.sailrite.com/meet-our-customers/
- 1 reply
-
- washington made
- tacomamade
- (and 9 more)
-
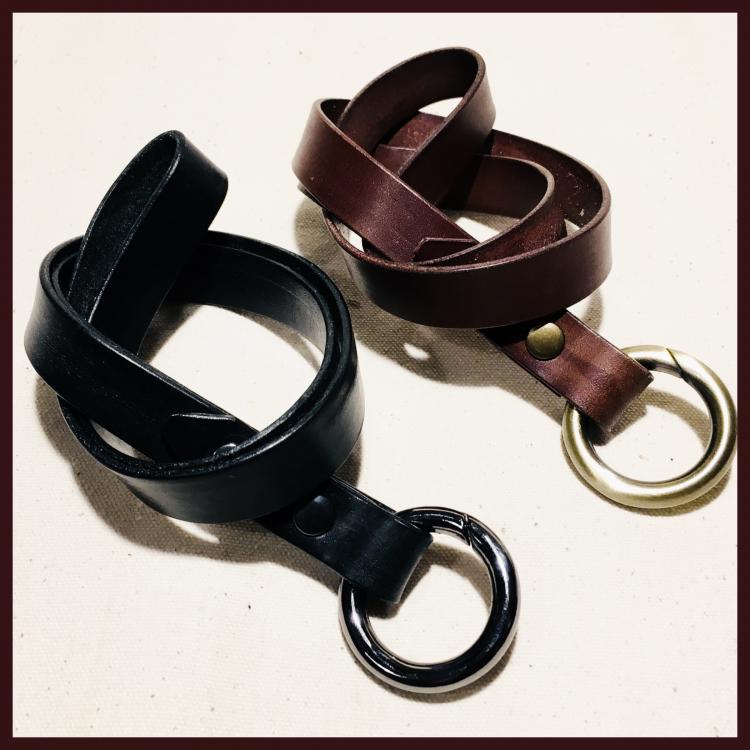
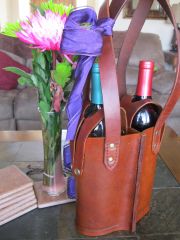
Made this wine bottle holder/tote as a Christmas gift for a friend. Pretty simple design and wanted to give it some sort of vintage look. I haven't decided if I'm going to make a strap or just leave the rings on the side for decoration.
-
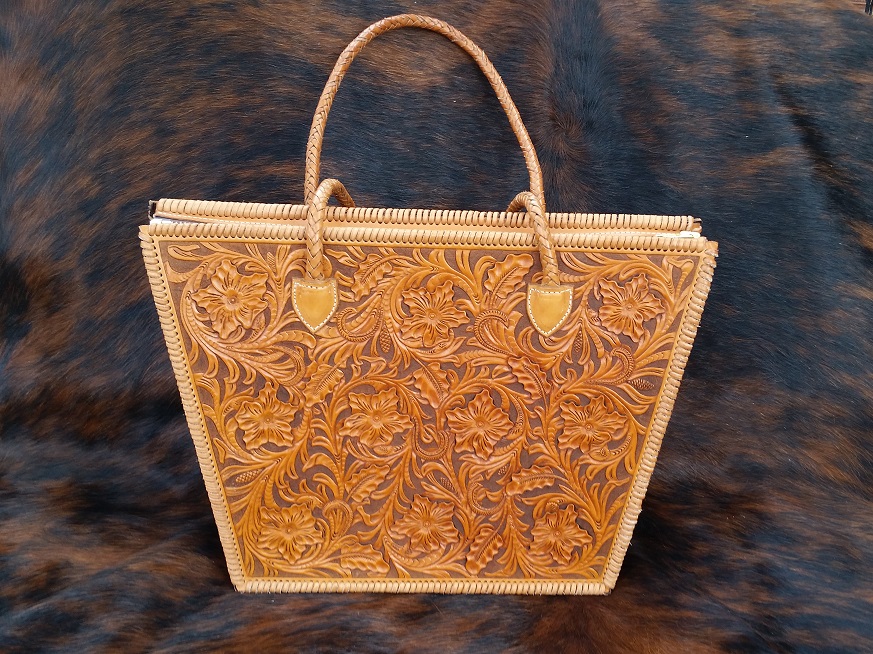
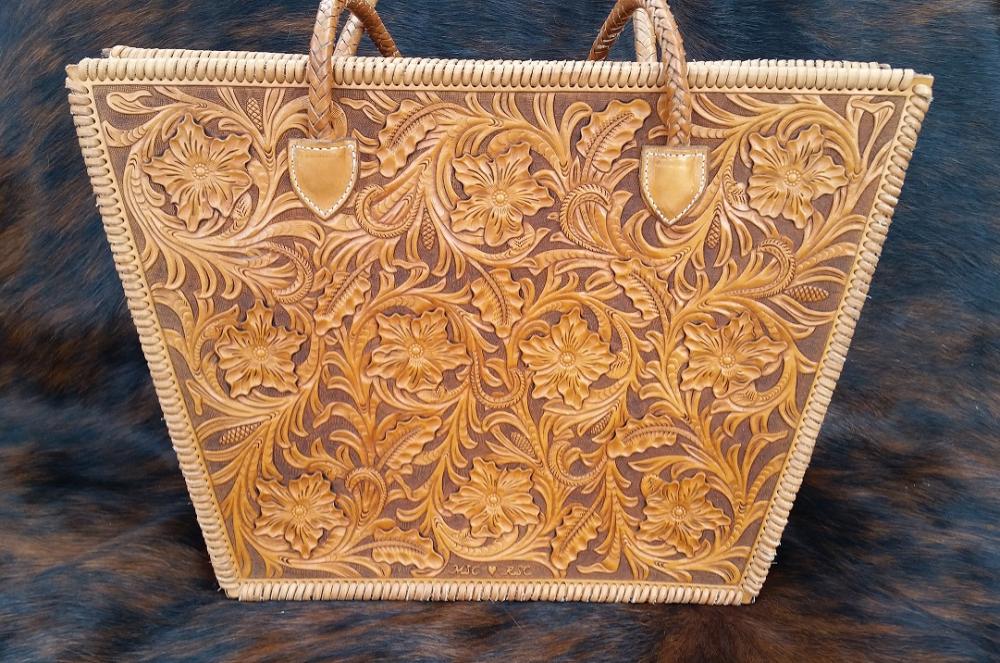
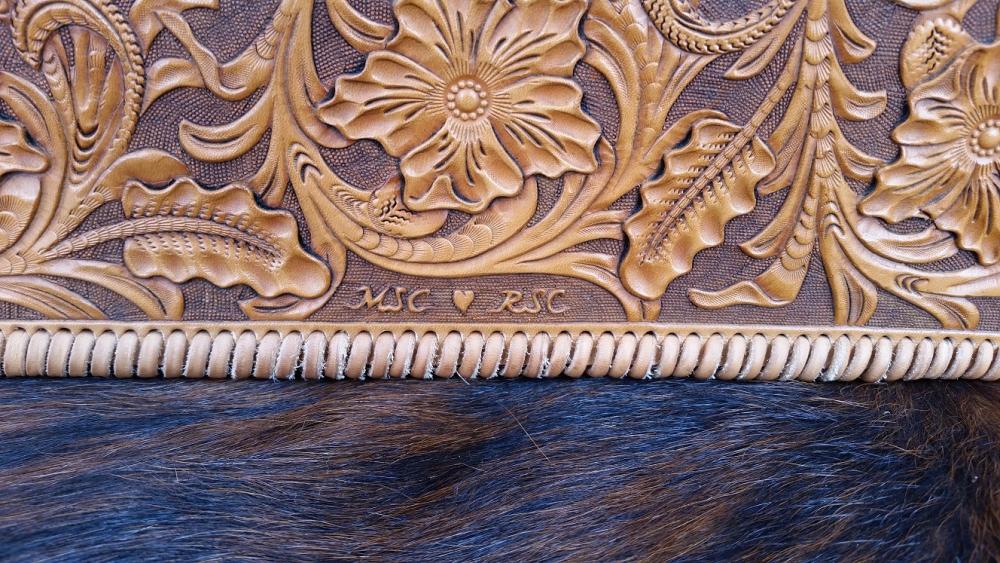
Hello all! Here is a leather tote bag I finished a while ago. The handles are an 8 strand round braid and the first thing I've braided. The leather is 8oz veg-tan with soft pigskin lining on the inside. The sheridan pattern is my own work. This is also my first time using a bar grounder in my carving. Let me know what you think! Critique welcome. -Ryan
-
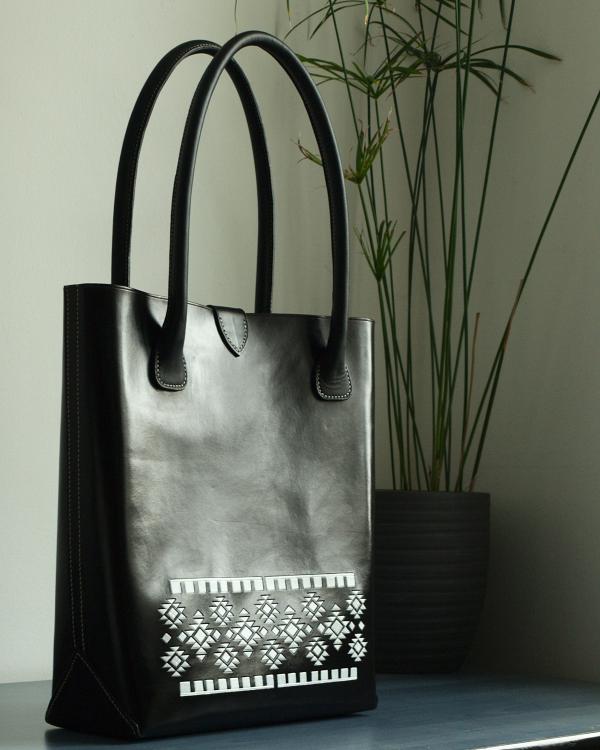
Finished this tote, it was a fun project, got to try new techniques, like the round handles and sewing from inside the bag which proved easier than expected. There are some things I would do differently, but I am very pleased with the result(and so is the owner) Made from 2 mm veg tan, painted with Angelus acrylic for the motif and Roc dye for the base coat. 0.65 thread at 4 mm spacing. Hope you like it, but critique is welcome and encoureged!
-
Hi, looking to make a shoulder tote for my wife , dims approximately 15” W x 12” H x 6” ... she needs a bag that size as she carries almost everything , including the kitchen sink .. for the kids.. what would be a suitable weight to get? Granted, she doesn’t want the bag to weigh 5lbs before she starts to load it..
-
Hi, I’m struggling with machine sewing rounded corners for a bag on thick leather, 4-5 oz. I glued securely before stitching, but am still having problems with the material shifting around the curves. I’m sewing a flat front and back panel to a side strip. Do I need to wet the leather and mold it first? Also, any tips for avoiding marks from my clamps and presser feet? I’d appreciate any help.
- 7 replies
-
- rounded corner
- curves
-
(and 1 more)
Tagged with:
-
My longtime favorite food vendor at the local farmers market is retiring sometime this summer. Since sometime in the early 2000's she has been my first stop on Saturday morning for food and a chat. Always with a smile and optimism, regardless of the weather or the news of the day and sometimes something extra with my order. As token of my appreciation I decided made her a leather market bag which I hope she will be able to use to enjoy a trip around the market herself every now and then. About the bag: Hand cut for the hide, 5/6 oz cow leather from a tannery in Maine. Dimensions: 16" wide x 12" deep with a 3" gusset. 100% Hand stitched (about 900 stitches, I lost count). Inside hanging pocket attached so no extra stitches show on the outside of the bag. 8" wide x 7" deep. Interior support strap that helps maintain the bag shape (it can be disconnected for large loads) and can be used to secure keys, etc. as well. Double layer hand stitched straps long enough to carry or wear on the shoulder. Strap connection reinforced on the inside. #shoplocal #shophandmade
-
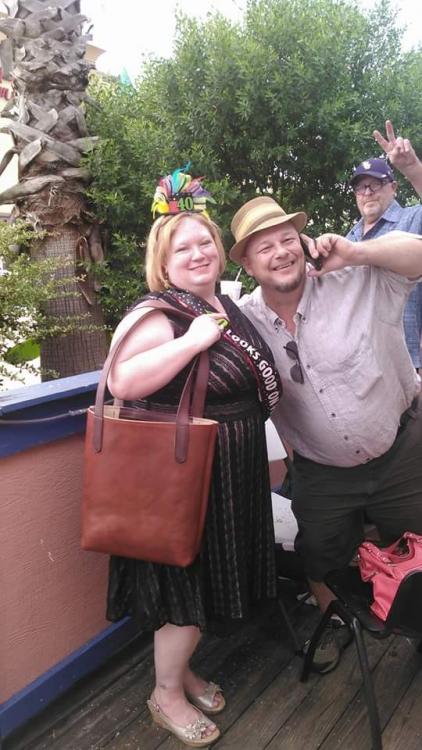
Well, here it is. I learned a lot along the way. I experimented a great deal with thus bag. This is the first thing I have laminated. The leather was some cheap Tandy stuff I bought a few years ago. It was probably 3-4 ounce. It felt quit stretchy so I doubled the body and straps. That made it a little heavy. The second mistake I made was trying to dye the body with a dauber (smacks head). However, my wife liked the "pattern" it left. After that I applied another coat using sponges. I had a really difficult time getting the cheap leather to take the dye evenly. I left the onside natural with the exception of the i pad pocket. It is the same color as the straps. I liked to never got turned right side out. It is all hand stitched and my saddle stitching improved greatly along the way. I was planning to stitch the straps all the way around, but ran out of time. This was a present for my wife's 40th birthday. This picture is at her party just hours after I completed it.
-
Ok as there are more then a few images and I am still working on this bag thought I would just post the imgur addy I have for this project Its a combo of Montana hide from tandy, and sheep skin as a liner I am just kind of stuck on how to hook the shoulder strap to the other bloody d-ring but I will figure it out will post more photos of the finished product. http://imgur.com/a/ywKx0
-
I am making a tote bag, but I think I have messed up and would like your thoughts on how to go forward. This is a one piece bag, so I started out with a 19x30 inch rectangle. I then cut out 3x6 rectangles from the middle of each side to that I end up with two 19x12 rectangles connected by a 13x6 rectangle in the middle. I folded the piece in half (grain side in ) and stitched the two 12 inch edges together. So far so good. Now I am supposed to pull the inner corners out to create the boxed bottom of the bag. The problem here is that the edges don't match up at all. I think the issue is that I forgot to account for the margin where I stitched the edges. I think the cut out needs to be adjusted by this amount. Does that make sense? I think I can fix this. I think the cut out should be maybe 3+5/32 x 6 inch. Thoughts? I'll post pics when I get home this evening. josh
-
Hello Everyone, I am very new both here and to leatherworking. I was tasked with making a leather tote bag for my sister for christmas. It was the only thing she requested so I felt obligated to take a crack at my first bag. I used: 5oz Dublin Horween Chromexcel 8oz Buffalo for the straps Copper rivets 1mm Cigar Tiger thread all stitches hand punched and saddle stitched There was quite the learning curve with the designing and assembly of this bag, I already know of a few things (mostly surrounding order of operatioins) that I will do different. Any advise is welcome since I hope to improve to the level of the things I see here! Edit: These are the only pictures I have from the build process, I have asked my sister for some pictures of it after a few weeks of use but nothing yet.
-
Just finished up this bag for a customer. My first women item. She wanted a tote style business bag but she may need it as a carry-all. I built this one differently than other bags. This one is lined with a horsehair canvas and top layered with a beautiful purple Japanese Bemberg. The Bemberg is stronger than silk and breathes better than cotton allowing the leather air. This was a steal from how custom handmade men's suit jackets are made. I borrowed this technique from my clothing days and it really worked out nice. The bag has a nice structure to it with out using heavy or stiff leather. I tried bag stiffener inserts before, but tore them out, I didn't like the feel. The outer shell is an Italian pull-up leather 2/3 oz. those of you that have used pull-ups before know how soft that is. The other pieces are constructed with Herrmann Oak veg-tan. Like the corner bumps, helps give the bag more protection from scraps and added structure. I'm most proud of the handles. I think the style and structure came out great. I also like the belted top, keeps the bag from fully opening if you hold it by one handle. Finally, she wanted a "Coach" style plaque on the front of the bag. After calling every trophy shop in town, no one wanted to make me one... they would make me 100 but not one since I needed "not the standard plaque". I found an old nerd technique online how tech folks would make their own PCB boards. I used this method on solid brass with some metal stain and it came out awesome. All the leather is hand sewn saddle stitched with Tiger Thread. I went down to the smallest I could find. 0.6mm. Has I nice feminine look. Kind of a mix between a doctor bag, hunter bag, in a tote style. Dimensions are 18" wide x 15" tall x 4" depth
-
From the album: Totes and Purses
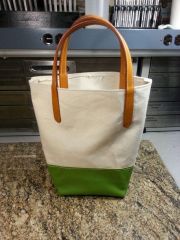
Finished hand stitching the handles onto the tote. Ready to clean, iron and go! YinTx© YinTx
-
From the album: Totes and Purses
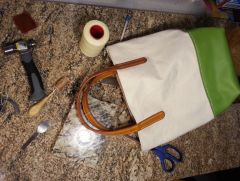
Canvas and leather tote in progress. Learned a lot about what not to do on this one. Also, didn't hem the top correctly. But hey, prototype! YinTx© YinTx
-
I would like to attempt to make the following tote bag as a first project/gift. http://www.whippingpost.com/collections/totes/products/the-vintage-tote-bag I contacted the site and found out that they use a 5/6 oz veg tan leather, and copper rivets. Here is where the guidance comes in... In being new, i need to know the following: Where should i source the leather from? How do I finish to obtain these results/color? Where do i purchase the hardware/stitching material? Also, anything that you can think of that may help me in the process of creating this bag Thank you all, and what a terrific forum. Matt
-
Happy Thursday all! This is a little ditty I designed for a 17 year old - hope she likes it! Used black garment grade leather (up cycled), bonded it to Poron for shape, flannel backed lining for the interior, the outside angled zippers are functional pockets, the patch pocket has zipper trim (repetition), strap is leather bonded to Texon, multiple thin sanded layers of Tandy edge paint and Tan kote over that, finished with Chicago screws. My head is spinning with sooo many other things I want to try! Thanks for looking! Leese
-
All- Good evening! After LW assistance with my tension issues, I finished my orange tote and then got a request to make it in black. Both are constructed of a knit-backed vinyl shell" and a lighter flannel backed vinyl for the lining. To give the bag some shape, I used foam headliner from the local fabric shop. The orange bag has up-cycled suede for the outside pocket and bottom. The zipper tab ends were a little weak, but I think I figured a better way on the black bag. The straps are two layers of vinyl with a Texon "core", Tandy Leather brand edge paint (multiple thin layers sanded down to remove nubs) and topped with Fiebings Tan-Kote. Once I photograph my latest prototype of a cross body bag, I will post the photos. Your thoughts, comments, etc. are welcome. Thank you for looking! Leese
-
From the album: Bags
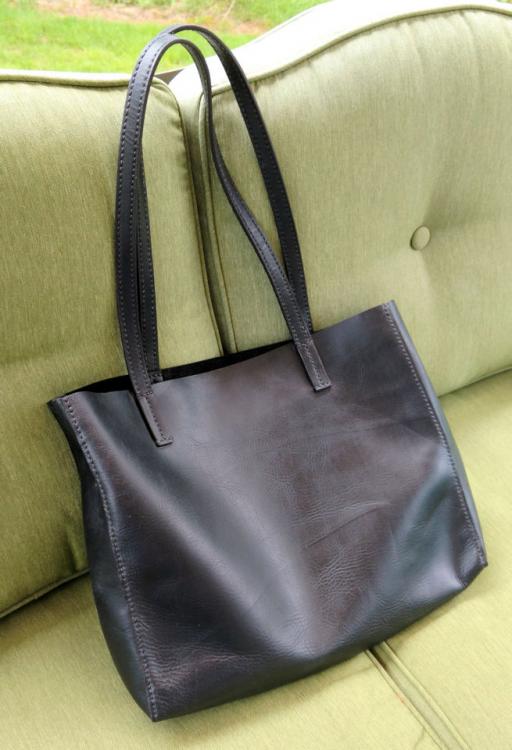
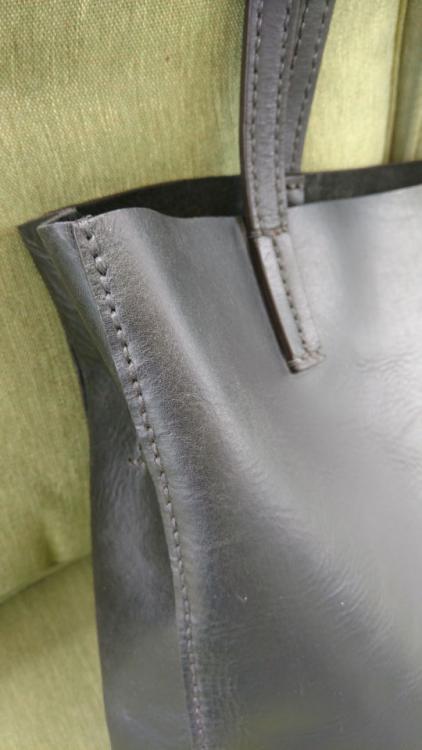
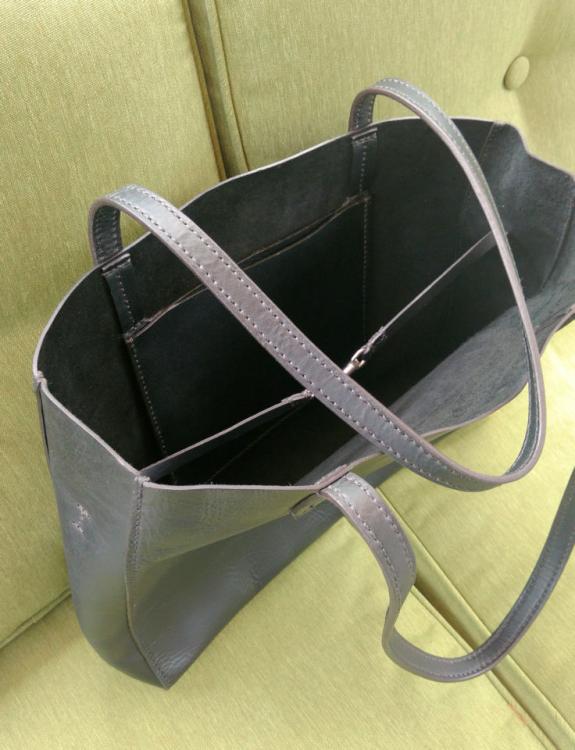
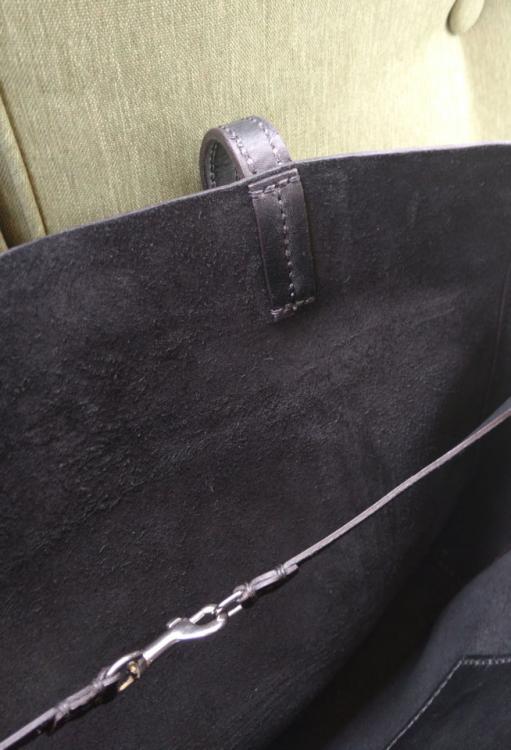
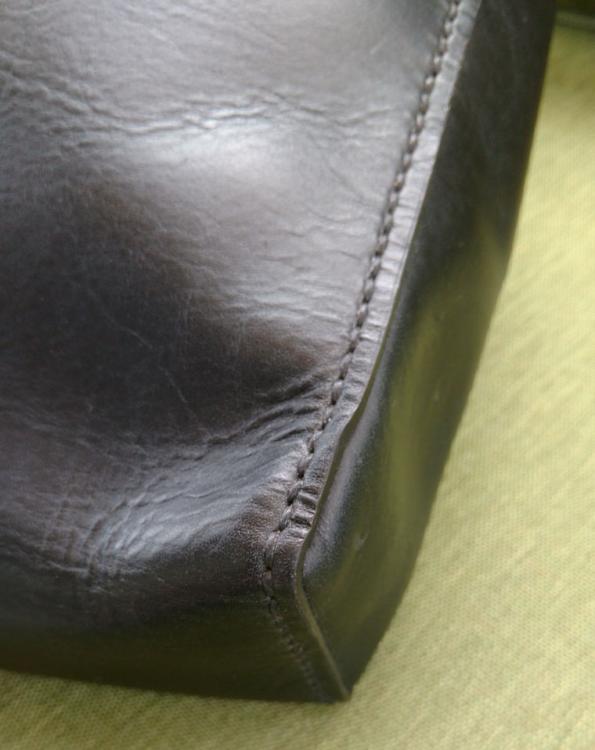
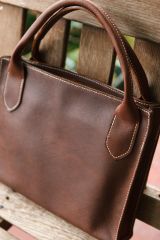
Experimental tote. Made with stoned oil tanned leather, 3-4 oz. -
So, my dad mentioned he wanted something that wasn't a briefcase, but more like a tote. He didn't want a flap, and he didn't want something too big, just a bag with handles to carry papers. A lot of people have been making totes, so I thought I'd give it a try. I don't really like the unfinished edges at the top of most totes, so I tried to remedy the situation by putting an extra strip at the top. I like the look of the seams on the outside, and I like that I could get a finished top edge, but I don't particularly like the corners. Any suggestions would be welcome!
-
From the album: Bags
-
From the album: Ja5on's Leather
Leather wine tote. I used 6/7 oz. leather -
From the album: Hap's Leather
Stone oiled leather, 4 interior pockets,key hook. 6"/12"/14". Machine sewn.


