
Constabulary
-
Posts
5,806 -
Joined
-
Last visited
Content Type
Profiles
Forums
Events
Blogs
Gallery
Store
Everything posted by Constabulary
-
What model re you talking about? Buying a from a dealer with good reputation can be the key. Is the used one from a private seller? Even new machines from a dealer can cause issues - you never know until things go wrong. It depends on how well the machine is serviced and / or set up to your requirements. I have zero new machines all my machines are vintage and refurbished (more or less). My oldest is from the 1920´s - 1930´s - no problems.
-
That's why I upgraded my 51w with a new needle bar so it can use 135x17 needles or generally common needles with a 2mm shaft. Almost all of my machines I have set up to 135x17 / 135x16 needles so I don´t have to stock different needle of all kind and sizes. Makes sewing life a bit easier
-
Cooool - love it! I hope you don´t overdo it with decals. You sometimes see machines where people add decals where there weren't some ex factory. IMO less is more. But it's of course a personal choice.
-

Durkopp Adler 239-125 Missing Oil Pan / Timing?
Constabulary replied to machineage's topic in Leather Sewing Machines
as far as I recall they are the same as for the Singer 111 feed dog - but I´m not 100% sure. https://www.college-sewing.co.uk/200106-feed-dog-screw-singer-111w.html Maybe worth checking with College Sewing anyway. -
Maybe this file will help you. Thats at least what I have... Adjustment Pfaff 138.pdf EDIT: Just noticed you are from Germany so so check this one SM_PFAFF+138-130-230-238-einstellanleitung.pdf
-
Singer 111w155 top arm shaft belt pulley
Constabulary replied to Hddodge's topic in Leather Sewing Machines
curved inward sounds like the end for the "screw in" stitch length adjuster (not sure if the 111w155 once came with this feature) - or - for the adjustment screw for positioning the hand wheel on the top shaft - or not? So this end would be the end for the hand wheel. Or do I get you wrong? -
Not OEM JUKI but for the price I mean better than having none. https://de.aliexpress.com/item/4000423125541.html
-
Need suggestions for choosing a sewing machine
Constabulary replied to JohnSP's topic in Leather Sewing Machines
Our member @DanishMan probably has something. He has refurbished several industrial triple feed machines if I recall correctly and maybe he has a spare machine he would part with. -
They wok but may need some modification. Make sure you buy genuine JUKI or Seiko parts from a reliable dealer and from Ebay. The Durkopp 241 / 239 share a lot of parts with the Singer 111 and similar Singer 111 based machines. There were tension units with a manual tension release push lever to the right side of the tension unit . These Tension units did not need the release slider.
-
Durkopp Adler 239-125 Missing Oil Pan / Timing?
Constabulary replied to machineage's topic in Leather Sewing Machines
Needle hook timing values are the same as for the Singer 111 - partially you can use a Singer 111 manual for this machine thought they have a different stitch length adjuster and so forth but they share a lot of parts which are interchangeable. You do not need the oil tray. Singer and Dürkopp are using the exact same hook saddle and both Co´s had this hook oil tray in their machines but both did it away one day. Just oil the hook regularly and nothing will happen. You can use Singer 111 hooks in your machine. But since you have an original Dürkopp hook you an just switch out the top part and leave the hook shaft in place. Take out the bobbin case and you will find a screw in the center of the hook, remove the screw and you can separate hook and hook shaft (if not gummed with old oil). You can buy new hooks dirt cheap for approx 10 - 15 bucks I´m very confident this hook will work: https://www.ebay.de/itm/254104332249 But you probably have to adjust the hook saddle a bit sideways. I bought a few of these hooks (GEH 810 / GEH 820) when I restored my 51w. They fit but hook tip is a bit longer but cannot adjust the hook sideways but I figured I can use them in my 111G156 with a Dürkopp hook shaft. Difference is the 820 has a build in needle deflector and the 810 needs a separate deflector (same as on your Dürkopp hook). Feed forks are the same as for the Singer 111 and similar models. I installed one in a friends 239 a while ago. Singer parts number is 224052 (Juki & Seiko are using them as well) This thread may be useful for you: https://leatherworker.net/forum/topic/77946-singer-111w155-feed-lifting-cam-slop/ -
Some wear parts are critical (gearbox pinion + rack f.i.) - you may find them with some luck, time an money. Worst thing is you cannot re time the needle & hook on this model (critical when pinions and rack are worn down). IMO the early 29´s are really bottom like patchers. You can get better / later model patcher machines for that money but of course depends on your market and how badly you want / need a patcher. If the rack and pinions are worn, the needle plate is shot and the hook is poor and you have to replace / rework the bell crank lever (because of short stitches) and maybe the foot and other bits (like the 4 rollers which can be worn / have a flat side / are rusted in place) you will end up investing 150 - 250 (remember - certain wear parts are obsolete) + tinkering (good when have a hubby or can do it on your own). This is of course a worst case scenario but you cannot foresee how good or bad a 110 years old patcher is and if it has probably been rebuild or not. The presence or condition of decals is often a sign for the degree of wear. It of course tells not the whole story but decals are often a good indicator. If it is sewing properly and can make 4mm long stitches (5mm is max ex factory) then why not but I would not pay that kind of money for a 110 years old patcher in unknown condition. Maybe half the price. But again depends on your market and... You always can make something out of nothing but there are always 2 sides of the coin. If you want to test it hand crank it - look for a manual and read it, buy needles are thread (#69) and check how it performs. EDIT: Some years ago I refurbished a similar model. It was a fun project for the cold days...
-
TORR most likely is the manufacturer TORRINGTON NM 125 is the metric size for approx US size 20. I assume the heavier spring is because they used it as 1 needle machine. Not really an issue - change the spring if it does not work for you. Since you are here now - this is the list with the serial number once provided by Gregg from Keystone Sewing (RIP). Not everything has to be shared in FB groups IMO.
.jpg.4a5078d565bb13bb6c501c6713aabc73.jpg)
.jpg.9fa4879dbc2a5be44c8156644f94277a.jpg)
-
Parts for Singer 29-4 patching machine
Constabulary replied to PAMuzzle's topic in Leather Sewing Machines
You can but most regular treadle bases have larger fly wheels than the 29K base so it will make the machine sew faster. -
Dealers in North FL, South GA?
Constabulary replied to JHLeatherwood's topic in Leather Sewing Machines
Your decision of course. I would not hesitate buying a Typical machine if I would need a machine of this class. Some information on Typical. https://www.vetrontypical-europe.com/ Maybe (don´t know) Typical could be even be a better quality than some other brands. I understand that distance to a dealer and drop shipping can be an issue but you live where you live and sometimes you have to bite the bullet. Regarding support - check the leather sewing machine section here - you get a lot of "non dealer support" here no matter the brand. If a LW member here has technical knowledge then he usually shares what he knows and especially LW member UWE "dives deep into it" to help folks with their machines. Just recently there are some threads on 341 / 1341 machines (which basically is the Cobra 26). https://leatherworker.net/forum/topic/95196-set-up-of-juki-ls-1341-type-machine/ But again - your decision. If it was me I would buy it. EDIT: scroll down here to USA - Looks like Atlanta Attachment in GA is supporting Typical machines. https://www.vetrontypical-europe.com/salespartner-vetrontypical -
Agree with the above. What you can do is looking for pictures of work space you like and try to recreate them with what you have in your own shop >> product, tools, machines, needles, thread, leather, odds & ends...
-
Dealers in North FL, South GA?
Constabulary replied to JHLeatherwood's topic in Leather Sewing Machines
Took me only a few minutes to find something similar to the Cobra 26 https://unisew.com/used-machines-and-equipment/used-sewing-machines/walking-foot/typical-tw3-341/ Seems to be in good shape. Have a Tandy in your area? They are also selling the Cobra 26: https://tandyleather.com/collections/machines/products/cobra-class-26 -
Wondering why sewing machine dealer who market certain motors do not include a translation of the manual or write their own. It may take a few hours to translate them / put together a manual but would save a lot of trouble I´d say. That for sure would bring them a good feedback for their motors and they probably would sell more when customers recommend their motors.
-
@sewingoptimizer this is affiliate marketing - easy to detect. https://sewingoptimizer.com/best-sewing-table-reviews/ Look who else Martha Williams can be: maybe you recognize one or another face
-
I assume you haven´t yet looked into the manual, right?
-
-
Kobe 1341 not bringing up knots.
Constabulary replied to pattysoup's topic in Leather Sewing Machines
I would try a # 22 / # 23 needle for 138 thread + to me it looks like your bobbin case opener needs to be adjusted (thread seems to keep hanging a little bit). Your check spring may need adjustment as well (more travel). Do you have a manual for your machine? Usually they have hints for adjusting, threading, needle thread chart and so forth.... get one if you don´t have one. -
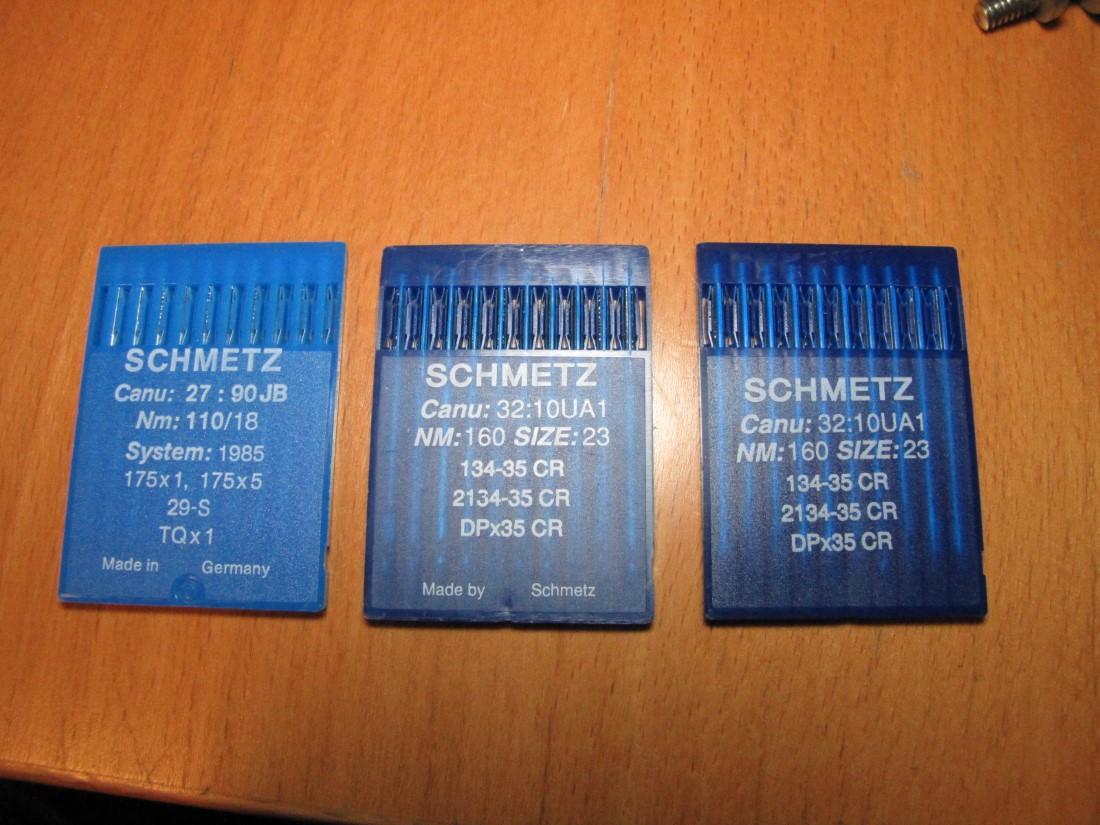
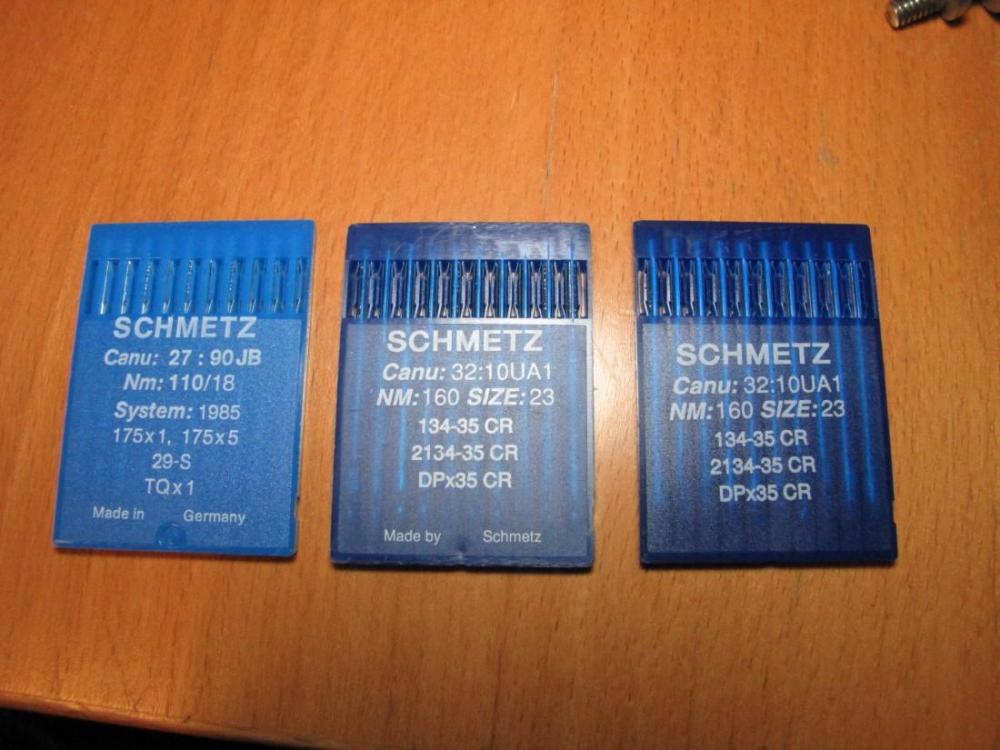
Singer is no longer existing as a manufacturer thought the brand name still exists. Singer made needles in the UK and Germany as well but thats all long gone. Needle manufacturers are a story of its own.... Schmetz needle packages were marked with "Made in Germany" for a long time then later "Made by Schmetz" and current packages have no "Made" markings - see what I mean But you can still buy Schmetz needles marked made in Germany (older stock I guess). In Germany we had Rhein Nadel, SNF (Singer), Schmetz, METWAR, Groz Beckert, Leo Lammertz (all great quality needles) and several others. The last two were Groz Beckert and Schmetz but a few years ago Groz Beckert bought Schmetz (Groz Beckert bought most of them afaik). And AFAIK the GB needles nowadays are all manufactured in Asia nowadays. EDIT: https://www.groz-beckert.com/en/company/history/
-
Don´t worry too much about needle - it will cause headaches. There are several thousand different needle systems for different machines and similar needles sometimes have different "names". You can use System 214, 216 & 328 needles in your machine 214 & 328 are the same, 216 are a bit different around the tip (at least my 216 are a bit different compared with 214 / 328). On 214 & 216 the prefix (1, 2, 3, 5, 7....) is most likely and old description for a certain needle tip. Really - don´t worry too much. 216 is not very common today that's why 214 / 328 is used instead. It would not surprise me when you order 216 you may get 214 in a 216 marked package instead. I have heard when you order 332 you may get 135x17 instead (same needle length but 332 has no scarf on the needle). Regarding KY - not sure but maybe Singer had different facilities for manufacturing needles and one maybe was in Kentucky = KY. But that's a very wild guess.
-
It may be grease or wax from an "overtreated" leather. Grease or wax sometimes "sweats" out when the temperatures are changing or humidity changes. Over the years I had this on some military M-1916 holsters for the Colt 1911 from the WWII and WWII era. Even when you removed it - it may come back. if it is no mold and when you apply heat (hair dryer) it most likely will diapers but may come back one day. Mold will stay as is when you apply heat. Just my experience.
-
its the logo of one of many far east manufacturer I guess. I have seen it before but who recalls all the Chinese brand names.