YinTx
-
Posts
3,794 -
Joined
-
Last visited
Content Type
Profiles
Forums
Events
Blogs
Gallery
Store
Everything posted by YinTx
-
 If it were up to me, and presuming veg tan, I'd oil it then seal it to help stop any body oil/moisture from creating unsightly stains. It will at least slow the patina process. YinTx
 -
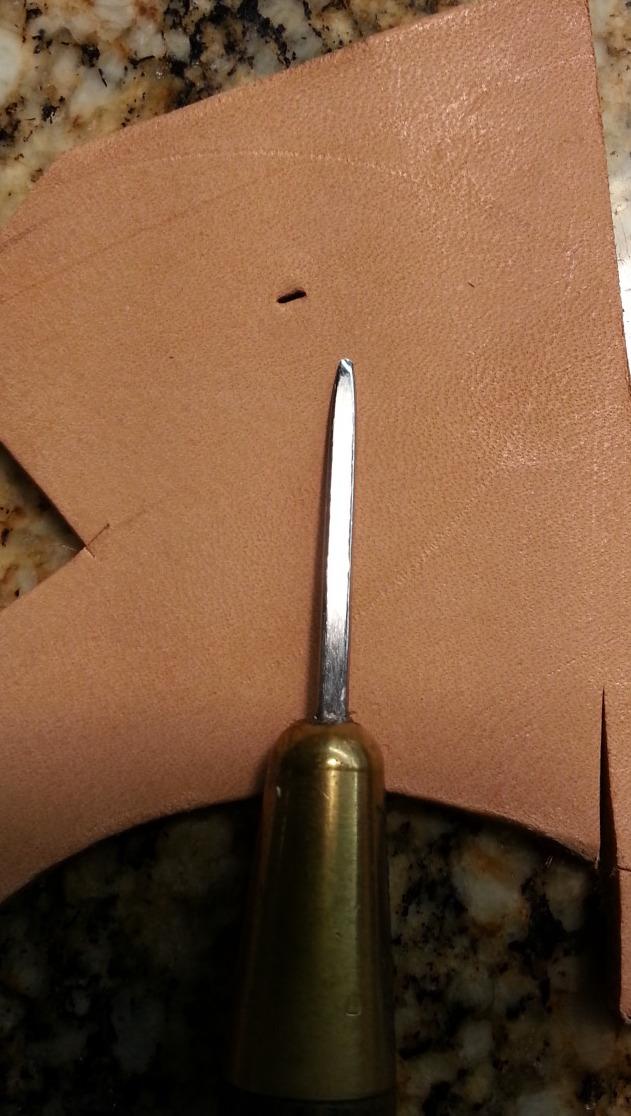
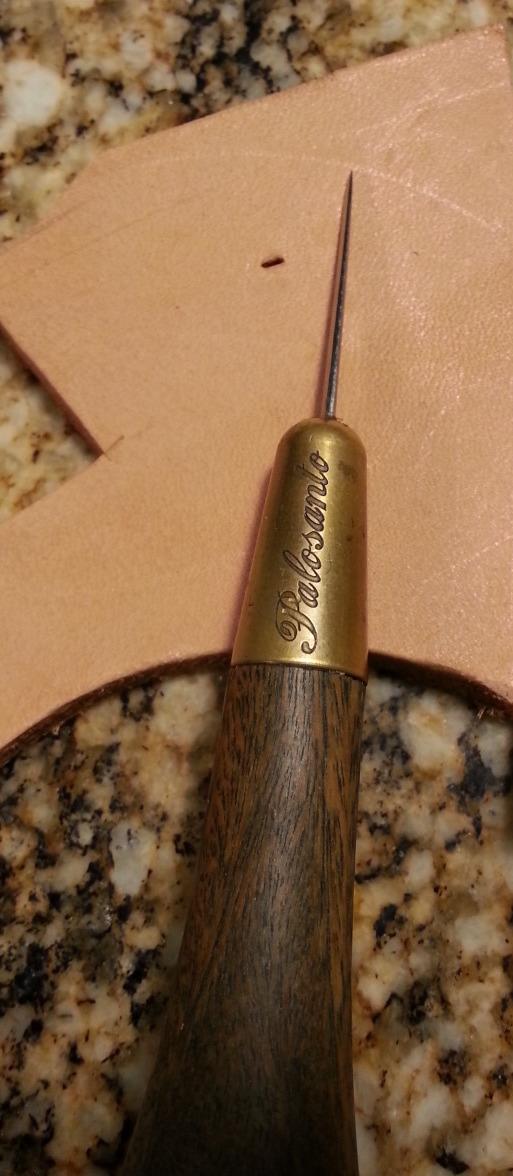
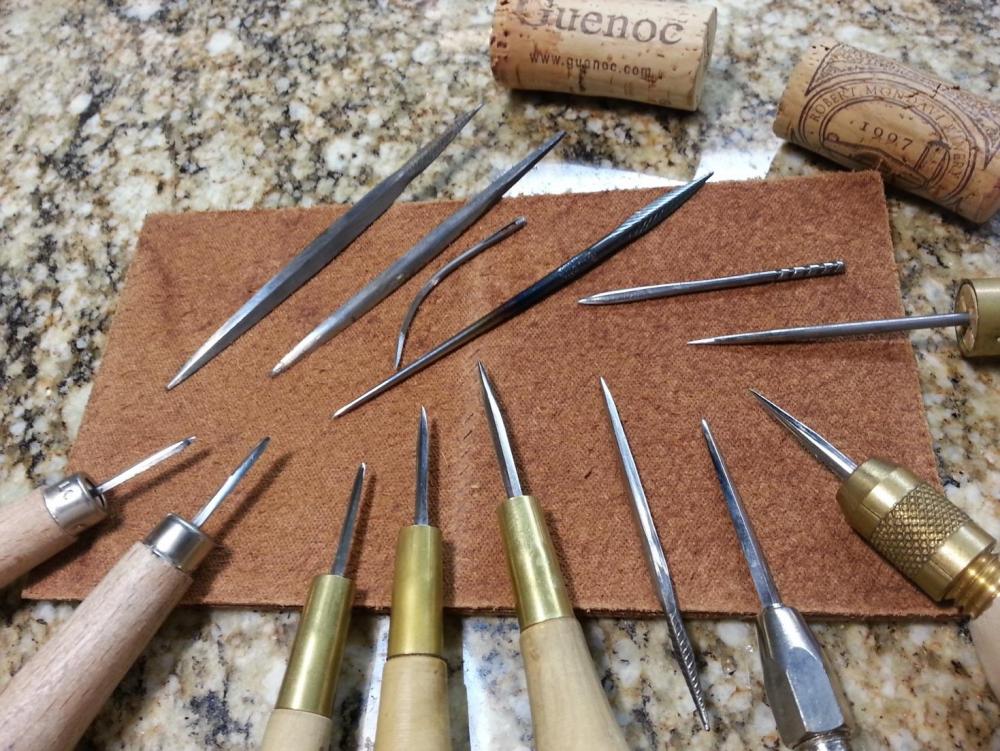
If you are happy with the results, then you are there. You may discover later that you want a different profile on a different leather/project, so then get another awl and profile it differently. First photo is a sampling of blades that I have and use. The last two photos are of a flat profile blade that I enjoy using when I want the exit hole the same size as the entrance hole, and flat. YinTx


-
Help! New leather smells like fish!
YinTx replied to Markallheart's topic in Leatherwork Conversation
Sedgwick's tends to have a fish odor. I think they use some fish oil in the mix, apparently an old and very effective conditioner. YinTx -
Fantastic work, and glad it is getting plenty of use! YinTx
-
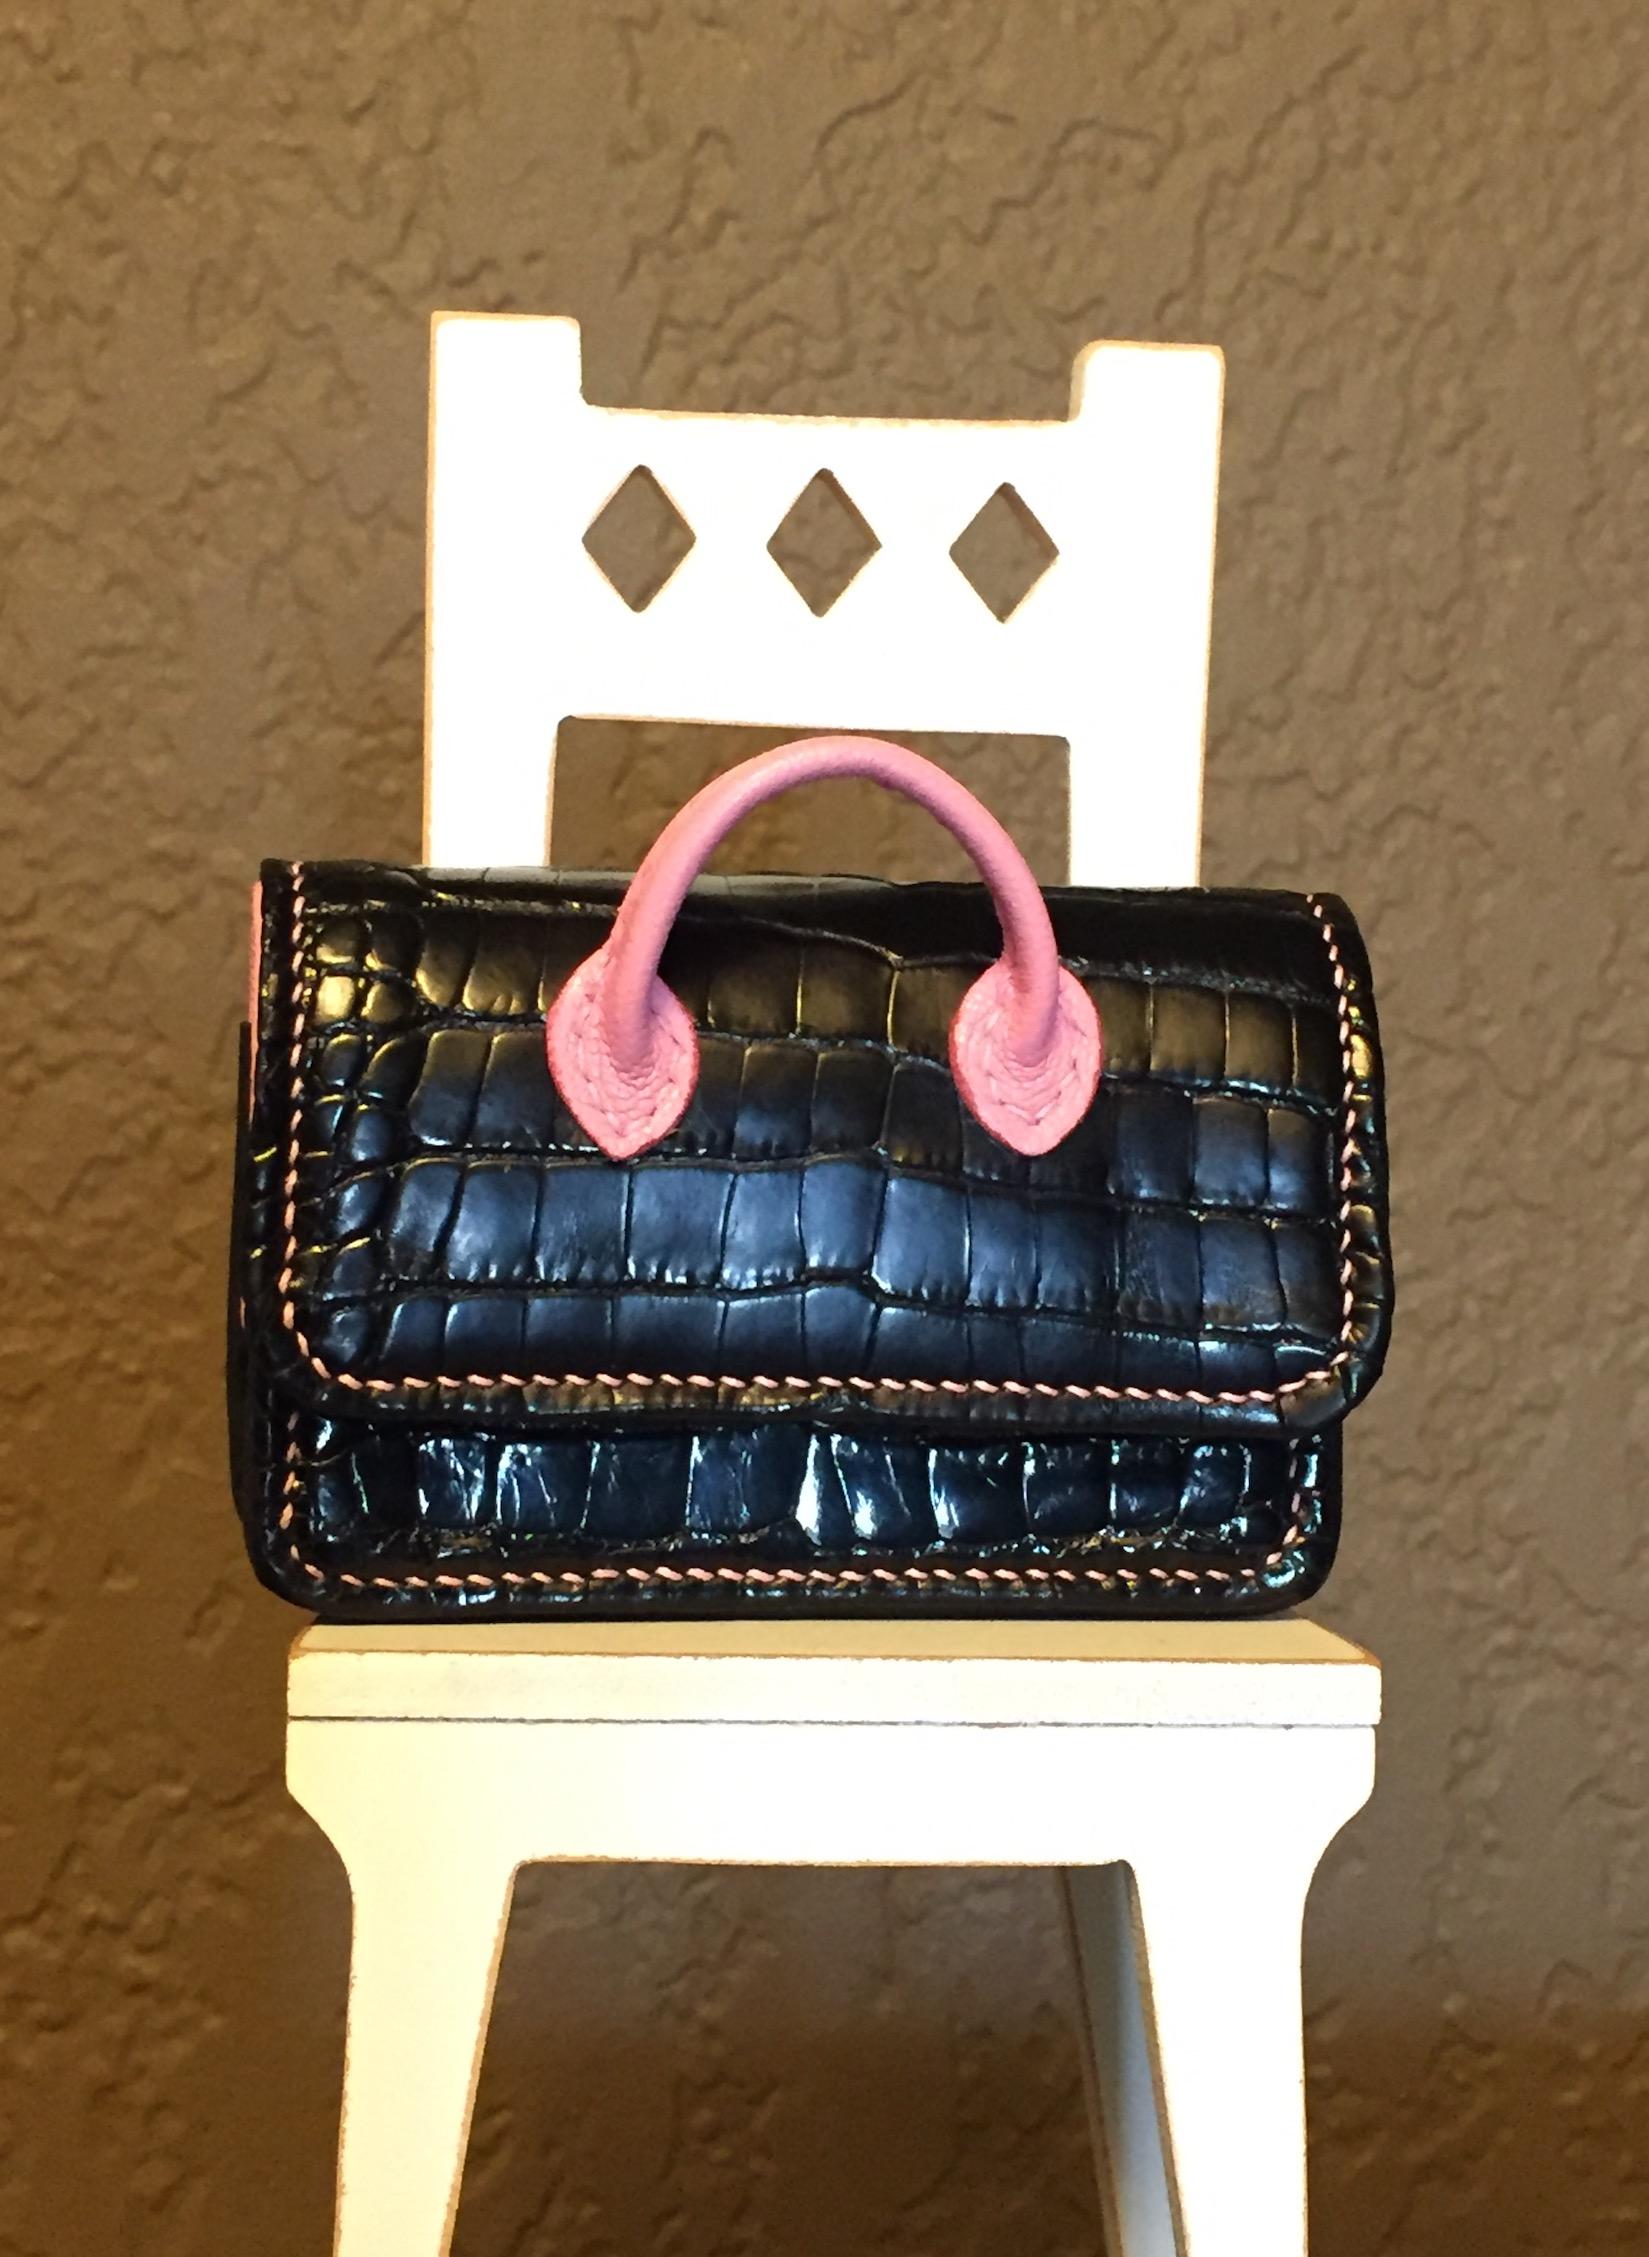
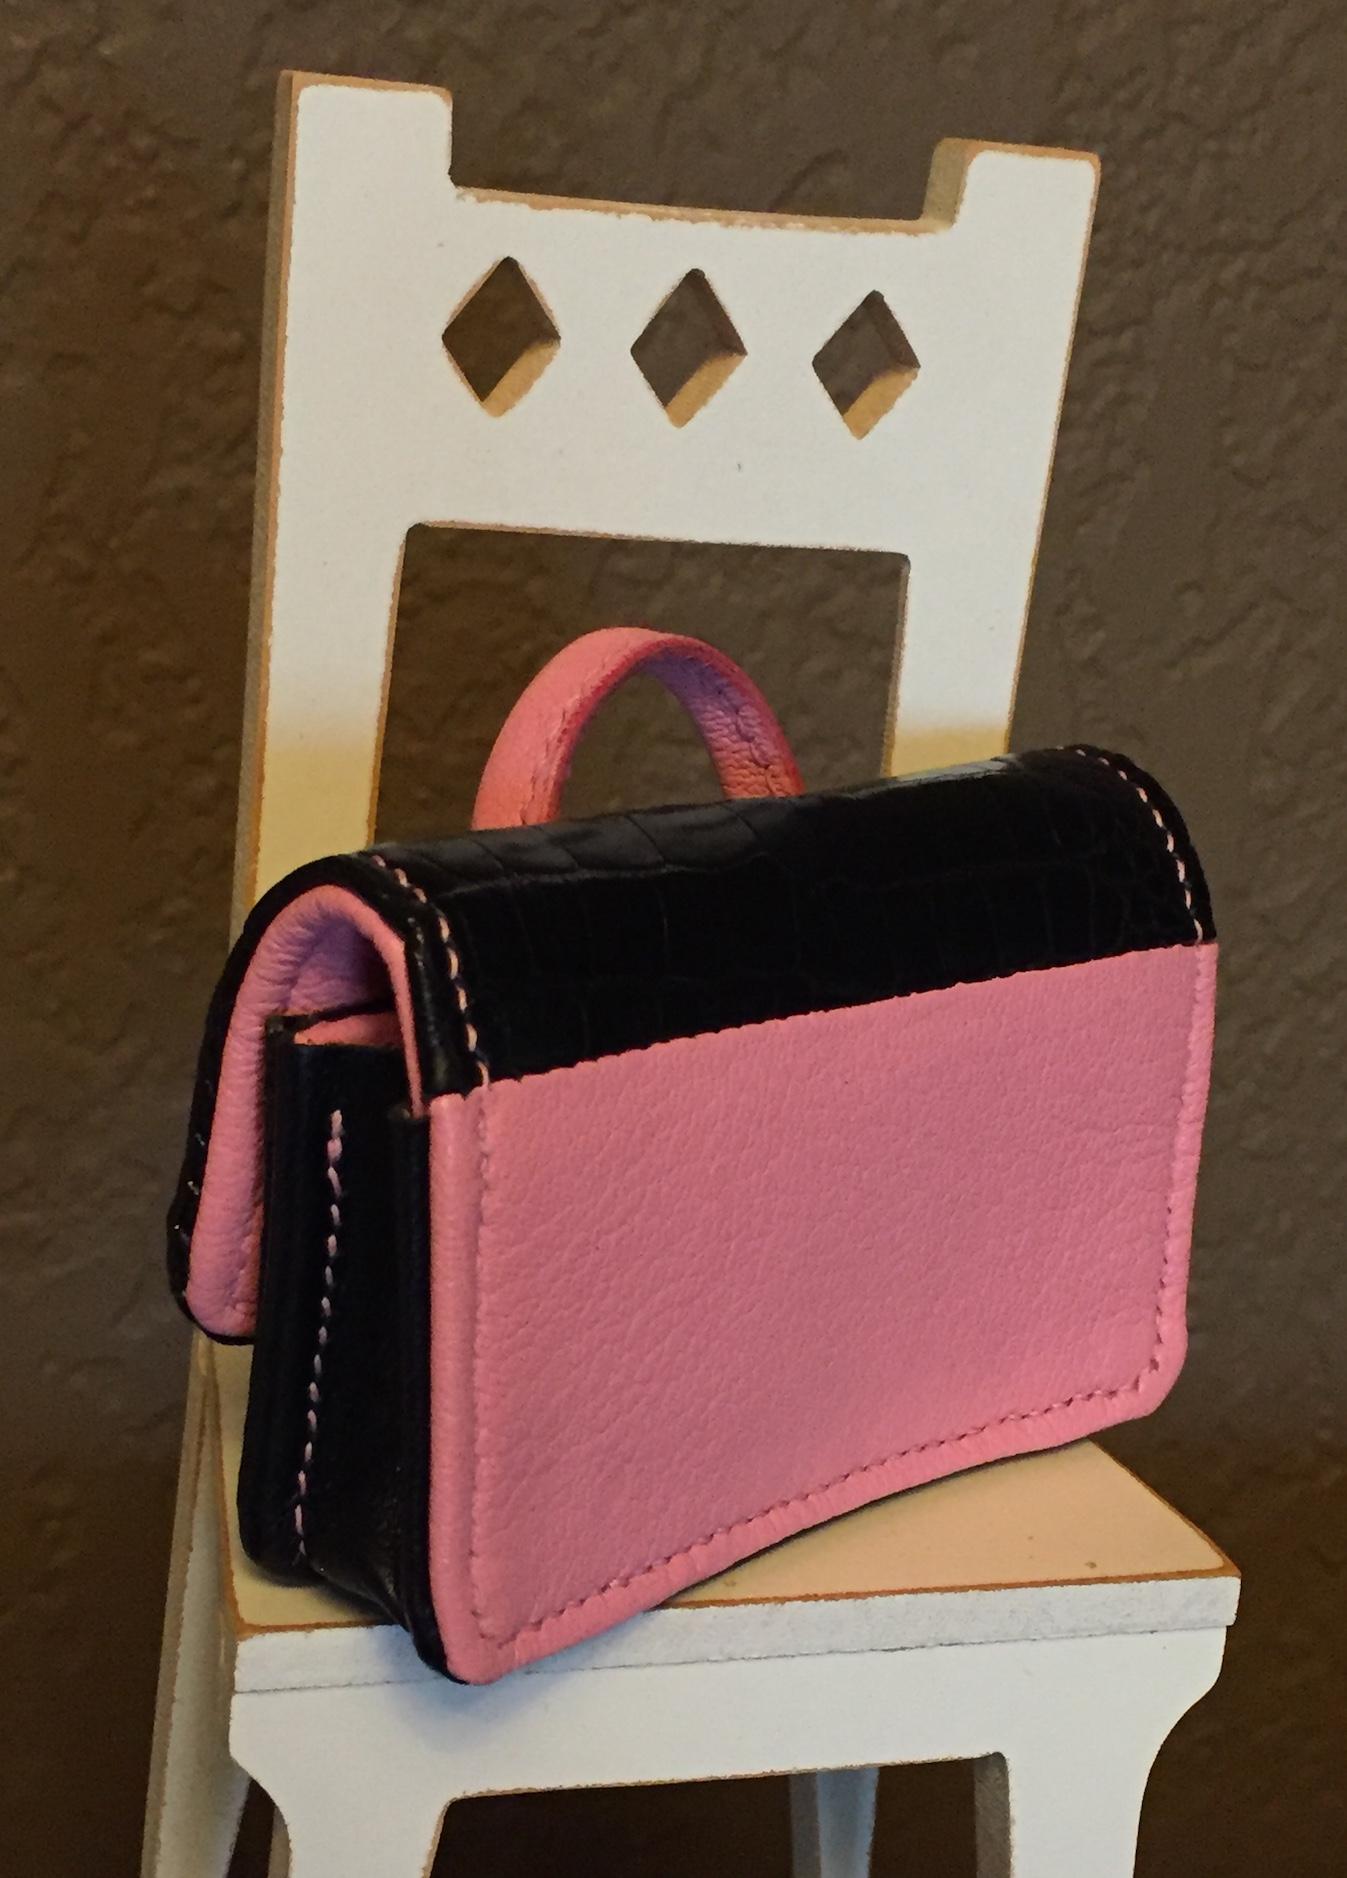
Appreciate it. Skiving is a bit of a bear, rolled edges create crackles (in glazed alligator at least), stitching across scales can make the stitches look uneven, lining up scale patterns and avoiding any flaws without wasting significant amounts of the hide is a skill in itself, making bombe' is not easy (I failed I'd say), bends such as across the top of the little bag can make scale edges stand proud, and just deciding to cut into something as expensive as that takes some nerve. I'm sure folks like @RockyAussie could elaborate on other challenges and if you want to see how to do it right, he's got it down to a science. YinTx
-
Double Turn Edge Billfold
YinTx replied to scrapyarddog's topic in Purses, Wallets, Belts and Miscellaneous Pocket Items
Really nice work, getting all the dimensions to line up exactly is not an easy thing! My views on edge paint and rolled edges on wallets mirror yours. Keeping everything slim like that is no small feat! Kudos on an awesome wallet and a repeat customer! YinTx -
True. I just end up with a lot of prototypes and practice projects piled up on the shelf. Appreciate the compliment! YinTx
-
Truly an understatement. Minuscule errors and design considerations are comparatively magnified and can easily ruin a piece that is miniaturized. I am working on Version 4.0, hoping some of the changes I have made will make an improvement in the aesthetics. Appreciate the compliment! Also, meant to mention this is the first time I have made a purse from Alligator. A different beast to work with altogether! I didn't want any painted edges on this one, so had to learn to roll edges and line with fillers. I think the Pellon I have is a bit thick for the purpose, same with the Bentex. But it is what I had! YinTx
-
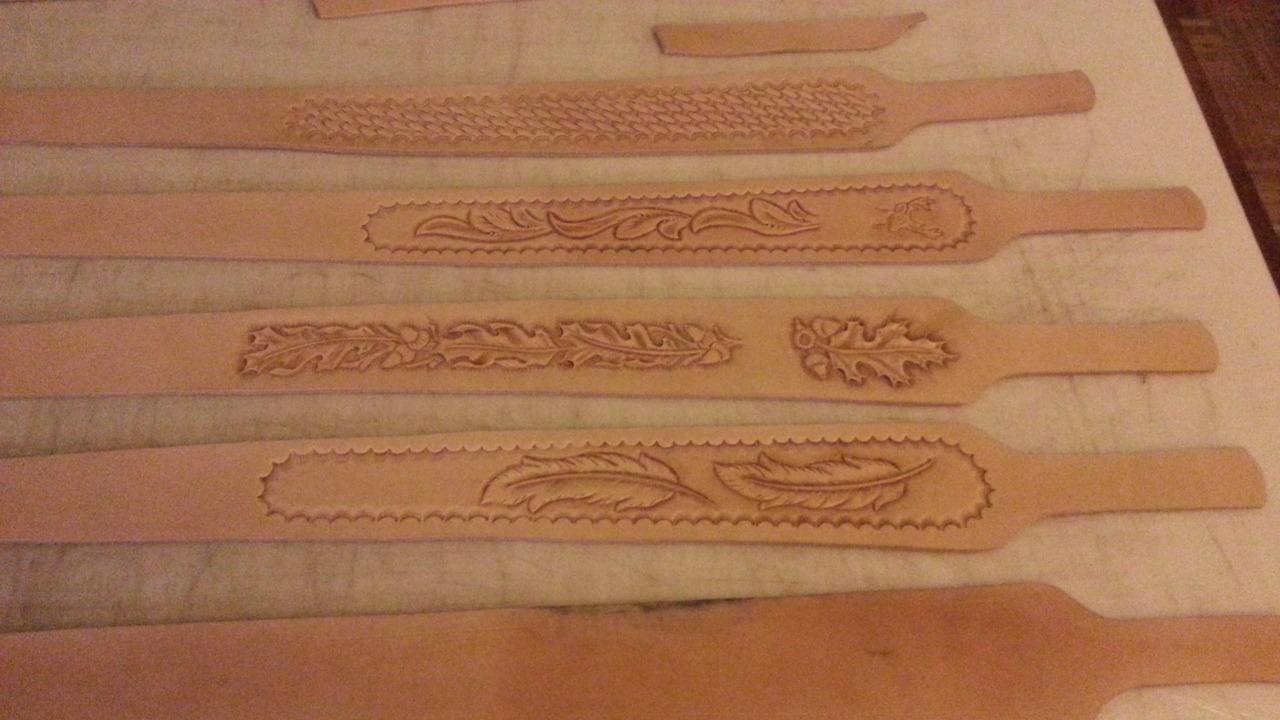
Outstanding! Really like the dimensionality you accomplished on the flowers. Just curious, where would one use a 4" wide belt though? YinTx
-
Tooled Belt
YinTx replied to Rolandranch's topic in Purses, Wallets, Belts and Miscellaneous Pocket Items
I don't think I've ever made any tooled leather item in a weekend, the leather wouldn't even be dry in 2 days! Usually takes me a week just to come up with the drawing. Nice work! YinTx -
Truly exceptional work resulting in a very fine leather wallet. Thanks for taking the time and effort to detail the work so the rest of us can learn to improve our work! YinTx
-
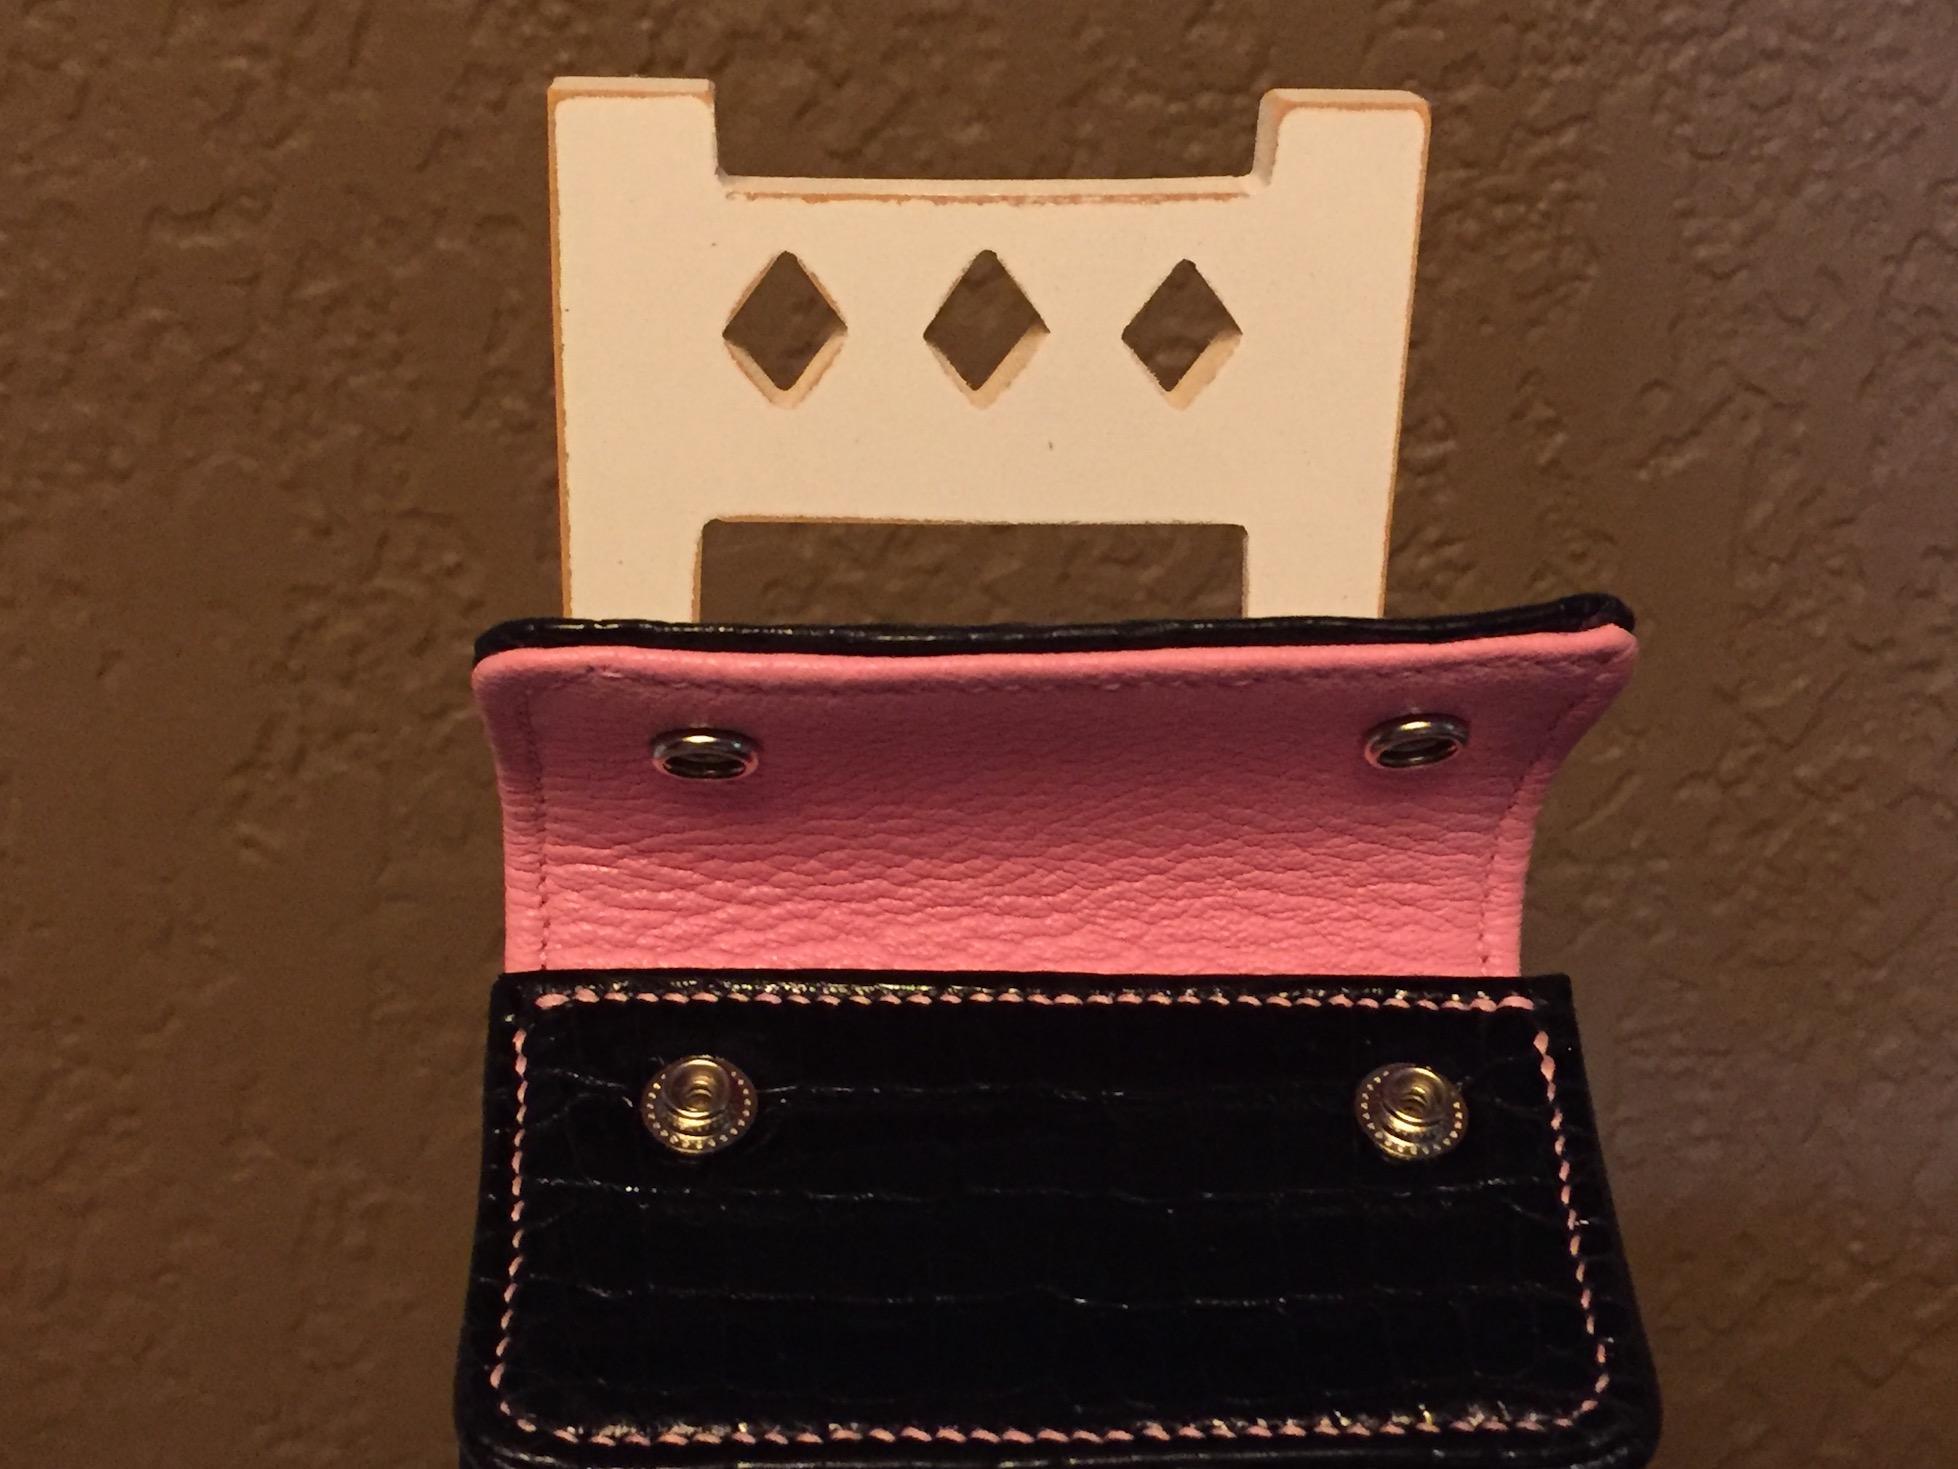
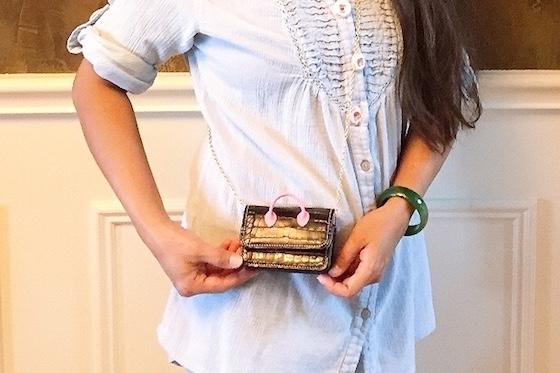
Thanks! and Yeah, it's pretty tiny. Only wide and tall enough to hold a credit card. Thank you. That handle is pretty small, not really a handle, just decoration. No way it could disengage the snaps. And the body is pretty stiff, so it turned out to be difficult to open anyhow since I attached the liner to the body on a curve. I didn't like how that turned out, so the next version I am working on is made with much thinner components. No Pelton filler on the liner this time! YinTx also, photo with model for scale (although the model is tiny herself):
-
Finally got the nerve to put this together. Lots of room for improvement, open to all critique! Will be starting on improved versions soon...for sure the gussets will be different. This is actually version 2, the first one was worthy of the bin. A bit more challenging than it looks I have learned! YinTx


-
Not an expert, but have done a few years of work, so take my advice with the proverbial grain of salt. You could try to dye it through the top coat, but if you do that, do a trial run on a section you are not likely to see, such as the underside of the loop. Depending what it was dyed and sealed with, as to whether or not you can dye through it or effectively strip of the top coat. Either way, a pro oil dye from Fiebing's is probably your best bet to get a deep black that won't rub off. If you have to strip it, they also make a deglazer. Keep it off the stitching as best you can so it doesn't degrade the thread. You'll have to oil and seal again when you are done. If you can remove all the hardware, or protect it, you'll want to do that also. Just looking at the photo, it seems to me it was actually a deep navy blue dye, not black, and the finish coat is rubbing off, causing it to look lighter where it is rubbed off. You might just get better results refinishing with a topcoat like TanKote or Resolene, with a lot less stress and work. Again, try on an unseen spot first. YinTx
-
That is a very detailed design! And a lot of tooling. Nicely done. Look forward to seeing the completed project. YinTx
-
Also, post a photo of the front side and exit side of the hole it makes piercing veg tan and the softer leather you are having issues with. The first photo seems to show a blunted tip, the second quite pointy. You will need some cutting edges part way up the blade, otherwise it will just be forcing it's way through and perhaps tearing the leather instead of a clean cut. Those edges need to be pretty razor sharp as well. Then blunted where you just want the leather to be stretched open to allow room for the needle and thread. YinTx
-
Couple Purses Done
YinTx replied to Treed's topic in Purses, Wallets, Belts and Miscellaneous Pocket Items
That is really nice work! How do you feel about how the edges came out with oil tan next to veg tan? I like Steve's patterns, but haven't purchased any yet... almost did, but had to go through Etsy, which kinda turned me off. YinTx -
How about a photo of what you have so far? I just used my awl to go through two layers of alligator, one layer of bentex, one layer of Pelton, and three layers of Chevre Chagrin. I wasn't happy with the results, but I was able to pierce all layers fairly easily. And each layer has some contact cement in there... YinTx
-
I think if you ask 6 people you might get 6 answers. I have a pile of awls, and they all have different profiles, and I use the one that gives me the stitch I need on the project I happen to be working on at the time. In general, I would consider dulling the upper sections of the blade, maintain some bulk in the upper section to open the hole up for your needle and thread without cutting a bigger hole. If it is only stretching the leather hole open, then the hole will close back down after you have done your stitch if you don't pull too much tension. If the sides are sharp, they will cut the hole open, and it will not close down. And on the diamond shape, you don't want 4 cuts. The shape of the point is personal preference. I have one that is a squared tip, one that is a short point, and some that are very long drawn out sword points. Important thing is to make sure the sides are equal (at least opposing sides) so you don't cut uneven holes. Equally important to all this is the final finish on the blade. High polish gives me the best results. YinTx
-
Not sure. I've sent them an email to see if they have a blade. YinTx
-
If you can, let me know if you find a source, I've been meaning to go looking since Pilgrims closed. YinTx
-
Punch a bunch of holes in a piece of leather, and spin that spiral on? Use a pippin punch to punch a row of holes, press it into the spiral? YinTx
-
Carved belt
YinTx replied to WyattEarp's topic in Purses, Wallets, Belts and Miscellaneous Pocket Items
That is a lot of tooling. I like the border, nicely done! YinTx -
Really, Really, Really nice. YinTx
-
Was it Pilgrim's Shoe and Machine? I think it's been sold though, to Shoe Systems Plus or so I'd read somewhere. Paul Zalesak of Leather Wrangler's makes and sells blades, they are going to cost you a shiny copper though. YinTx edit: just went to the site, looks like mostly bench splitter blades, didn't see a Landis blade. Maybe he'd make one?