


Tugadude
-
Posts
2,656 -
Joined
-
Last visited
Content Type
Profiles
Forums
Events
Blogs
Gallery
Store
Everything posted by Tugadude
-
If you don't have a set, you need to get a set of wing dividers. They leave a scratch line and will go around curves OK. Takes a knack.
-
If you haven't, check Nigel Armitage's videos on youtube. He has a stitching video where he shows how to do a corner transition. Nice job!
-
Or OTB, Ohio Travel Bag. Downloadable catalog available.
-

My tips for a "machine" look with Saddle Stitch
Tugadude replied to DonorLeather's topic in Sewing Leather
Thumbs up anytime someone quotes from "My Cousin Vinny". The topic took some interesting turns and valid points made all around. Thanks are due the OP for the effort and for trying to help raise the bar. JeannieH made a good point about consistency. In the end, we all have individual aesthetic preferences. Nothing wrong there. -
When posting about technique and tools it is helpful to detail what you are using. Saying you use chisels is not very helpful as there are all sorts of tooth sizes, spacing, etc.. Tandy sells several types of needles, so again, not too informative. Lastly, what thread are you using? That can have a huge impact too, along with how you are locking the thread on the needle. You might be creating a "bump" that is difficult to pass through. Just trying to help, but the details help to assess what is going on.
-
Harness needle in relation to thread size
Tugadude replied to RemingtonSteel's topic in Sewing Leather
Just as important is the size awl you are using. If not using an awl, you might want to because it temporarily stretches the holes, making passage of needles easier. -
Good advice from YinTx
-
Whatever method you used in the last row, it is not correct. Thread is to go from top of slit to bottom of adjacent slit.
-
Reinforcing the mouth of a large vegtan gusset bag
Tugadude replied to Mallethead's topic in How Do I Do That?
A wooden yardstick could also be cut down to size. -
This. Cutting first is unnecessary. It also could cause the shank to not want to enter the hole in the setter if it is deformed. I cut only after the burr is set. YMMV.
-
Love it! Thanks for sharing and God bless you.
-
The video is great. A picture is worth a thousand words, especially when it's moving. Notice too how he is using an iron slab. I do mine on the top of my vintage Sears Craftsman table saw. Makes a great anvil.
-
I will get some photos up, but to me it is understanding the process. It is like building a foundation. If you start off badly it cannot be fixed. So step 1 is to trim the shaft of the rivet to the right length. Some can do this when making the original cut while others make an initial cut and then trim it down. A Dremel with cutting wheel helps. Then, after you have it trimmed, say about 1/8" or so, you can tap it down with a ball peen hammer. The final touch I use is a doming tool to round it off. The easiest mistake to make is to leave the shaft too long and then try to make it look good. It won't.
-
Minimalist Wallet
Tugadude replied to Rolandranch's topic in Purses, Wallets, Belts and Miscellaneous Pocket Items
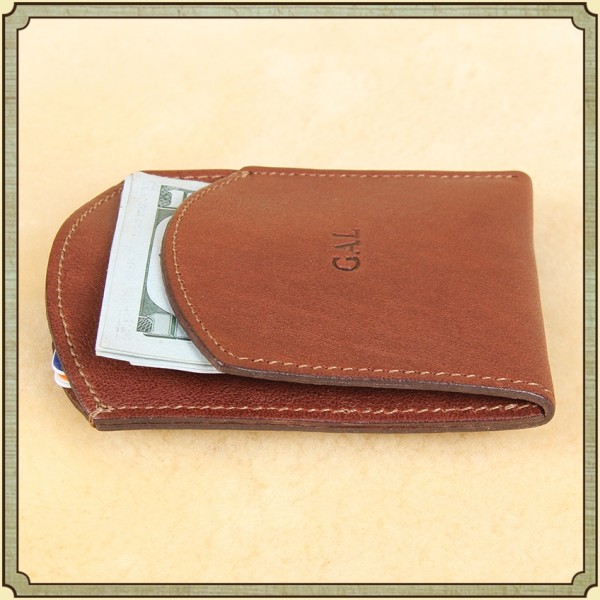
No problem. BTW, you can stitch a little ways up the flap if your bills are too loose, but they generally tuck in very securely. Lot of friction there. -
Minimalist Wallet
Tugadude replied to Rolandranch's topic in Purses, Wallets, Belts and Miscellaneous Pocket Items
-
Vertical type PC bag
Tugadude replied to ArildS's topic in Purses, Wallets, Belts and Miscellaneous Pocket Items
Cool color combo! I agree that the moulded portion is extremely nice. Adds visual appeal. Nice stitching also. -
Minimalist Wallet
Tugadude replied to Rolandranch's topic in Purses, Wallets, Belts and Miscellaneous Pocket Items
Very nice. I've made similar and found it hard to access the cash sometimes. The cards stiffen the leather and make it difficult to squeeze open the cash pocket. That is why some cash pockets are more of a flap, open on one corner for easier access. -
Dopp Kit
Tugadude replied to TxLeather's topic in Purses, Wallets, Belts and Miscellaneous Pocket Items
Just for fun...more than you ever wanted to know! Via Wikipedia. Dopp kit is a term particularly in use in America[citation needed] for toiletry bags. The name derives from the early 20th century leather craftsman Charles Doppelt, whose company designed the case in 1919.[1] While the case is named after Doppelt, it appears that the case was actually designed by Doppelt's nephew, Jerome Harris.[2] Dopp kits became widely known during World War I[3] and World War II[4] when they were issued to GIs. The Dopp brand name was purchased by Samsonite in the early 1970s[5], and was acquired by Buxton in 1979.[6] The trademark Dopp was filed by Samsonite for registration at the U.S. Trademark Office on Mar. 24, 1980.[7] The class of goods for which it was applicable was “toilet cases sold empty, briefcases, briefcase type portfolios, sample and catalog cases sold empty, luggage identification tags, and traveling bags”. An additional filing for the trademark Dopp Kit was made on April 3, 1980 for the class of goods “travel kits, sold empty”.[8] In both of those applications Samsonite stated that the trademarks were first used in July 1936. The registration for “Dopp Kit” was cancelled in March 2003 when no one filed a required (Section 8) Declaration of Continued Use, but the required declarations have been filed for “Dopp”. The marks were assigned to DHP Limited Partnership (dba Buxton) in 1990; the current owner of the “Dopp” trademark is listed as Buxton Acquisition Co., LLC, of Chicopee, Massachusetts.[citation needed] -
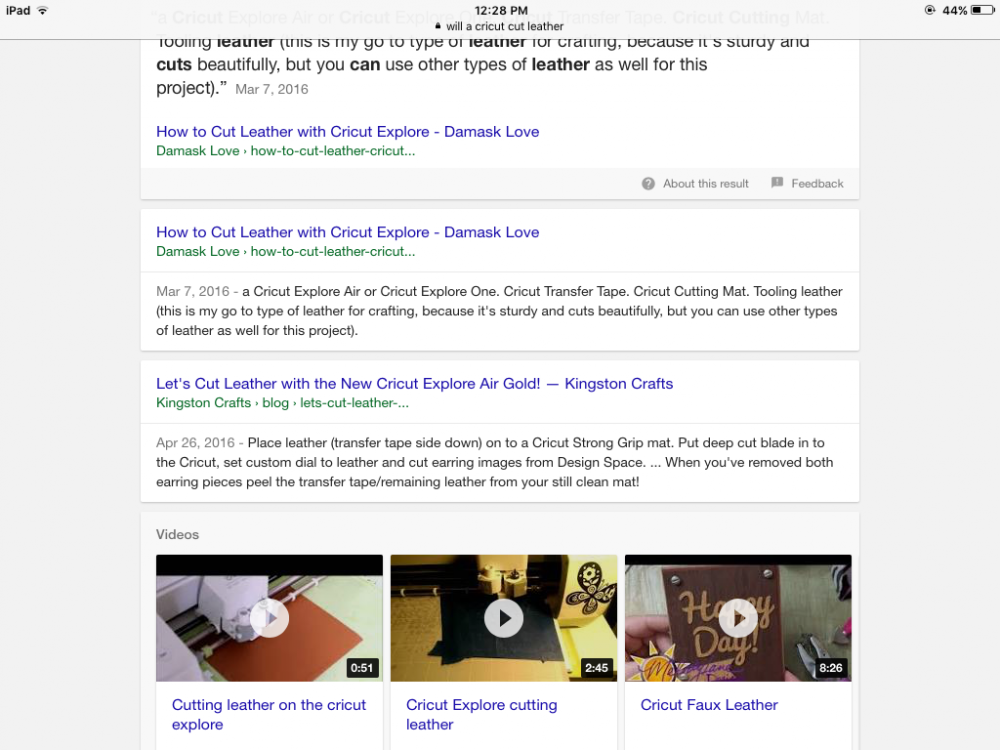
Try googling it. I just found these hits including videos on youtube.
-
I think the point is that stitching irons can serve as pricking irons while pricking irons, due to the tapered teeth can function as a stitching iron or chisel mainly on very thin leather. On thicker leather the tapered teeth create a hole that is too big. For beginners or those that cannot afford pricy irons, stitching chisels are very handy.
-
First card wallets
Tugadude replied to Prusty's topic in Purses, Wallets, Belts and Miscellaneous Pocket Items
There is some nice work there. I especially like the creases on the pockets. I always use them. One thing you might try is putting a round hole at the corners where the stitching "hinges" around the corner. Even though the corners are rounded, you basically have a 90 degree angle. You can view this technique on Nigel Armitage's youtube video on saddle stitching. Agree with YinTX on Starting/stopping in less noticeable areas. Glad Your health is better! Welcome back. -
Watch Strap
Tugadude replied to SunLynx's topic in Purses, Wallets, Belts and Miscellaneous Pocket Items
SunLynx, I'm sure your .pdf will help a lot of folks. There are lots of ways to do things. This way works for you and is what is important. I do wonder if relying solely on glue will work. I tried it on a bracelet once and got separation over time. I now stitch everything that is layered after gluing or using double-stick tape. -
Help Applying Saddle Stitching to Tool Bag Design
Tugadude replied to OrthodoxMason's topic in How Do I Do That?
You are right in that the folded tops of the pouches make things more difficult or at least slower. I'd be tempted to create holes in what is the outer aspect of the rolled edge and the glue it or tape it down with double-sided tape and then use an awl to go through the existing holes and through the second, unpunched layer. Seems to me a reasonable way to approach it. Once you get things sorted out you will likely amaze yourself with how fast you can stitch. -
No, I just saw it when looking at the Slam thread. Don't know what's up with Slam thread, Lekoza used to stock it and it was getting good reviews.
-
https://www.houzz.com/photos/25749605/Culmax-Handrail-modern-london link to a pic showing a seam. Just another option.
