alpha2
-
Posts
1,653 -
Joined
-
Last visited
Content Type
Profiles
Forums
Events
Blogs
Gallery
Store
Everything posted by alpha2
-
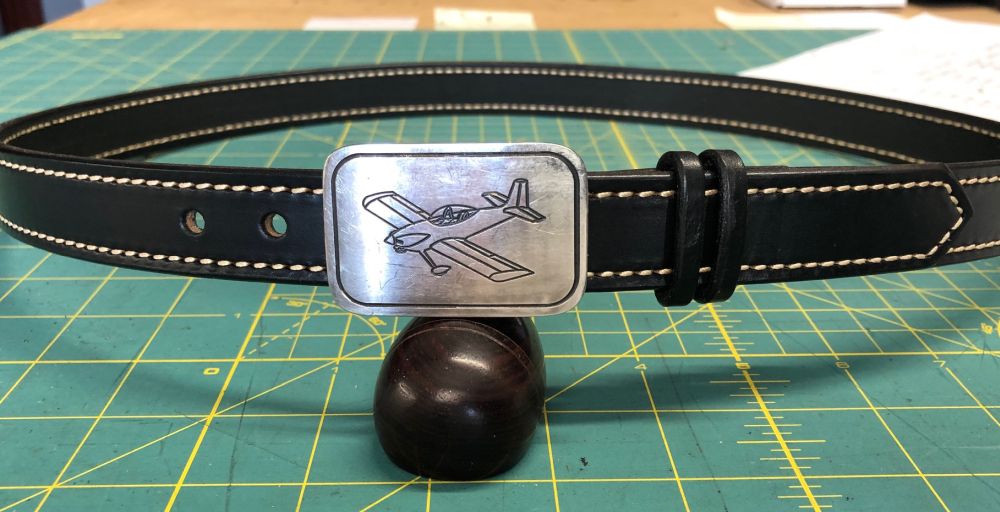
The applicator is foam. I tried it out on a belt. Two coats, dried, slicked, beeswax and buff. Well pleased with the result. Jeff
-
1. The parts are stainless, except for the blanket set. 2. New spool of thread, Colt. I'd heard that too. I had to look up what luthiery is. FYI, spell correct changes that to "thievery"! 3. I'll lower the check spring. I was trying to imitate what I saw in videos as to the correct angle. I didn't get a toothed feed dog in my set, just a smooth one, the needle plate and presser feet. The presser feet in the blanket set are huge! I don't know if I will be able to see the work well enough with them. The hole in the smooth feed dog is more of a slot. You may have meant keep the leather feet and just change the feed dog. I can order the toothed feed dog. And, finally, I DID forget to back off the foot pressure adjustment from the leather setting. I have to say, I can see why a lot of you have numerous machines! Changing this one from leather to an occasional webbing job is a royal pain. 4. Let me see if I can explain this. If the bobbin case is horizontal, with the bobbin coming out on the left side, I had the thread coming off the top of the bobbin. Apparently, it's supposed to come off the bottom and out through the case. The picture I have in the "manual" didn't appear to show it that way, but yesterday I noticed an arrow on the bobbin itself in the picture, and mine was going the other way. I've only sewn two layer of heavyweight webbing since I went to the blanket set pressure feet and corrected the bobbin feed, and it's working okay now. Thanks, guys! Jeff
-
I do use edge paint sometimes. I like that the dye penetrates the leather though, as opposed to sitting on the surface. Something that will get a lot of abrasion on the edges is not a good candidate for edge paint, in my opinion. Dye will show some abrasion, too, but at least the color will remain. Jeff
-
First, let me say that when I saw the blown up images, I couldn't believe how bad they looked. With just your eyes they don't look that bad at all. However, every part I put on the machine, that wasn't on the machine when I received it, had to be altered. Filed, sanded, bent, to make them fit the machine. I hadn't tried to use the blanket foot and needle bar until this afternoon, I had to file the channel in the presser foot so it would fit on the square shaft, and the needle foot had to be reamed and sanded so it would fit on the round shaft. The machine is about a year old. I'm not going to say who I got it from, as I decided to fit the parts myself, and didn't give the dealer the opportunity to make it right. That's on me. All I'm saying is that wherever these parts are coming from, they seriously need to go back. To pass them on to the unsuspecting final purchaser would be expecting all of them to have the experience and tools to make them fit. That is extremely unlikely. When you say "supposed to be like a Cowboy", you have to remember that Cowboy is a cheaper knock off Chinese copy of a Juki. I didn't spend the money to get a Juki. If I had to buy a Juki, I wouldn't have an industrial stitcher at all. That's on me, too. But, I would expect the accessory parts to fit right out of the bag. Oh, and I had to file the cylinder casting to easily remove and replace the bobbin and shuttle parts. And the needle plate needed to be ground down so the edge guide could get close to the needle. But, hey, I saved a couple of thousand dollars over a Juki. My choice. Jeff
-
A belt just for me
alpha2 replied to alpha2's topic in Purses, Wallets, Belts and Miscellaneous Pocket Items
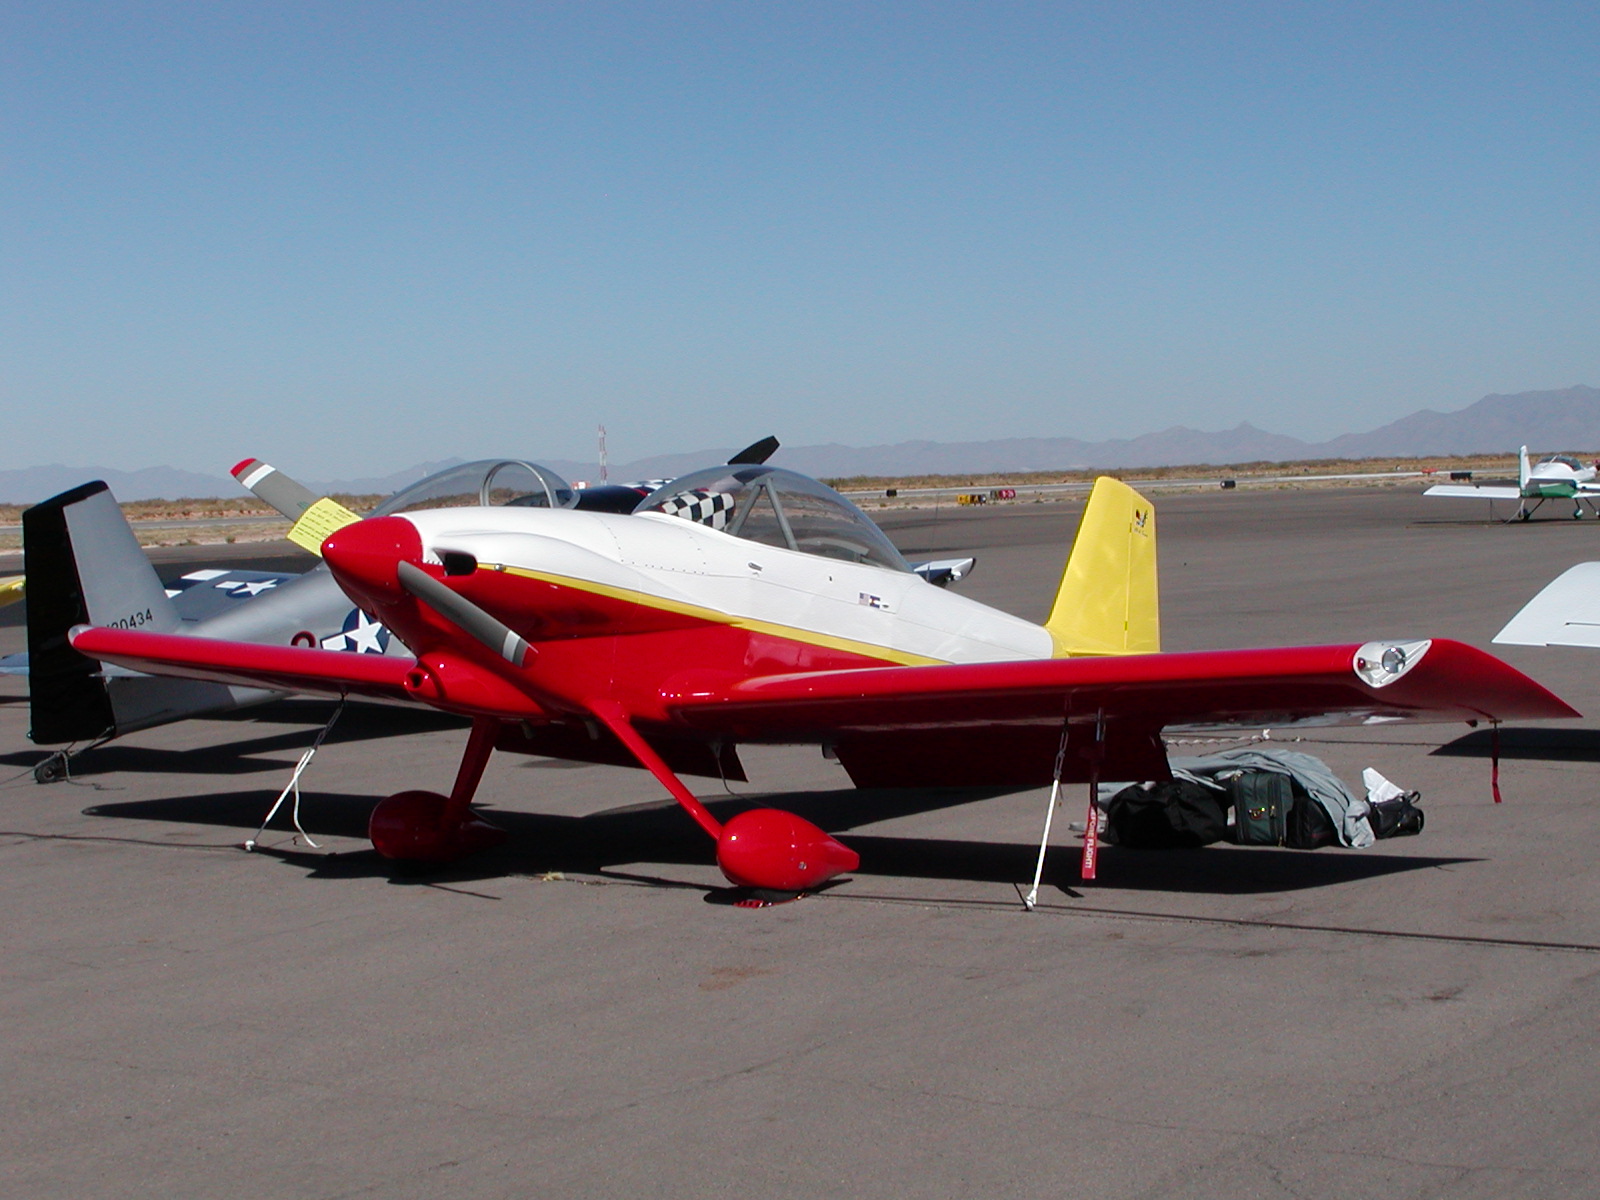
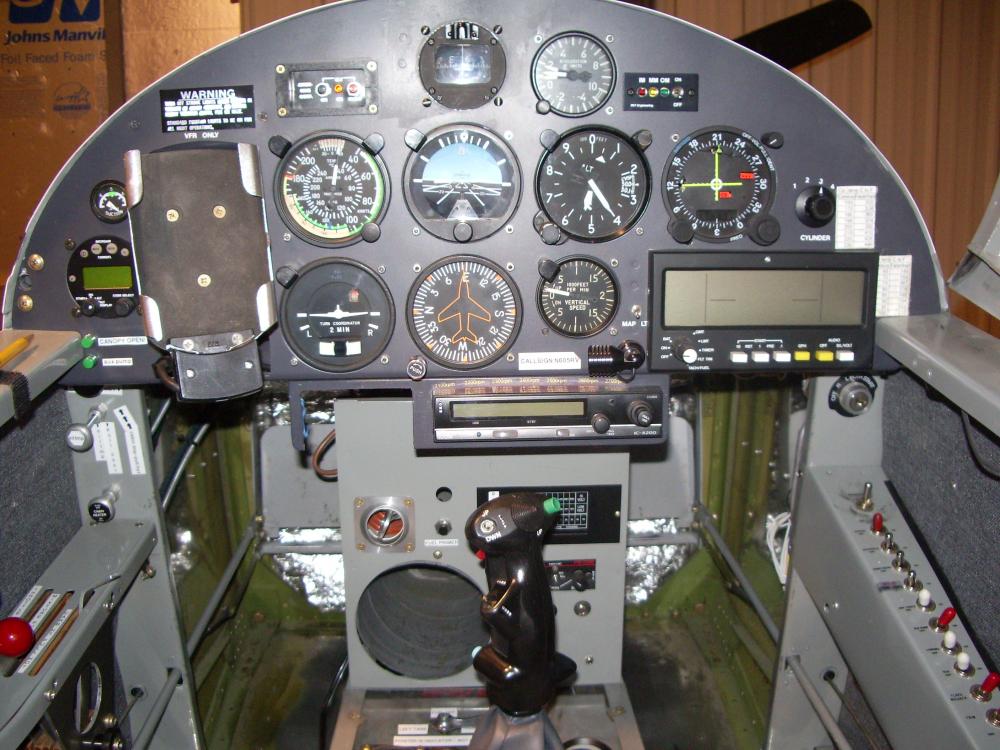
Thanks! The paint scheme was from the Porsche Mooney, remember that? -
Yep. I changed to the blanket presser foot and needle bar, that seemed to fix the problem. I wish just once I could put a part on this machine and not have to re-machine it to fit. I'm beginning to think it would be better to just buy the Juki parts and be done with it. The knock offs are a joke. I had to file and ream and sand on both the blanket parts. Sorry, rant over!
-
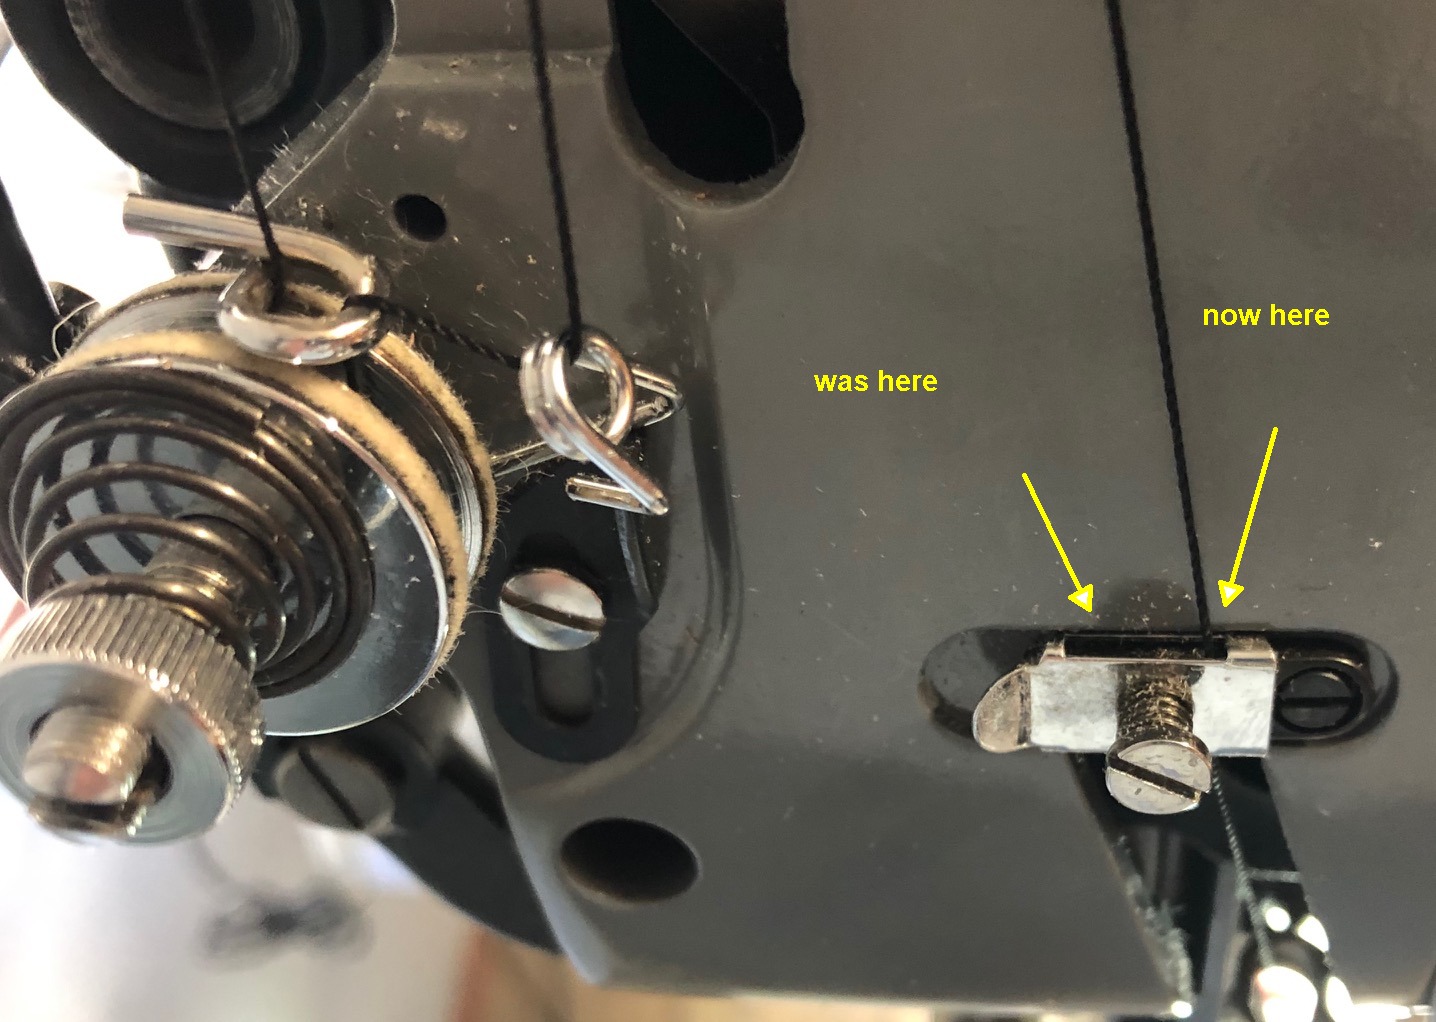
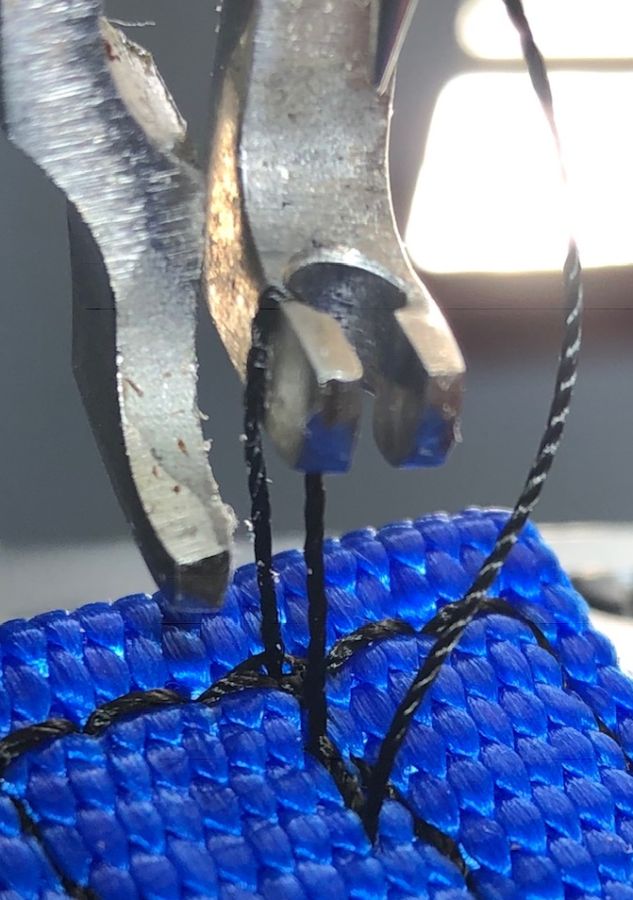
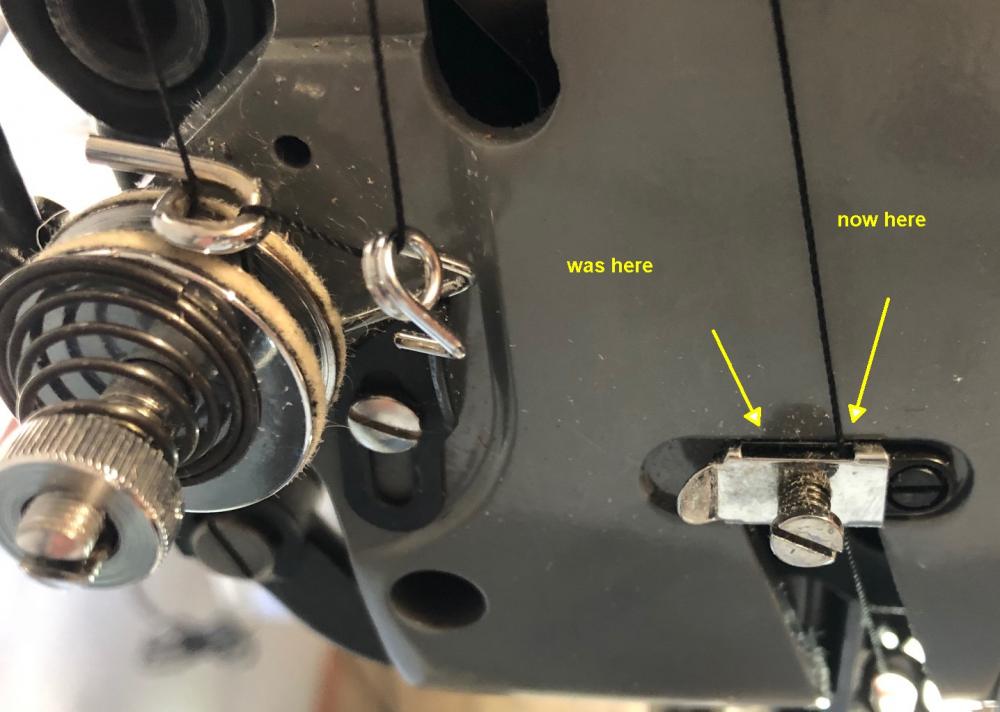
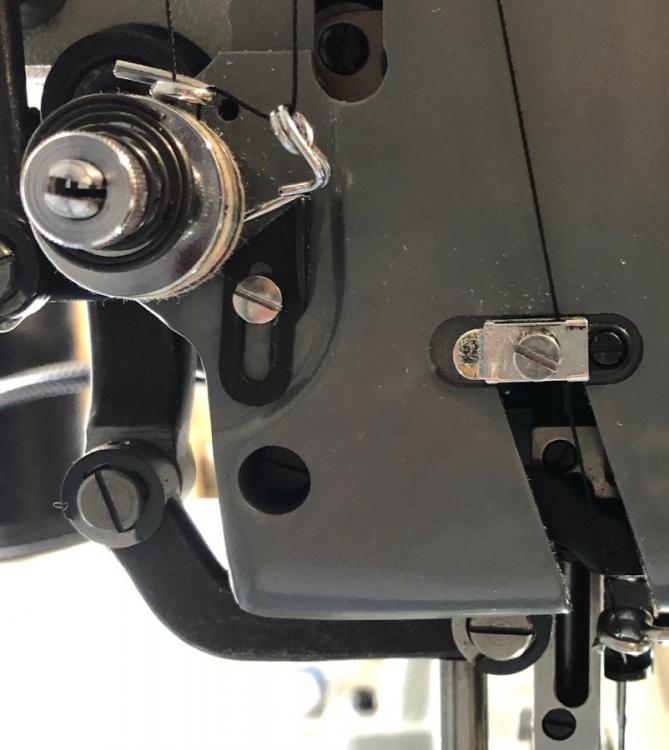
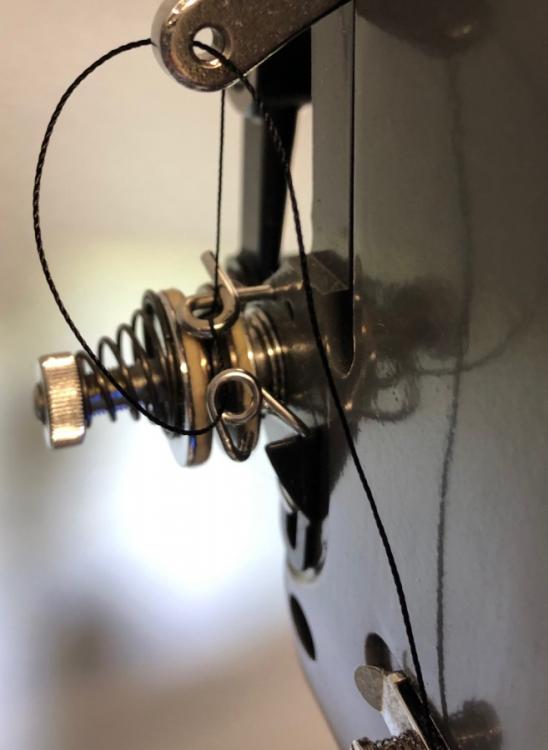
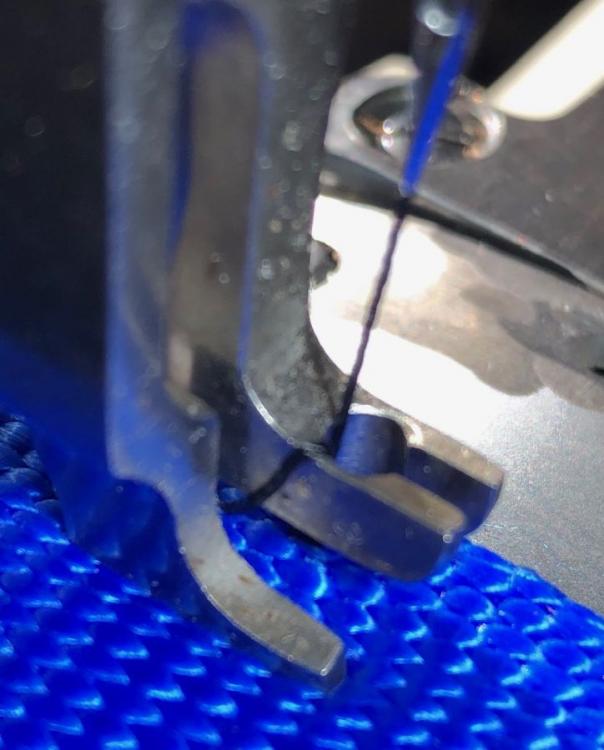
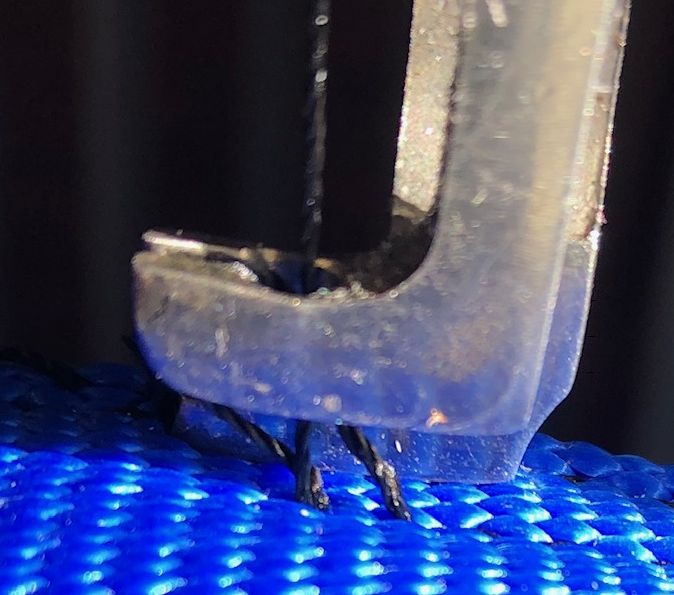
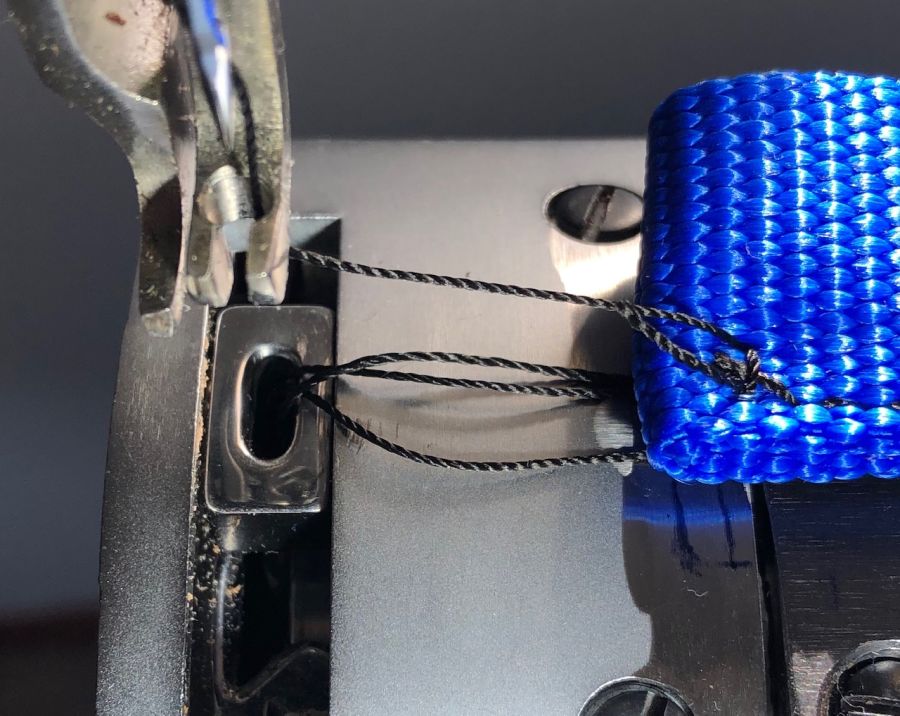
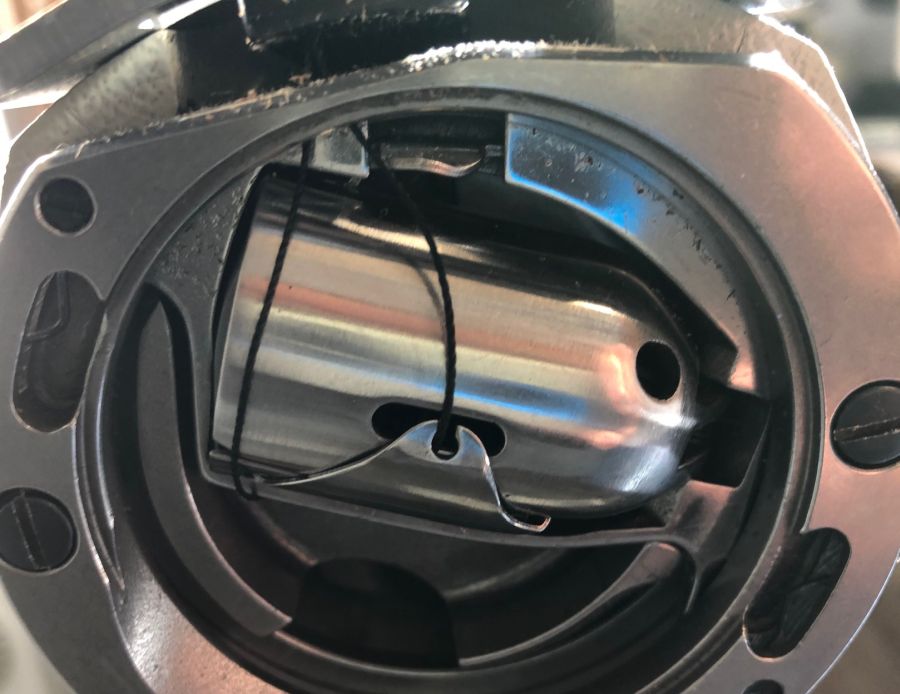
I did have that wrong. I misunderstood the picture in the manual. Never been an issue with leather? Go figure. That didn't solve the problem though. Here's the pics. I lightened the upper thread tension quite a bit. In the pic with the arrows, I had followed a video online and had the thread in the left side of this part, I moved it to the right side after seeing a note in the manual. I don't know how much difference this will make, but it makes more sense, as now the thread will be riding on the screw instead of the edge the sheet metal part. I'll let you see the pics before I go to the switching out of the plate and dog. Is the amount of slack in the last pic normal?

-
Whenever I try to stitch webbing, I have an issue with a loop being created, which usually wraps around the presser foot. It might run an entire run of two or three inches before it starts happening. I've tried to adjust first the upper tension, then the lower tension, then both, but it still happens. I'm using a 7x3#24 needle, and size 138 bonded polyester pre-lubed thread. I've tried two or three needles of the same size to make sure it's not a bent or burred needle. I thought before I chased my tail anymore, I'd see if there is an easy explanation for this. Jeff It doesn't always wrap around the bobbin case, either. I just found that today. I had noticed the extra thread coming up from the bobbin, but didn't know why, now I do!


-
I've used Resolene over both Pro Dye as well as stains. If the stains are allowed to dry thoroughly, and buffed well before applying the Resolene, the stain won't lift or streak, just don't over do it with the wiping. Resolene is actually acrylic. Hence the 50/50 water mix and thin coats routine. For me, the dyes penetrate deeper than the stains, so abrasions won't show the raw leather underneath. A good, heavy work belt is going to look like a good heavy work belt soon enough, anyway, right? Jeff
-
Yes, the Tandy painted chisels need some sanding and polishing, as well as sharpening, to work well. Ditto on the beeswax, just press the chisel into the wax block slightly and it will penetrate better, as well as making it easier to get the chisel back out! On snaps, I will use a French Skiver to create a shallow pocket for the snap, but the lining idea works too. I've done both on the same piece just to be sure. Also, a thin welt will make the pocket a little more open. Looks good though! Welcome to the obsession. Jeff
-
A belt just for me
alpha2 replied to alpha2's topic in Purses, Wallets, Belts and Miscellaneous Pocket Items
Thanks, guys! RV4 N605RV 180hp
-
Knife sheath
alpha2 replied to Dave Richardson's topic in Gun Holsters, Rifle Slings and Knife Sheathes
There is some info on just that issue, without thick welts. I discovered it when I did a sheath for a KaBar battle knife for my brother. I'll see if I can find the other info, it was really recent. It has a lot to do with how you fold the belt loop and re-incorporate it into the sheath. Kind of ingenious, at least I thought so! Jeff -
Lube pots have a lot to do with WHAT you're sewing. I bought one with my CB4500 just in case I ever needed it. I haven't, so far, but every time I think I don't need something and sell it, I later need it. (I would LOVE to have my rivet gun back that I sold when I completed my airplane, it would be perfect for peening brass and copper rivets). I've seen stuff on sewing certain types of webbing, needing lube, and from what I've seen from sewing webbing, I can believe it. My CB4500 groans something awful when the needle is coming up at really slow, (hand turned) speeds. Apparently there is a LOT of friction there. Thicker holsters and sheaths in leather haven't been a problem, the polyester and nylon thread has sailed right through. Jeff
-
AmyK! You have your own character on South Park? I really need to do that. Seriously, thanks for your post, it kind of nails what people are faced with on Google searches, or Amazon and Ebay. Jeff
-
Yes, I bevel, then water and slicker, then either dye or paint. Usually dye. Then after it "mostly" dries, I slick lightly again. Then, I rub some beeswax on the edges and slick lightly again. Then run it through my hand a few times with a piece of cloth or canvas. Then, if I'm really paranoid about dye transfer to clothing, I'll seal it with Resolene. Obviously, all these last steps are with dye, not paint. Jeff
-
Knife sheath
alpha2 replied to Dave Richardson's topic in Gun Holsters, Rifle Slings and Knife Sheathes
Nice work! Certainly sets off the knives nicely. Have you considered skiving the edges of the front and back pieces to reduce the overall thickness? I hate skiving, and it changes the angle of the front and back, think "more attention to stitching", but it really cuts down on the thickness of the sheath. I wish I could get hooked up with a knife maker around here. I like to do sheaths. Jeff -
A belt just for me
alpha2 replied to alpha2's topic in Purses, Wallets, Belts and Miscellaneous Pocket Items
Just one. Any thinner and I would have added a liner, but this stuff is fairly stiff anyway. -
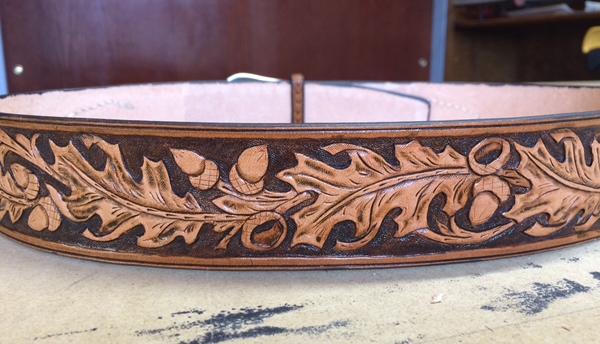
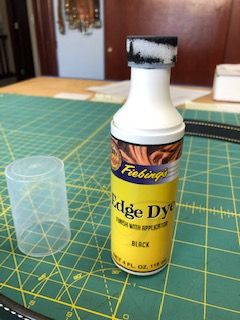
Picked this up recently, I thought, what the heck, it just might work. It does! It's great! Easiest and safest method I've tried yet. Jeff
-
I found this old buckle (30 yrs?) in the back of a drawer in my desk, so decided to actually make a belt for myself! Black bridle leather, custom buckle, sewn on CB4500. The buckle was made by a machinist at GM in Lansing, Michigan. There were a few of us in the area building airplanes so he made some buckles with our planes on them. Jeff
-
Putting my money where my mouth is, I'm posting the promised pics of my first sheath in "critique my work" thread. Jeff
-
I finish with three light coats of Resolene.
-
Dopp Kit w/a Western Flair
alpha2 replied to dfrensdorff's topic in Purses, Wallets, Belts and Miscellaneous Pocket Items
Well, it looks great! Nice job. What kind of liner did you use? Jeff -
One important point on saddle stitching, equal pressure, (pulling) on each side of the work is important. And if you do anything with thin/soft leather, don't pull too hard, the thread will sink into, and sometimes cut the leather between stitches. Or, so I've heard... Jeff
-
If you post pics of your buck sheath, I'll take pics of my first sheath. Oh, and I'll post them, too. And it was my first wet molding, too! So, imagine what that looks like. Besides, most of us don't use our real names as our user names, just so we can post pics of our early work! Kidding! I'm kidding...mostly. Jeff
-
It is important to consider if there is additional pull-out (tension, as opposed to shear) stress at the end of a stitch line. Additional strength is a good thing when insertion forces exist. Holsters, sheaths, etc. need additional stitching strength, as would any pocket type of enclosure. Jeff