
Hags
-
Posts
1,070 -
Joined
-
Last visited
Content Type
Profiles
Forums
Events
Blogs
Gallery
Store
Everything posted by Hags
-
 Yeah, it would hide well under a swimsuit!
 -
Ni e job, and retention is a good thing unless it locks the gun in the holster so tight you cant draw it.
-
Sweeeeeeet!
-
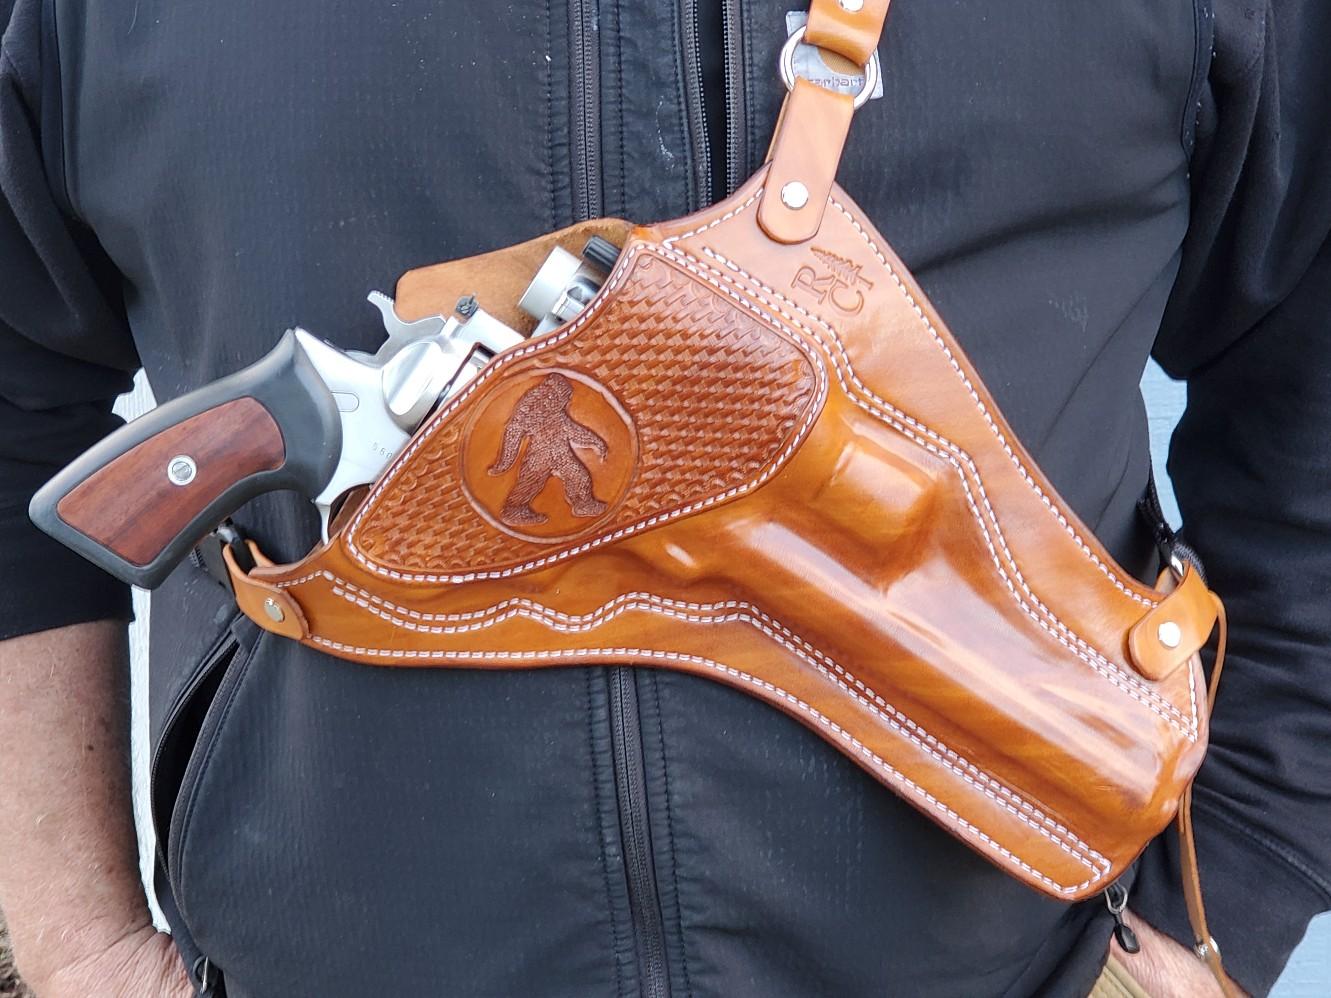
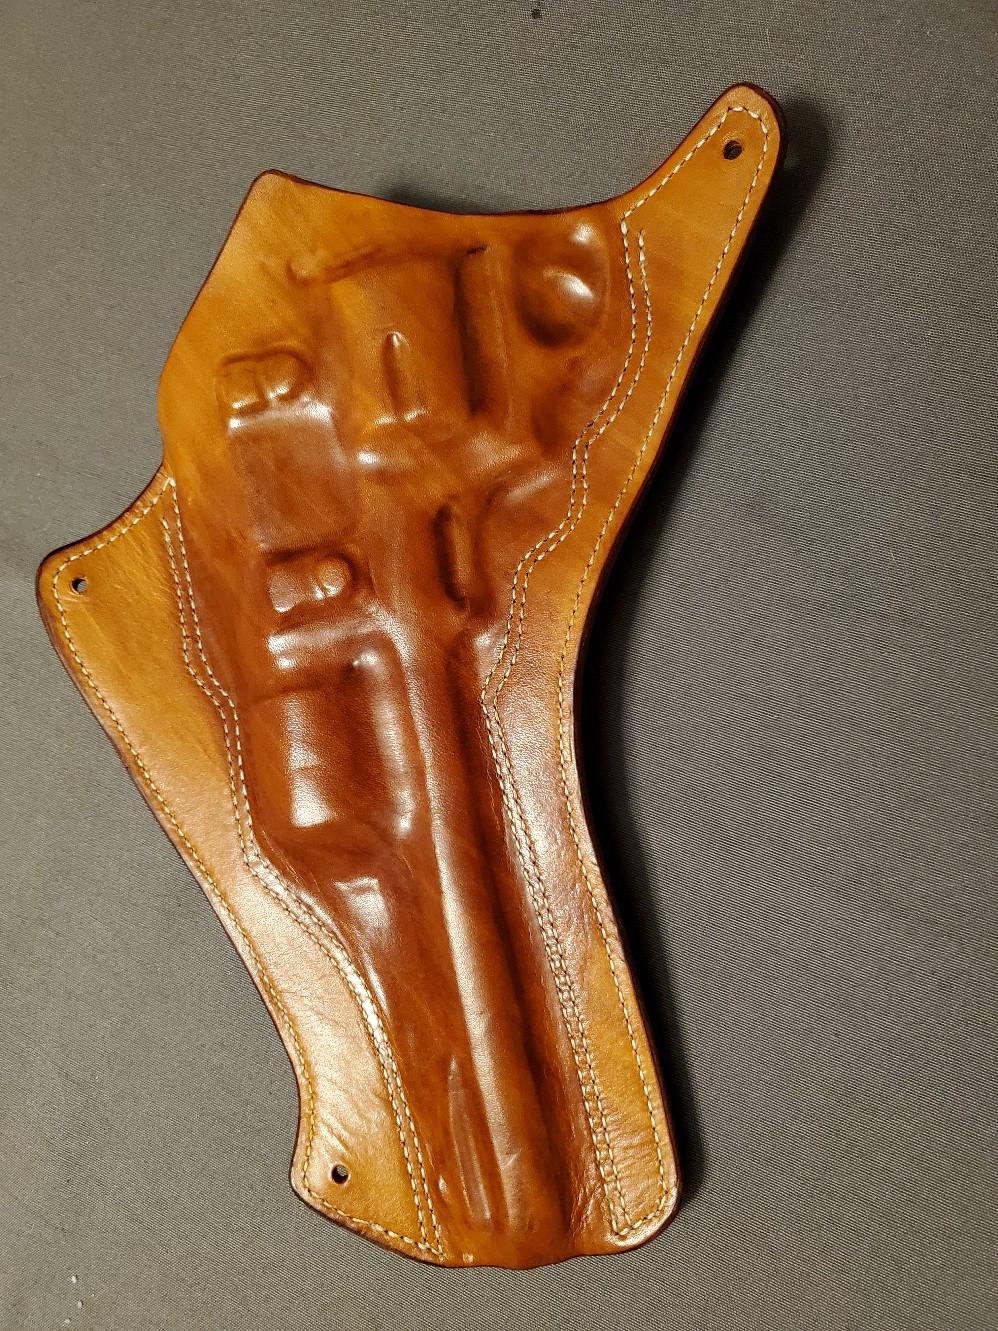
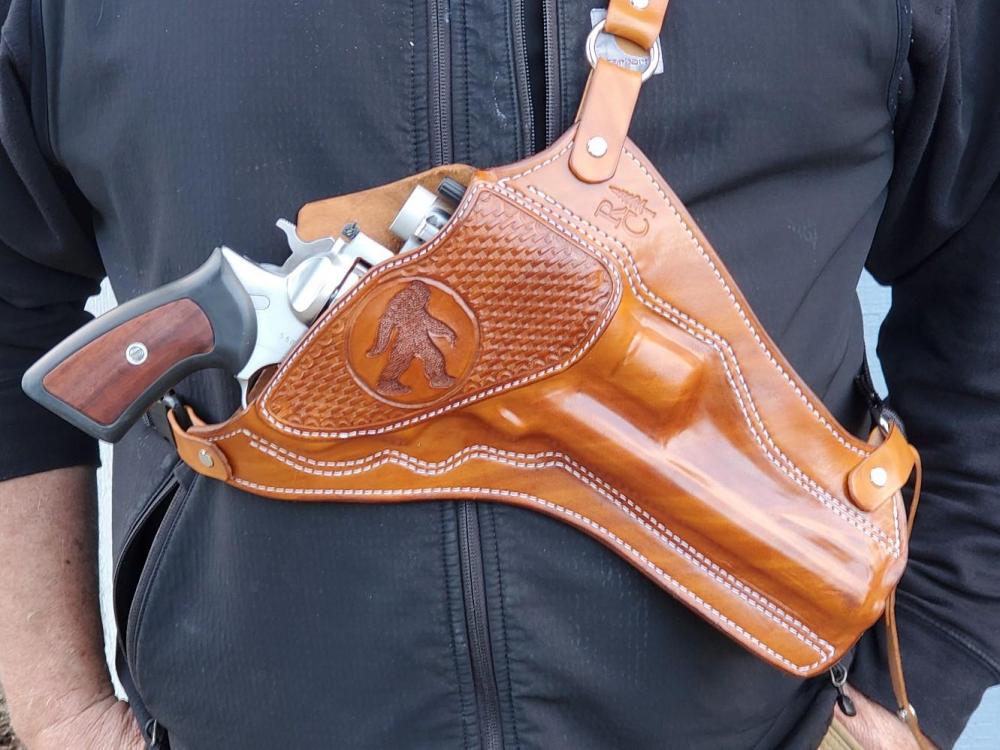
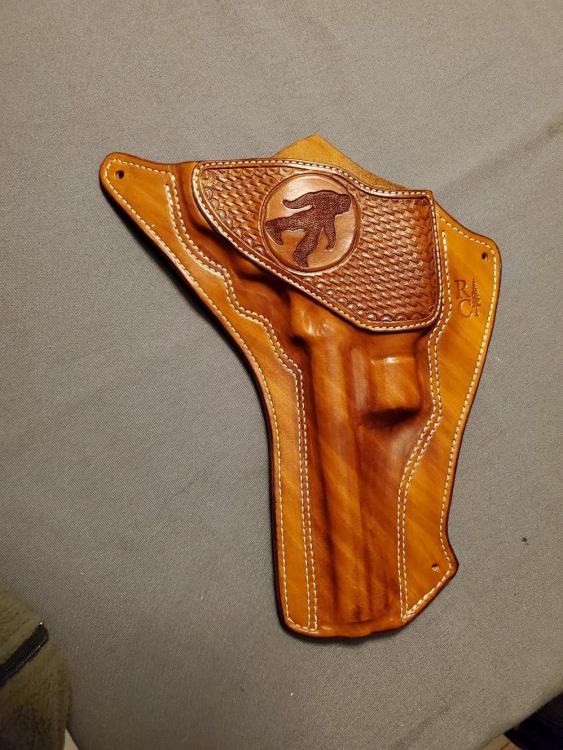
This is, no doubt, the biggest holster I have ever made. I brainstormed for a couple of days over how to do this. It is literally huge. Then, add a scope.. Do I cut out for the scope or enclose it? I ultimately opted to enclose. Using the pancake for revolver method, I began to flesh out the design. I built a ramp (?) For the transition from scope to front sight, gave myself some room for error, and made the pattern. Crap!, that's a lot of leather! And he wants a sasquatch silhouette on the reinforcing piece. Dang. Anyway, I think I pulled it off. This really made the customer happy. I hope I can post all 3 photos in this post. If not, I will add another. And no, this is not intended to be a "survival or speed draw" holster. This is a hunting, or just a carry holster. I made this clear at the start. I did not use my vacuum bag on this one, all by hand and hair dryer ok n low. I was concerned about what it may do to the scope. If you have advice on scopes in vacuum, please advise. Going to have to add one photo of the back, dangit. The photo of the back.

-
Thank you for the response. Making our own tools is, in my opinion, an integral part of our craft. I see a need, I look for a solution.
-
First attempt at a molded holster
Hags replied to DocHiggins's topic in Gun Holsters, Rifle Slings and Knife Sheathes
I tried food saver as well. Didn't care for the bag texture. Even flipping the bag over and putting the smooth side up. Still was too prone to wrinkles that transfer to the leather. I now have a vac set up with a 27 mm vinyl bag and vac pump that does very well. If you look at JLSleather's website he has a very good method for making holsters and establishing stitch lines that will benefit you a lot in the future. But, all in all, a very worthy first wet mold. The texture is a matter of personal taste. -
Holster and seeking advice
Hags replied to papaleaf's topic in Gun Holsters, Rifle Slings and Knife Sheathes
It really does appear to be some seriously heavy thread. I machine sew, and use 207 on mine, and have had no issues. I do wet the back of the front after sewing on the reinforcing piece and hammer the thread flat from the back. Maybe use a little smaller thread? And Papaleaf, if you like my design, check out my attachments, I posted a pic of all my parts and pieces on a grid board so you can see the sizes if your interested. I too used Jls's holster design method. -
I've been getting more requests to build shoulder holsters. Single sided. I have looked st others and really like the ones that use a very thick 1 inch wide or so elastic around the other shoulder. Any ideas where to find this stuff?
-
A Little Something For My 1911
Hags replied to tsunkasapa's topic in Gun Holsters, Rifle Slings and Knife Sheathes
Very nice. I own a few SA firearms. Might have to steal that double stitch thing. I usually double all the way around, but that is cool. -
Holster and seeking advice
Hags replied to papaleaf's topic in Gun Holsters, Rifle Slings and Knife Sheathes
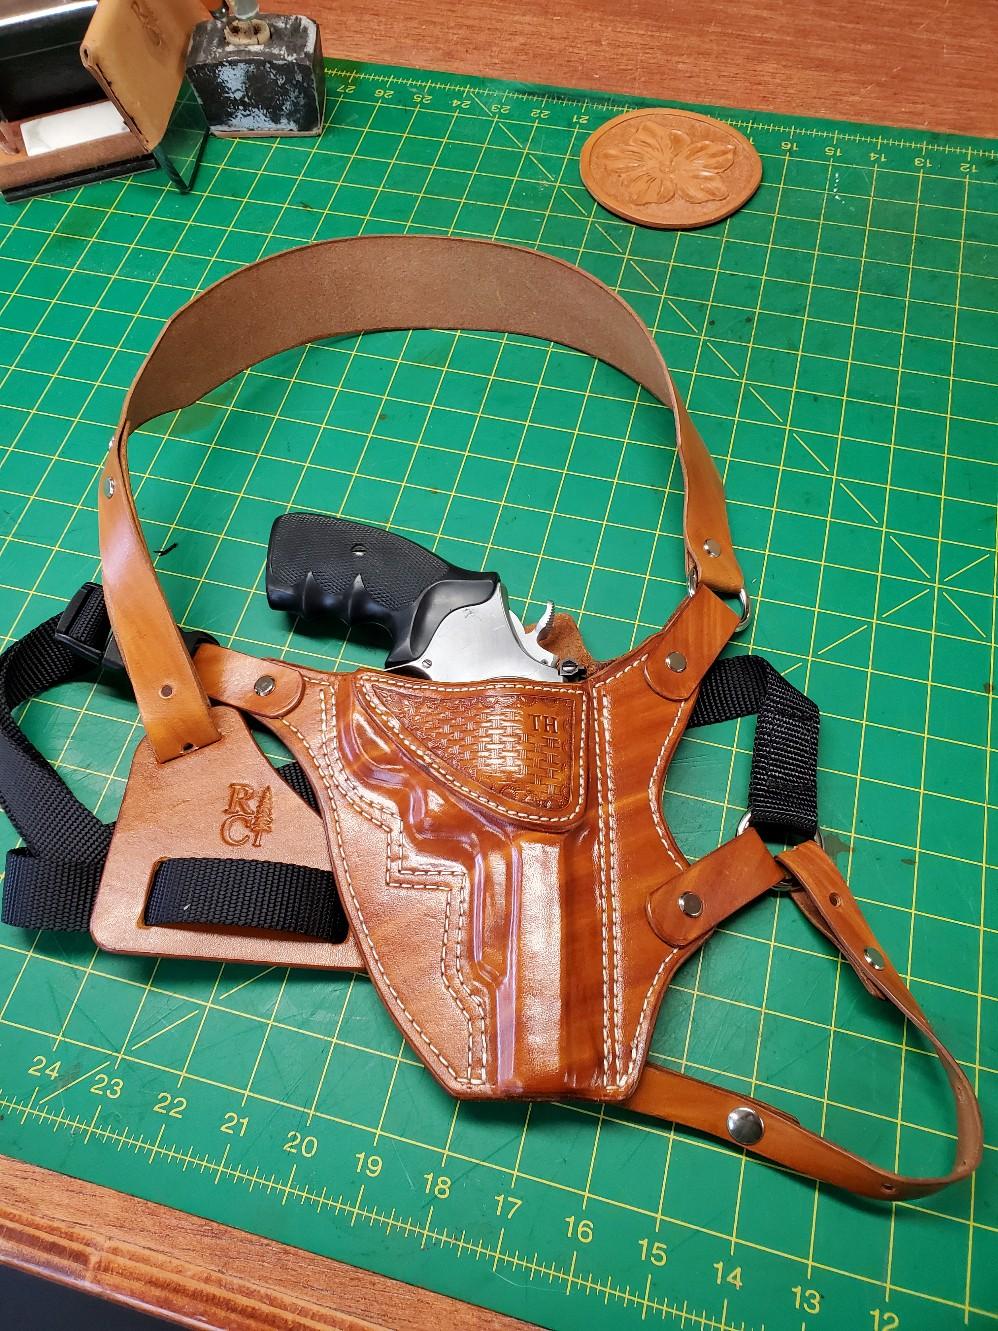
I agree with more forward cant as a possible solution. Can't really tell what you have since it looks like an avenger type with a belt tunnel in the back. I tend to go with a 15 degree forward cant. I also have my sweat guard rise up in the back of the holster to allow for more retention from the back of the holster than the front. I achieve most of my retention from the trigger guard and the back side of the holster. I usually tape over the ejection port to prevent lockup. As you see in the pic (chest rig, not hip, but the holster is the issue) , I have no molding around the ejection port. Wish I had pics of the back, sorry. Hope thos helps.
-
Welcome! Lots of good info here.
-
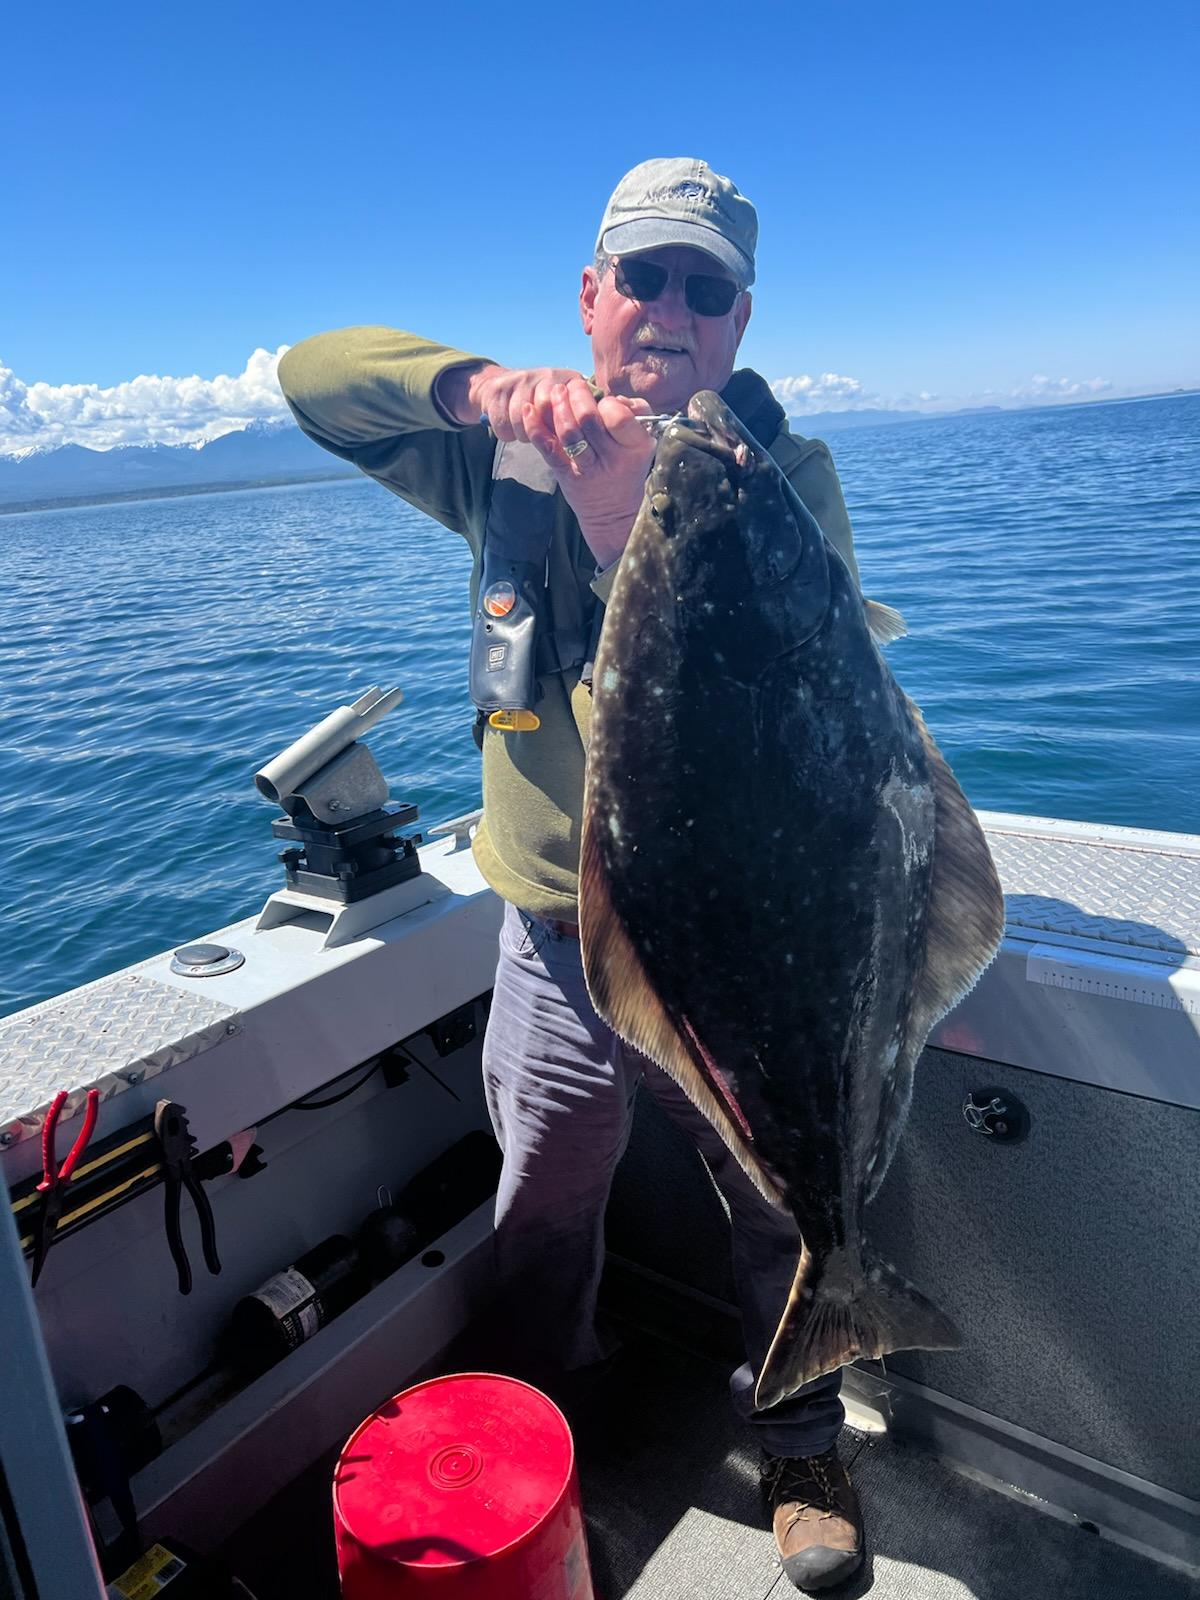
I was the same way a couple of years ago. I tried the budget shoulders, 4 for $100 oil tanned sides, and other less expensive routes. I found that while there are a few worthy mentions (maverick leather in Oregon has some great sales), I just get more value out of a side of Hermann Oak. For me, I do sell a few holsters. This helps defray the cost a great bit. I'm looking at $250 to the door here for 7/8 oz B grade side, and the same for a 4/5 oz side. I try hard to find a purpose for all the scrap I generate, but still have a big box under the bench. I find i can use small pieces of 4/5 for a lot of speed loader pouches, wrist bands, mag pouches etc. But, there also I have invested time in making quite a few molds for these items. So I guess yes, it is not cheap, but let me ask you. Do you fish? That ain't cheap either...
-
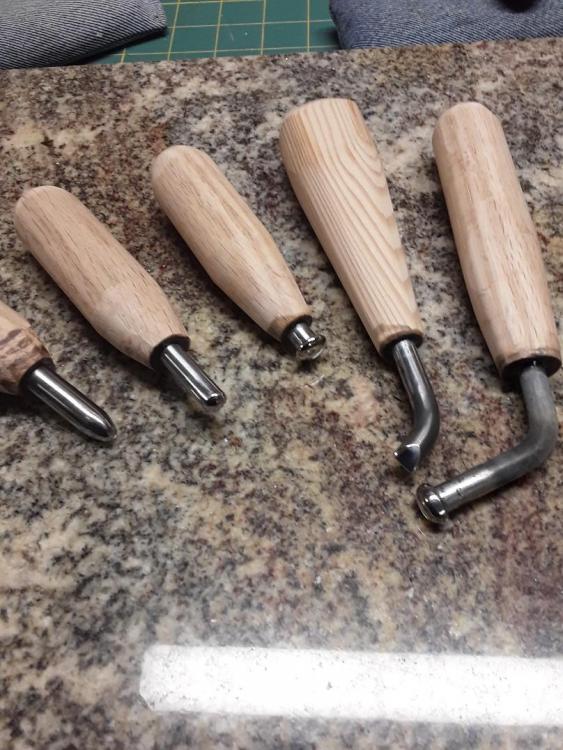
I posted these on the holster page but felt they might benefit from wider exposure. Might just prompt someone to stretch out and make their own. I got frustrated with contemporary boning tools and decided to make my own for boning my holsters and sheaths. I used 5/16 hex head bolts and one piece of odd material I had. Need to work on my handles, and the long bent one is not functional, I'll probably cut that one off and make a beveler or something else out of it.

-
Thanks Dad, like the feed back!
-
Kinda late welcoming you but, welcome! I'm from the Olympic peninsula so, up in your neck of the woods.
-
Electrician pouch
Hags replied to HandyDave's topic in Purses, Wallets, Belts and Miscellaneous Pocket Items
I too remember Reddy from my childhood days in Dallas. He was on top of the utilities building on the way down town. Nice pouch! -
My guess would be that is a regular quick rivet that has been set with a punch of some sort and not the concave one that is normally used.
-
Prices must have gone up. Big surprise huh. I got my vacuum pump at Harbor Frieght, think it was about $90. The 2x2 bag and kit was I believe about $125 at the time. Being retired on a pretty fixed income, I can feel the burn over the $. I did see a vac bag local for $75 a while back. Wouldn't fit my set up but was a good deal if you were starting from scratch and could set up around the fitting the bag had. So keep looking, and I got good results without it. It just took longer.
-
Nice, I spent a lot of time on Padre when i was in the Navy in the early 70s. Miss the vibe.
-
No, I don't usually line my holsters.
-
I started with a leather strap. Customers said it was uncomfortable. I changed to the nylon strap and have had no complaints. It adjusts easier, I think after wearing mine the nylon moves easier, and sits better around the back. Just me I guess..
-
Hey Pastor Bob, thank you for your kind words. I admit its been a learning process for me as well. To start I use Hermann Oak leather, 7/8oz for the holster and reinforcing piece on the front. I've tried the cheaper stuff and it isn't worth the waste. I use HO 4/5 oz for the straps and connector pieces. I also use 4/5 for most of my pouches and mag holder fronts. I cut the rough shape of my holster pieces then dye them. After it dries I cut them out and treat any edges that won't be sewn (top of the back sweat shield and the bottoms of the front and back.). Then glue and do an initial edge treatment, then stitching. I use a cobra class 3, 207 bonded nylon top and bottom. Then wet molding. I have learned much (ok, most) of what I do by watching Adam's leather works instructional videos. He is very clear and detailed and lists his resources. I use a vacuum set up he describes on his site. I feel this really helps. It is not very expensive to set up. Please visit his site for more info on that or PM me and I can show you more about mine. Ok, wet molding. I get the holster wet in the sink, warm water, inside and out. Out to the the bench and into the bag. Turn on the pump and set the front, approx 3 to 4 minutes, stop the pump, turn it over and do the same to the back. The back is where I get most of my retention and detail. I have to say I usually use the actual gun. I have used models and when I have, I have taken my dremel to the trigger guard and made it deeper all around the trigger. The ones I have were not deep enough to get the detail I want. Wear a mask if you do this! After I set the front and back, I remove the gun/mold and let my hair dryer blow on it on low for about 15 minutes or so. As is dries I get more detail. Put the gun back in and work it over, edges too. The detail should be taking shape really good now. I just keep working it until I'm satisfied. I did pretty much the same process before I got the vacuum set up. It just took longer for the initial part. I feel taking a dremel to the trigger guard is pretty important as well. The few I've used did not have nearly enough depth to get the leather in there deep enough to make an impression. I hope this helps.
-
Check your pm.
-
I recently built this chest rig for a golf buddy who is elk hunting with it in Colorado at this time. I really like doing revolvers. The detail I can get is a lot of fun for me. Its a shame most of the detail is on the back, but the customer sees it and appreciates the work and attention it requires to get it. On that line, I was getting a little frustrated with the current boning tools I have to work with. If I did a black holster, my wood or bone tools turned black. And I also feel they didn't get into the nooks and crannies I wanted to. I was using a pear shaders a lot, and liked the lines they left. But, they were hard to hold (arthritis). I took a few 5/16 bolts and started playing around with them, the grinder, sander, and buffing wheel. I also used a short piece of 3/8 I had laying around. The result is better than I could have hoped. The lines are clean, burnished, and my hand fatigue is very much reduced. The long angled round faced one is ok, but not really that great. The others though work pretty well. Now I have to improve my handles..

-
I'd be interested in the ruger gp. Cost? Any pistols? Really want glocks