


RockyAussie
-
Posts
3,265 -
Joined
-
Last visited
Content Type
Profiles
Forums
Events
Blogs
Gallery
Store
Everything posted by RockyAussie
-
That is just beautiful Mizzy. It looks like you have a whole lot more exciting looking machines in the background waiting for their turn as well. How bout a wider view shot? I'm on the hook now...............
-

19th century Hugo Werteim shoe patcher
RockyAussie replied to RichardPorley's topic in Leather Sewing Machines
I have an old 29k-13 here which has a hole in the main body very close to the size you have shown. Your showing around 22.48 and mine is 22.8 which could be wear as it has had a lot of use. It takes a very small bobbin about 16.3mm dia. The hook number for it is 8654 which as far as I can make out is the same as a 29k51. I have attached a pdf that may be of help if you dont have it already. 29K51_53_55_56.pdf29K51_53_55_56.pdf -
With all this love and attention it's just gotta go well.
-
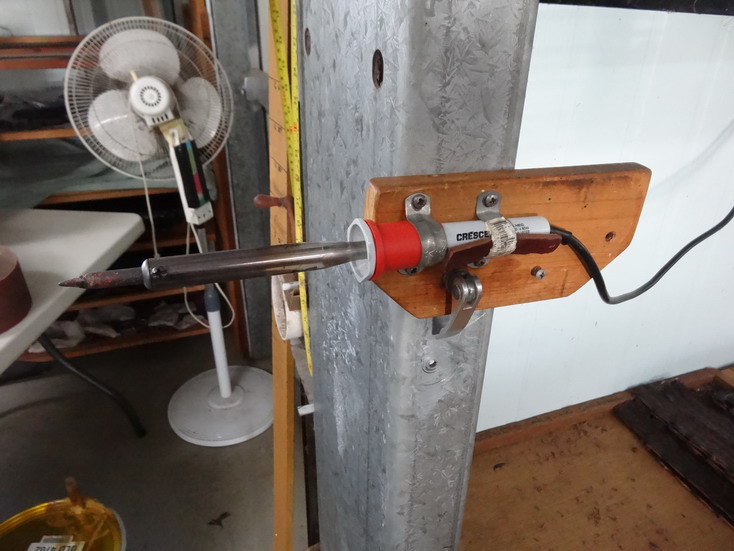
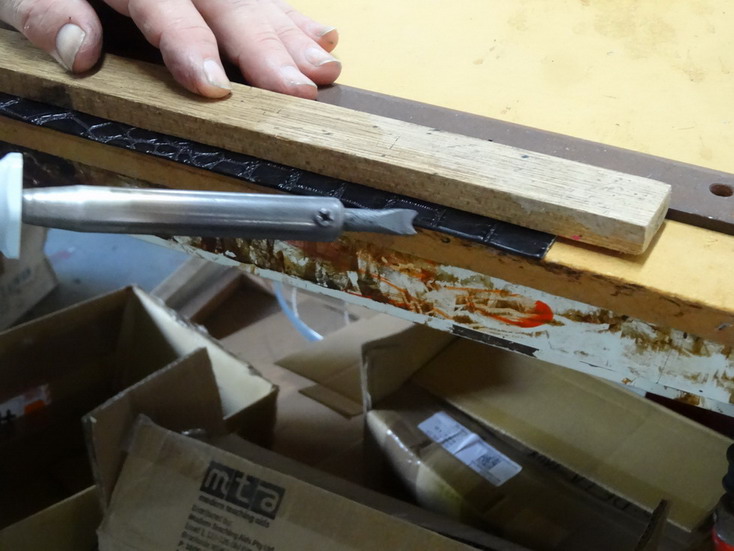
Some of those tips that @fredk has linked could be useful. What I have done for many years is use a 60 or 80 watt soldering iron as you can see mentioned and a picture of earlier in this post and with the supplied tips, the one that is screwdriver shaped I hammer it back a bit in a vice and groove it out. For temperature controlling it I have used a light dimmer switch housed into a wooden box as seen in the back of this picture below on the second shelf. Also note the extended workmate I made to help for ironing in belts and a different tip is useful for rounding in the belt tongue holes/crew punch holes etc.


-
Darned if that doesn't look like a folded edge at the front with edging put on. Good job
-
By the look of that leather my approach to edging it would be 2 coats on first, then iron smooth and follow by another 1 or 2 finishing coats. When the leather is rough like that to start with it is best to smooth it down with a heated iron then the rest will be fairly easy. DO NOT (experience talking here) iron before applying the edge coat as this can bring contamination oils etc to the surface and it will not hold so well.
-
Most useful sewing machine feet
RockyAussie replied to Magpieleather's topic in Leatherwork Conversation
No trouble with feet for that one and should likely be a good choice. Takes the same feet as the Singer111W155 and for just $59.00 here's 6 feet to start with. https://www.ebay.com/itm/SINGER-111W155-WALKING-FOOT-SET-6-FEET-with-LEFT-RIGHT-EDGE-GUIDE-/391321969217 -
Yep...


-
Seen them before but haven't tried them yet. I'll get one and try it. Thanks for sharing.
-
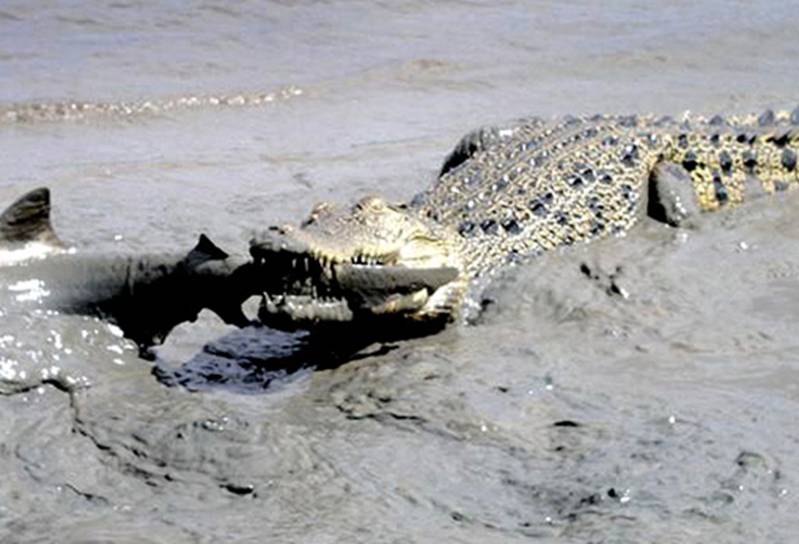
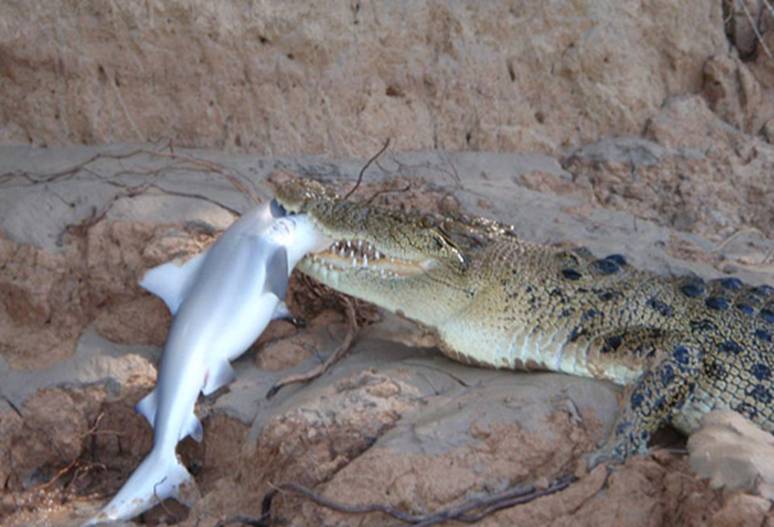
I use a couple ...for black it is OMAC Lux semi matt OM 357556 which I think may be the same as Giardini maybe, and for colours I mostly use Ares (Italia) S.R.l -AR 6350 which Neutro Denso Lucido which should be the same as Fenice AR 6350 to which I mix in pigments to get whatever colour I want. For the crocs all sorts of bait can work...lawn mowers ...Coca cola....chain saws...


-
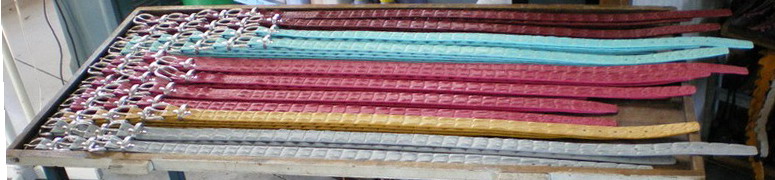
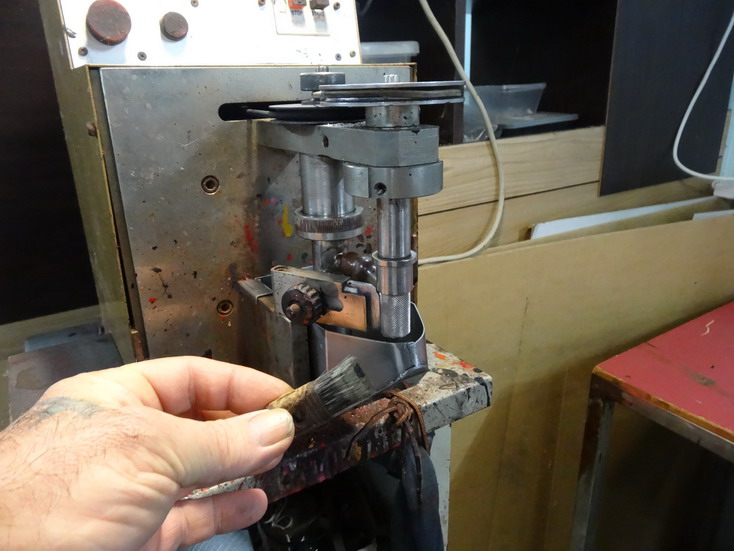
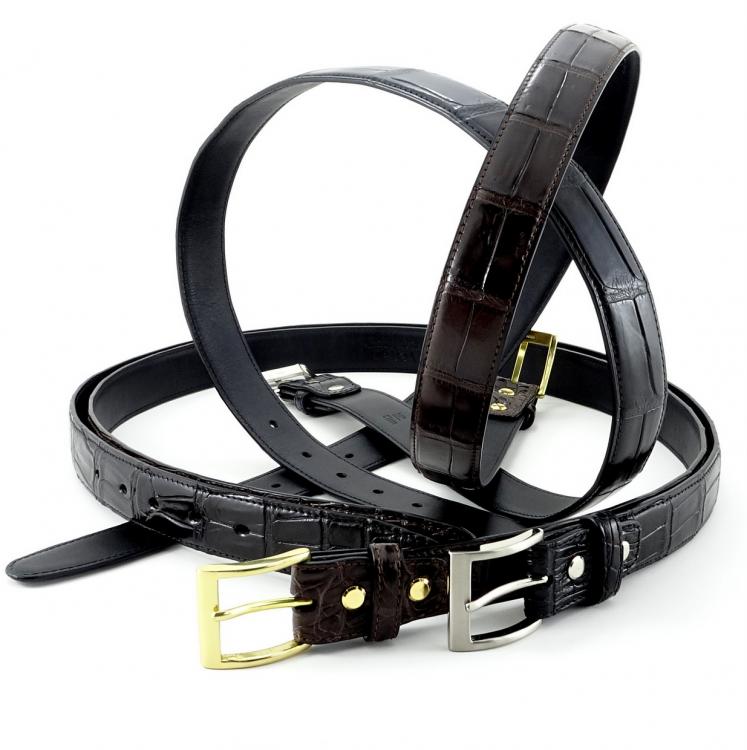
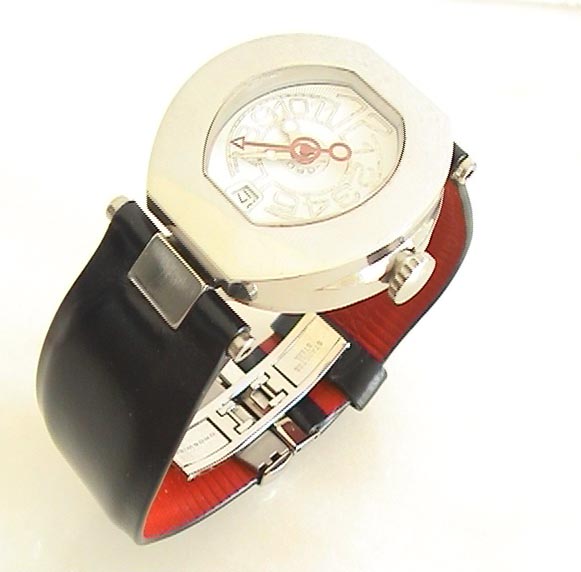
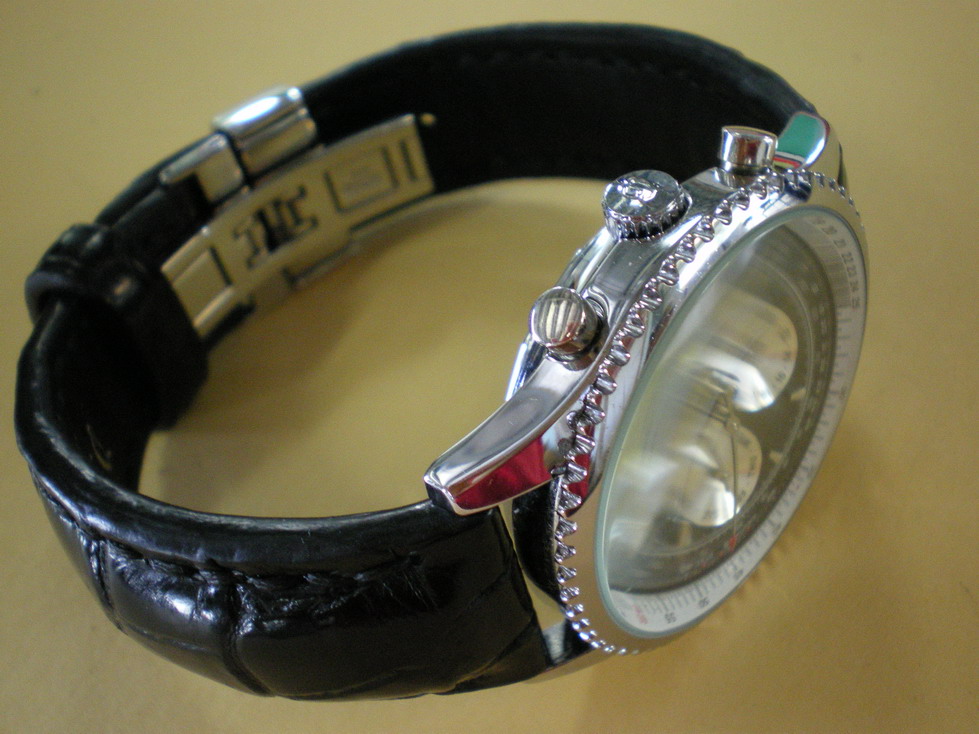
Thanks to my wife's fantastic photography skills and the new light tent I built, I am able to show a few of the 100 croc dress belts I finished off yesterday. Other than the tips which I sanded off to shape I was able to do them with NO sanding due to thin edge and the use of a couple of machines. The second picture shows an edging machine that I use for the belt tips and wallets and such and the next is a you tube link to an edging machine I made for the sides of straps. I was able to feed the keepers through with the same machine and method as well. Note in the small edging machine picture I am showing a brush that I replaced with a piece of aluminium to get a finer more consistent coat.
-
No idea what I'm doing, but happy to be here!
RockyAussie replied to JiffyJones's topic in Member Gallery
That is some awesome looking work there and I'd be tempted to put a sign on my car boot that says custom leather work and sandwich that in when I close the boot. That should soften the fold line up and when you get enough orders (probably a couple days) then whack it back into a bag. Hey ...just trying to help -
On thin edged products this can work OK but is more difficult to keep the edging from going over the edges. It does take several coats and sanding to build up the rounded bead if going that way on thicker edges. The extra coats of paint are not as strong and long lasting as a rounded off edge with fewer coats. With the costs of labour I think Giardini are making mileage of the fact that with edging machines it is quicker to just build up the paint and save the extra preparation sanding time. For those new to edgecoat edging, I warn not to slick the edge smooth without further sanding before applying the paint as it can peel of in a long strip fairly easily. I don't bother with any slicking at all myself as I want to be sure of maximum adhesion. Lastly thick coats in time with most edge paints crack up a bit and are more noticeable than the thinner ironed in coats. Brian
-
I don't know this machine or how the mechanism works on this one but normally the tension discs push the rod back when the foot is lowered. Possibly the pin is broken as I would have thought that it must have some way of going right through even if in 2 parts. @Constabulary is normally up on Singers and may know.You may have seen these you tubes but in case not this fellow has loaded a couple that might be of some help.Best of luck
-
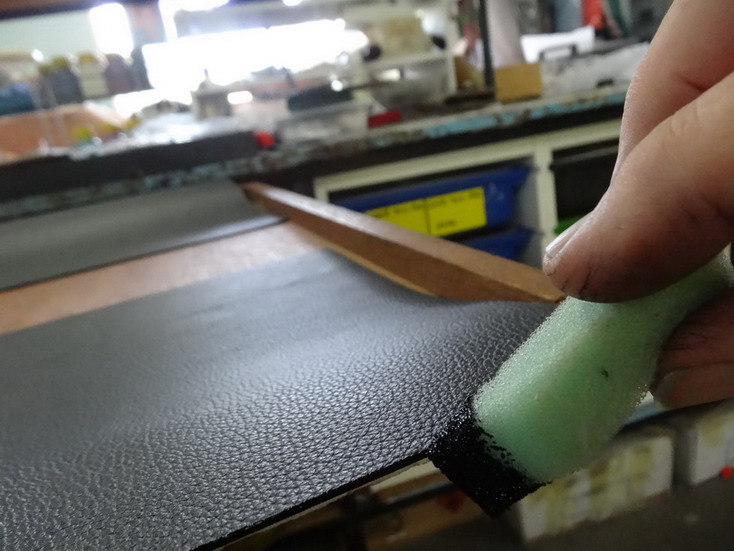
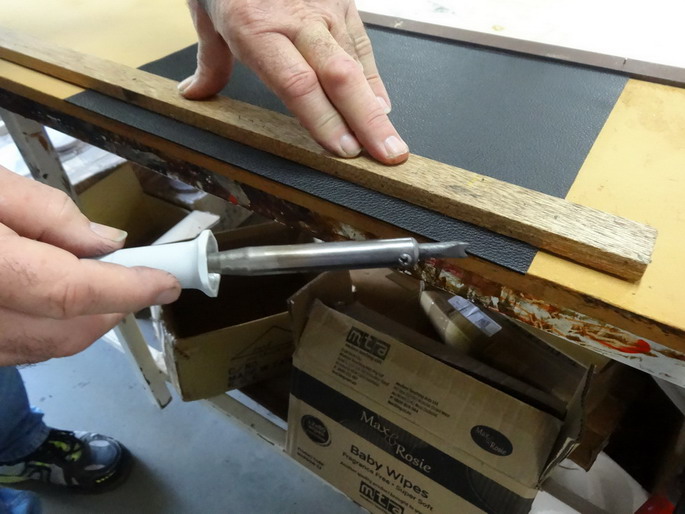
I do use a variety of different methods for applying edge coats and I have found for me, for small product pieces a foam piece trimmed down like in the picture below works very well. The advantages are that by loading the edging up in the foam and wiping the edge off on the egg cup edge it holds plenty enough to not need re dipping constantly but has a broad enough surface to stop from getting the edging from going over the top. I made a video for the tube awhile ago that shows how I use this technique for doing belt edges. Note that the edging can be watered down by up to 10% to help give a better flow if needed.Although I sometimes use a soldering iron that is temperature controlled by a light dimmer switch it is not always necessary as some quick sanding between coats will often work as well.I have also put a few pics up of products I've done using the above method. Here is the video link- Hope that is of some help Brian
-
Most useful sewing machine feet
RockyAussie replied to Magpieleather's topic in Leatherwork Conversation
Which Cowboy sewing machine are you looking to buy and what sort of items do you want to make?? -
For paint edges...?
RockyAussie replied to D2G's topic in Dyes, Antiques, Stains, Glues, Waxes, Finishes and Conditioners.
Thanks @KingsCountyLeather that price sounds a whole lot better to me. I will give it a test and get back. -
For paint edges...?
RockyAussie replied to D2G's topic in Dyes, Antiques, Stains, Glues, Waxes, Finishes and Conditioners.
OUCH That hurts. To Australia I guess must be a real killer. Any one here in Oz know? -
19th century Hugo Werteim shoe patcher
RockyAussie replied to RichardPorley's topic in Leather Sewing Machines
Now that is something different. Never seen that one before and I look forward to seeing your journey as it comes back to life again. Brian -
Thanks @bullmoosepaddles. Arnold Schwarzenegger thought one was good enough to buy of the rack when he was down under awhile back. Haven't heard if he had any trouble with loose screws
-
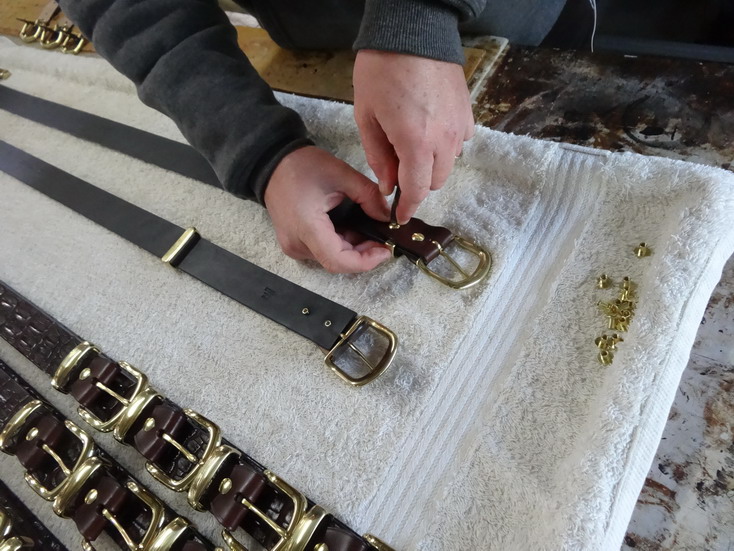
Thank you for the trouble @bullmoosepaddles Thank you as well @Sonydaze They look like they could be quite useful at times though perhaps a bit slow and cumbersome to use. I just use a crepe rubber sheet and lay the belts over and press down into when I do them up. Indeed as @fredk pointed out they do loosen up due to shrinkage so I re-tighten them again at least a day later and normally get another 1/2 turn tighter. Yeah and I don't use any locktite-glue or whatever. Made thousands of belts over the years and only had 3 maybe 4 say they came loose. They were many years after the sales and I always been happy to replace for free. Fishy customers soon learn they gotta pay more as well.


-
Gee thanks, I am still curious to see what the Weaver screw clamp is/looks like. Could anyone post a picture please?
-
c. Mine is a Cowboy though and the reducer is all in a metal box frame so it behaves a bit like a bell. High foot pressure makes it more noticeable.
-
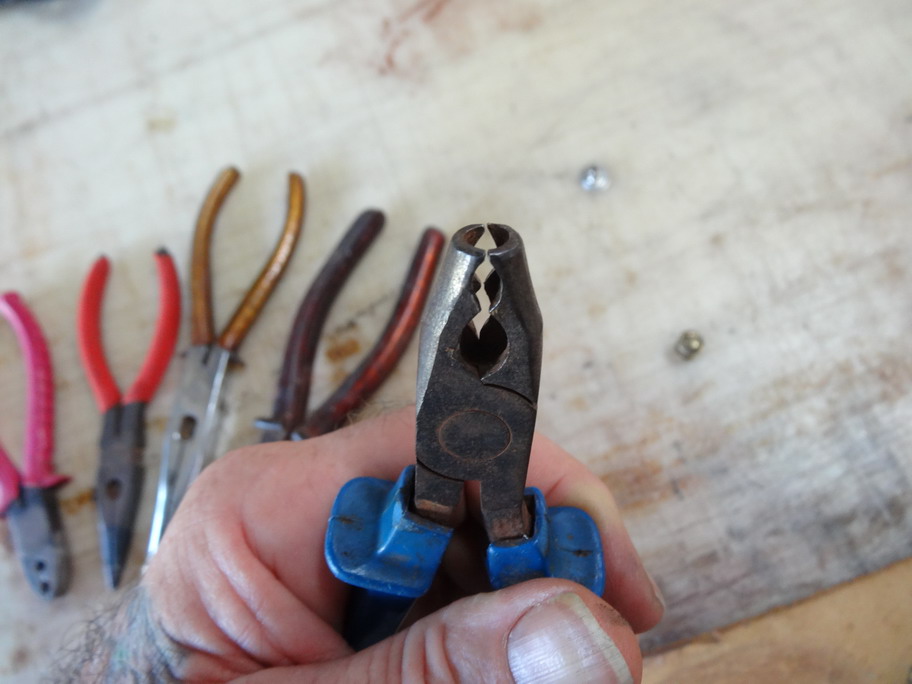
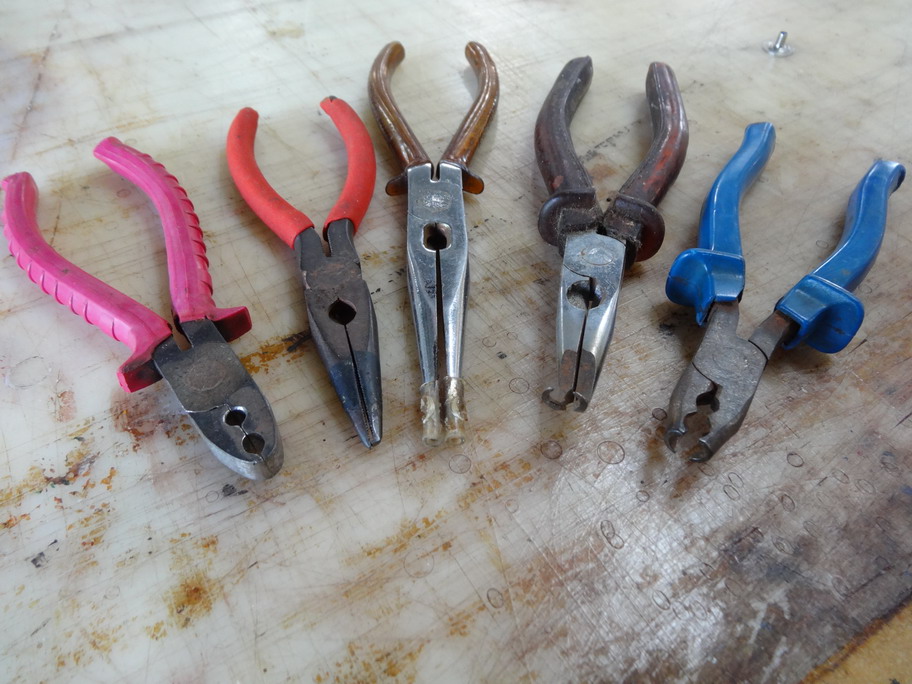
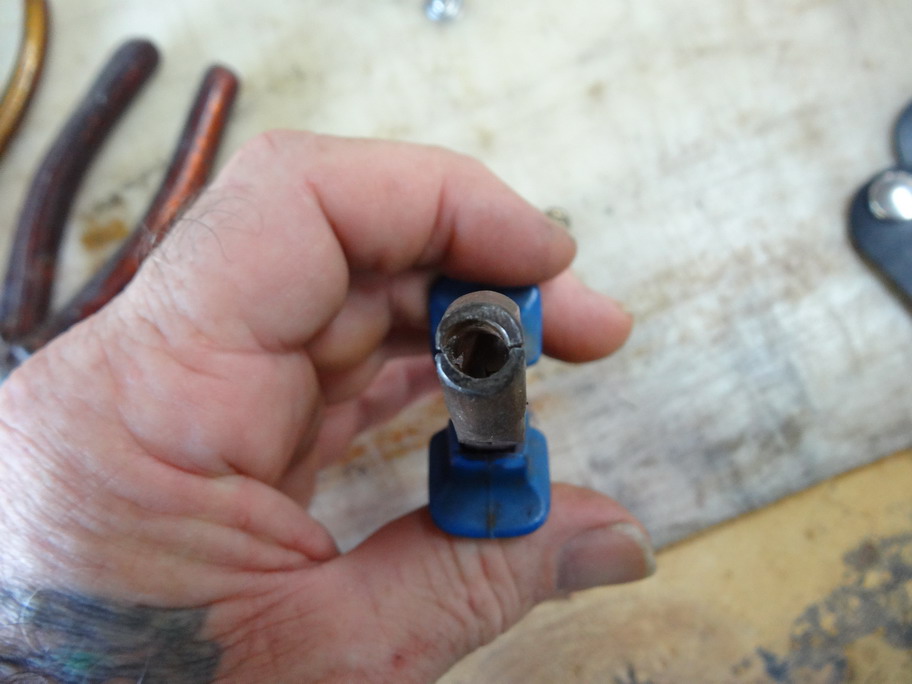
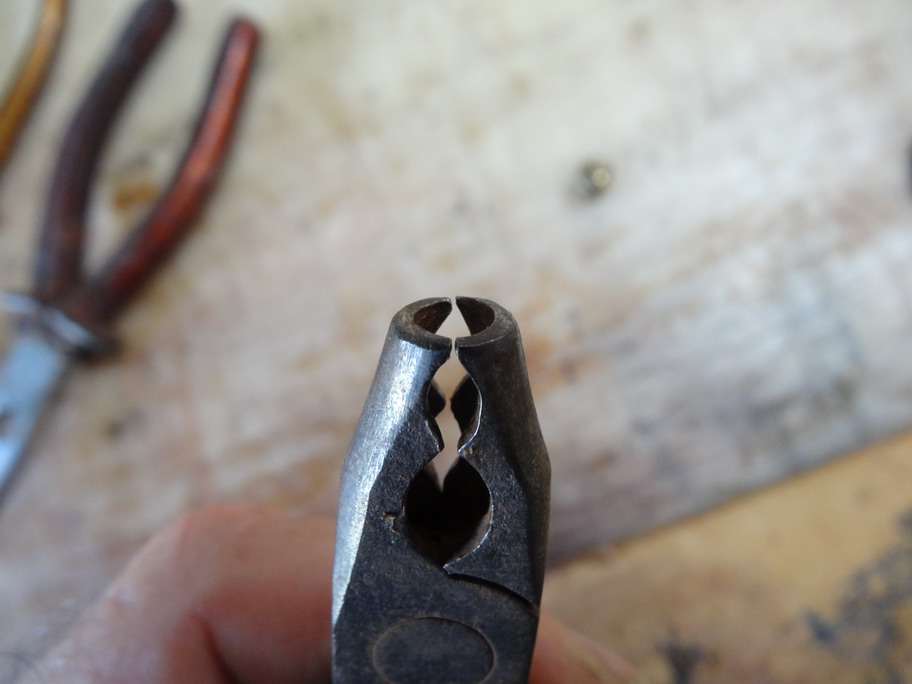
HI Tom, probably no surprise but I often make up tools to suit a particular purpose. Here below are an example of some of the cheap pliers I drill holes into and bend into weird shapes and so on. I looked up to try and find the weaver screw clamp you referred to and could not find it so in case it could help..... The blue handle pliers work wonders when you need to grasp anthing of a round shape. As you see at the end I have shaped it to be able to push down over the head of a screw to hold but not damage the leather beside it. From left great for holding any small tubular shapes but made to help make it easy to join the melt together belts for some machines. 2. Little tuck in at the tip helps to open up those small 5mm split rings. 3- plastic tube over to stop scratching. 4 Holds crocodile teeth when inserting into caps as well as to squeeze the cap tight. 5. rivet and screw removal and tube holder.
-
I think a 4mm (3/16") hole would be best as the tongue has a flat back and they tear into a narrow hole more. The crew punch most likely would be best at 4x25mm or 3/16 x 1". I prefer when the strap is going through the buckle that the tongue can swing back enough to not need to stretch the leather any. To be sure I generally get some scrap of the same thickness and fold it over to see. If at 1" there is a visible gap then I would drop it back but if the leather is less than 3mm (1'8") then 20mm or 3/4" will do.

