


RockyAussie
-
Posts
3,265 -
Joined
-
Last visited
Content Type
Profiles
Forums
Events
Blogs
Gallery
Store
Everything posted by RockyAussie
-
@immiketoo " Clay's dog used to lick the icing off of them" and you know what else he licked don't you
-

Invisible stitch from both sides of leather
RockyAussie replied to WastelandOuterwear's topic in Sewing Leather
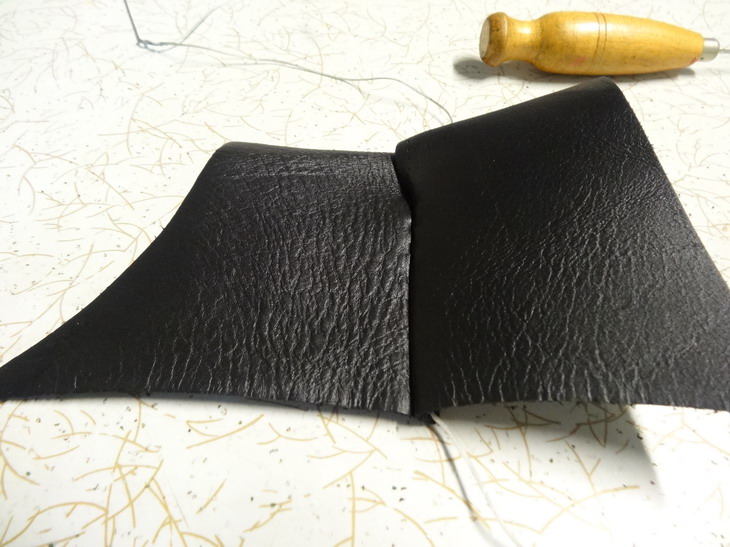
Thank you, and my pleasure! Least I can do given what everyone shares in this forum. This is an answer given by another member @motocouture to a similar situation and I thought most apt here as well. Ok, I looked into this a little further and found some information about the Breac Moedoic budget (Satchel) written by John William Waterer. As I stated earlier in this post, the drawing he used showed stitching visible on the inside and a bit more reading confirmed this and showed up some other useful points as well. The first drawing below shows the same as earlier shown in this post. I tried out the method depicted and found that it made stitching from the outside quite easy and quite easy to pull up into place when finished. Once the top is reached with the pulling together it is pretty simple to do a backstitch around inside the top. Some of the measurements given I have used such as hole spacing at 5mm (3/16”) apart and near to ¼” (6mm) in. The thickness of leather was about 1/8” (3mm) but in this case I used 2mm thick. As the author stated – “Such a seam is normally made with the article turned inside out, but the substance and stiffness of the leather employed on these budgets would have effectually precluded turning it right way out after sewing and the seams must have been stitched from the inside”. In a way this is right but is actually stitched from the outside. Toooo tight to fit in there. Another part written by the author in regards to the drawing below –“CC represent the two margins, skived to a bevel and bent round, face to face, so that seam is inside.” Here firstly is the picture showing the technique as drawn by John Waterer- and next is my copy of the technique. Here shows the needle comes across and down in From the outside on same side up and out Then across and back in and up and out etc This shows the back view before pulling together Now pulled tight Inside view from side Inside view from top which if tapped down would help hide the stitches somewhat. And lastly the top view which shows no white thread. Keeping in mind that this would be done on veg (oak) tanned leather and dampened as well it would be quite easy to hide the stitching well with a little tapping /rubbing. Note: if I were doing this method I would pull it up tight every few inches and do a looping back to keep the thread tight. As I stitched this in about 6mm from edge I will not be doing a pull apart test as I am sure that it will take my entire weight, be that I hope the roof would survive anyway. I hope that this is going to be of use to anyone that wants a good and easy technique for stitching up a project with little room inside to work with. Brian


-
Croc clutch!
RockyAussie replied to motocouture's topic in Purses, Wallets, Belts and Miscellaneous Pocket Items
not tooo bad..... pretty good.....ALRIGHT CONGRATULATIONS it IS WOW FANTASTIC. Thank you for posting such a well detailed and helpful post. -
New forum for 3D printers, engravers and laser cutters
RockyAussie replied to Wizcrafts's topic in 3D Printers and Lasers
OK , I will try and give it a go sometime over the next few days and get back with the results. I could try it on the stove but I don't think I'm allowed in that room. -
New forum for 3D printers, engravers and laser cutters
RockyAussie replied to Wizcrafts's topic in 3D Printers and Lasers
I have not tried it but I would think if you took the bed temp up high and place the print down on it for a while being weighted down it may be possible to smooth out the lines. It would have to cool off in place of course. -
Well done effort.
-
Invisible stitch from both sides of leather
RockyAussie replied to WastelandOuterwear's topic in Sewing Leather
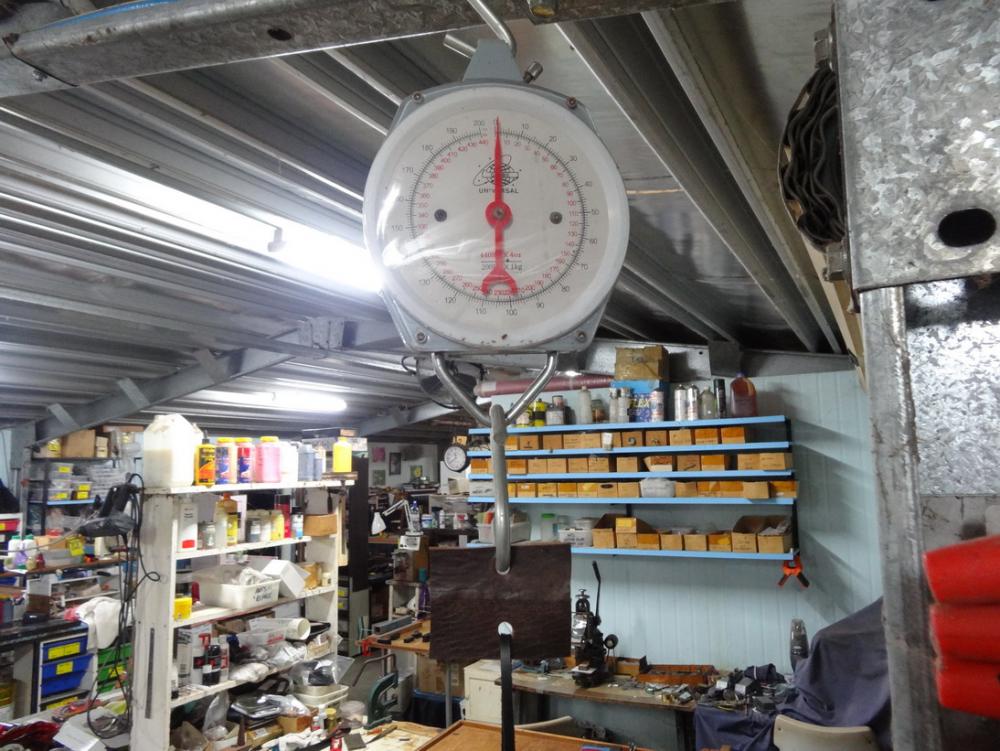
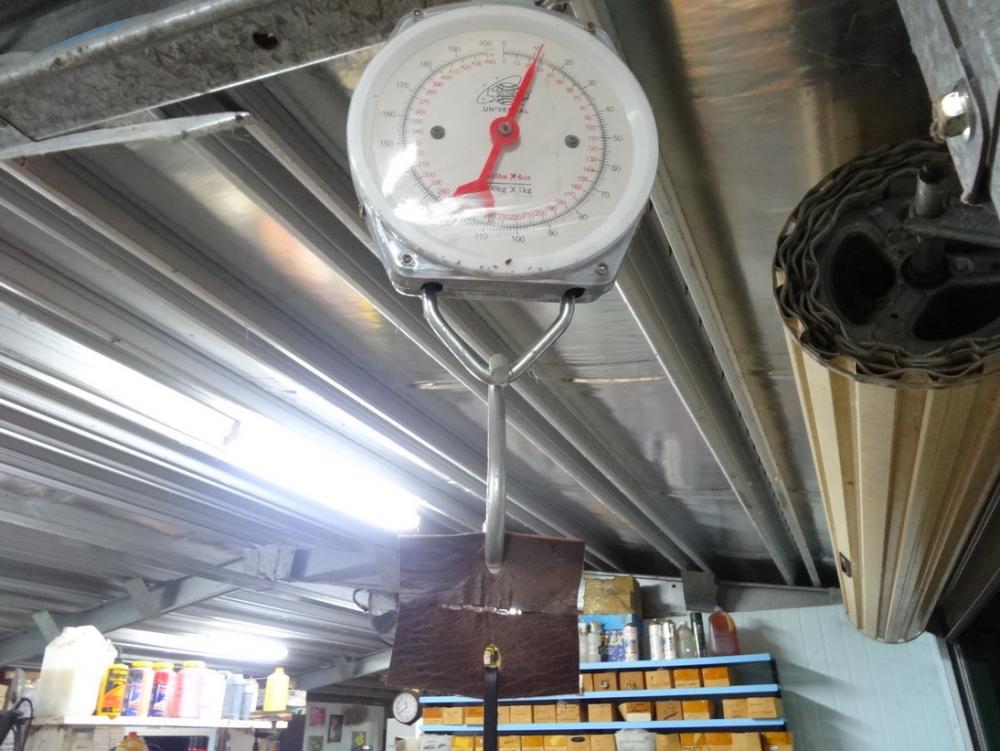
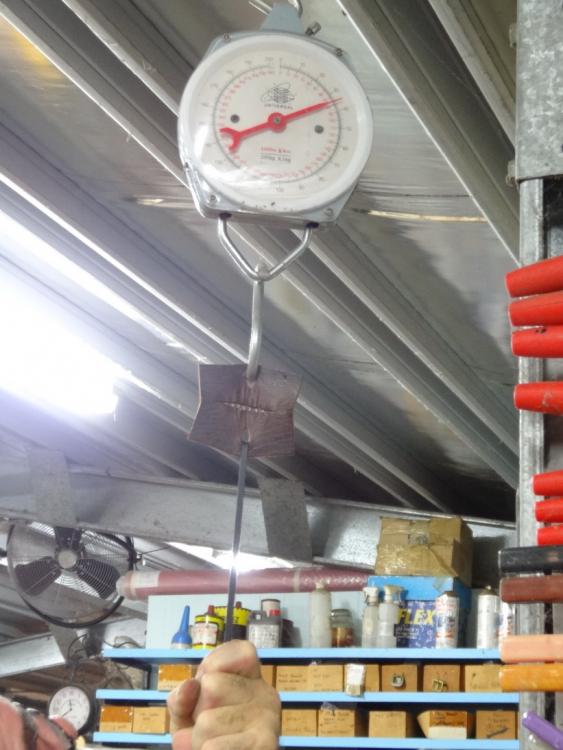
Well I broke it. As the pics show I did a couple of more stitches to give me 3" to work with and threw in some holes and proceeded to carry out this highly scientific testing procedure. The scales used here are 200 kilo /440lbs. As can be seen the holes in the centre and the pulling pressure applied kept the forces localised over mostly 4 or 5 stitches. It all came apart at close to 40 kilo or 90 pounds if you like. By my reckoning that means close to 1/2 my body weight should be all right over 3" of stitching and therefore you could put 3 of me in that bag no probs except I wouldn't fit to good. Thank you Hope that is of some help if not a bit of a chuckle.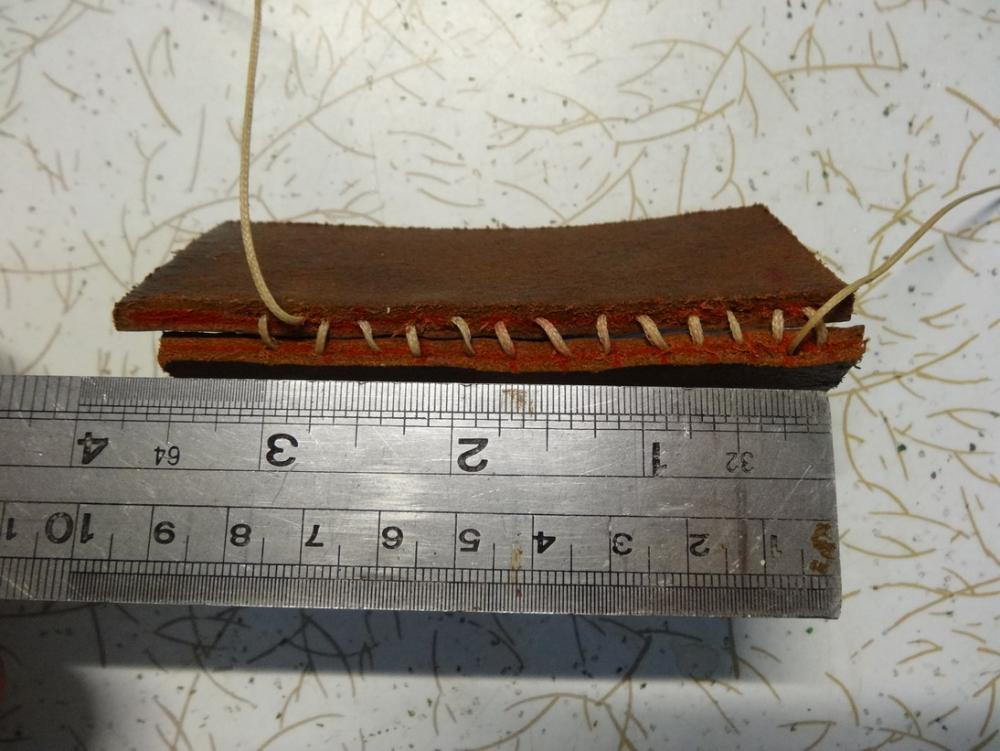
-
Invisible stitch from both sides of leather
RockyAussie replied to WastelandOuterwear's topic in Sewing Leather
Thanks @fredk I would have agreed with you with regards to the thread not catching the top grain once. I was sure that the top grain was stronger and stated so in an earlier post awhile back and was shocked to see some scientific study showed there was virtually no measurable difference between the two. I thought bull..... and split down some leather to get equal thickness and went ahead and broke both pieces looped over some heavy fish scales I have here. Did it a heap of times and could not prove them wrong!!!?. I guess in this case the longer the pieces being joined the stronger it will be but for interest sake I will tie it off and put it to the hanging weight test. I can say it is a lot stronger a join than most would think, and given that it is only snaking back and forth from side to side I think if you did the same over and under up and across it would not be any better. I will get back with some test results over the next couple of days. As for it being an very interesting technique............. I think this mentor might be a Tor- mentor. I just hope that all of that fine bag work above we get to see finished of and posted here. -
Invisible stitch from both sides of leather
RockyAussie replied to WastelandOuterwear's topic in Sewing Leather
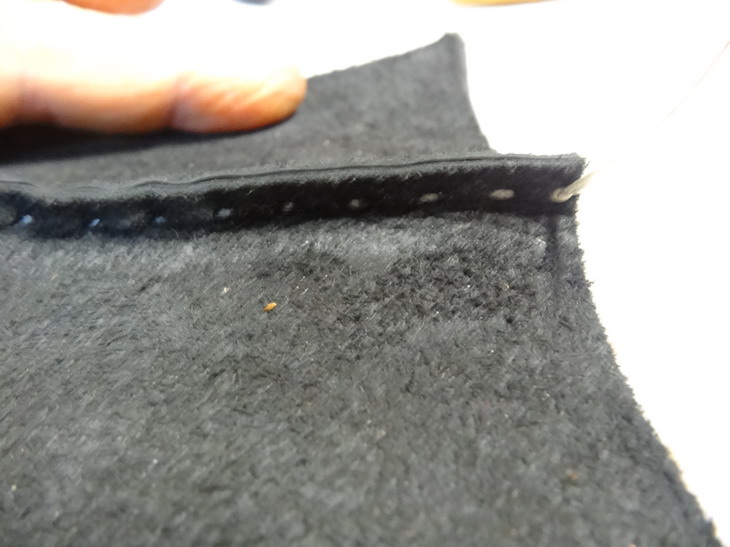
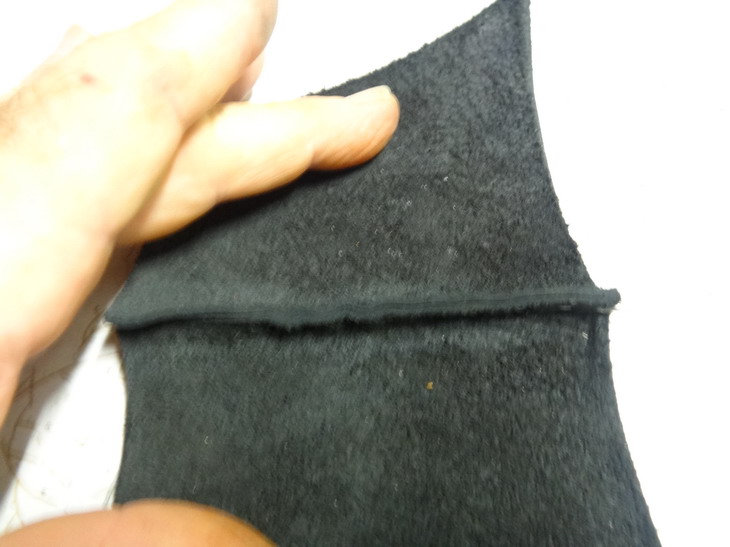
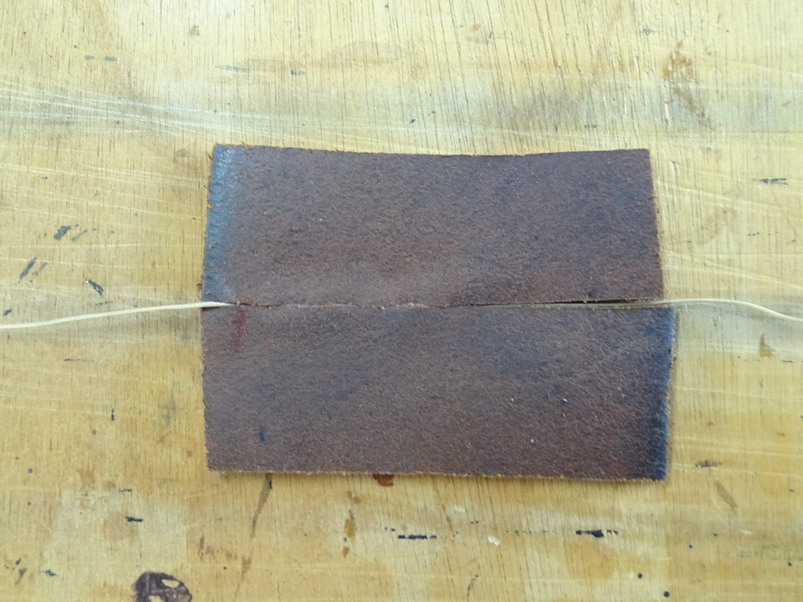
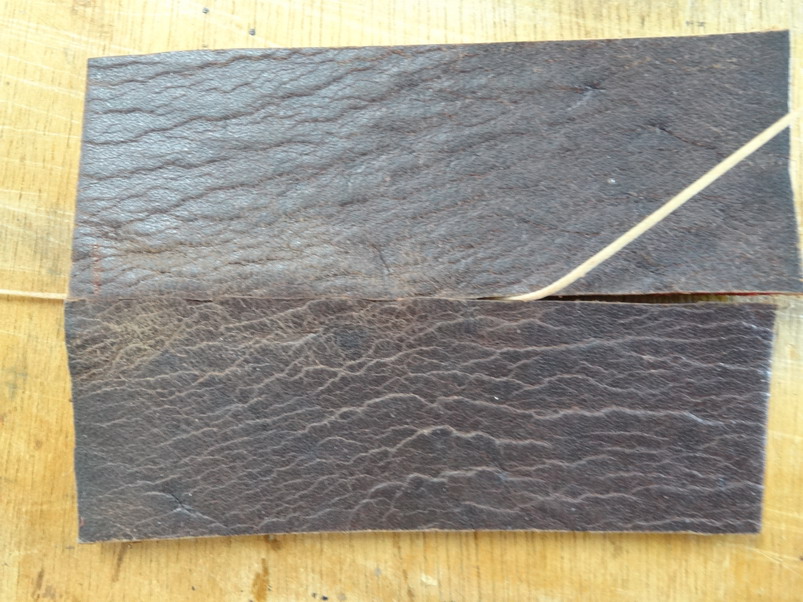
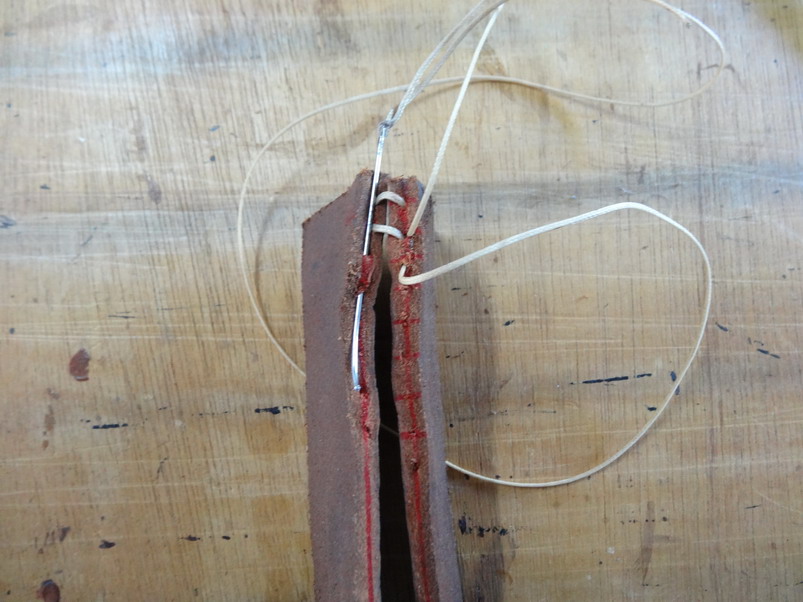
OK here's the rest. Before laying down and pulling up tight (easier than I thought) I would put some glue on the edges. Contact glue can be warmed up and with a bit of pressing down you would have next to no visible join.I did not glue or press in this example. Pull the end threads tight and presto. Back view shown below Front view I gotta get to work now so please let me know if that helps Brian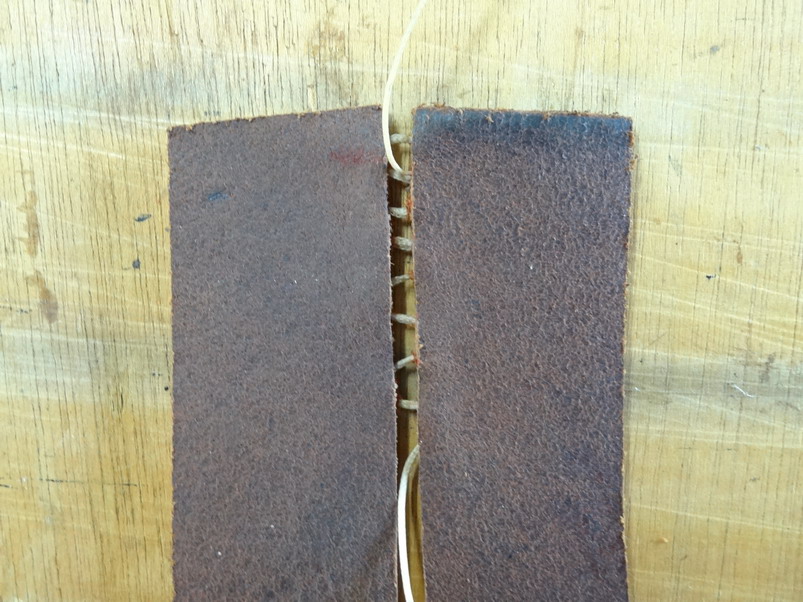
-
Invisible stitch from both sides of leather
RockyAussie replied to WastelandOuterwear's topic in Sewing Leather
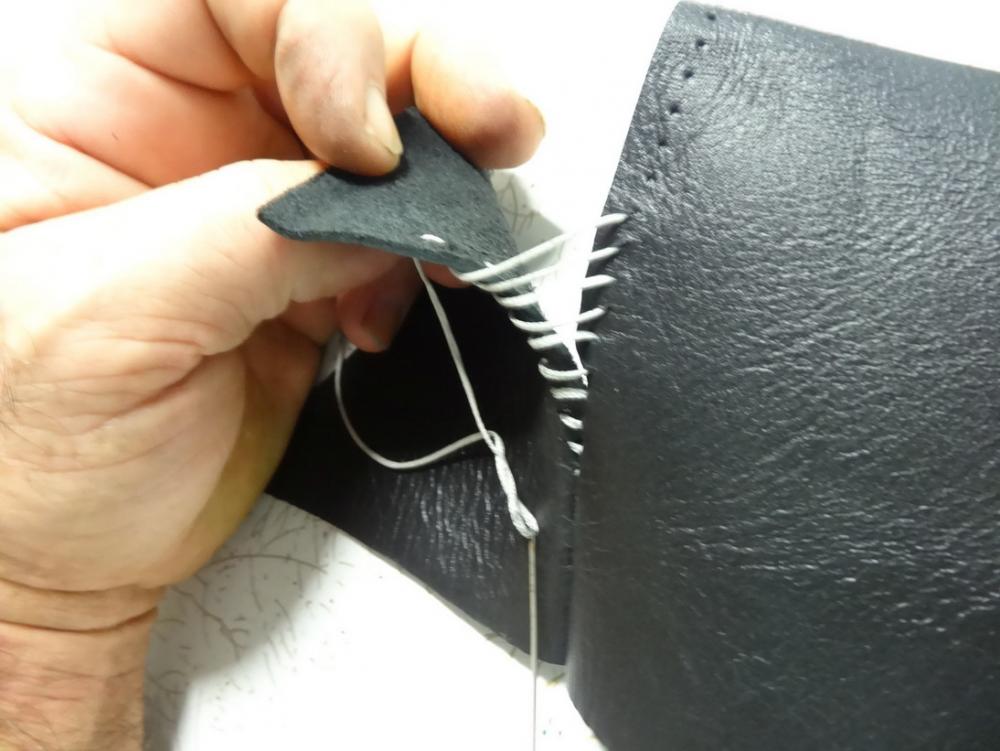
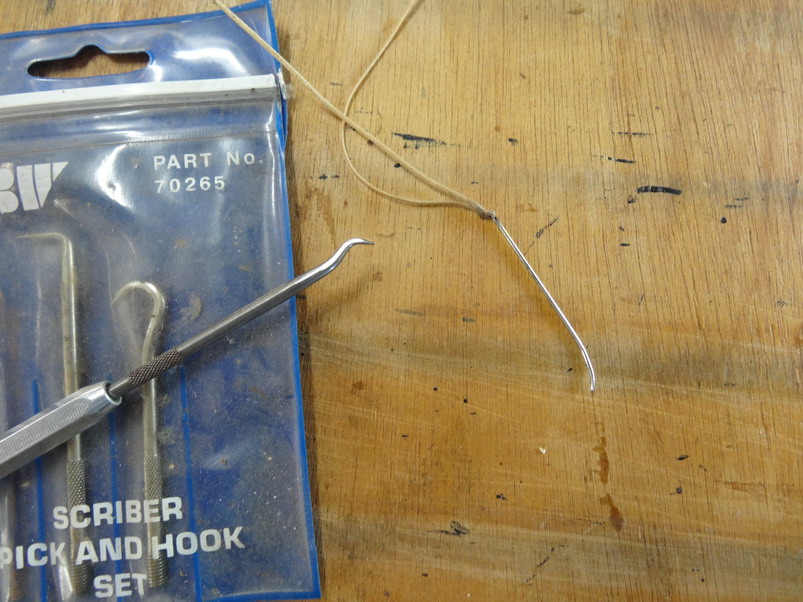
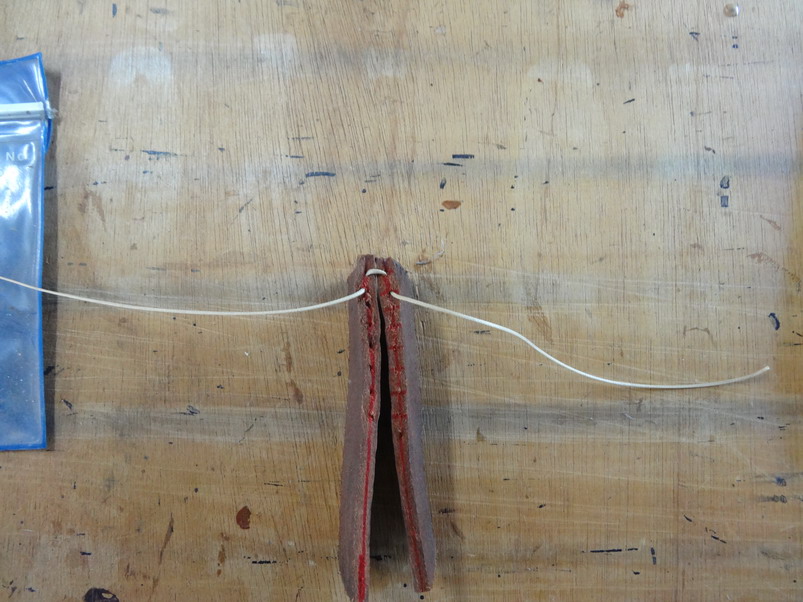
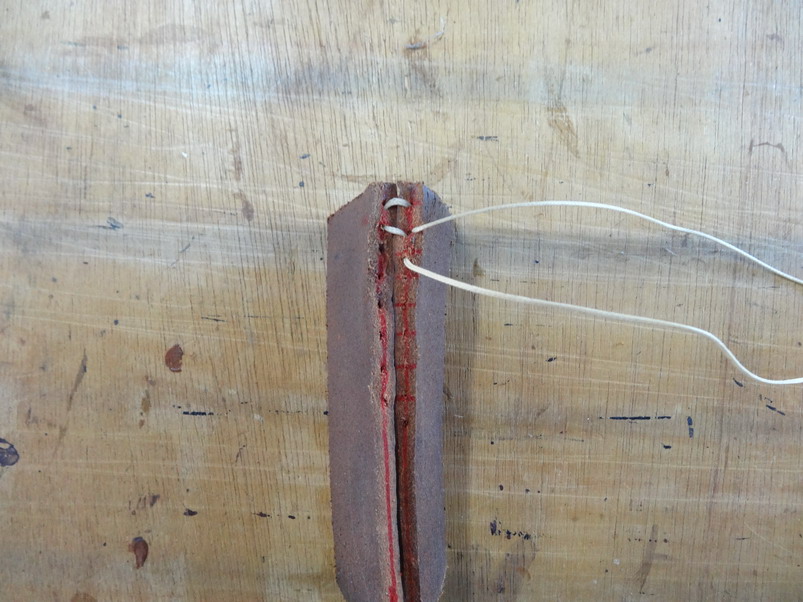
Well.....That sucks!!!!. I will have to say that from what I can read there, the author does not really know how its done either. As far as I can make out in the reading it does not say the back would have no visible stitching and the picture provided looks to me that it would have back visible stitching. AT any rate I have below my effort of what it is I think you are trying to do. As I don't do this type of construction normally I have just grabbed a couple of tools and did a little modifying for the purpose. I am sorry if this is leads you off track but if the same end result is achieved should it matter? 1st. I tried the bigger hook in this pick and hook set and found it was better with the lesser hook shown. Next I carefully bent a needle as I had none here that are curved. Broke the tip off so had to bend up a little further. Worked alright. Next I marked a line down the middle to help keep centred and for picture purposes. Here shows the technique and remember only every second hole needs to go through on each side. Next I marked out the joining piece across to keep the pull of stitches in line. Having done the opposite sides holes I did the bottom hole 2 in a row to start of even. Not perfect straight but it'll do for now. I will post more later due to picture loading size restriction.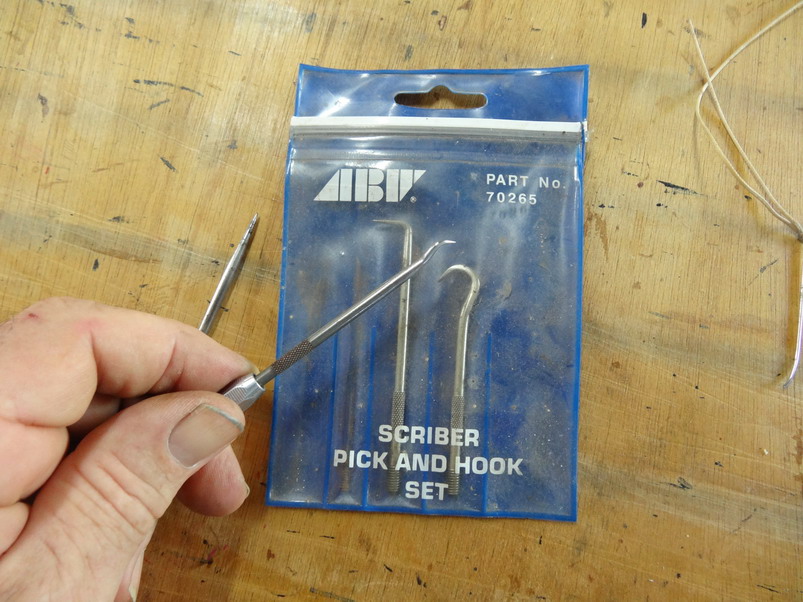


-
Bag stiffener - Anyone know this product?
RockyAussie replied to KingsCountyLeather's topic in Leatherwork Conversation
-
I believe if your reasonably mechanically minded, that it would be possible to hook up an extraction system and if you get one without an extraction system let me know and we could look at it further. I did touch on this in another post which I will try and find again if I can. I just found one post that covers it a bit..

-
Invisible stitch from both sides of leather
RockyAussie replied to WastelandOuterwear's topic in Sewing Leather
Is your mentor a sadist? Is there any good reason to be able to achieve doing this method? The threads will have to go straight when going across to tension correctly not on an angle as in your picture...Sorry. -
I don't know this machine but would think the parts are likely interchangeable but I have to say it looks quite similar in condition to my first Fortuna and I felt sorry for giving it to the person who took it. They are difficult machines to learn how to use even when new and when the shaft that turns the bell is worn and no longer runs true you have next to no hope and its generally too expensive to fix. If you can see it operating and it can do the job you want then OK but having had ones without a suction device as well I would not go back that way again if I could avoid it. Without suction a common problem with soft leathers is that the skived leather piece sticks to the feed roller and comes back up and then cuts through the leather on top. Too much risk and cost for me. Saddlery and greasy type leathers are not so much of a problem with this as the do not stick so much. If its free then give it a go unless you want it for business.
-
Nice idea. To date I cut a slice down a fish tank bubbler hose and slip them over but the do come loose sometimes. Thanks for sharing the tip.
-
Show & Tell: 3-D printed corner supports for sewing table
RockyAussie replied to Uwe's topic in 3D Printers and Lasers
Well done Uwe and welcome to the 3d printing world. I know I'm going to see a bigger fancier printer in your workshop pretty soon. -
A true craftsman and most excellent sharing of advise. Thanks for sharing.
-
Bag stiffener - Anyone know this product?
RockyAussie replied to KingsCountyLeather's topic in Leatherwork Conversation
sgot nothin to do wheather your male or single .....my wife's got no idea neither.. I been thinkin that's why her edging so rough. -
What type of 25 needle are you using? A point style I would expect to do that maybe. Tri maybe LR I would not expect. Just a thought.
-
I agree. I do think the last hole at the tip may be a bit too close though. The belt is very nicely done and a looks great. Most unusual to have 10 adjustment holes but it should be a good seller to ambitious weight watchers I reckon. Keep up the high standard King.
-
Very good observation Uwe. Thanks for the passing on of some fine knowledge as always. Brain
-
Well done dikman , I think that looks to be a nice and easy design to cater for a range of different size bullets. I wonder why I don't see the loop idea put into rifle slings with some method to adjust and tie off to suit the bullet.
-
strap cutting machine associated pacific brand
RockyAussie replied to aroh99's topic in Leather Machinery
Anything over $1000 and I would be going with a new one. That means new knives and new bottom roller and no wear and tear etc. Push heavy for the different size spacers when buying though. -
A lot of work (for me)
RockyAussie replied to MorningStarL's topic in Gun Holsters, Rifle Slings and Knife Sheathes
I could not say it any better -
I was just gunna say in my other post, if you made one it would be dam well done and you just doubled that up. What is the wide keeper loop for ?


