RockyAussie
-
Posts
3,265 -
Joined
-
Last visited
Content Type
Profiles
Forums
Events
Blogs
Gallery
Store
Everything posted by RockyAussie
-

19th century Hugo Werteim shoe patcher
RockyAussie replied to RichardPorley's topic in Leather Sewing Machines
That just blows me away. Fantastic effort..........wish you were a neighbour. I got twelve around my fence line and mostly like tits on a bull generally. -
Singer 31-15 Worn Tension Release Lever
RockyAussie replied to Ogoki's topic in Leather Sewing Machines
I just found an interesting bit on Pinterest that shows a bit on this. Link attached. It may contradict what I've said but I still would not be sure. Thought it worth a look anyway-http://www.theprojectlady.com/2016/07/industrial-singer-31-15-sewing-machine_7.html -
Singer 31-15 Worn Tension Release Lever
RockyAussie replied to Ogoki's topic in Leather Sewing Machines
I did have one machine that did that action and it may have been a Singer post machine I think. The action of that mechanism clearly is nothing to do with releasing the thread for corner turning etc but would appear to be a preparation step for the thread return spring action. As Harry said it comes into play as the needle enters the material and how that would coincide with lifting the foot totally escapes me. I would say that in most leather stitching cases it would not have to come into action but perhaps in some situations Singer thought it would. If it works for you without it I would think that is one bit less of wear and tear to worry about. -
Question about lining a leather bag
RockyAussie replied to panchoskywalker's topic in How Do I Do That?
Whether you use rivets or screw posts be sure to use a piece of leather inside about 2mm thick or more and about 2" or 50mm wide to distribute the pull over a broader area. Probably goes with out mentioning but just thought best to mention in case. I would just do a piece to cover across both in one piece. You may want to skive the edges of it a little. -
Advice for cylinder arm machine for sewing saddlebags
RockyAussie replied to sam000lee's topic in Leather Sewing Machines
I have an Adler that size and another brand that size for binding. You mentioned aside from tool bags saddle bags and I have to advise this 69 is good for medium hanbags and wallets and so on but NOT for saddle bags without a lot of compromises. A bigger bobbin with the thicker thread is something to not overlook too quickly as well. I would consider if going to a CB 3200 to perhaps consider a CB 4500 as that will allow give you even higher lift and can be with a few alterations able to get down to 3oz as well.I may be wrong but I think they both share the same size needle which at times has the disadvantage of being a bit long and can sometimes wander a little, though I have not had much problem with that myself. Note: in this earlier post where I am stitching up a linesman's pouch and the thickness is about 1/2" plus And in this next post I am using the same machine to stitch some 1.5mm (3oz) upholstery leather with some machine changes. The $1300 for your application would be better put to a heavier machine capability I think. -
garment leather can be quite difficult to skive at first and I will say 2 things that I believe important- 1 make sure it has an extractor/suction to pull the leather away from being caught up on the stone. (Stone is way better on the soft fine skiving) 2. A roller foot helps to eliminate the drag when feeding through. If it grabs at all it is needing a sharpen. Couple more- After sharpening with the stone get a bit of mellow veg and very slowly feed it through as this acts a bit like a strop and helps it run through more smoothly. I have an old Fortuna and a FAV and I do like the Fortuna the best.Here is another post that have a couple of videos in it that may help.
-
3D printed molds for wet forming bag ends.
RockyAussie replied to Kepler20b's topic in 3D Printers and Lasers
Very well done and I am happy to see that unlike some doing this you have shown that you do NOT need to waste heaps of leather to be trimmed off and do V cuts and so on. 20% fill is a bit less than I would have thought needed but there you go. -
If you haven't already you could try @Darren Brosowski he is in Goulburn Vic and you might find how to contact him on face book if you check Able sewing. Between him and Steve @Singermania Cowboy sewing machines Australia I think you should get some help.
-
Singer 31-15 Stitch Issues
RockyAussie replied to MAlexanderConcepts's topic in Leather Sewing Machines
This manual mentioned in this post may help - The second link shows a tension check spring and this can be adjusted to be tighter or looser and the throw means the distance that this spring can move. This distance is normally set to let the thread to start going slack just as the needle is about to enter the leather. As Wiz said I would try a bigger needle and make sure it is facing the right way as often if the needle is wrongly orientated it will miss stitch and I think we have all been guilty of putting the needle in with the slot facing the wrong way more than we would care to admit. https://www.singeronline.com/3115.html -
Could you say what town in Oz you are ? There may be someone close that you could talk to.
-
Yes the stitching has come in too close. This can happen quite easily if using a foot set that does not have a shape to keep from coming in too close. It can be done but takes very careful attention and is more annoying when you get most done well but one bit climbs up. Looks worse. Beading/piping in the middle will help but the right shape foot is more the issue. I am assuming perhaps incorrectly that you are using a sewing machine. Doing it by hand would take a lot of skill I think.
-
You can use both but they recommend semi dense for hand application is better and dense is preferable with machinery but also can use either.
-
Looks like its running in reverse This earlier posting might be of help.
-
Sometimes you can get a piping effect by just using leather folded over which could be skived in from the edges to get a more pronounced bead look on the edge but I generally use either some 2mm round lace or 3mm plastic tube piping as in this following link - http://www.theshanngroup.com/product/hollow-plastic-piping/ When I want to turn it in as shown in the picture I cut the piping on an angle to taper it off and leave the leather longer to use that to be tucked in. Whether that leather extra part needs to be skived depends on the thickness of the leather of the bag and the thickness of the leather used to cover the piping. I normally have it split down to .5 to .6mm for most jobs but this depends also on the piping feet for the sewing machine and what thickness it works best on.
-
Singer Leather Sewing Machines
RockyAussie replied to Trevor Baret's topic in Leather Sewing Machines
Well that just Adlers my mind.....I'll be Pfaffed...Just Juki ng with ya. Ha Ha What is the Inverse necky on the side? Do they have an owl with its head facing backward as a logo? -
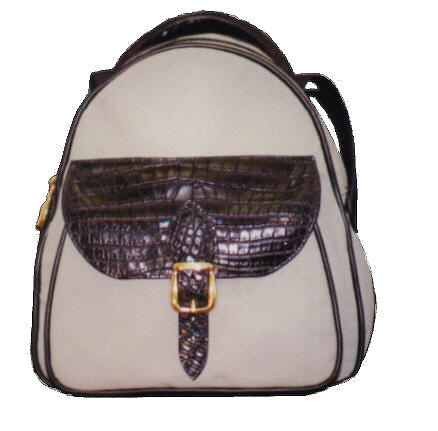
Sorry @Dunluce I misunderstood what you were trying to do. I thought you were trying to figger out how to get the piping to attach to the piping as I have done in this first picture of a back pack I made. As you see it goes all the way around on the front and gusset. What would look best is how the piping finishes short and the leather is turned in, as in this next picture following. Here you just tuck it in and keep stitching through to the end then trim it up inside.
-
Anyone familiar with Singer 72W19 industrial?
RockyAussie replied to Mizzy's topic in Leather Sewing Machines
Looks like it may have been used for doing double row stitching on the uppers. I think it can be used as a single needle as well. An Addler I had could be either single or double needle used and some various widths as well.Here's one off the tube -
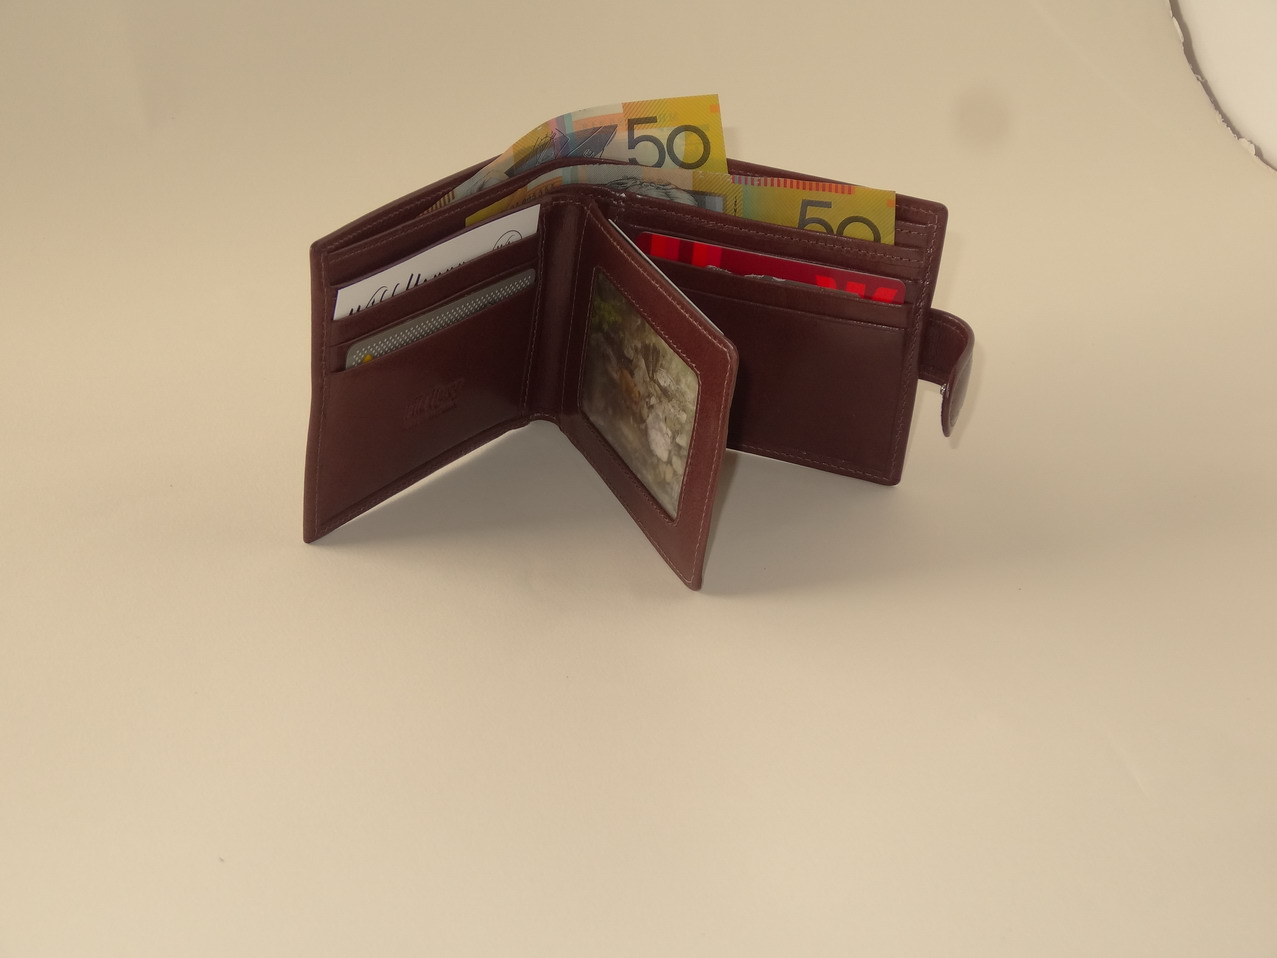
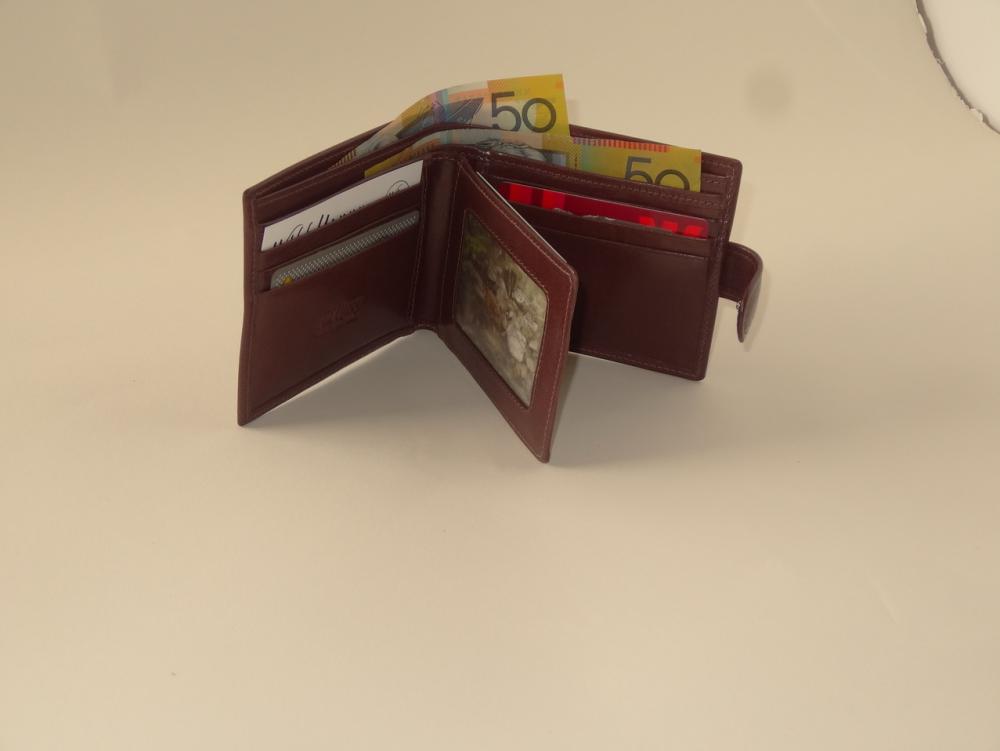
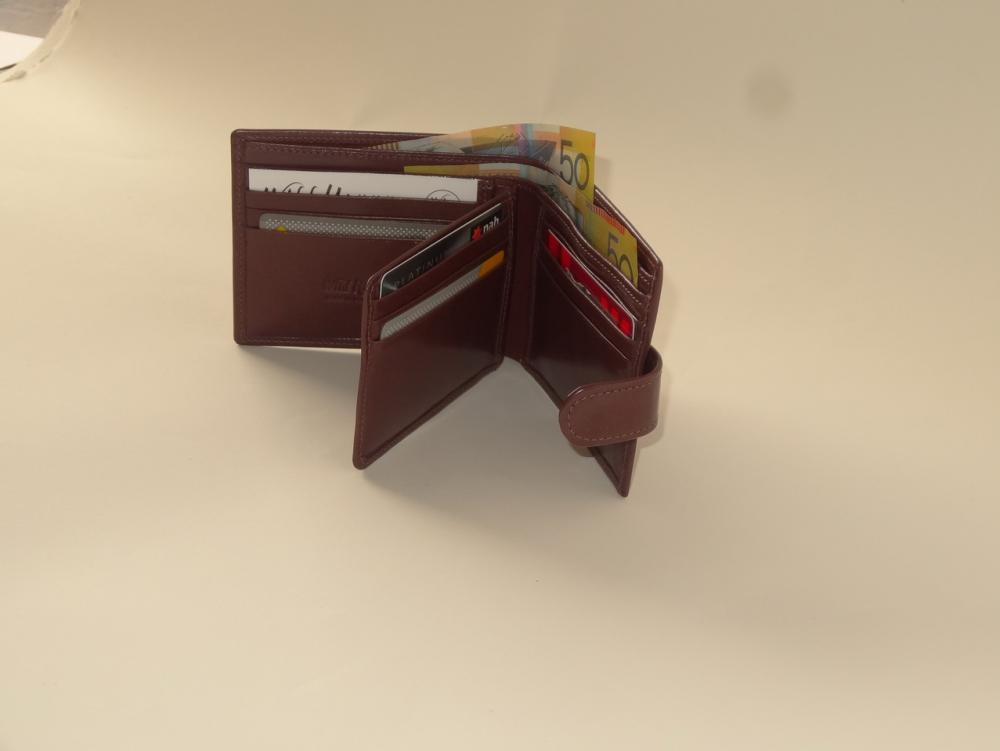
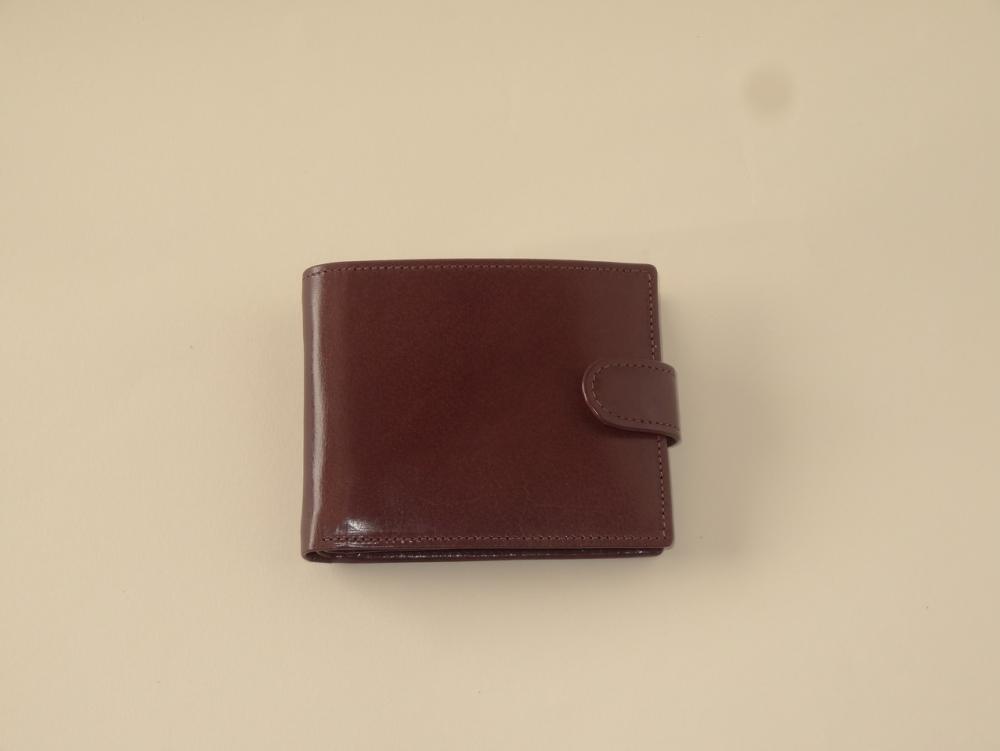
There is a huge difference in what can be done but whether the extra cost is warranted would depend on the type of leather work you want to do. For a lot of saddlery type work the fixed blades would normally suffice. For many of our products we produce we use 1mm leather split down to .4 or .5mm with often soft leathers and that I believe is not anywhere near possible with a fixed blade. Also band knife splitters have built in sharpening stones and take but a few seconds to sharpen now and again. Below are a few pics of typical pieces that go in my wallets but if you check my you tube channel some of these steps are shown better perhaps.

-
If I understand this correctly.....What I do is start with the leather piping cover already skived and stuck in place and left in length over long. Start the stitching at least an inch from the end. When I have reached close to the other end I stop the stitch and take it away from the machine. I then cut the piping to the correct length and skive the end to match the meeting side and then finish my stitch on down. It is hard with some leathers to make it fully not be visible but picking the right place to start and finish helps.
-
Chrome tanned is longer lasting than vegetable tanned?
RockyAussie replied to doorty's topic in All About Leather
Personally I would think the chrome tan better for that job normally but if as you said you want a natural finish you will not get that sort of tan colour. It would be a sort of green/grey and probably last no time at all.. -
Now will that me look like I'm loosing or gaining weight??
-
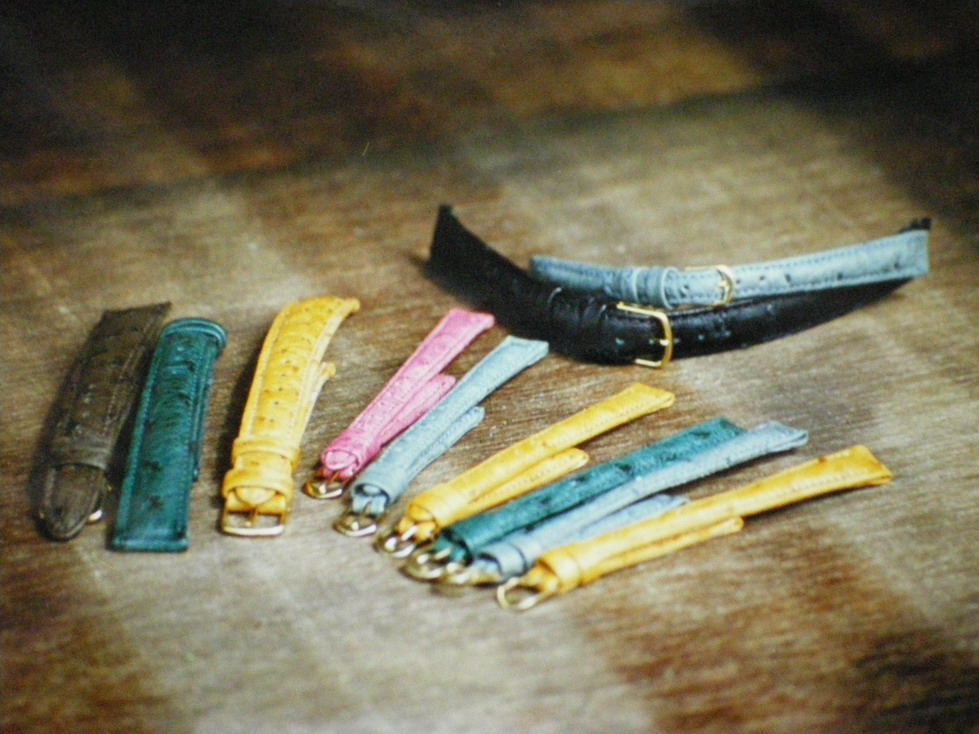
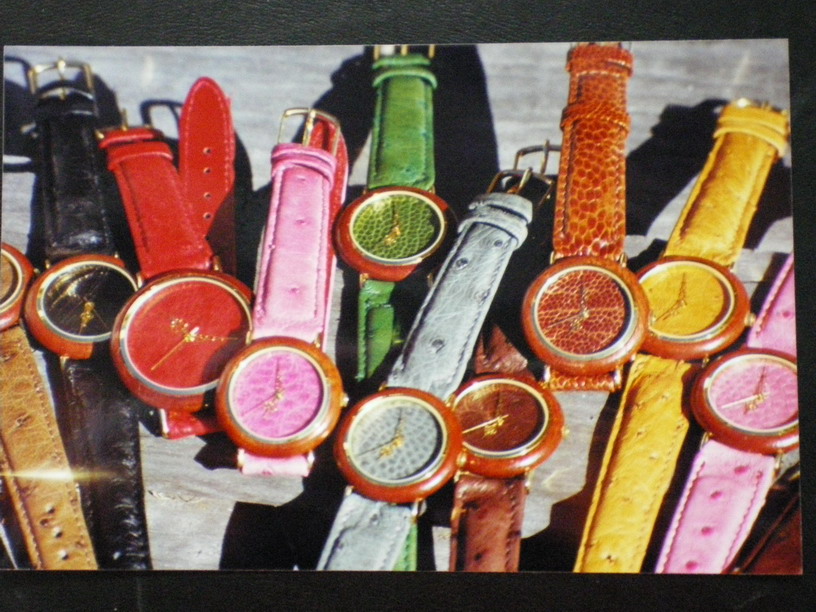
Another thought if you don't like seeing a line as JLS said Just fold the edges instead I guess. That'll give you an exact colour match as well. I used to do all my watch bands that way once. The pictures below shows some ostrich ones I made once. The ones with the watch faces done had to be split down to .3mm and I did have a fairly high fail rate on that.
-
I have used a cobblers hammer for many years and for the more delicate leathers that are easy to bruise I have glued onto the face of the hammer a piece of firm veg to further protect the job. I have got away so far using one glued on piece for about 5 years now and that is just attached with contact glue. The face of the hammer is about 38mm or 1+1/2"
-
I guess I will have to console myself with that at least it took you a while..........
-
WOW ......WOW ....I am in LOVE....What state are you in? I mean not horrified about having a stalker state ...What state of Australia? Was someone in the Singer repair business?