RockyAussie
-
Posts
3,265 -
Joined
-
Last visited
Content Type
Profiles
Forums
Events
Blogs
Gallery
Everything posted by RockyAussie
-
Yes it allows me to do heavy leathers pretty well but on stiff hard stuff I normally go about that by doing it in 2 stages. The roller will allow heavier leather way more so than the standard feet will. On thick leathers it is often necessary to take the bell back away a bit to get the feed to grip better. That can make a big difference.
-
Here is a link on where I show how the ring boxes are made for this customer. I keep a stock of them here and monogram them almost daily for her.
-
I have sent you a PM. 95% of the products we make is with crocodile for a variety of croc farms and such but we do use other leathers as well for other people such as the leather ring boxes for this customer https://www.amonie.com.au/collections/leather-boxes/products/light-grey-leather and pouches for the prisons and so on. If you can fill me on the products you want I may be able to help further one way or the other. Brain
-
I cant say whether it is good or not as I am not sure if the handle would give you the leverage for good embossing into leather. Take into account the voltage difference 110 against 240 if you haven't already. There is a member on here from Adelaide @dikman who is quite helpful and may know someone there he could suggest could help with some training on embossing.
-

Simple card slot
RockyAussie replied to Wedgetail's topic in Purses, Wallets, Belts and Miscellaneous Pocket Items
Nice work -
Sorry My bad....https://www.ebay.com/itm/Kingsley-Hot-Stamping-Machine-Type-Holder-LOT-fits-a-single-Line-Machine/173132396868?_trkparms=aid%3D222007%26algo%3DSIM.MBE%26ao%3D2%26asc%3D50543%26meid%3D5560113a07d24188899cb4ad89fe337a%26pid%3D100005%26rk%3D9%26rkt%3D12%26sd%3D253584348622%26itm%3D173132396868&_trksid=p2047675.c100005.m1851 I think with the letter sets it will work very well for pressure and definition. I do have a pneumatic one with a timer and all and to be honest it is in storage as it takes too long in use and the transport system for lining up is too slow as well. By hand pressure you can get a feel for what is right pretty quickly and the mucking around and testing to set how many seconds and how much air pressure etc are just a pitb. For what you are wanting I would go with the Kingsley. If you need to do very large numbers of repetitive steps then the one I have I could part with. You are welcome to come up and spend a few hours learning how to do this embossing if you like. Brian
-
Hand crank support request
RockyAussie replied to beginningsaddleman's topic in Leather Sewing Machines
I just had to look .... I have to wonder if this extract above were translated back into Chinese whether it would make any more sense?? I think that the machinery and engineering may have many good points and benefits but without much understanding of the manual as far as the English language goes, I am quite hesitant in buying I am sorry to say. Please take no offence Robin as that is not my intention, it it only to point out the importance of having clear communication with your customers. Your efforts in sales could be vastly improved with a better translation. I would be interested in the SP 168 sidewall stitching machine but I would like to see the manual first and what the costs for the transport would be to Brisbane in Australia. Regards Brian
-
The stamps look nice and deep and should therefore be good to use.....But the second review there is a worry. 6 letters in the block would not be enough but more the worry of only 1 of each letter for that price. There is many an occasion where you need 2 to sometimes three of the same letter in a name. Have a look in a baby name book. The letter sets I have generally have 3 or more letters of each. I would look for Kingsley letter sets on ebay along the line you would like.There are quite a few. I did see some Kingsley machines pretty cheap as well.https://www.ebay.com/itm/Vintage-Kingsley-Hot-Foil-Stamping-Machine-with-gold-silver-foil/192529296915?_trkparms=aid%3D888007%26algo%3DDISC.MBE%26ao%3D1%26asc%3D50543%26meid%3D5b4415a34463466a90d9b82875b690aa%26pid%3D100009%26rk%3D1%26rkt%3D1%26sd%3D263653689847%26itm%3D192529296915&_trksid=p2047675.c100009.m1982 Match that with this to get any letter holder you could want https://www.ebay.com/itm/Vintage-Kingsley-Hot-Foil-Stamping-Machine-with-gold-silver-foil/192529296915?_trkparms=aid%3D888007%26algo%3DDISC.MBE%26ao%3D1%26asc%3D50543%26meid%3D5b4415a34463466a90d9b82875b690aa%26pid%3D100009%26rk%3D1%26rkt%3D1%26sd%3D263653689847%26itm%3D192529296915&_trksid=p2047675.c100009.m1982 And here for an example is one of the fonts from Kingsley and look down and you will see a few others quite affordable. Note the 3+letters https://www.ebay.com/itm/KINGSLEY-HOT-FOIL-MACHINE-TYPE-FONT-LETTERS-NEWPORT-MONOGRAM-SET-SORTED/253602297923?_trkparms=aid%3D222007%26algo%3DSIM.MBE%26ao%3D2%26asc%3D50543%26meid%3Dd6728ff3da8341eb8ccf5c7332fbd94a%26pid%3D100005%26rk%3D11%26rkt%3D12%26sd%3D352346329350%26itm%3D253602297923&_trksid=p2047675.c100005.m1851 Regards Brian
-
You mentioned a machine type elsewhere and that company make letter sets in the US as well. I ordered in a set from them last year and they are crap in comparison to the kingsley letter sets. They are very roughly finished and the lead content is so high that just packing them into a container to separate the letters out made my fingers all black. Probably why I am going madder than usual. They are so bad and soft I will not use them.
-
Why I said be patient
-
Does the tension work alright on leather? I know I will sound silly for saying it but the thread looks a lot thicker to me than 69 (40 metric) and more like 138 perhaps. Some of these nylon webbings can be very tight and hard and tension problems are not uncommon with the thicker threads.
-
Do you have letter sets already? The letters in the video by Harry Rogers will not take much, if any heat which is a shame. I am just wondering if a laser might not be a better answer for you at this stage if you don't have a letter set already. Last time I looked you could get a 40 watt laser for just over $500 here in Aus. Maybe try H Leffler and sons in Melbourne as they have a notice board for second hand stuff there or at least they did when I was last there. http://www.lefflerleather.com.au/leffler_contact.htm
-
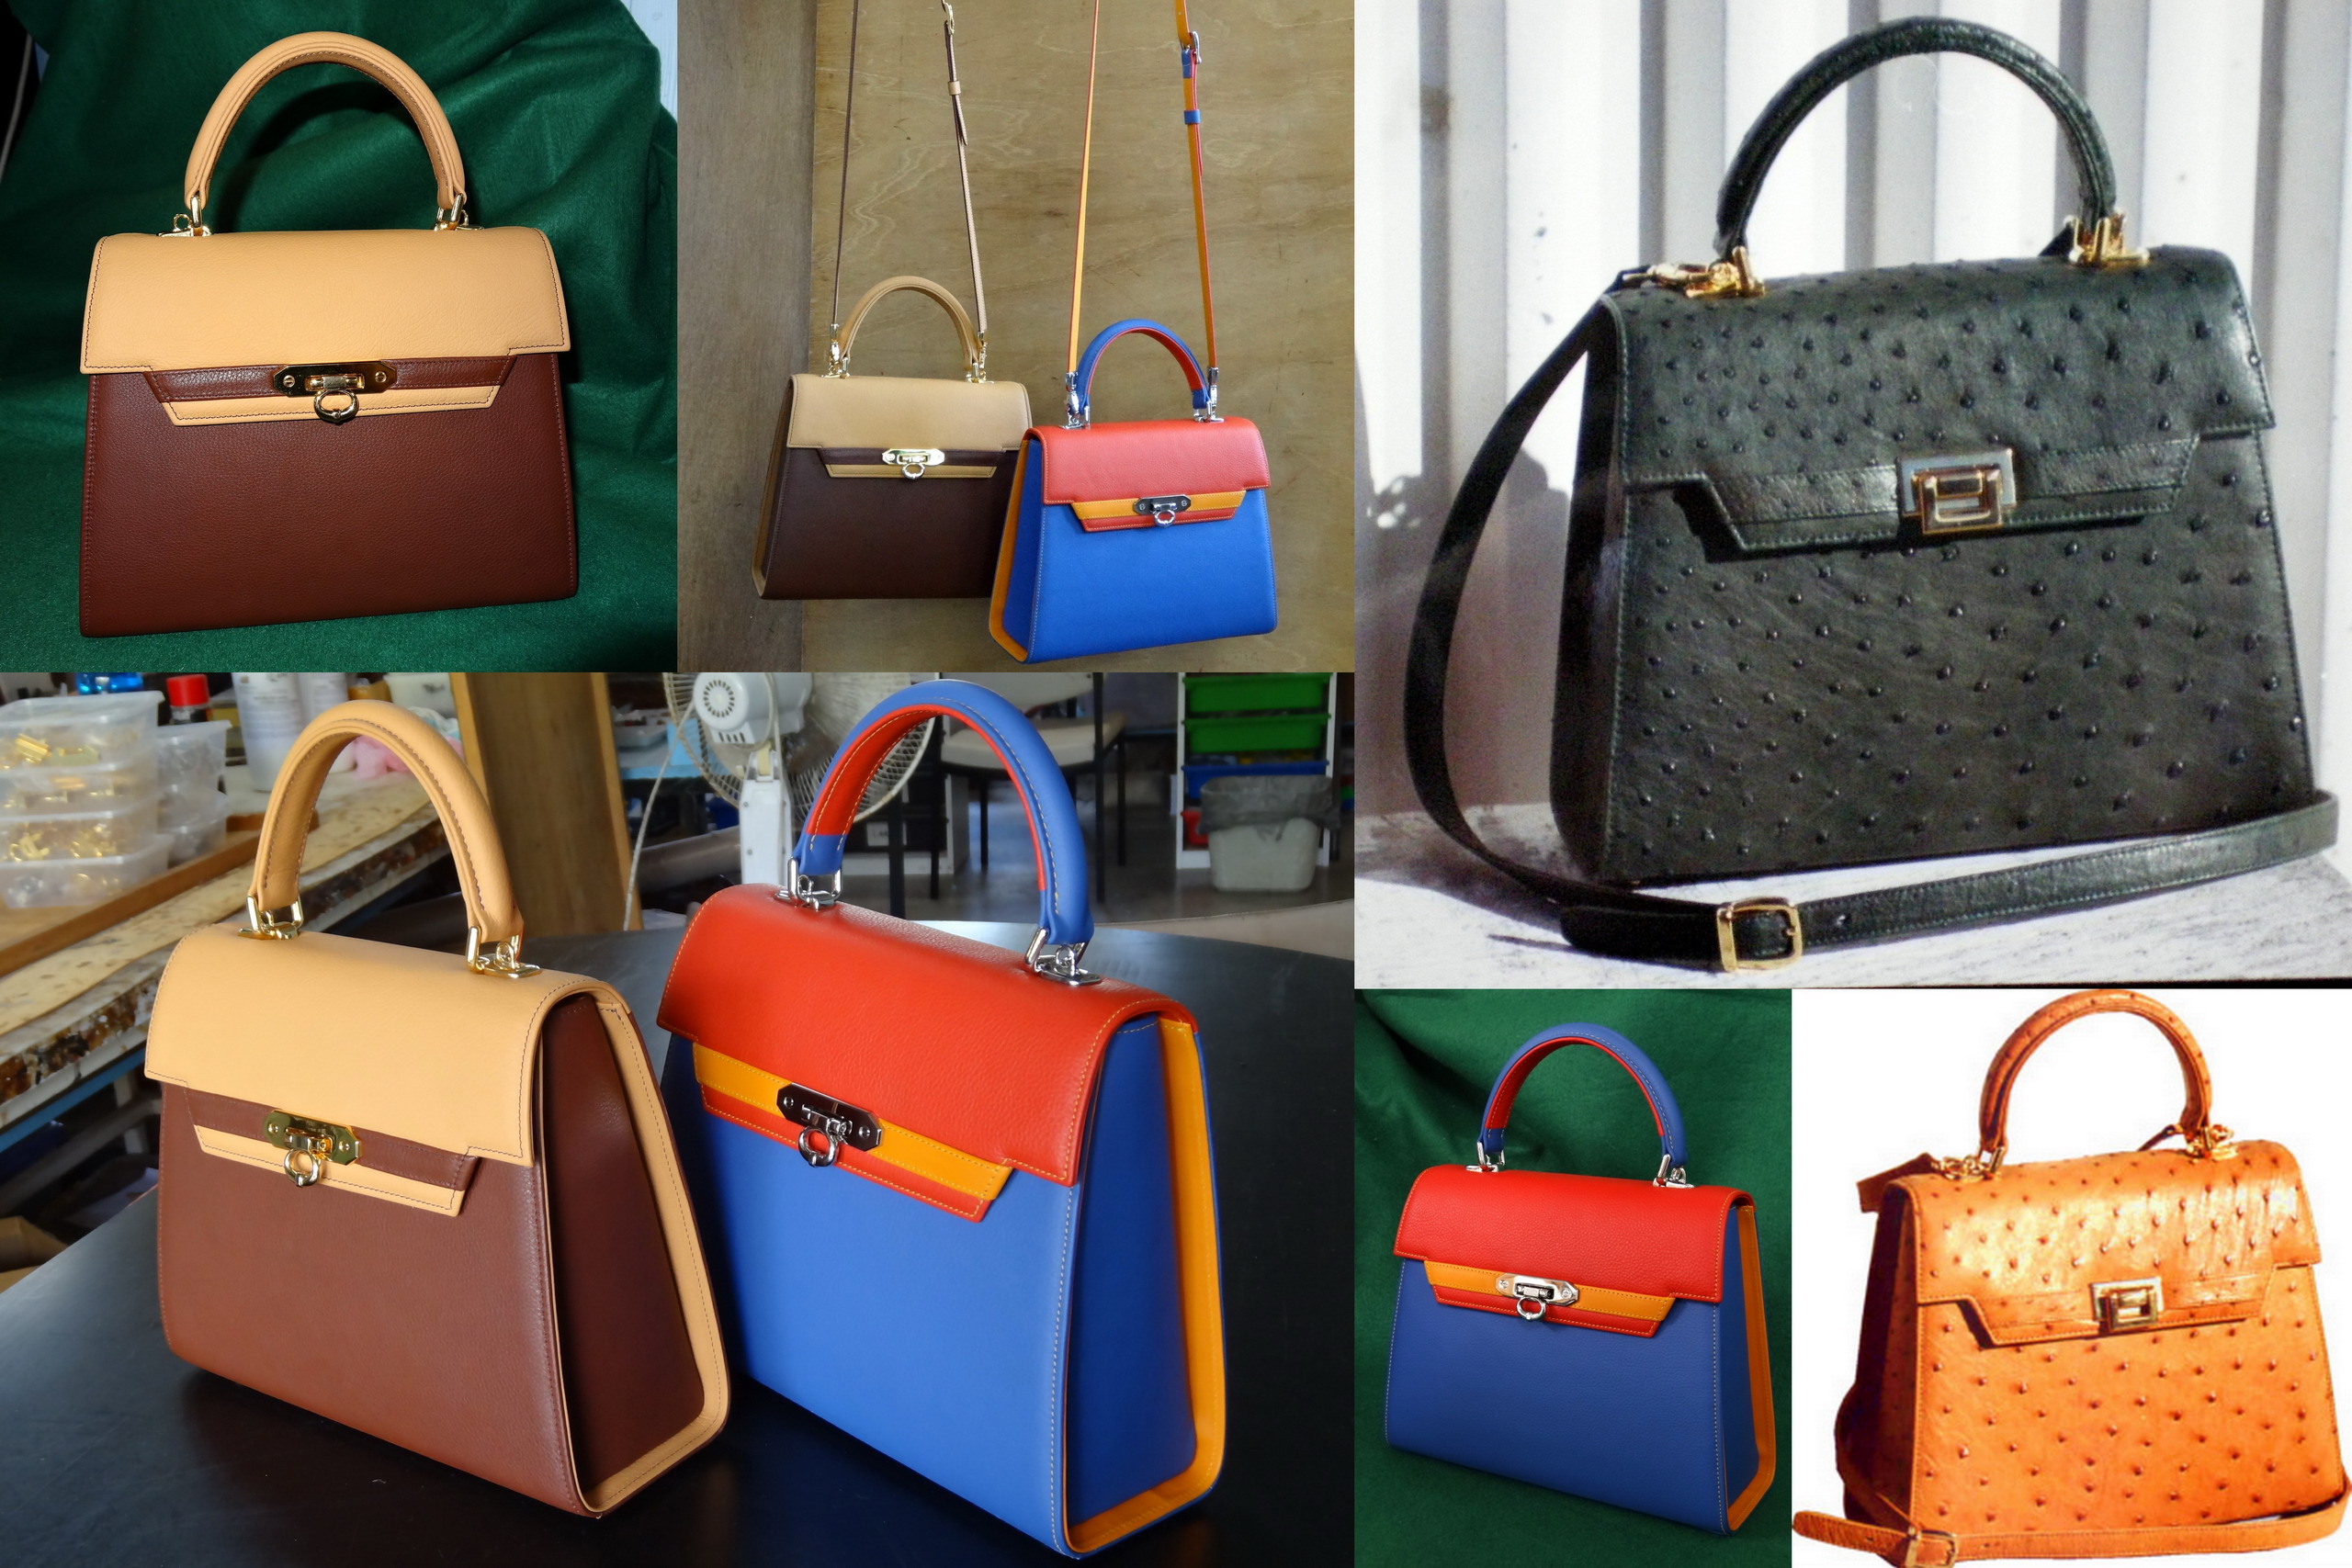
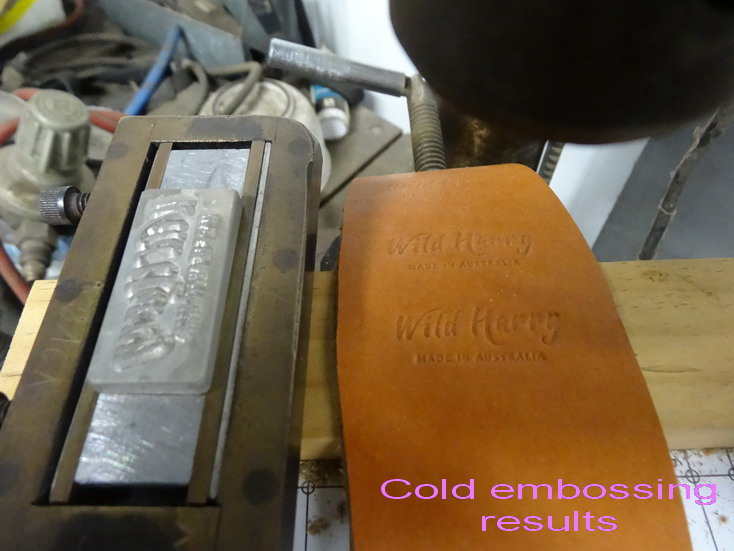
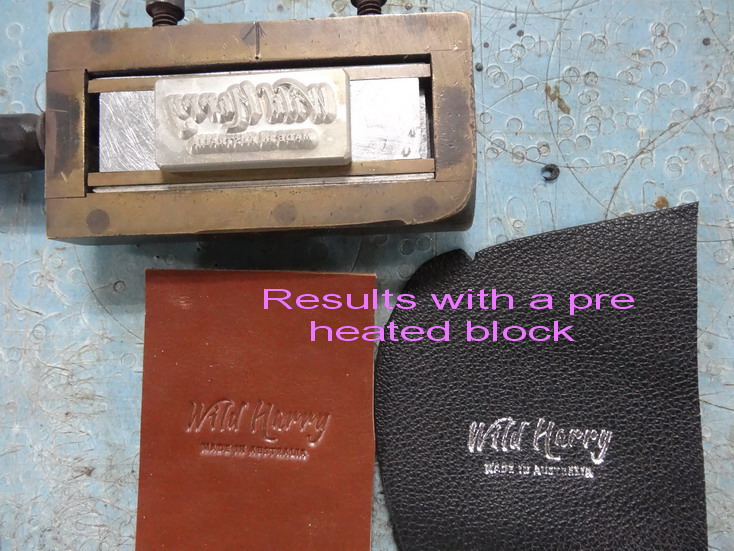
I do have a few (5 of different types) but as I am a bit out of the normal market/manufacturing area up here I like to always have some backup and 3 are always on the go. If you care to show me the type of stamping or the variety of uses you need to do I may be able to give you a good solution. For an example the Kingsley machines here pictured are very limited in height and can be useless if you need to emboss anything thicker than about 1 1/2". Lids on boxes for products can be a no go for example. Lack of depth for a product to go back into can also be a problem. How large a stamp do you need to emboss? If you only require a stamp less than 2" then a drill press can give you more room for adjustment than many embossing machines can but a heated block for holding the stamps would need to be sorted. I have previously experimented with this and found my tests promising but haven't really needed to do much more with it do to having other machine alternatives already. If I were to take this a little further I would make a block to hold a 60 or 80 watt soldering iron or just buy the cylinder elements in that wattage and hook it up to a light dimmer switch which I have done at times for some other similar projects as seen in the last picture for ironing in the edging on the croc belts. The heat was not enough for the foil embossing above due to me just using a heat gun to warm the block and guessing incorrectly it was hot enough. Note in the middle of picture in the background a box made to hold the light dimmer switch. Although I have been using these for many years the risks of doing it are all yours if you do. I have every fancy micro cut out switch in the system and although they have never been set off doing this I would still make sure they were in operation in case.


-
Nice work Gary. WW wow wow
-
I do agree somewhat but as Morrie always reminded me it is a knife show NOT a sheath show and he always won when he entered them anyway. They both should stand out but the knife should be the centre piece in a Knife show.
-
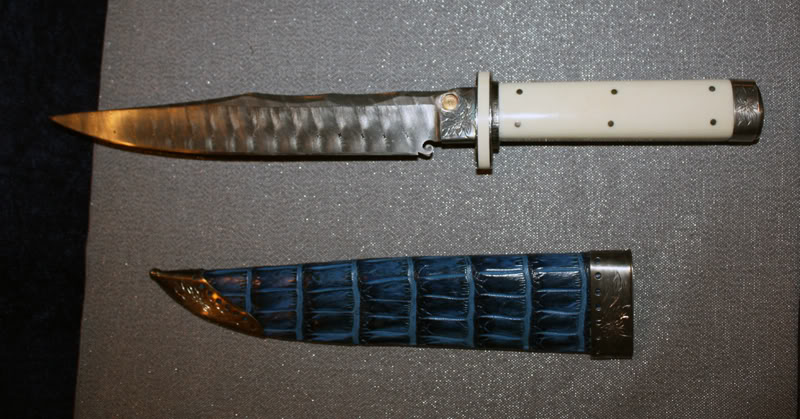
@pitersek I think this shows a well matched knife and sheath with potential for more excellent combinations in the future. Sadly it takes me back to a close friend of mine for many years who aside from jewellery enjoyed making knives. In Adelaide here in Australia they have a large once a year knife show and for many years Maurice (Morrie) would travel up the coast to my place, and together we would set about making a knife pouch or two for the next up coming show. I would ask Morrie how did the knife show go and he'd always reply "pretty good" and smile as always. He died back in 2013 and not until I was at his funeral did I find out that he won the award for the "Art knife" prise for many many years in a row. He always chipped me for being too fussy and as the years went by, in 2012 he stopped entering in order for other entrants to win.I understand they now have a Maurice McCarthy award there. He was a true friend and I still miss him. The picture following shows a few of the projects we worked on together. I hope this may inspire you on further.

-
Be Patient.............................
-
@OnceFoundCo I have 2 similar machines and the closest looking one says Mk2 (65watt) and the other says M60 and is 60 watt.
-
Help choosing my first industrial machine
RockyAussie replied to MStone's topic in Leather Sewing Machines
Here see a couple of pictures that no way could I use the bigger 441 clone Cowboy machine I have could do.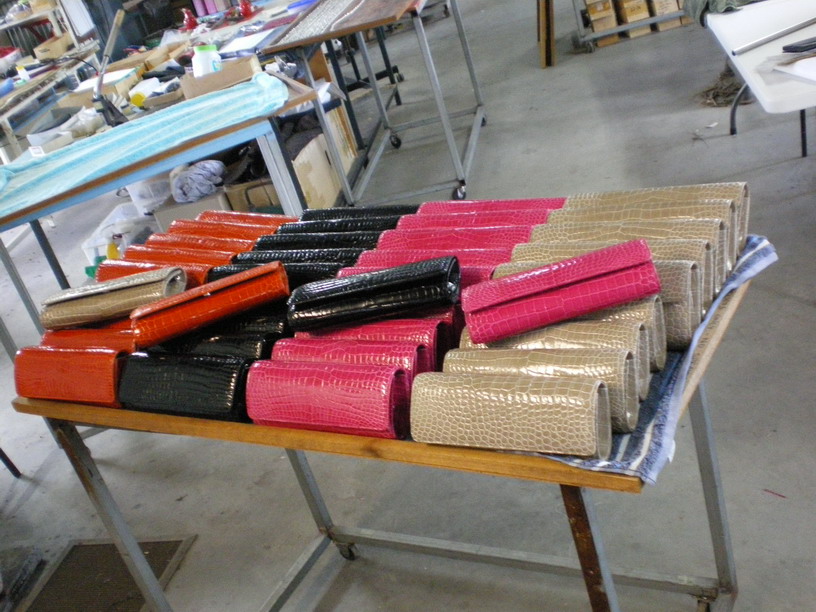

-
Help choosing my first industrial machine
RockyAussie replied to MStone's topic in Leather Sewing Machines
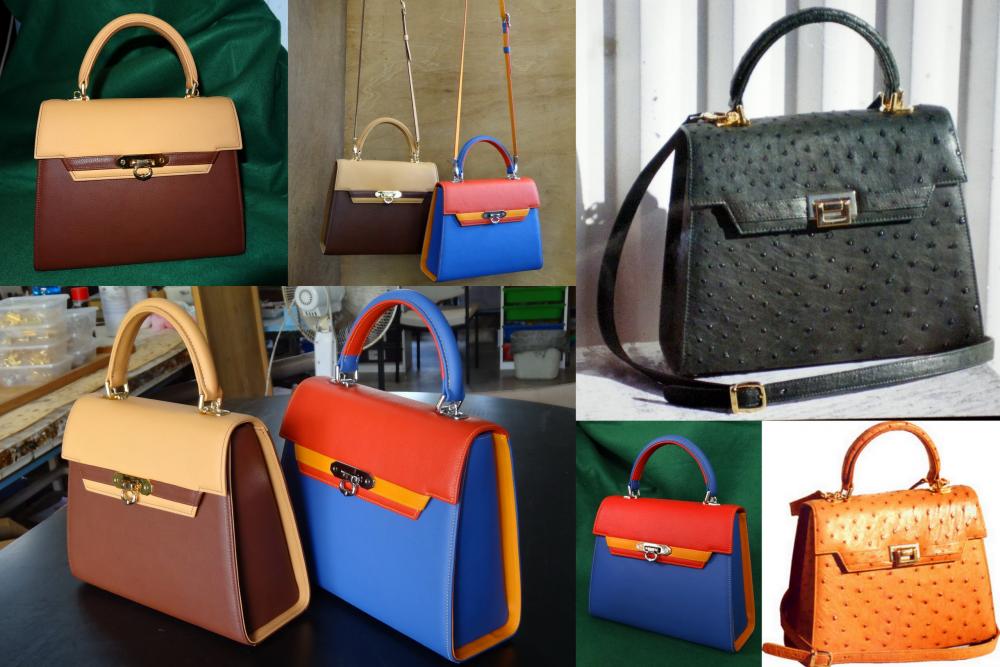
without seeing your bag models or what sort of weight bags that you make and want to make it is hard to say what machine or machines would be best. A cylinder may be best and whether it has are a short or long arm will rarely matter. If you are wanting to go thicker than 1/4" but still do lighter work I can see a lot of merit in the CB341for handbag use. It can take a large M bobbin and has the advantage of having a small end that when doing tight gussets etc will come in very handy. The price as well looks good to me be that it has not got a walking foot, but I have found that walking feet sometimes restrict sewing when you want to get around tight ends on gussets. To explain a little better , walking feet keep pressure down all through the sewing operation and being able to release the foot pressure with the needle still in helps the leather relax and stop from twisting up and sometimes forcing the 2 parts to separate. Hope that makes some sense to you. Here is a link on that machine-http://www.solar-leather.com/cowboy-cb341/ If you would care to check my website you will see many bags I make and most of these are done on a smaller cylinder than this one but still not with a walking foot. -
Nice steampunk theme.
-
I am not certain but I think the last picture shows a VERY POWERFUL MOTOR mounted on the back of the head like most domestics. Here's a thought....with a light head like that if you get 2 and turn one around and put it in reverse, you could stitch up them bridle straps on both sides at the same time.. Nooo it wont work you cant get the 2 close together enough ...... you'll need 2 cylinder machines instead.
-
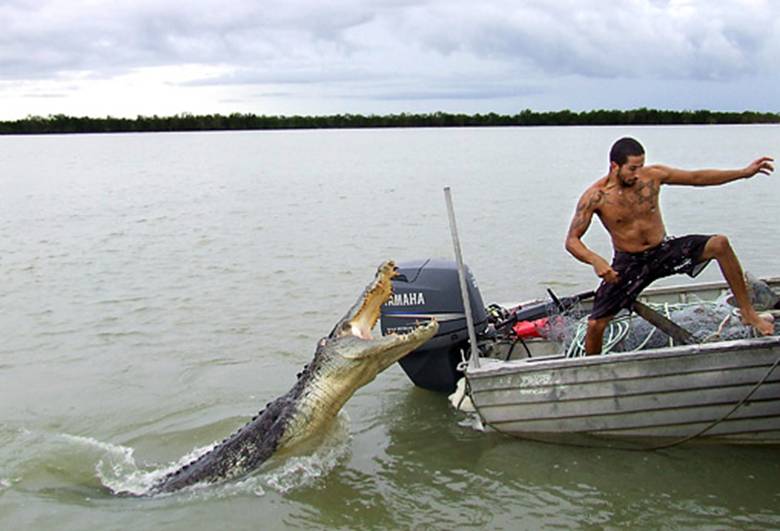
Croc clutch!
RockyAussie replied to motocouture's topic in Purses, Wallets, Belts and Miscellaneous Pocket Items
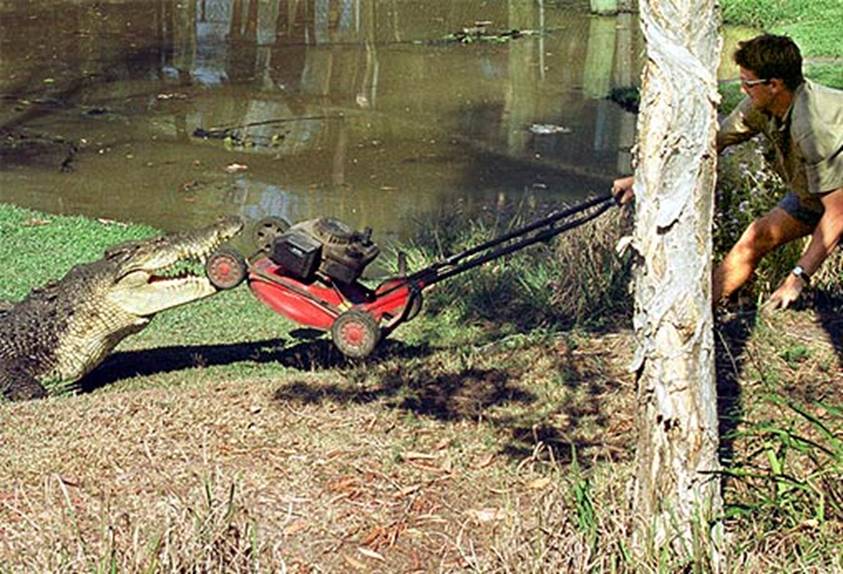
Yeah his tail wore down a little bit (see pic below) but it didn't stop him growing up to have a pig clutch This one could be a love bite .....or maybe a mower clutch??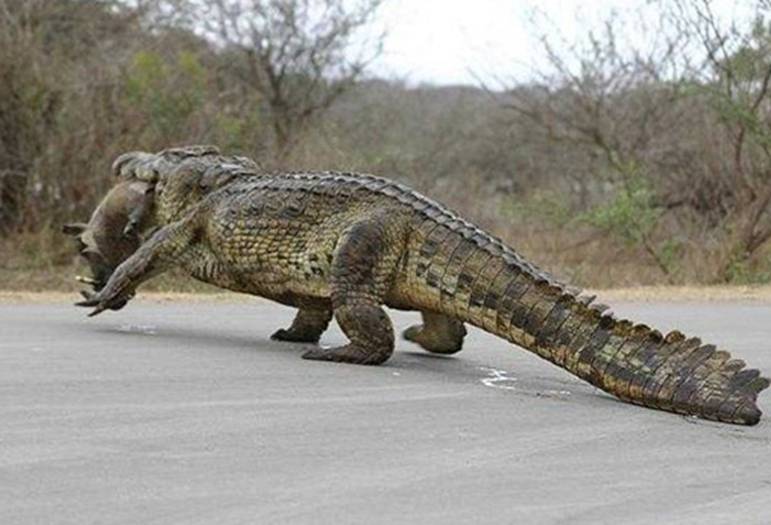
-
Croc clutch!
RockyAussie replied to motocouture's topic in Purses, Wallets, Belts and Miscellaneous Pocket Items
Noooooo You clutch the croc. see pic below Croc clutches look waaaay different Though tastes can vary.......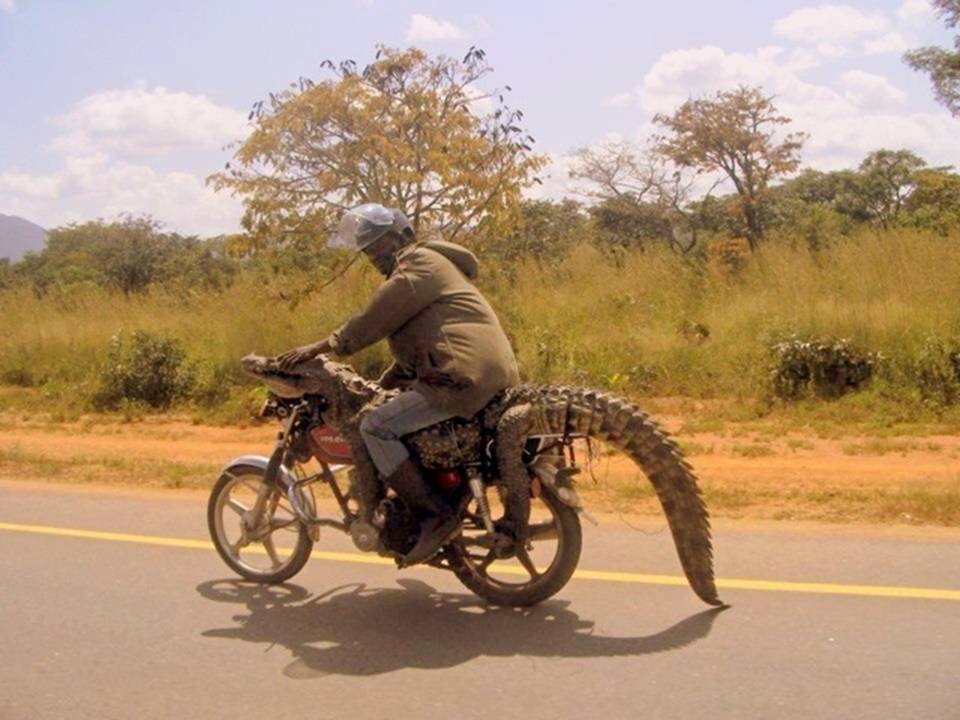

-
Invisible stitch from both sides of leather
RockyAussie replied to WastelandOuterwear's topic in Sewing Leather
Your welcome. I would like to see some pics of your finished bag when you can. Yes that's it. Oh.... if only it were that easy in leather.