-
Posts
202 -
Joined
-
Last visited
Content Type
Profiles
Forums
Events
Blogs
Gallery
Store
Everything posted by VYO
-
I got my Consew P1206RB from Toledo Industrial for $995 plus shipping. I love it. Not sure about the portable machine. I did look at the portable for lighter weight work but in the end decided to go with the P1206RB. https://www.tolindsewmach.com/consew-p1206rb.html
-
40W Chinese Laser - Engrave and Cut Leather - Discuss
VYO replied to Billy Hell's topic in 3D Printers and Lasers
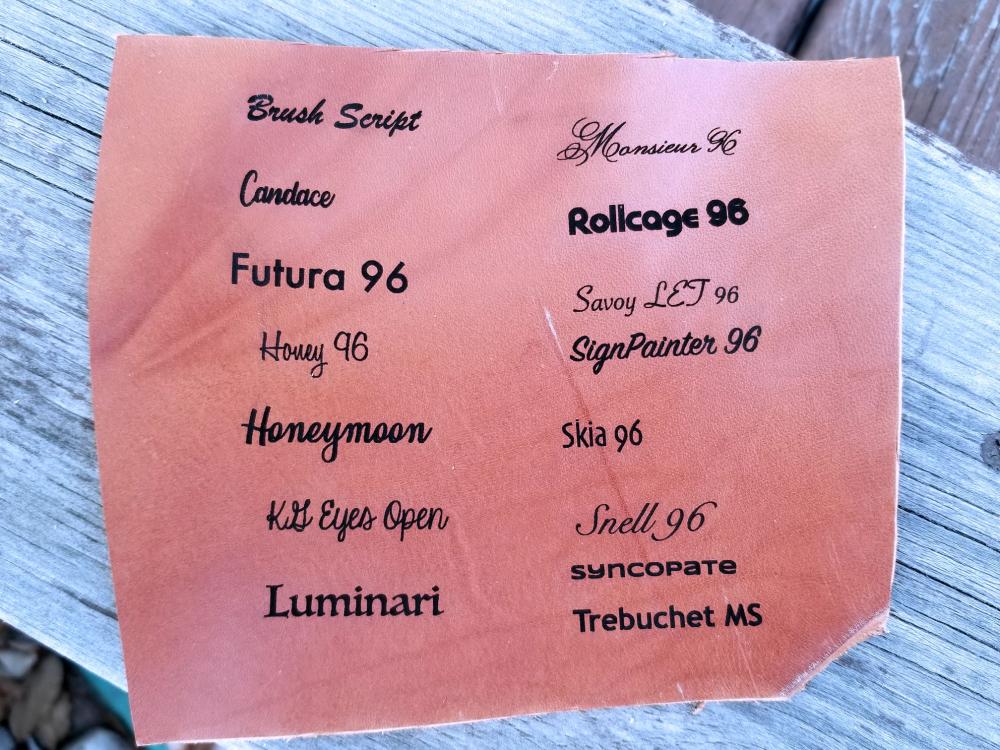
I wanted a bigger more powerful one too but no room for one. The one I purchased does not have a brand name that I can see. I purchased it on Amazon from seller GanGou in November. I've used it probably 40-50 times now and haven't had a problem with it. I did try one image with it and it worked fine, some simple line art. It took 10 minutes to complete that. I bought it for simple text engraving so not really pushing the machine to do intricate stuff. https://www.amazon.com/gp/product/B07G6VBTKL/ I read the reviews which are really mixed, made me pause, and then took a chance on it. I have a Mac and not many of the machines in my price range worked with a Mac. In the reviews section on Amazon there is a Mac user who did a video with an imported image of a peacock with it and that was what convinced me to give it a try. I did experience a time or two where the machine didn't connect. I just checked all the cord connections to the machine and computer and then hit connect again and it worked fine. I'm satisfied with its performance so far. -

40W Chinese Laser - Engrave and Cut Leather - Discuss
VYO replied to Billy Hell's topic in 3D Printers and Lasers
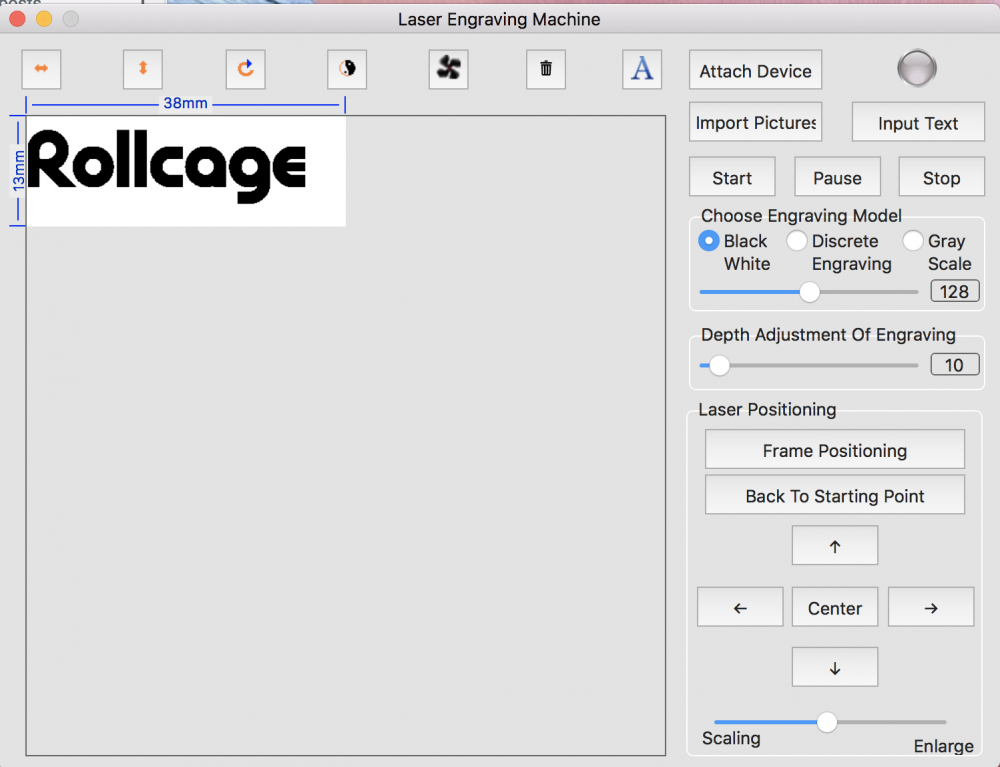
No air assist. It has two plugs, USB for the computer and a 110 power cord. I don't know what the depth is (relatively shallow from the looks). Below is a screenshot of the in the engraver software settings I use to engrave. -

40W Chinese Laser - Engrave and Cut Leather - Discuss
VYO replied to Billy Hell's topic in 3D Printers and Lasers
I engrave on veg tan without having to clean up with the small laser engraver I have. Is there a way to lessen the power used for engraving with your engraver? Mine is 3000mW and I don't have to do anything after engraving. -
That is beautiful! Really nice work!
-
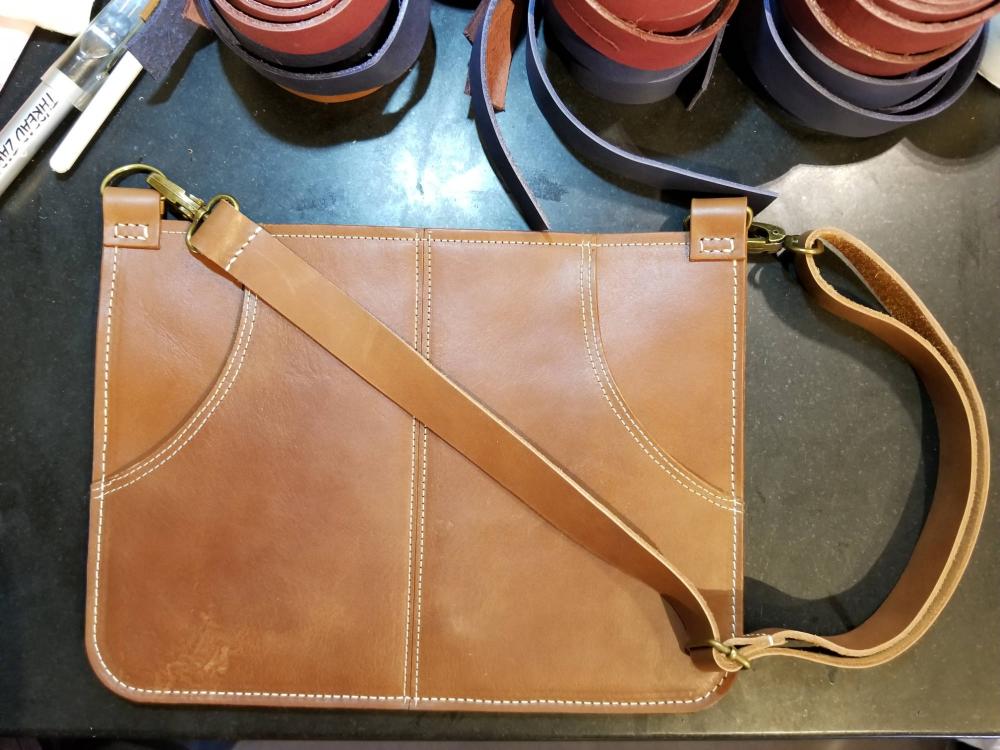
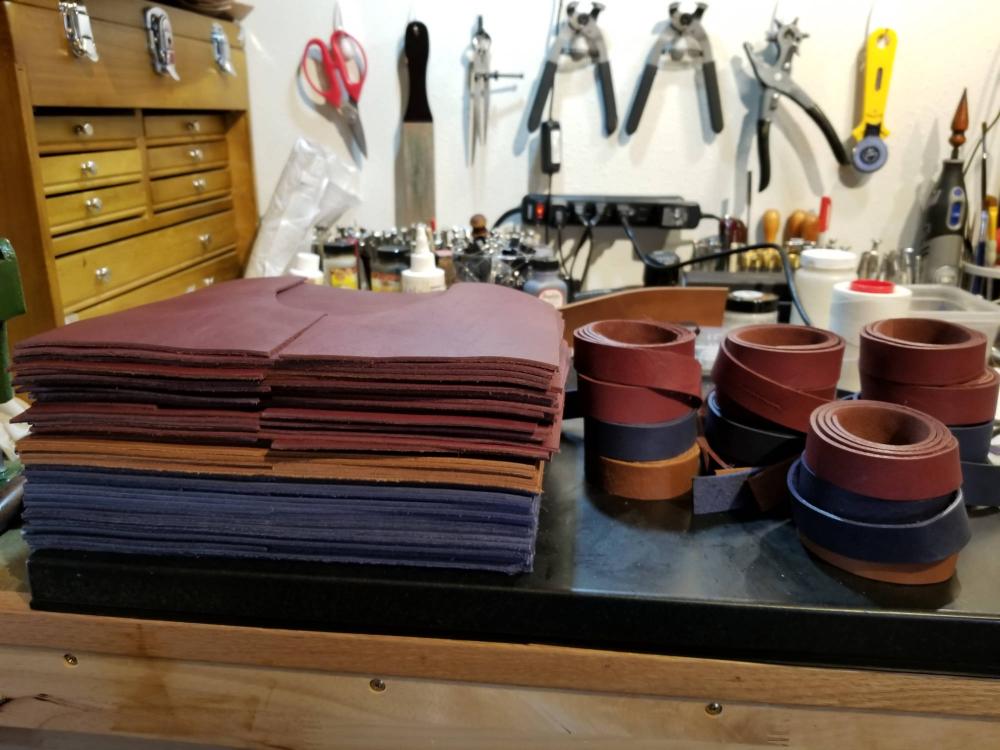
After creating a pattern and a prototype, I also do batchwork. It does make things go faster when you need to make more than one of something. Prototype Cut and Ready to Stitch
-
Just PM'd you. And just received your PM.
-
I would like 2054, 2512, 2010, 2513, 2685. I am in Oregon, USA. Please PM me cost plus shipping and where to send the paypal payment.
-
Maverick Leather has sides in Hermann Oak and Wickett & Craig Skirting. https://www.maverickleathercompany.com/product/hermann-oak-skirting/ https://www.maverickleathercompany.com/product/skirting/ Springfield Leather has some Hermann Oak. The smaller pieces are 12-14 oz. The sides are 14-16 oz. Side: https://www.springfieldleather.com/hermann-oak-skirting-side-veg-1416 24x24 12-14 oz: https://www.springfieldleather.com/Skirting-Pre-Cut-12-14-oz-12-x-24 12x12 12-14 oz: https://www.springfieldleather.com/Skirting-Pre-Cut-12-14-oz-12-x-12
-
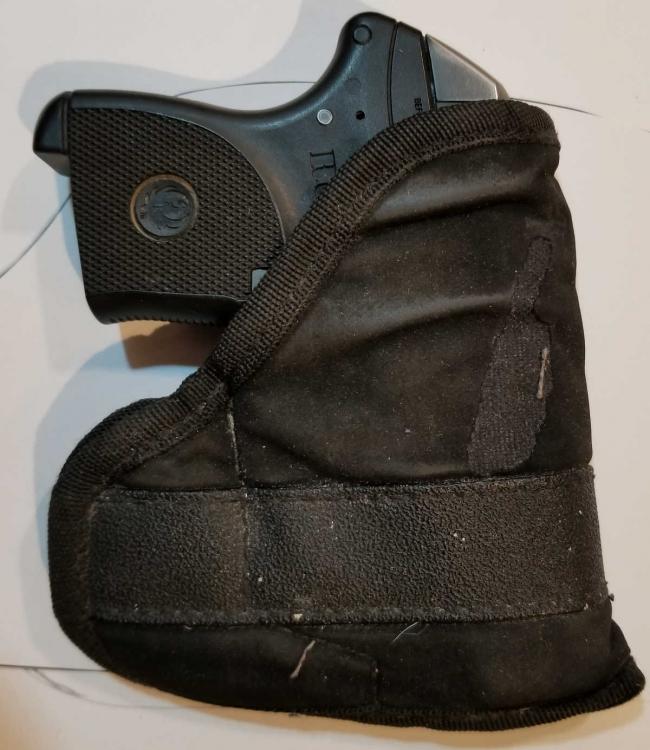
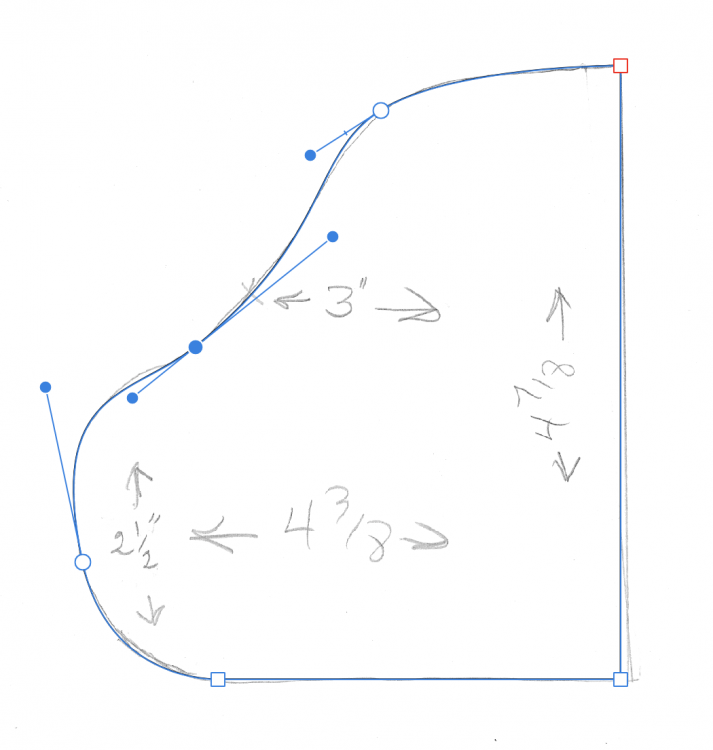
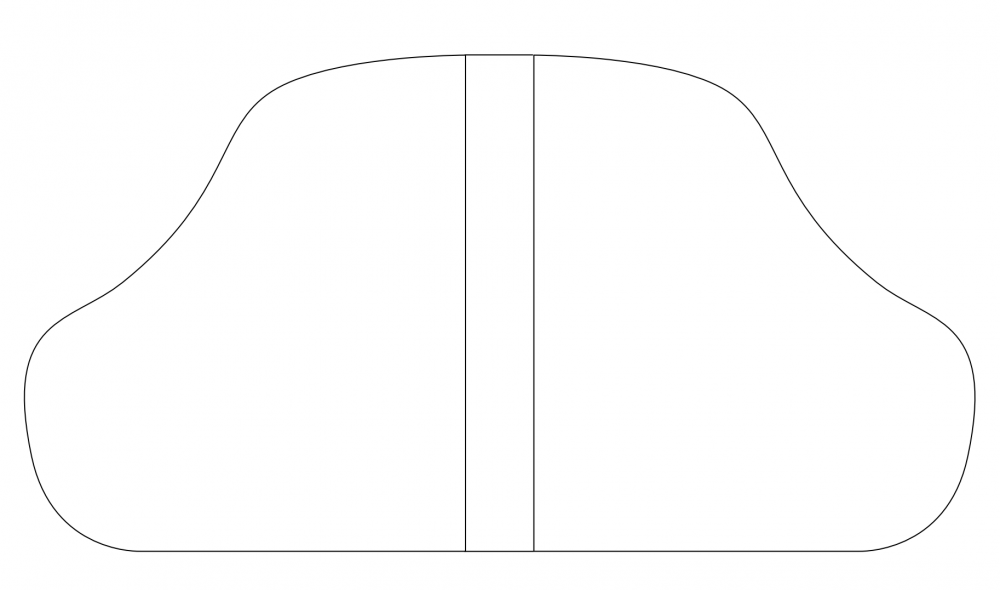
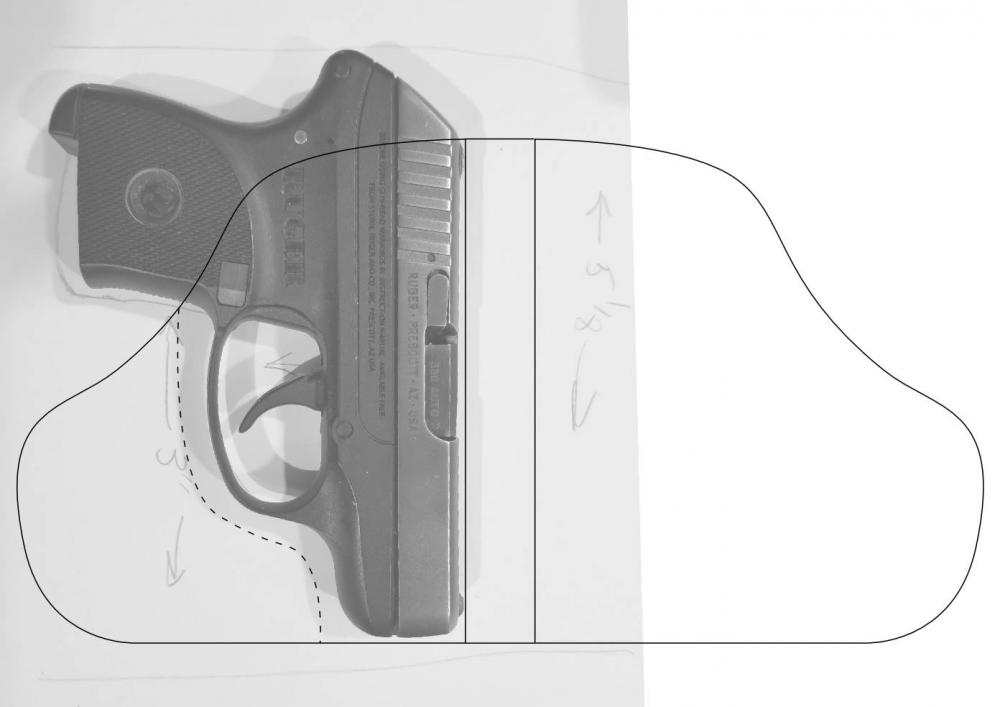
This is an order I have to replace a nylon pocket holster with a leather one and to add a belt clip so the holster can be worn concealed inside the pants. He also wanted to be sure that the side bulge under the grip was retained because it holds the gun straight when he wants to put it in his pocket and not wear it on the belt. Scan your image into software. Save the image and open it in a vector editing software. I use Affinity Designer but Inkscape will work as well. Look for the “pen” tool. Import/Open the scan in the software. Use the pen tool to trace the outlines of the scanned image. When you left click a pen tool it places a small box to mark points on the line being drawn. Left clicking and dragging creates a round point signified by a round point marker. Once the lines are finished you can go back and move the drag the handles on the round point markers to adjust the curves. Left clicking on a point allows you to move the point. Creating a point marker, holding the shift key, then moving the mouse to another location will create a straight line. I wrote dimensions I wanted to be sure of on my initial drawing. After tracing the image with the pen tool, resize the tracing to match the dimensions you need. This is a fold over holster so I need to create the other side. Copy and paste the line drawing created and then transform it to reverse horizontal and drag the copy to the right. Then close the open sections top and bottom if you have to add space. I added 3/4” for part of the depth of the gun. I over-layed a scaled photo of the gun and added a possible stitch line. After checking measurements of the drawing, print the template, cut it out, and fit it around the gun. If it works as you expect the template is ready to use. I usually transfer the paper template to thin cardboard or thick card stock and then trace around the template edge on the leather and cut it out. For me, the advantage of learning how to use the pen tool in vector editing software is that I can also design leather projects in the software, print them, cut them out, and test them in paper form. If I mess up with the paper, I already have a ready drawn template I can print out over and over. If I decide I want an acrylic template made I already have the drawing ready to send to the manufacturer. Others have mentioned DTP software. Sounds pretty easy too. I've never done this with DTP software so I don't have anything to add to those comments. I'll put up an image of the finished product when I have it done. I'm out of belt clips which I've ordered but they won't be here until next week. Hopefully this will help. I'm sure there are many ways to do this but this is the easiest way for me. If I haven't explained everything clearly let me know and I'll try to be more clear.
-
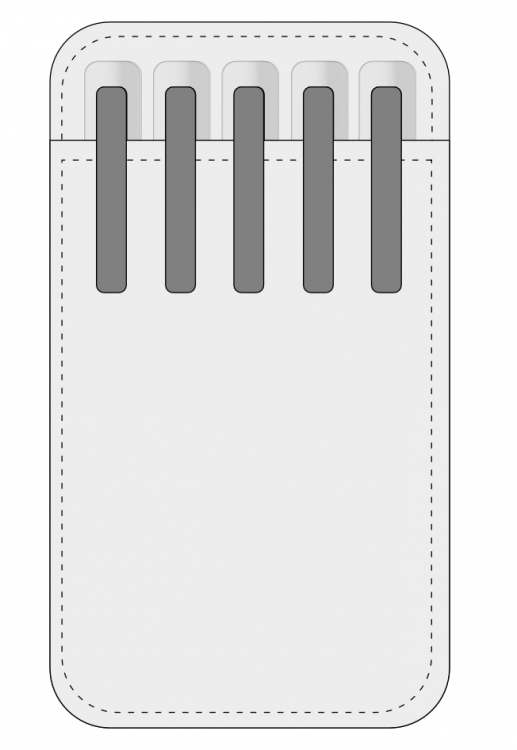
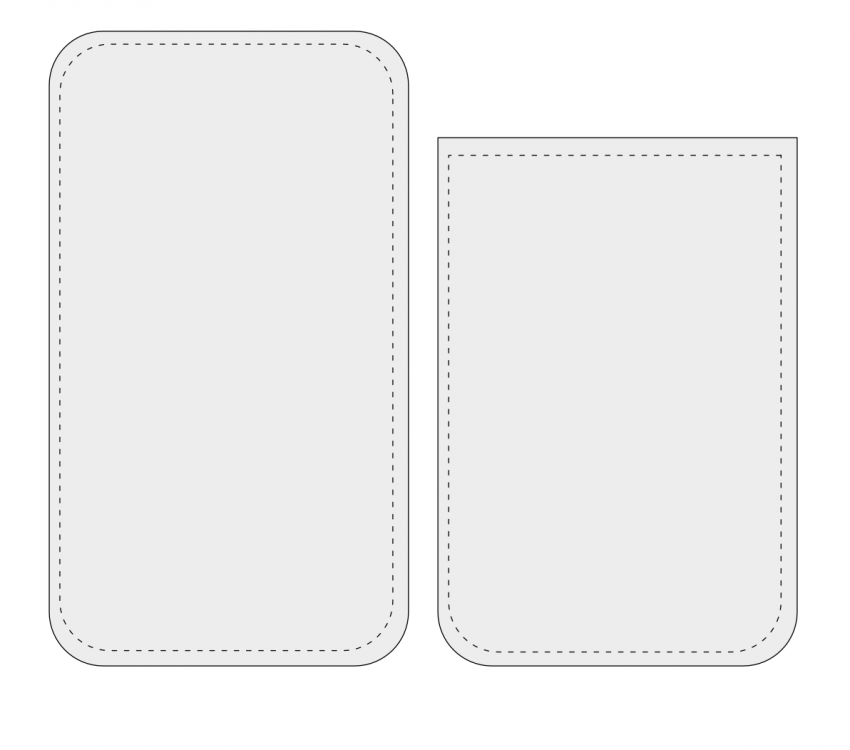
I'd lay out 5 markers on a piece of paper and trace around them (leaving a tiny bit of space between them so they are not too tight. Then I'd trace again this time going from the pocket catch on one side to the pocket catch on the other side. Add your seam allowance and a little extra space for expansion when the pens/markers are placed in the pocket. Something like the photos I've attached.
-

First leather wallet
VYO replied to Matty101's topic in Purses, Wallets, Belts and Miscellaneous Pocket Items
Really nice job! I love the cover design and the interior. -
Not sure about a dye effect but I just watched a video that did something similar looking to this on instagram for the burnishing.
-
I use Affinity Photo and Affinity Designer for this purpose. They aren't free, about $50 each. There are probably other programs that are free that could do it like as you mentioned Inkscape. I scan my drawing into Affinity Photo, save it, open it in Affinity Designer and use the pen tool to trace the scan. Then I resize the tracing to match the actual template that I scanned (by measuring the actual drawing). I have a project I need to modify by doing this so I'll try to remember to take screenshots as I work on it. Probably won't be until sometime this weekend.
-
I'm going to do a couple zipper installations (two different types of installations) on Saturday. I'll take photos of the steps I do and post photos then.
-
Will do.
-

Long Wallet- just finished.
VYO replied to Carnivore's topic in Purses, Wallets, Belts and Miscellaneous Pocket Items
Very nice. -
Excellent! I've just orderer two. Edge Kote can be a pain to apply but this seems like a reasonable solution.
-
I use Giardini MaxMatte or Vernis. Giardini is thicker and for me easier to apply without slopping it up than Vernis but sometimes Vernis is what I use. I don't bevel the edges when using edge paint. In my case beveling makes it harder to get a good clean finish. There have been a few times when I've not finished the edges but I was never fully satisfied with the item when completed.
-
-
Just my $.02 but only one of the photos shows the flesh side and it looks pretty hairy to me. Learning leather is hard enough without starting out with a hairy backside. Don't ask me how I know that. On the other hand you could learn about how to try and tame that kind of flesh side and make it look finished.
-

Celtic Bag
VYO replied to HaloJones's topic in Purses, Wallets, Belts and Miscellaneous Pocket Items
That is a beautiful bag! I love the colors, the design, and the straps. -

Cold coffee as a measure of concentration
VYO replied to bermudahwin's topic in All About Us and Off Topic
Except for the first cup in the morning I usually end up drinking all my coffee (12 cups over a full day) cold during the day. I drink decaf. Too distracted by what I'm working on to bother re-heating it.


