Brokenolmarine
-
Posts
585 -
Joined
-
Last visited
Content Type
Profiles
Forums
Events
Blogs
Gallery
Everything posted by Brokenolmarine
-
Fredk, I normally don't go for things hanging from mirrors, and in some states, it's illegal. It was in VA, back when I was working... But for a smaller item like the mallet, I could see it. If not the mirror, the visor mount in the corner, or my gps mount on the dash.
-

wallet My First Post + Most Recent Wallet
Brokenolmarine replied to CastilloHeritageCrafts's topic in Show Off!!
I like the thumb hole, I'd put the debit card in that slot since it comes out most often, and in my electronic scan protected wallet I sometimes have to fight the slots for the contents. -
Doc Holiday Shoulder Holster (movie Tombstone)
Brokenolmarine replied to Littlef's topic in Show Off!!
I was thin when I was younger... Now that I'm old and gimpy, I'd need a lot LONGER straps. -
I could see something like that hanging from the underside of one of my workbench shelves from a cup hook, or as a Christmas decoration. Better yet, hanging from the mirror in the car... That would be a conversation starter. Nice job.
-
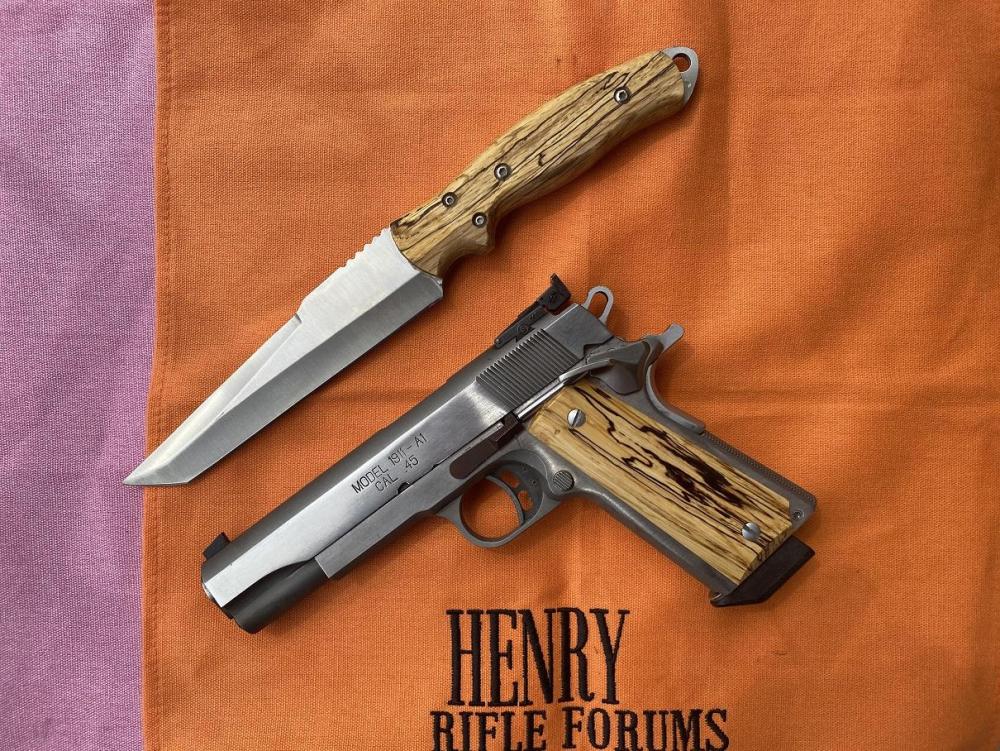
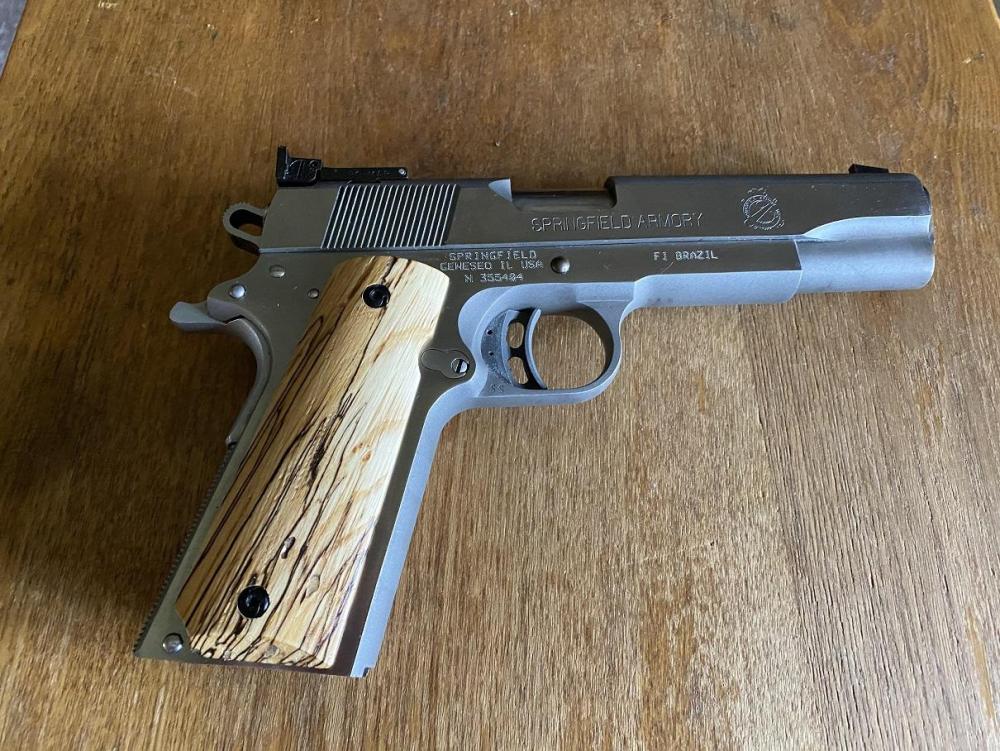
The Gun in the pic is my Match 45. It's a Springfield Armory Frame and Slide, but nothing else is factory. The rest is after market match grade built by our PPC Gunsmith back in my Competition days. Worth every penny.
-
I love stag handles on knives and guns. I had a pair of spalted maple grips made from a tree we cut down on our old farm and I seasoned for about two years. Then I made several knives from the same tree. They turned out awesome. They look almost like stag at times. Later I changed the screws in the maple grips on the gun as I thought they looked better black.
-
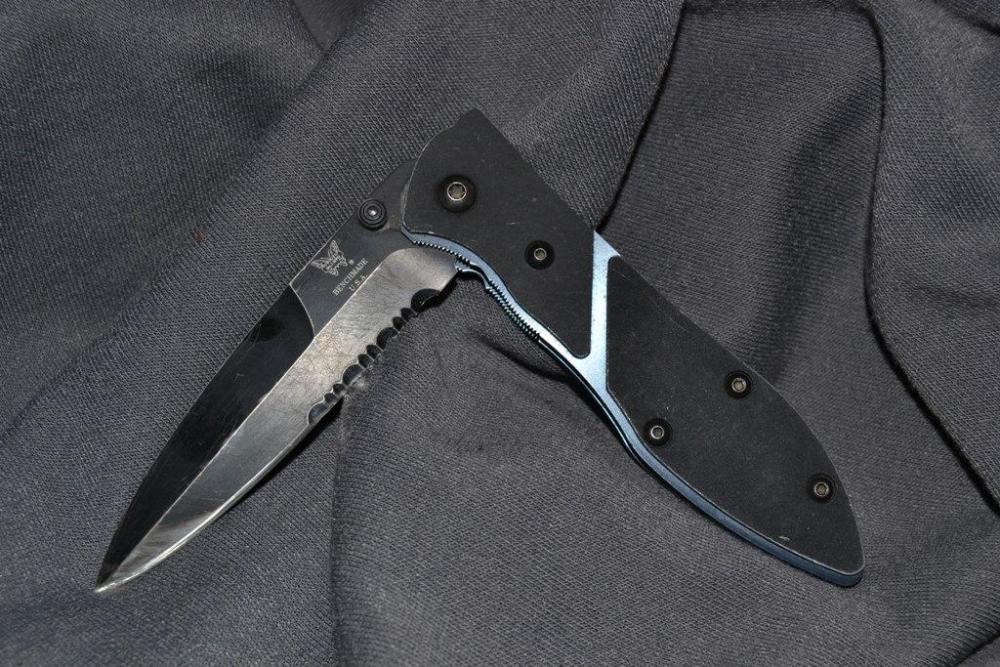
Most knives are legal in Oklahoma, switchblades included. I think ballistic knives are illegal. I owned a couple switchblades throughout my LE career, but rarely carried anything but my Benchmade folder. It was faster than a switchblade and did the jobs I needed done better. I bought it around 1995 and they are now discontinued, but It's still my Daily Carry Knife. These days it looks old, worn, scarred, beat up, and well used. Oh, wait, So Do I.
-
New here, showing off some work
Brokenolmarine replied to DoubleKCustomLeathercraft's topic in Show Off!!
Thanks, I'll give them a look. -
Craftool E294. Thanks.
-
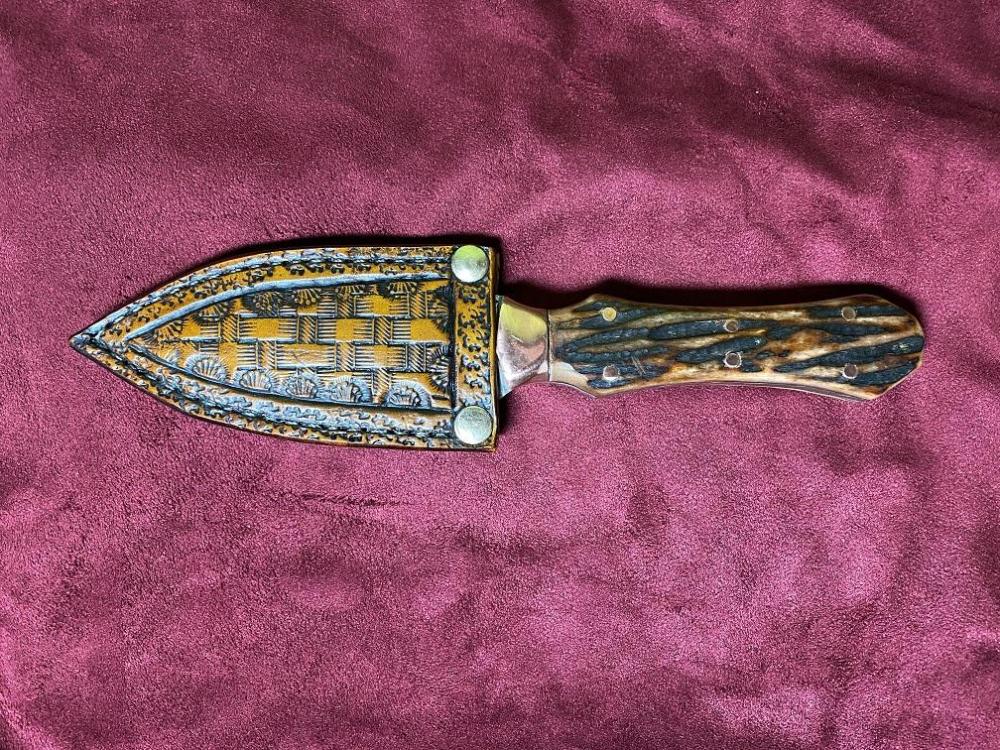
The boot knife from Jantz is their SS444 Razor Edge Boot Knife. (Pg 20 in the new catalog) The background stamp I used along the stitch line was a craft tool E294 I like this tool because it adds texture, but not too much.
-
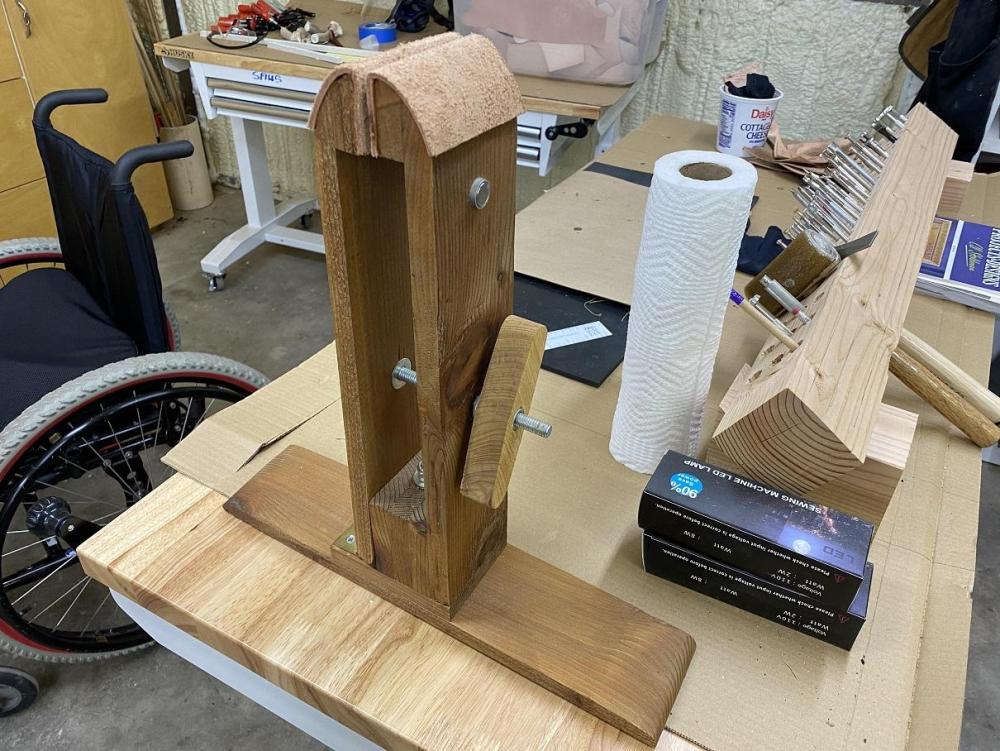
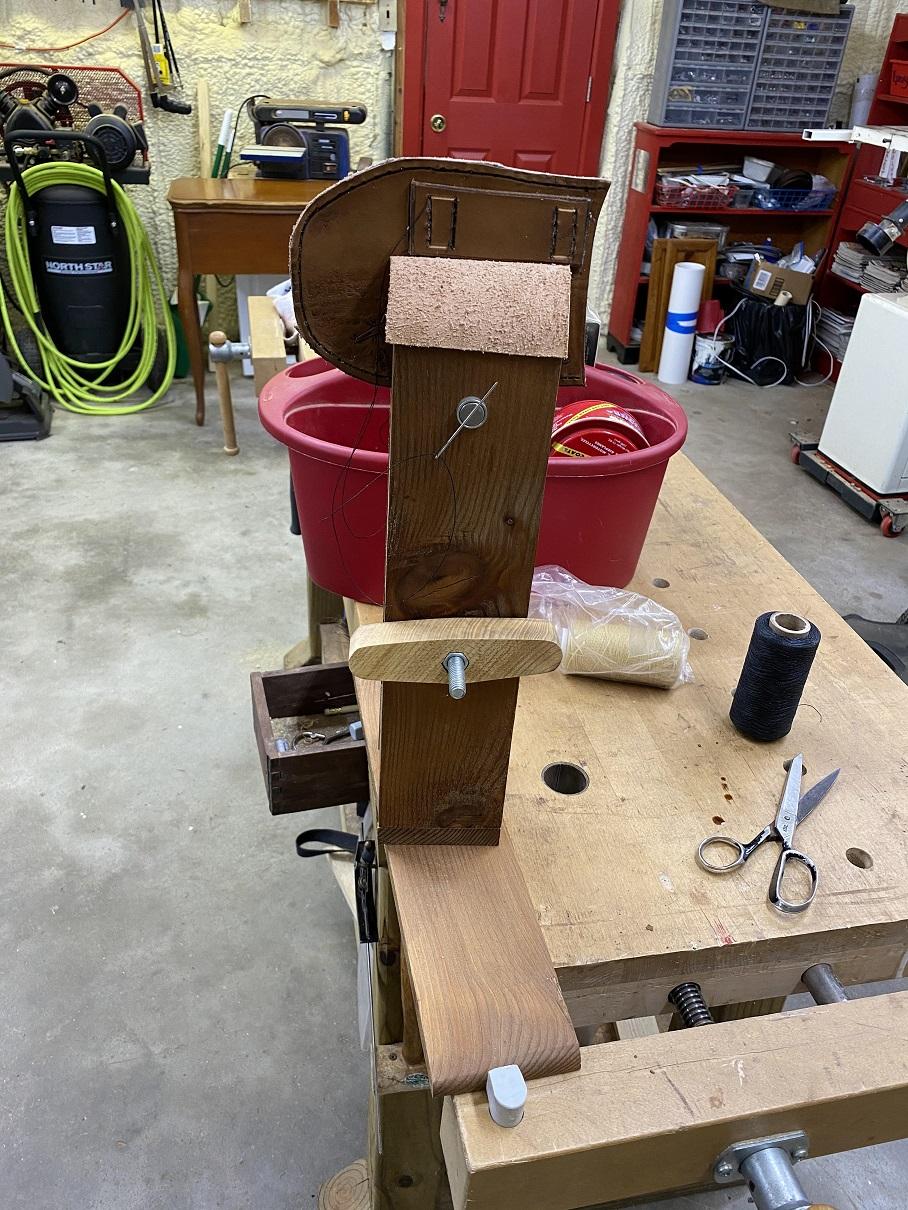
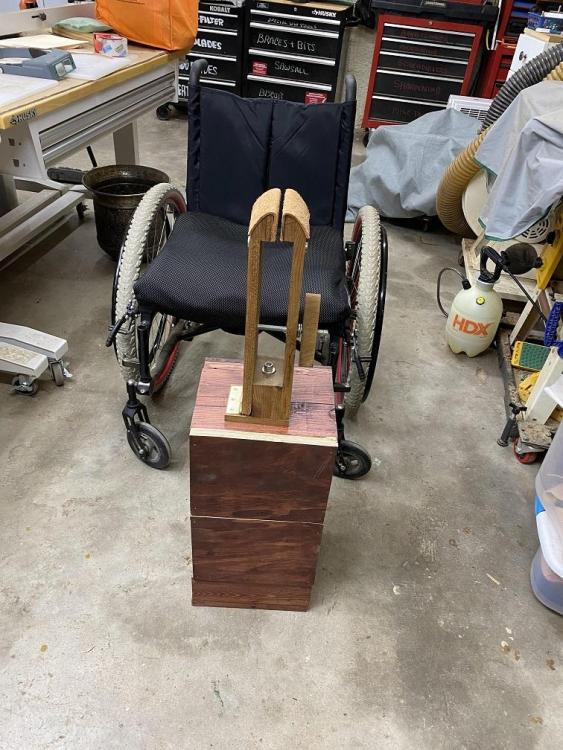
The knife fits tightly, and the boot will provide additional pressure to hold it in place. It's hand stitched and I used my stitching pony, which I recently mounted on a base to make things easier. prior to mounting on the base I either had to clamp it to the table or workbench or hold it under my thighs. This is SO much easier.
-
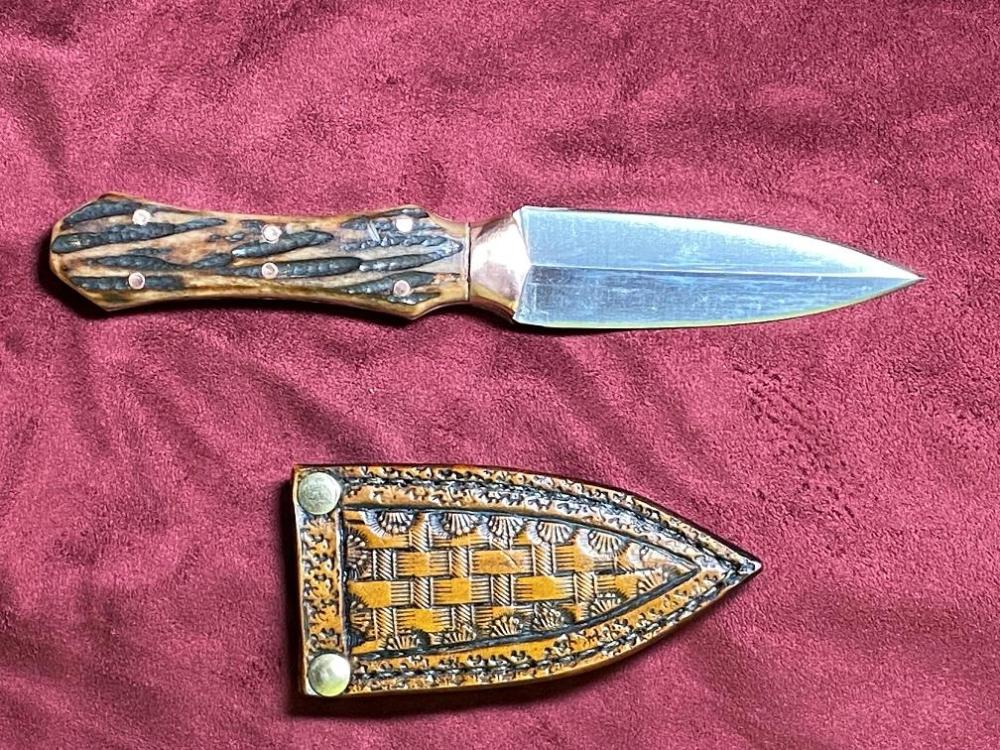
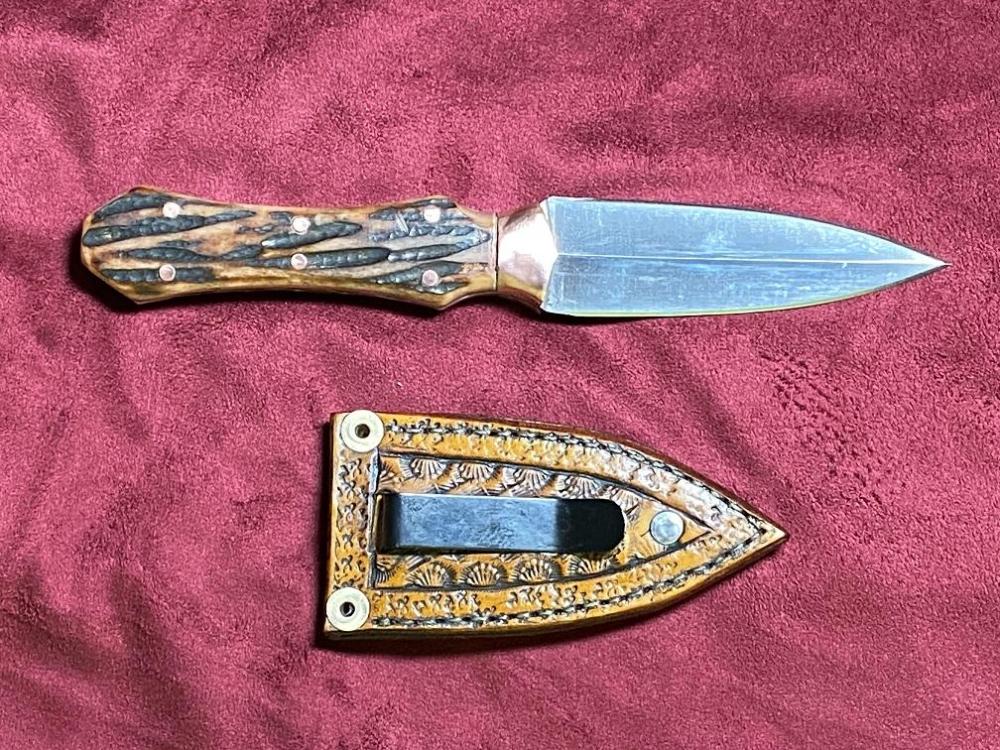
Tried my hand at a boot knife, just to see how it would turn out. New technique for me, rolled pins. I wasn't completely happy with the result, but I'll get better at those. The copper bolsters were made from barstock. The blade came from Jantz Knife Supply. (knifemaking.com) I have arthritis and can't even think about forging my own blades. The sheath will allow the wife to carry the blade as she moves around the farm doing her morning routine and checks on the coops and the barns throughout the day. She likes it. Front view: Required back view:
-
New here, showing off some work
Brokenolmarine replied to DoubleKCustomLeathercraft's topic in Show Off!!
Nice... I bought a bunch of snake skins and made a sheath with one. First time working with that. I would love to try turtle skin. Guess I'll have to check into it. I was going to buy some gator at Tandy... but they didn't have a good piece when I was in. -
One of my favorite holsters I've made
Brokenolmarine replied to DoubleKCustomLeathercraft's topic in Show Off!!
I agree it's beautiful work. I also agree that in today's litigious world, we have to be careful about every little aspect. Things that would be really cool ten years ago, or even five... ... but I like it, a lot. -
Very nice... I had no idea what custom work brings. I've been making original tooled leather custom work for family as gifts for several years and they all take it for granted.
-
You'll find the basis for this in this Video, and I added to it along the way from other videos I watched. The two important acorn sections are around 33:00 and 43:00 minutes, but it's a great video for tooling Oak Leaves and Acorns. I used it's techniques when tooling my Thumbhole Sling.
-
For your acorns, try these tips I picked up along the way. * First, using your swivel knife, cut your outlines, just a bit deeper. * Bevel the nut portion toward the inside using a thumbprint, tilted up at about a 45 degree angle. This makes the nut, look rounded. * A couple lines cut across the nut at the bottom and one crossing those is more than enough stress cracking. * For the cap, bevel around the edges, again, toward the inside, at an upward angle, giving you the rounded edges to your cap. Your hatch lines should not be straight, but curve around the cap to reinforce the idea of the rounded edge. Equal spacing from one end to the other in an arc. Then cross hatch by curving the other direction. This really makes them pop.
-
My wife just lost her milker, to milk fever after dropping a calf. Vet was out several times over three days, couldn't save her. She was a Jersey, named Molly. Beautiful work on the collar.
-
Looks Great. My grandfather was a huge wrestling fan in Tampa when I was a kid in the 60s. He would take me to the Armory to see the heroes and Villains of the day in person. Jack and Jerry Brisco, Boris Malinko, Pak Song, and the rest. The Championship Belts looked Priceless from the cheap seats when you're age is expressed in single digits. I agree with the previous poster, make quality copies and put them away, the grandkids and great grandkids would be impressed.
-
Thanks Ferg, I missed the size when I read the original post. Old eyes or short memory, or both. As I said, I am impressed.
-
I could see all kinds of uses in my hobbies. Woodworking for leather inserts, knifemaking for lasered designs on the sheath. Would it burn the image in wood panels as well?
-
Really cool result. How big is that image, and long does the process take for that size? I'm interested, not thinking of buying a laser set up, my smart phone outwits me. Just curious about the process, and impressed.
-
The butcher block top looks really good. I need to refinish my woodworking bench top. Never take the time, and I have plenty.
-
I have a Glock 35 in 40 caliber and I would be proud to carry that holster. Good Job. I don't carry the 35 any longer, as it's the House Gun. But you did a good job on the design and execution. I use the drill press idea myself. Makes life easier.
-
Great Job on the build. I believe I posted my pony on the forum a year or so ago, but here is a look. I too put magnets on mine and had intended to mount them flush on either side, but decided that would make it hard to retrieve the needles when the time came, so I mounted them proud. It works great. I didn't have an actual knob on hand when I built mine, so I made a knob to open and close the jaws by gluing the nut into the wooden oval formed by the bandsaw and the benchtop sander. Looks cool and easy to manipulate. (Cheap too, came from the scrap bin.) I recently mounted the pony on a base so that it doesn't have to be clamped on the bench or trapped under my thighs in a chair. Much easier to use. I need to take a pic of that. I can rotate the pony for a better angle, but I don't loosen and tighten that base bolt, it's snug but not VERY tight. It's stable enough.